
This is an easier, much less expensive option than real shiplap, but it still looks amazing!
We used 1/8″ plywood cut into 8″ strips. You can pick this up at the hardware store in 4’x8′ sheets.

In many stores, you can ask the employees to cut the sheets into 8″ strips for you. If they won’t cut it down that much, they may cut it into larger pieces, like 16″, and you can cut the rest at home using a table saw; it’s definitely worth asking to have it done, though.
Getting Prepped
Sand the boards with 80 or 100 grit sandpaper to make sure they’re splinter-free and ready to go.
Remove anything from the walls that you’ll need to work around, like outlet covers, mirrors, artwork, etc. If you need to remove light fixtures, be sure to turn the power off at the circuit breaker before doing so.
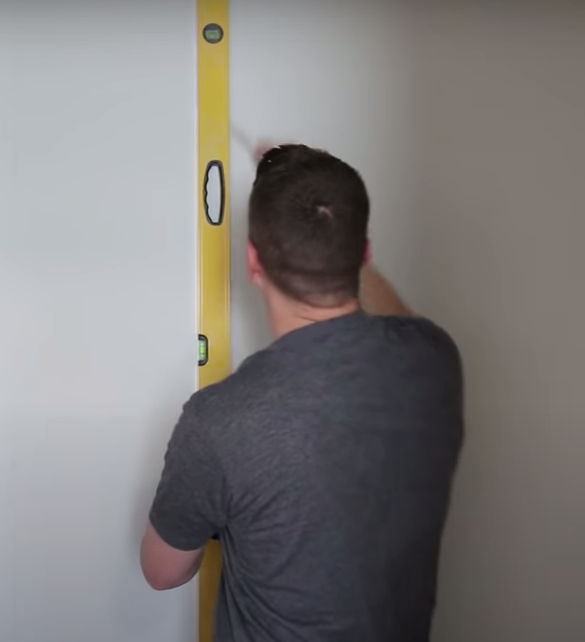
Use a stud finder and mark the locations of the studs with a pencil. It’s best to drive the nails/brads into the studs to make sure the planks are attached securely.
Once you’ve marked each stud, use a level to draw a vertical line down the length of each stud, to indicate where you need to nail into for each board.
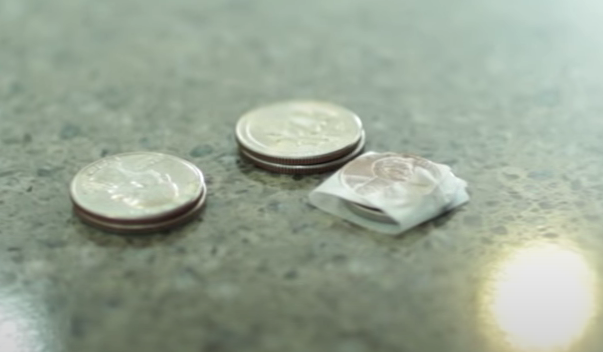
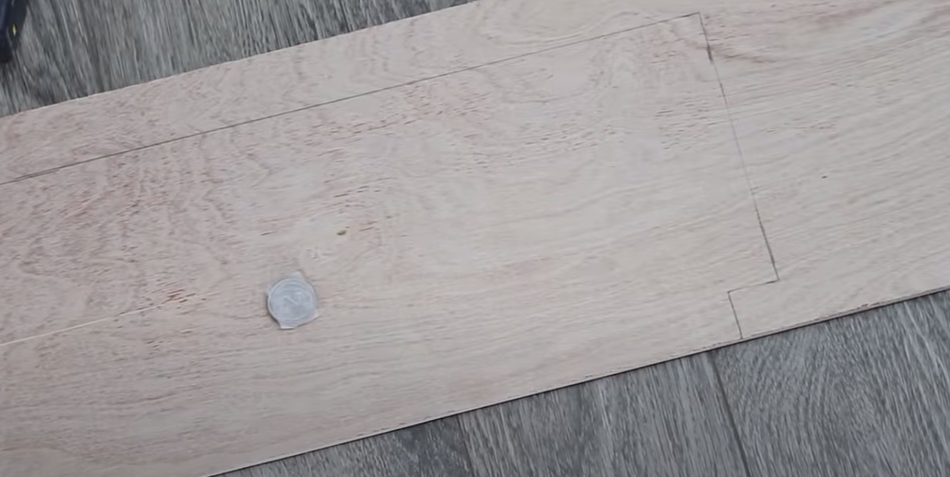
You need even spacing between all the boards to make the final product look nice and sharp. Do this by taping two coins together- we used 2 quarters, or 1 nickel and 1 penny.
Installing Boards
If you have a section wall that is greater than 8 feet long (the length of each board), you can put full boards up, and then cut a smaller piece to reach the end of the wall.
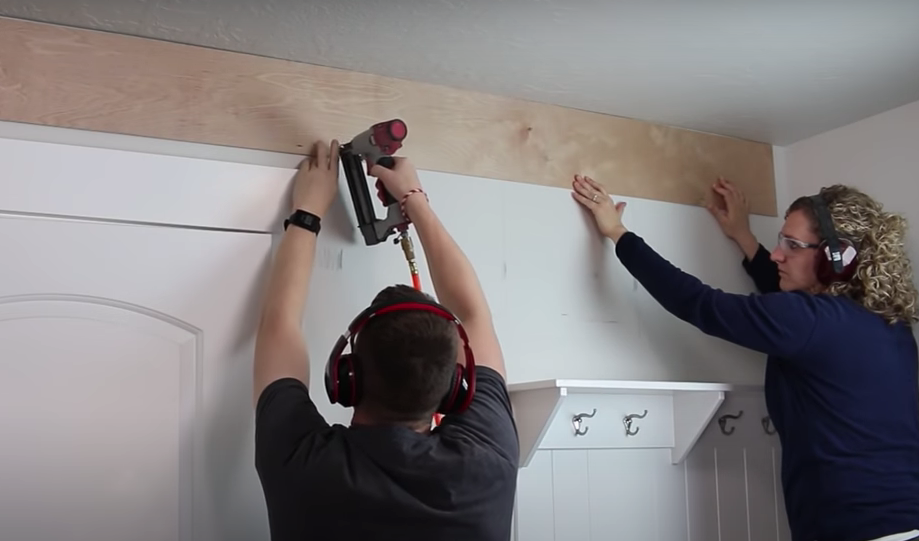
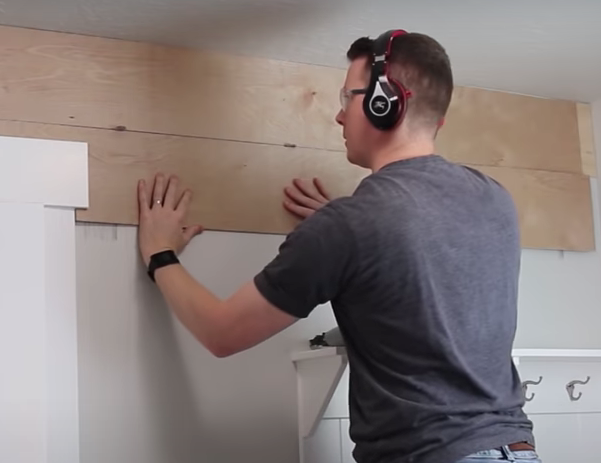
Attach the boards to the wall using 1 1/2″ or 2″ brads, placing 2-3 of them on each stud.
*Tip! Once you know where your boards are going to go, paint a line (with the paint you plan on using for your shiplap on the wall) in between where each board will go. This will make the painting process much easier- we found while painting, trying to paint in between the cracks was very tedious. Learn from our mistake!*
It doesn’t really matter if you start on the top or the bottom of the wall, but if you’re doing two adjacent walls, make sure the starting point is the same on each. Are we speaking from experience? Maybe. Did we have to tear down half a wall of shiplap because we made a stupid mistake? Maybe.
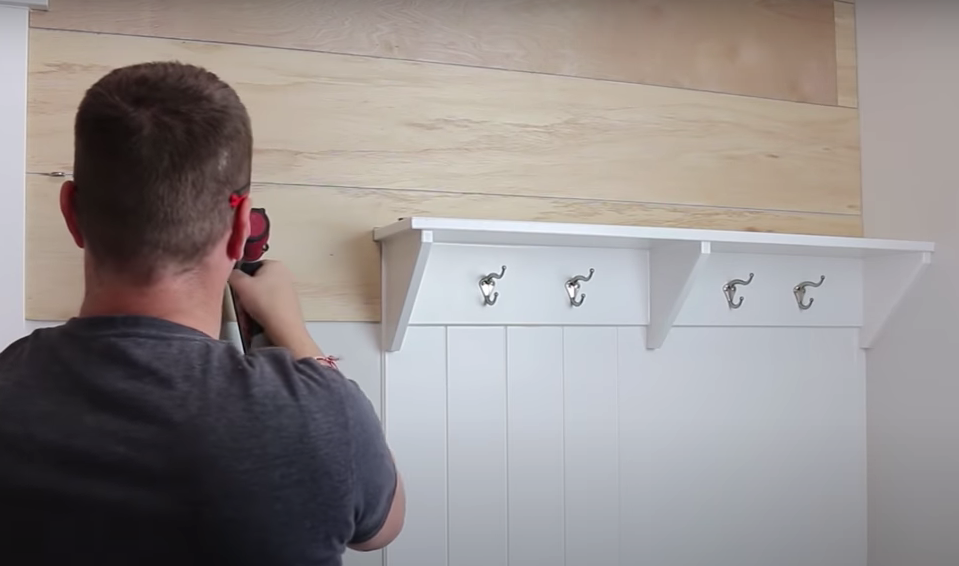
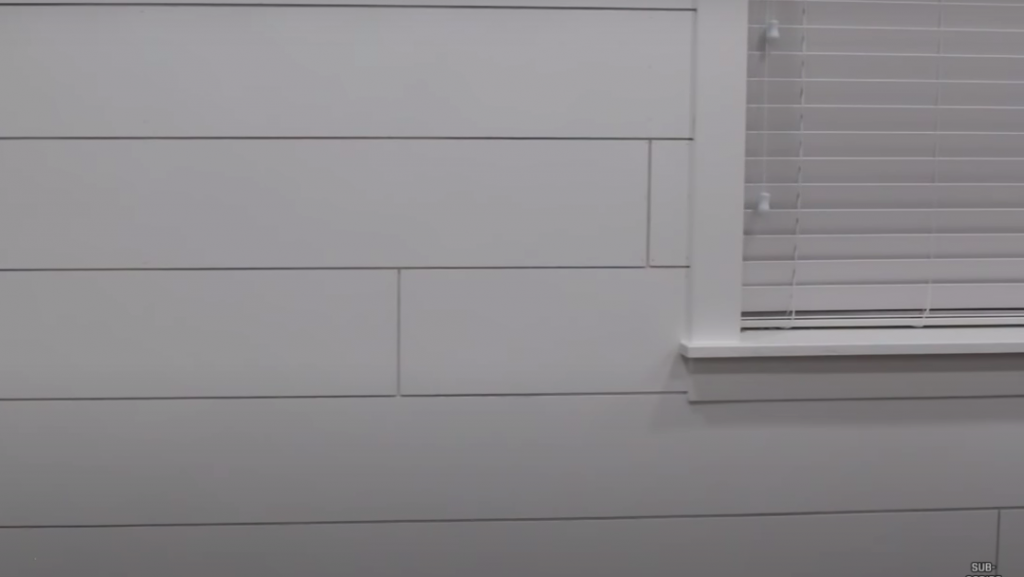
Any time you’re working on a wall that has casings like windows or doors, you’ll need to make some custom pieces like this:
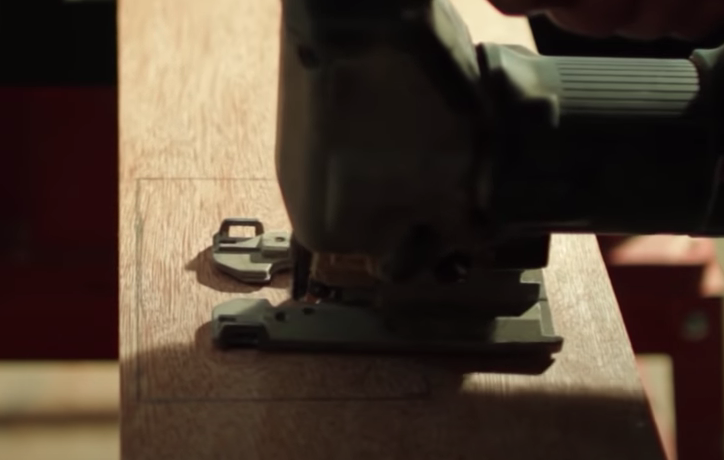
To do this, get your measurements and trace them onto the wood, and use a jigsaw or coping saw to cut them out. A basic jigsaw is not that expensive and well worth having in your tool repertoire, so we definitely recommend it.
Once your first board is up, the spacers come into play. Put up the second board, and place your spacers at least a foot apart in between the two boards. Continue driving 2 to 3 brads into each stud. Remember to check your spacing as you go, so you get a clean, consistent look from top to bottom.
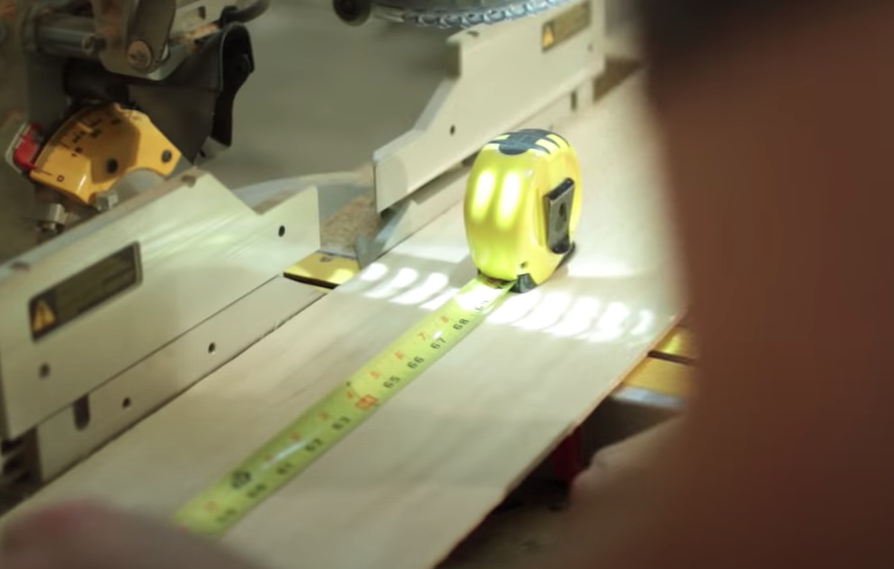
Continue down the wall, getting the measurements for each piece individually. This is important, because even the straightest walls tend to be a little crooked- you don’t want gaps on either end. From here, it’s pretty much wash, rinse, repeat.
This is a fun project that you see quick progress on, which helps the motivation!
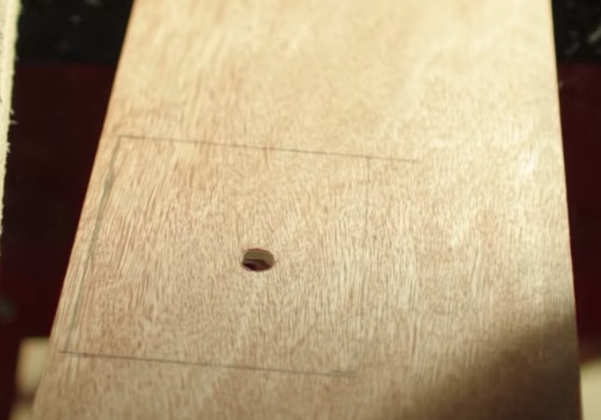
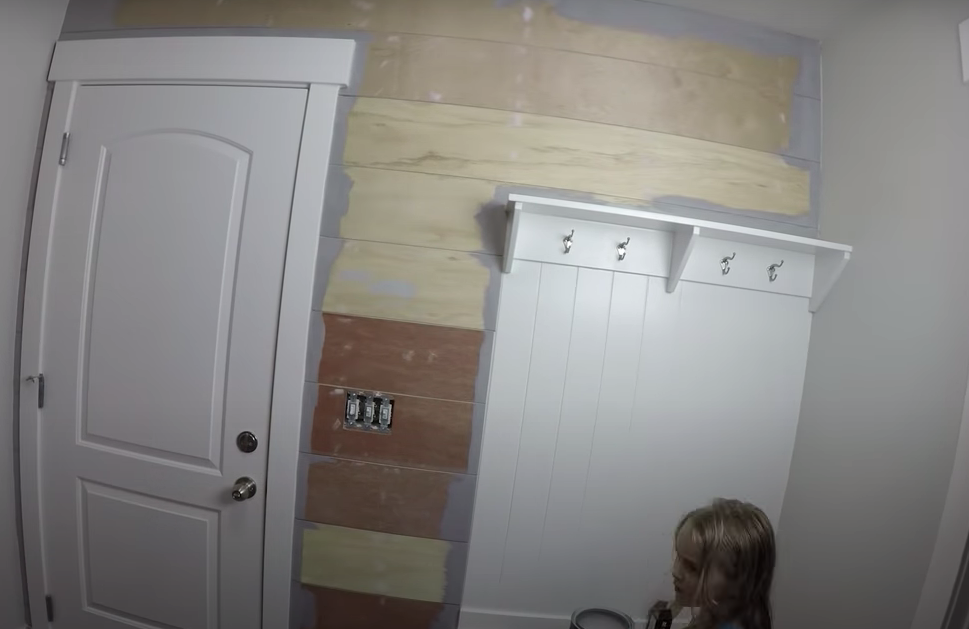
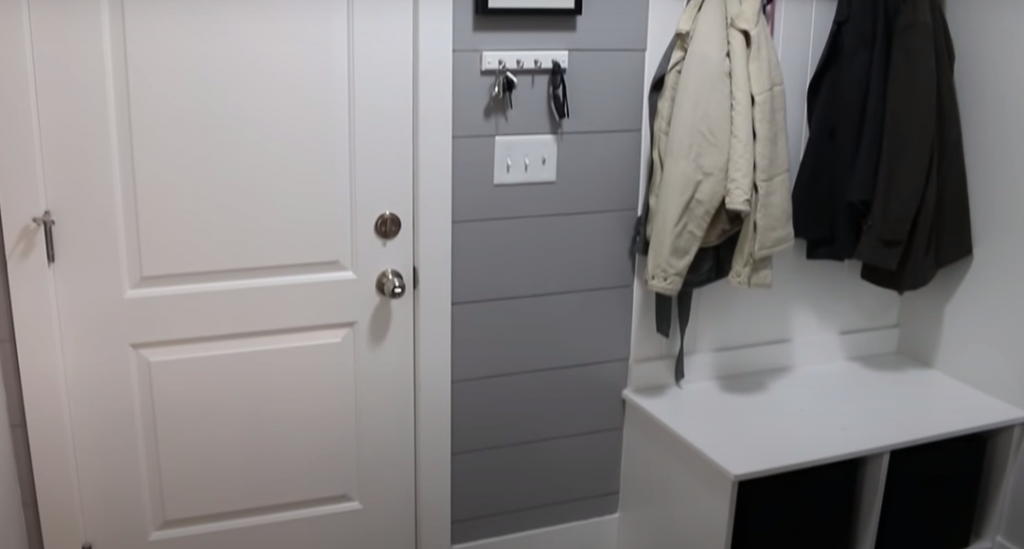
If you have a situation where you’ll be covering an outlet or light switch, use a larger diameter drill bit (1/2″, 5/8″, or 3/4″) to make a hole big enough for the jigsaw blade to fit into.
Cut it to fit.
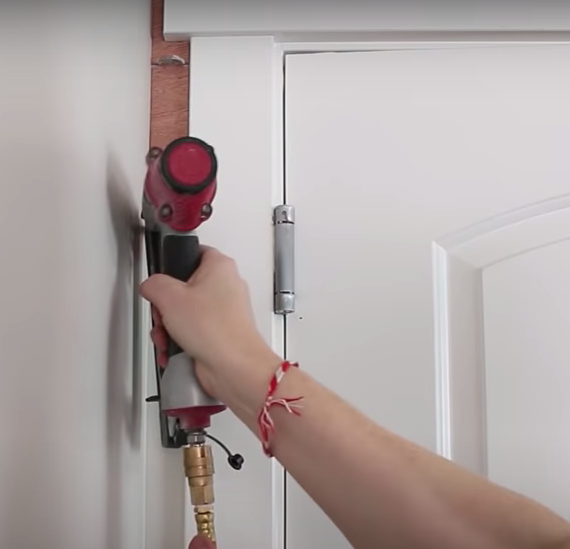
Working around the door.
Once all the boards are up, sand any rough spots, and tap in any nails that are sticking out so your surface is smooth. Use some putty to fill in the nail holes, as well as any joints you have, to make it look like one solid piece all the way across.
We did some faux shiplap in our basement as well, but we didn’t putty over the nail holes or fill in gaps between boards- we did this intentionally, and used spacers in between to give it a more rustic look- you can choose which one you like better. Doing the rustic look required a little less work.
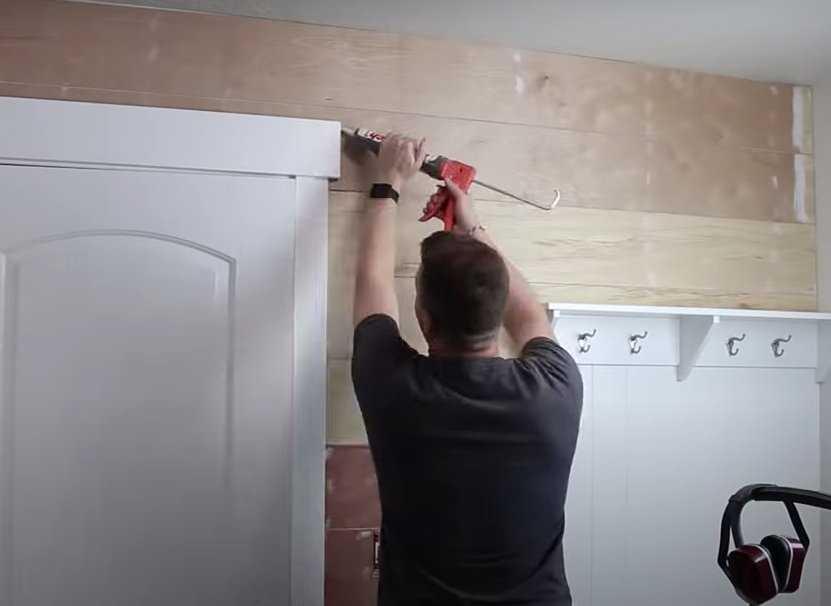
We highly recommend caulking in between the edges, cracks, or joints in your wall. It gives it a nice, polished look. Check out our article on How to Caulk Like a Pro!
Paint
If you have some experience with painting, you can try to cut in around the edges rather than taping- we actually have a video about that here. Otherwise, tape all your edges, and roll on a couple of coasts. We used semi-gloss paint.
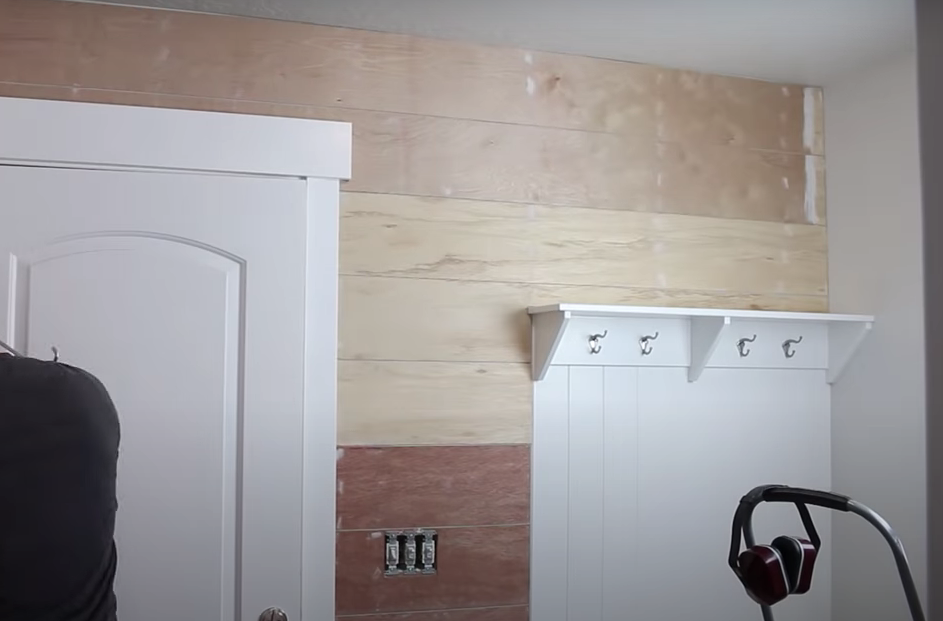
And it turned out like this!
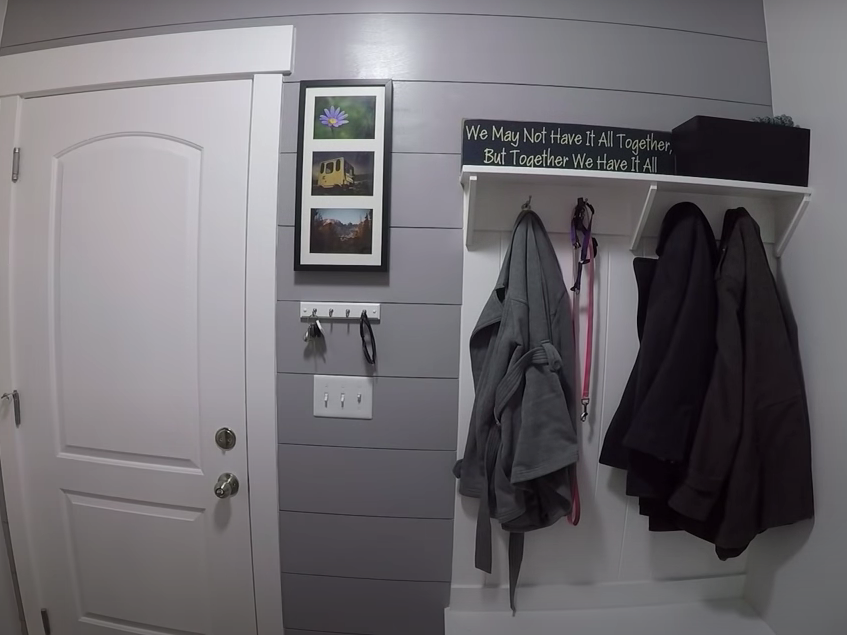
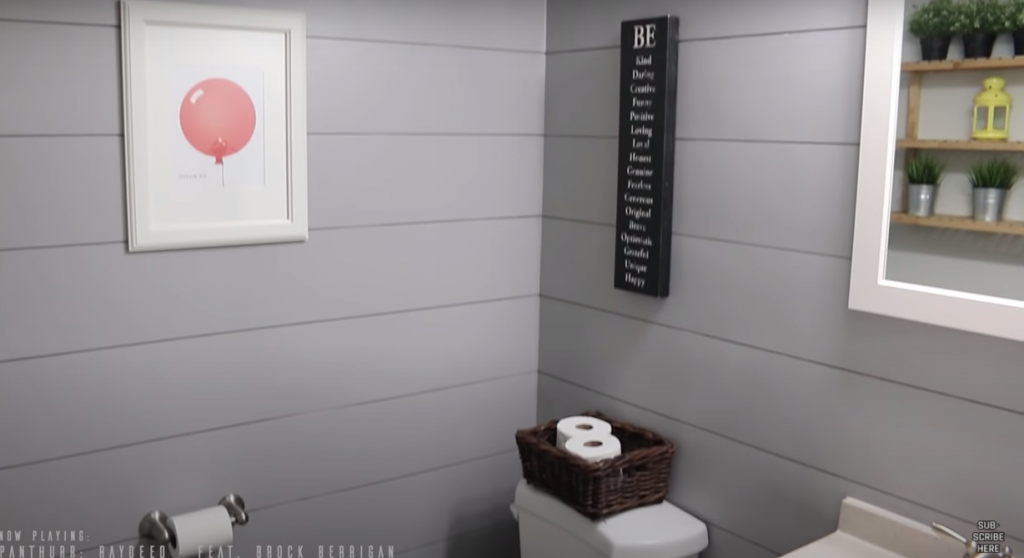
Once we had our supplies, this project took us an entire Saturday to do. We love it and it was definitely worth the time. If you have any questions, feel free to ask!
Be sure to check out the video to see the process in action!
Products used in this video: (Theses are affiliate links, which means you pay the same, but we earn a small commission, so thank you!)
DeWalt Compound Mitre Saw: https://geni.us/yNwO (any saw will do, though)
Purdy Cut-In 3″ Brush: https://geni.us/8svZoR
Big Stretch Caulking: https://geni.us/CHStW
DAP Putty: https://geni.us/KQijZj
Hyde 1 1/2″ Putty Knife: https://geni.us/wARlBD
DeWalt Spade Drill Bits: https://geni.us/8lvCkO
1 thought on “DIY (Faux) Shiplap for About $80”