

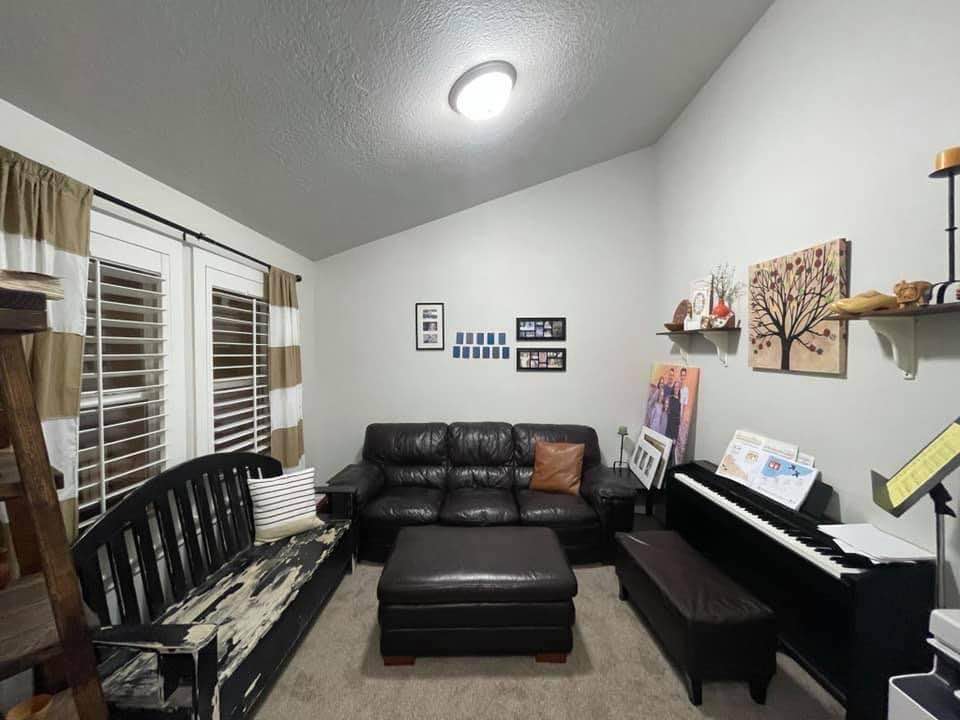
We have a front room that has always been neglected. We keep the piano in there, and our daughter gives violin lessons in there, so I guess you could call it a music room. In any case, it had turned into a catch-all room for all the furniture we didn’t know what to do with. Not a good look.
See? Sad. We had that bench on our front porch, and then got a porch swing; so what did we do with the bench? Put in the front room. Some pictures fell off the wall a few weeks ago, which was basically the catalyst for us to notice that this space that needed some love.
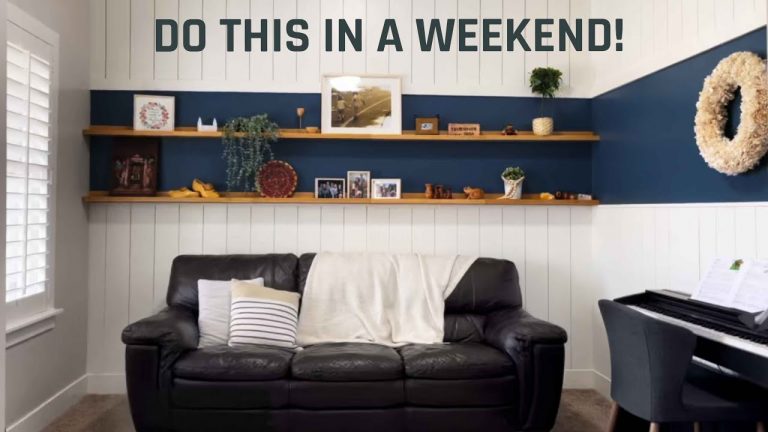
We thought we’d take a gamble and try vertical shiplap. We’re all about the faux shiplap around here. It’s so much cheaper. Here’s how it all went down!
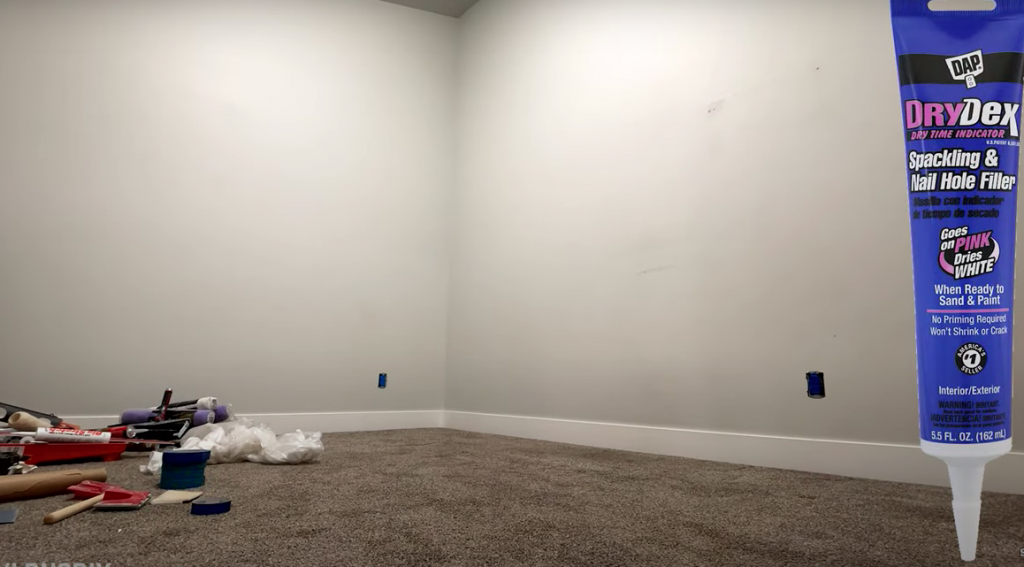
First thing we did was clear the room of everything. We moved out all the furniture and took everything off the walls. We patched nail holes and drywall anchor holes with some putty, and removed the outlet covers.
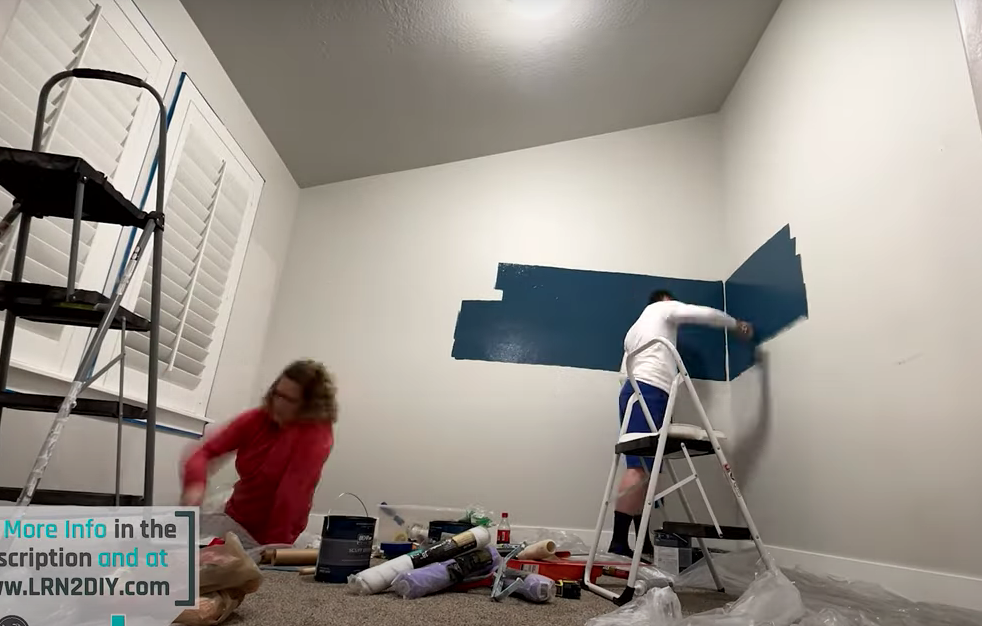
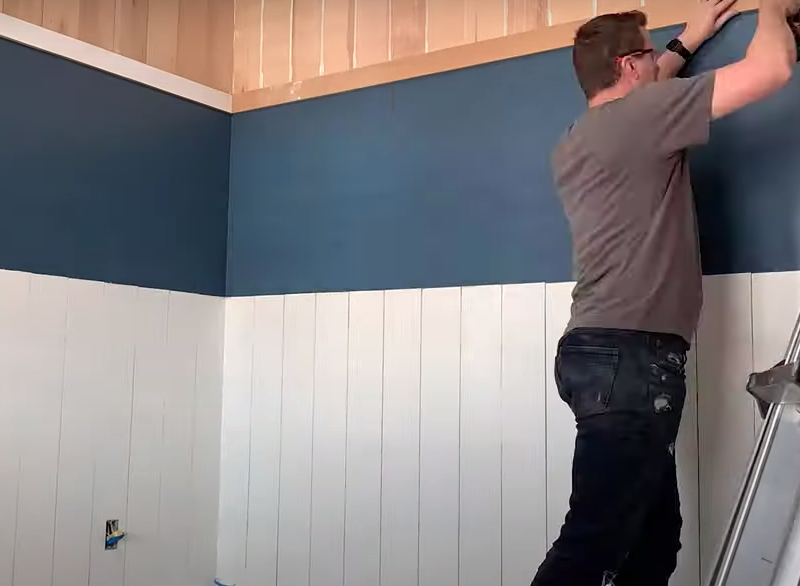
Next, we taped off the window and baseboards, and taped up the outlets. From there we were ready to begin painting. We went a little crazy and did a big blue stripe, which we weren’t sure about at all. We decided to see it through to the end, though, and are glad we did.
We also refreshed the paint on the window wall and the wall that enters the room. Unknowingly, I picked a nearly identical color at the store to what was already on the wall. I don’t know what that says about me, but we’re just going to go with it, haha.
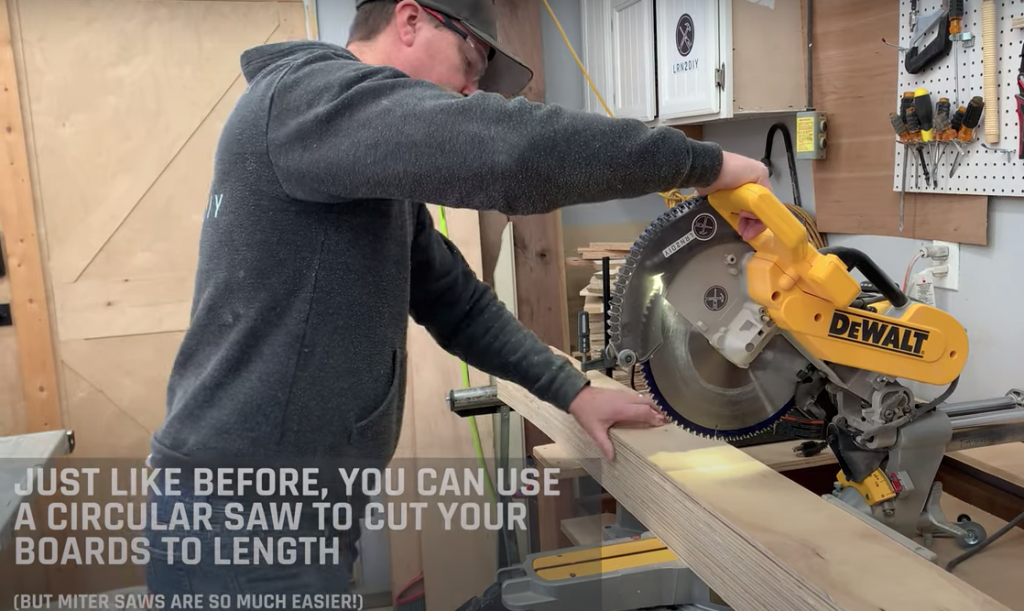
As for the shiplap, here’s a post that goes over faux shiplap, and how to cut it. It’s just 4×8 sheets of 5mm plywood. Ask to have it cut at the hardware store into 6″ strips, or however wide you want it. If that’s not an option, a table saw works great, or even a circular saw.
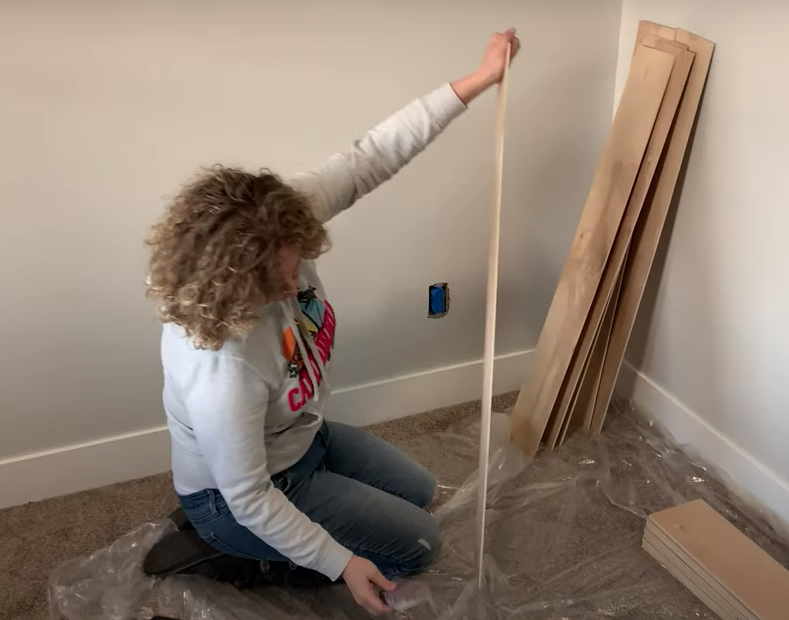
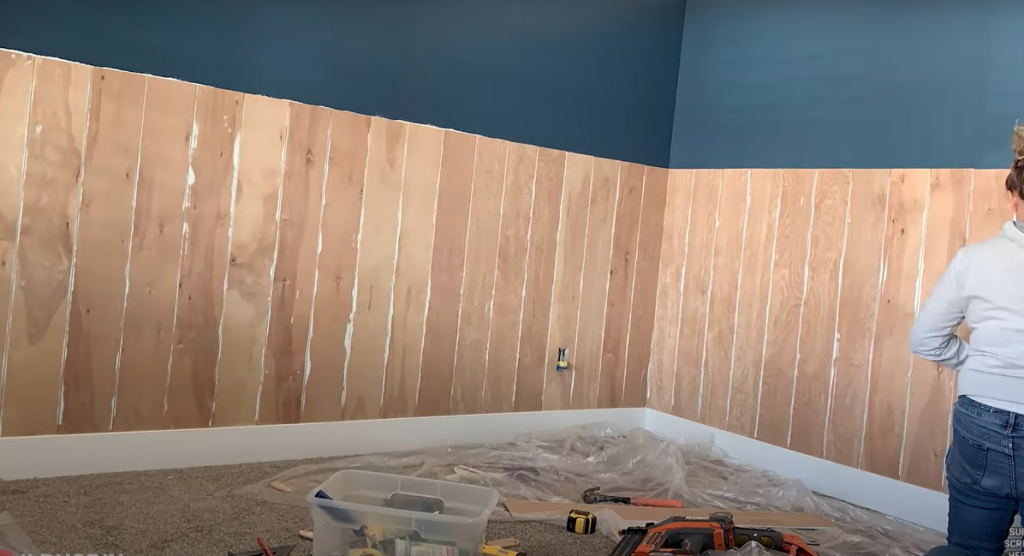
Decide how far up the wall you want your vertical shiplap to go- you could go all the way up to the ceiling, split it up like we did, or do wainscoting. Part of the fun is getting to choose things like this.
Also, a word about tools: If you’re wanting to get into DIY and do projects like this, it’s worth investing in some tools. Here’s another post that goes over the top 6 tools a DIYer should own. They just make everything better.
Cut your boards to length.
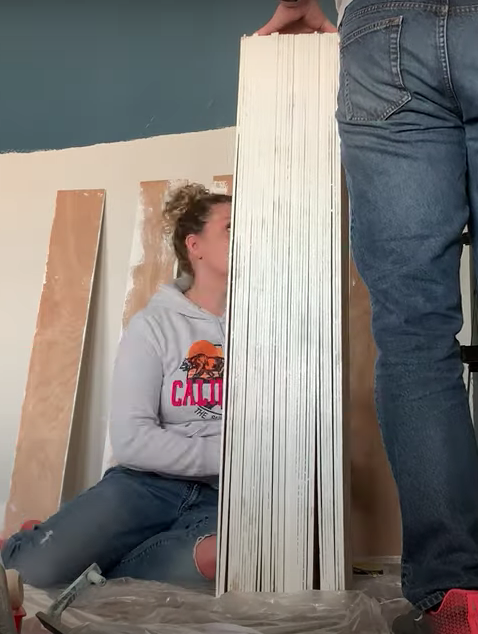
Once we had the boards cut to size, we sanded the edges of all of them to get any splinters and rough edges worked off.
After they were sanded, we stacked them, stood them upright, and painted all of the edges. This saves a lot of hassle from having to paint in between cracks once they’re installed, which is pretty terrible. Also, depending on your paint colors, it’s a good idea to prime your wall first the color of the shiplap. If you have a white wall, and are painting your shiplap gray, for example, that’s going to show through.
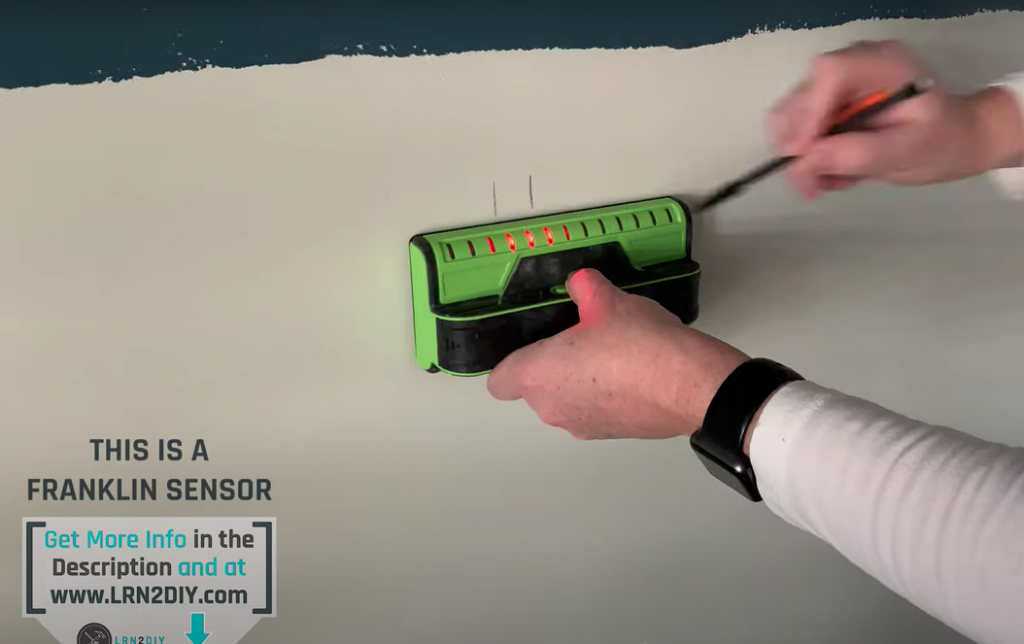
Mark your studs- not every board will attach to a stud with vertical shiplap, but we wanted to use them when we could. For boards that don’t match up with a stud, we used liquid nails, and brad nailed them in as well.
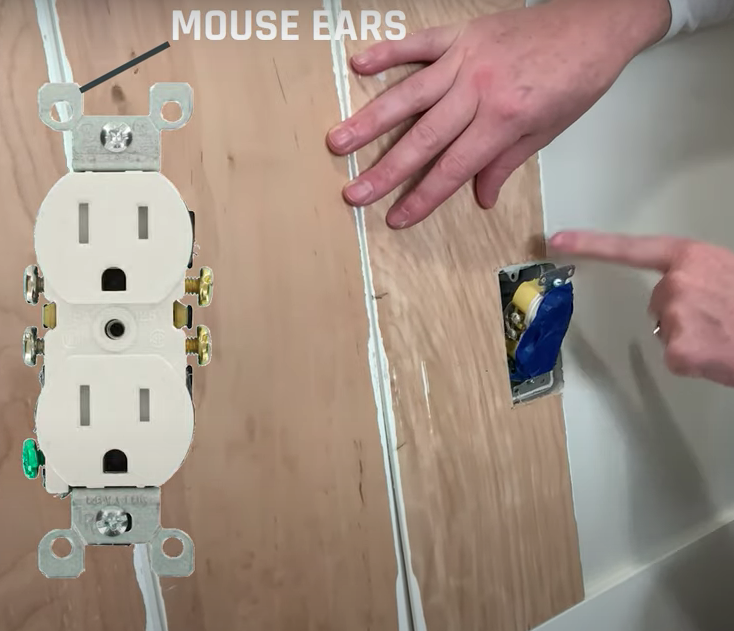
After turning the power off, pull out the outlets that you’ll need to work around. The shiplap will create a new surface for the outlets to attach to, so taking them out now will make that easier to do so.
When you’re working with walls, it’s handy to know what’s behind the wall before you get started: Our sponsor for this post, Teslong, has a really cool industrial endoscope that allows you to see in walls, down drains, etc. It’s nice to know if there are pipes or wires that you’ll need to work around. You can use it while working on your car if you’re into that sort of thing. 🙂 We were curious and used it to look under our refrigerator, which was scary, haha. Check out their products!

To begin installing the shiplap, look for the most visible corner or end of the wall that it will be in, and start there. The reason for this is that you may have to custom cut the last piece in each row, and having that difference in a less visible area is ideal.
Use a level and get that first board installed. Use a brad nailer or liquid nails, depending on whether that board can be nailed into a stud. In our case, we used liquid nails and brads on the boards that didn’t line up with studs, just to make sure they were secure.
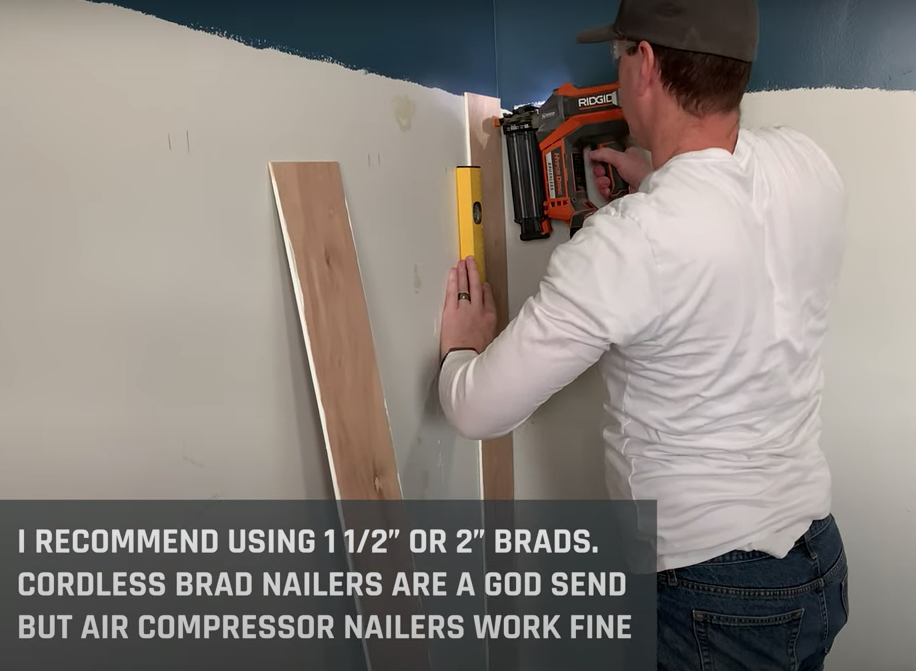
We used tile spacers in between each board- you can also use a couple of coins taped together. We used about 3 tile spacers per board. Just make sure you take them out once the board is up!
It tends to go fairly quick once you get going.
You’ll most likely need to work around some outlets. Mark the height of the outlet box itself onto the board.
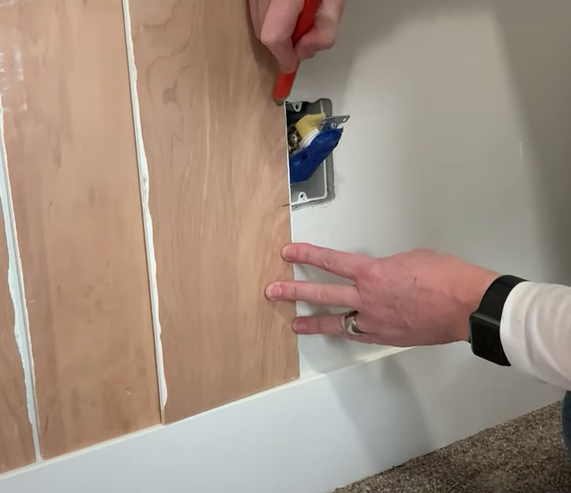
Then using a spacer between boards, mark the placement of the outlet on the bottom of the board.
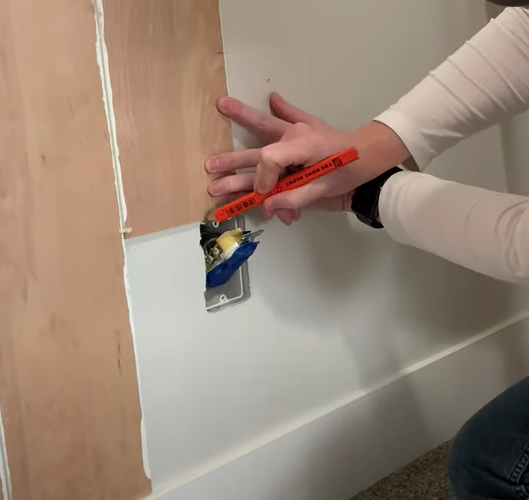
Then using a speed square or another straight edge, use those marks to create the space for the box you’ll need to cut out.

Cut it out using a jigsaw.
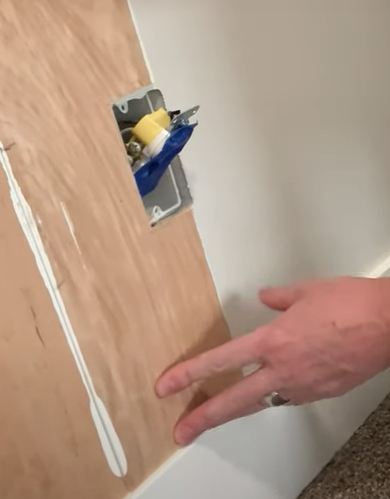
From there, the outlet will attach to the the new board.
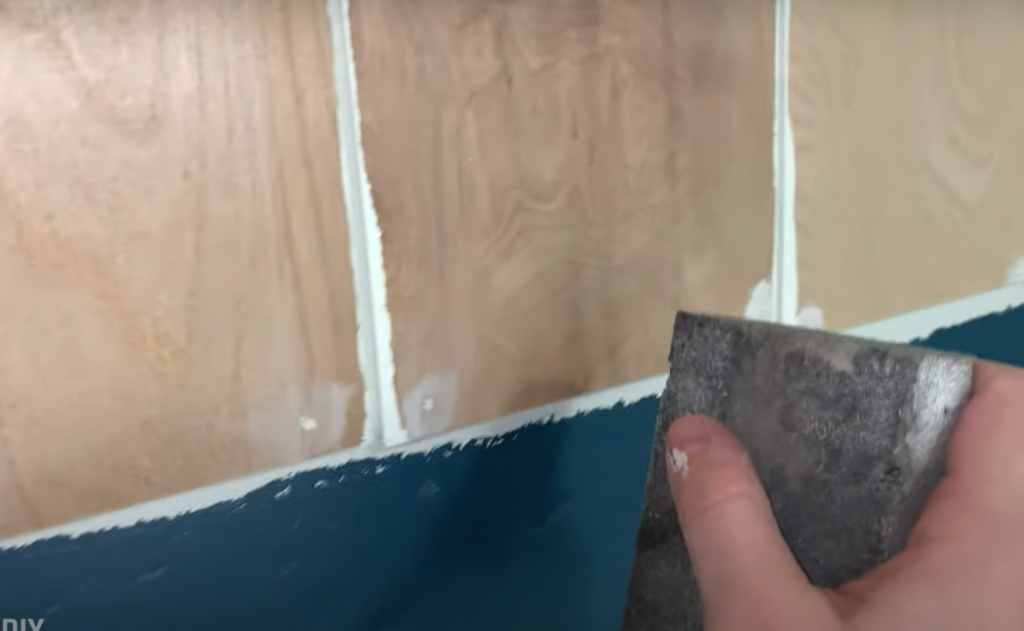
Once your boards are all installed, fill in the brad nail holes with putty. Once the putty dries, sand it down so it’s nice and smooth.
Once that’s done, you’re ready to paint!
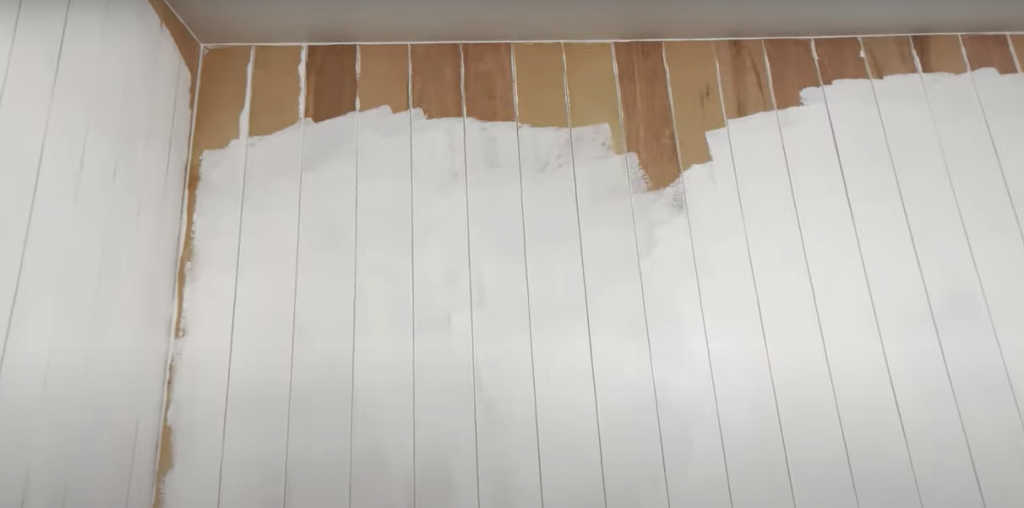
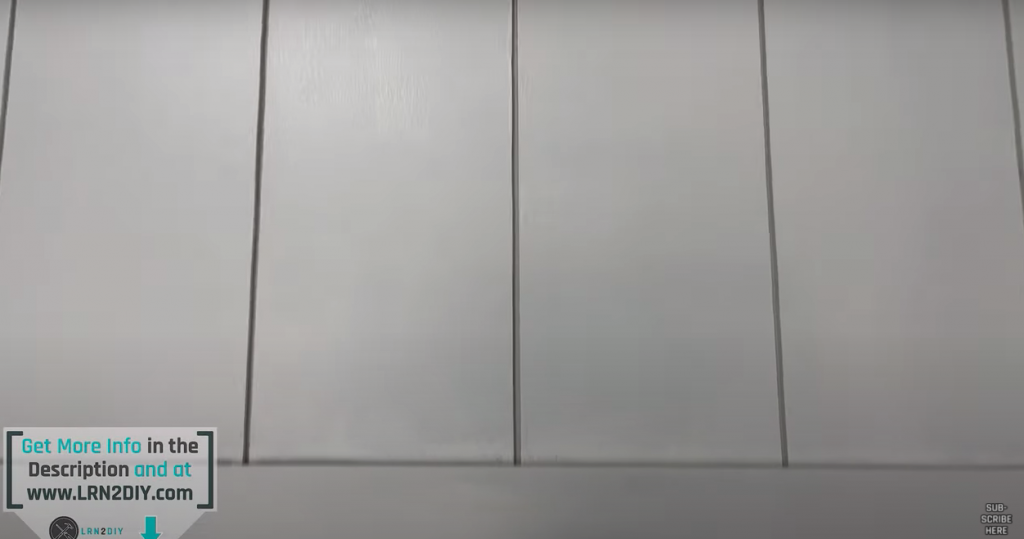
The plywood sucks up the paint, so you’ll need two or three coats to get an even finish.
Don’t forget about caulking. You can caulk either before or after you paint- we did both here, since the paint was white. If you’re painting a color besides white, it’s probably best to caulk first and paint after. Caulk the bottom edge, any corners, edges where the shiplap meets, the wall, ceiling, etc.
We also installed trim pieces on the bottom and top of the blue stripe we painted- this is quite necessary for obvious reasons. 🙂
Once the paint was dry, we got to put the room back together. We kept just a couple of furniture pieces that were in there originally. We got a rug a a couple of smaller chairs from IKEA, as well as the shelves.
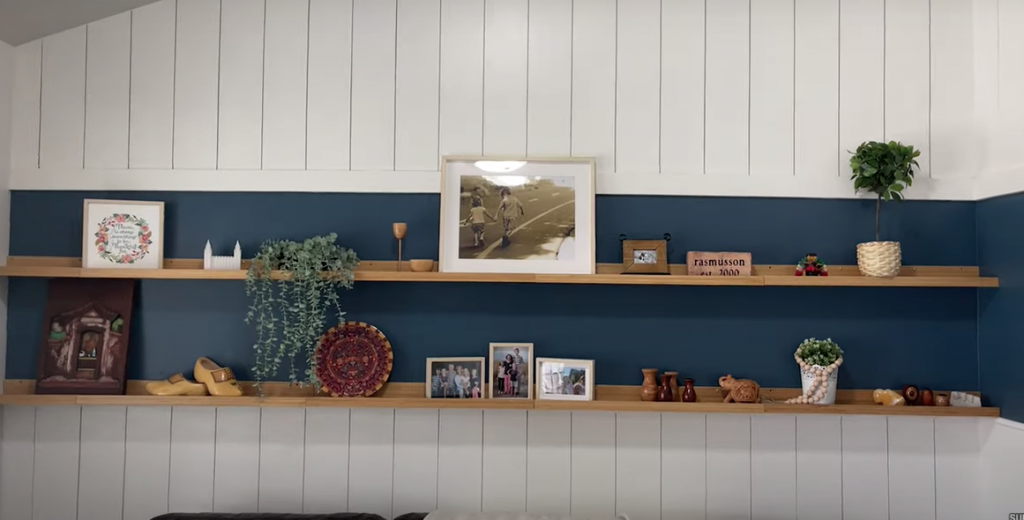
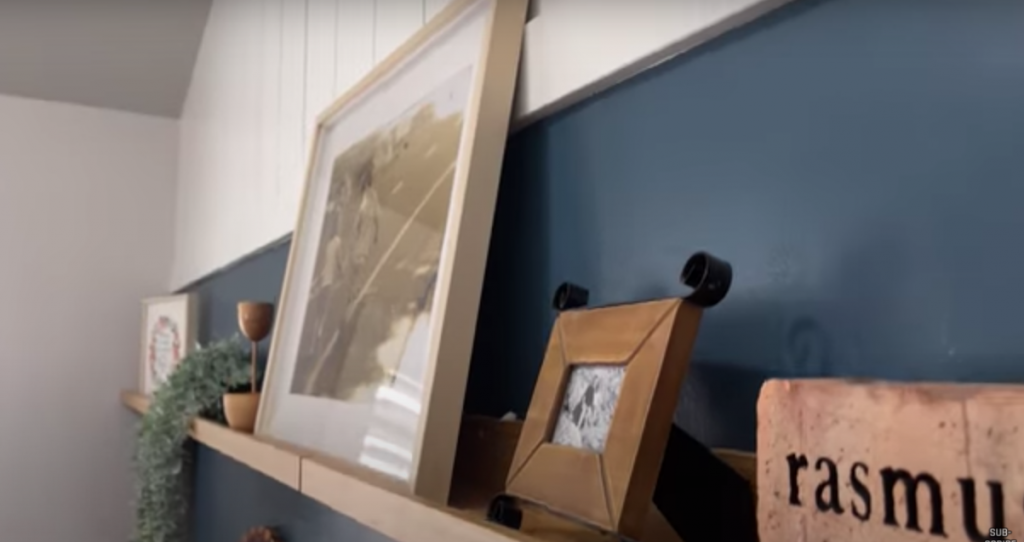
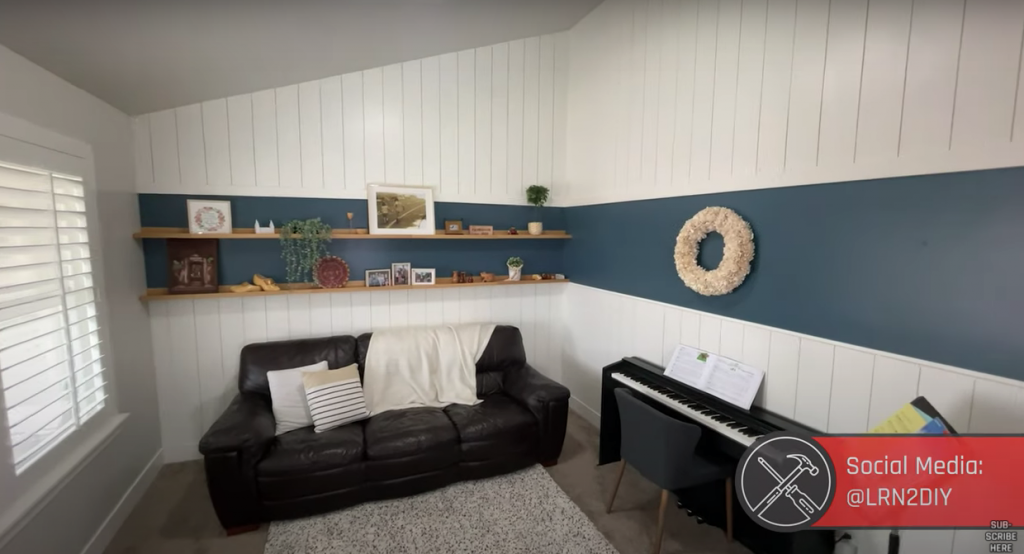
We really love it! This room has gone from being largely unused to a place our family can relax in now. We’ll often find one of the kids reading, doing homework, or watching YouTube in there now. This is the first room you see when you walk in the front door, so it makes a huge difference in how our home feels from the get-go.
All of the paint used for this project is Behr Premium Plus from The Home Depot.
Blue Stripe: Shipwreck
White Shiplap: Beach House
Gray Walls: Dove
Products used in this project:
DAP Drydex Nail Filler (PAID LINK – $4 USD)
5mm Plywood (PAID LINK – $16 USD)
Rigid Foam Insulation (PAID LINK – $18 USD)
KREG Circular Saw Track (PAID LINK – $79 USD)
Ridgid Cordless Circular Saw (PAID LINK – $169 USD, Lifetime Guarantee)
Ridgid Brushless Drill Combo ($199 USD, Lifetime Guarantee)
Ridgid Cordless Brad Nailer (PAID LINK – $199 USD, Lifetime Guarantee)
Ridgid Cordless Jigsaw (PAID LINK – $129 USD)
Dewalt 12 Inch Double Bevel Sliding Compound Miter Saw with Shadow Guide (PAID LINK – $599 USD)
Franklin Stud Finder / Sensor (PAID LINK – $55 USD)
Liquid Nails (PAID LINK – $1.77 USD)
Swanson Speed Square (PAID LINK – $10 USD)
Ikea MÅLERÅS Picture Ledge ($13 USD)
Ikea Vedbo Grey/Birch Armchair ($199 USD)
Most links are affiliate links, which means you pay the same price as always but we make a small commission, which helps out our channel, so thank you for using them!
Watch the video here!