
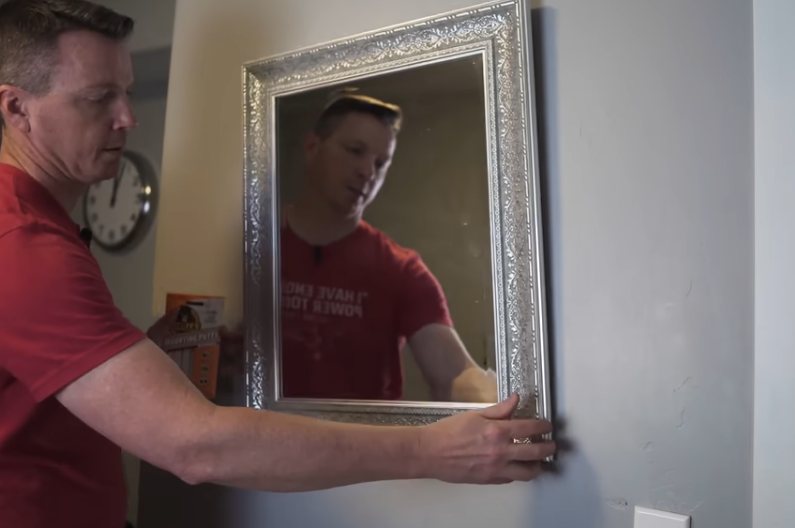
Tired of the same old picture hooks and crooked frames? Discover clever, creative ways to hang pictures without damaging your walls—or your style. In this DIY guide, we’ll share innovative picture hanging ideas that are renter-friendly, budget-conscious, and perfect for adding personality to any space. Here are seven clever picture hanging tips that everyone should know.
I’ve got you covered on your home repairs and DIY projects. Check out some of my favorite posts to get you started.
How To Repair Drywall 4 Ways
How To Build Your Own Kitchen/Dining Table – Pottery Barn Inspired
How To Resize or Adjust a Metal Watch Band
Tip 7 – A Great Use For Toothpaste
We’re going to use some toothpaste for these little hooks. These are separately placed, and it makes it difficult to get the exact right measurement for where to put your nails. Some toothpaste can help. We’re going to use some red toothpaste since this is going on a white wall, and we need it to show up. I’m just going to put a little dab of it on each side.
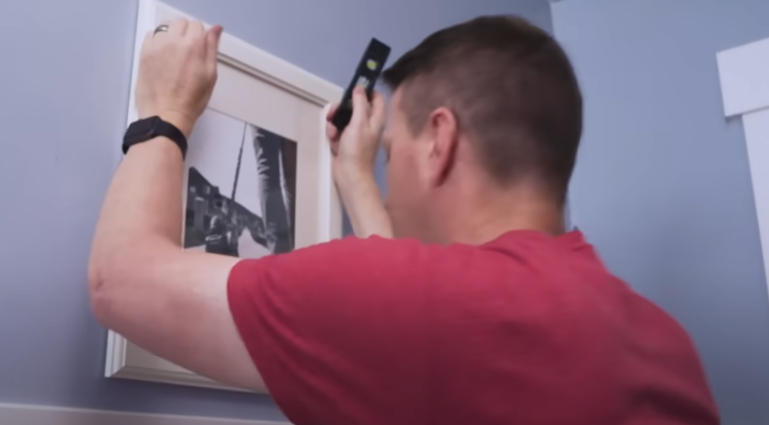
When it comes time to put the picture up, I’m going to face it the right way and hold it with my left hand on the bottom. I’m putting a level on top to make sure I get this nice and straight at the right height. And then once we’re level right there, just go ahead and let that kiss the wall. And then we’ve got our two marks exactly where our nails need to be next. Make sure your picture hooks are out again once they’re cleaned off, and then once you line up, one of these kinds of grabs onto both, and you’re good to go, nice and level.
Tip 6 – Without a Trace
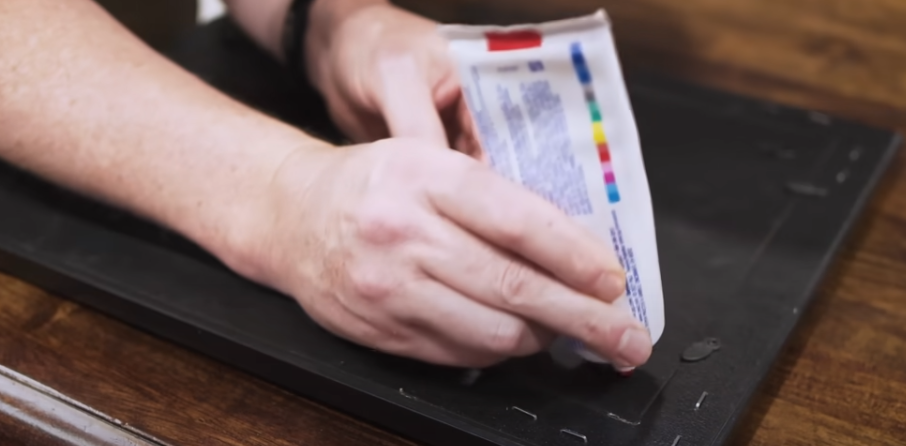
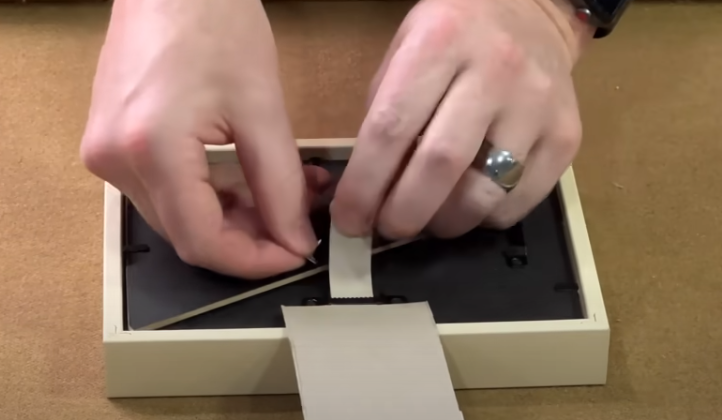
Tip number six, we’re going to use command strips to mount this picture, so that nothing is left behind on the wall. We want to use a picture frame that has had the mounting hardware removed so we have a nice, clean surface. Then put some alcohol on a paper towel, and make sure everything’s nice and clean. You want to do this to both the picture frame and the wall. Next, we’ll put our command strips together in pairs and kind of lock them in place like this. And then we can separate each one. So I’m going to remove the backing from one at a time, and put them, one here, and then one about halfway down, same thing on the other side.
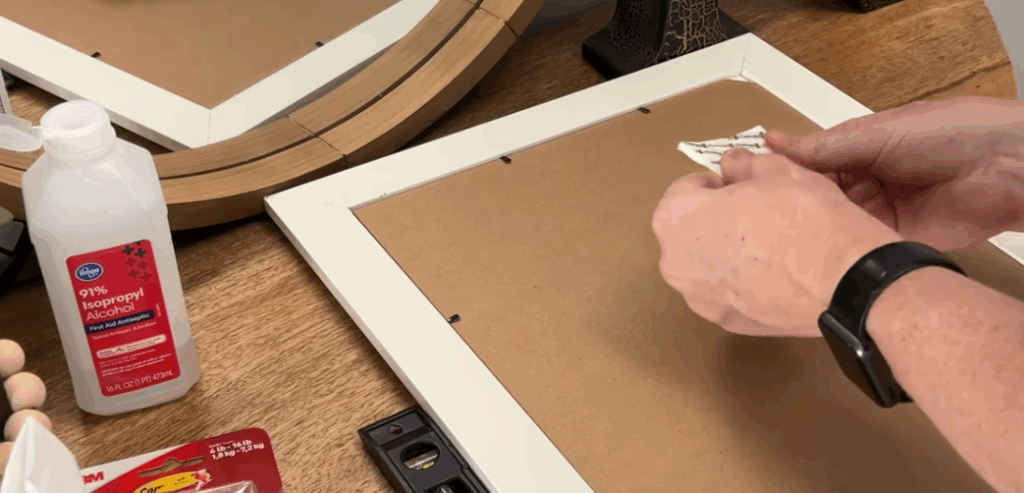
We’ll remove this backing so that we get it ready to put on the wall just like before. We want to make sure everything looks good and level before we stick it to the wall. Then I give it a good push. One thing a lot of people don’t know is you actually want to remove it right away, and then take about 30 Seconds to push these all good against the wall, and then you need to wait an hour for the adhesive to fully set and cure onto the wall, and then after that hour, we can put it back on. At that point, it should click into place.
Now, when you’re ready to remove the picture, it comes off damage-free. Just start from the bottom. Pull it off like that, and then these can be removed just by pulling down on the tabs nice and slowly, and off they come. No marks left behind. Just be careful. It’s kind of like pulling a rubber band. They smack you.
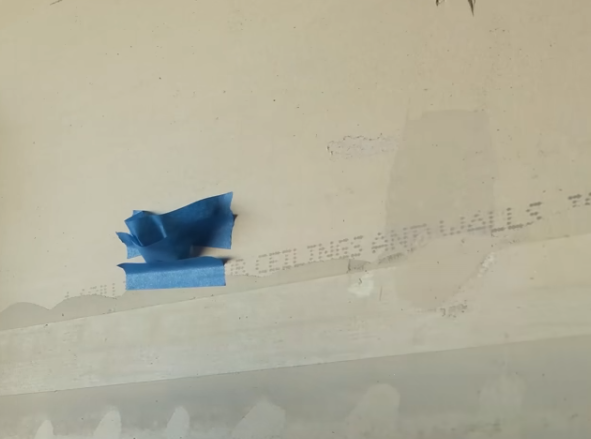
Tip 5 – Catch That Mess
Tip number five is not making a mess when you’re driving Drywall anchors. There are three methods for doing this. If you are going to drill a hole, you can make a little catch out of painter’s tape, like this.
Another method is to take a sticky note, place it on the wall, and then fold it up
like that. You can also put some little wings on it to help catch anything that falls.
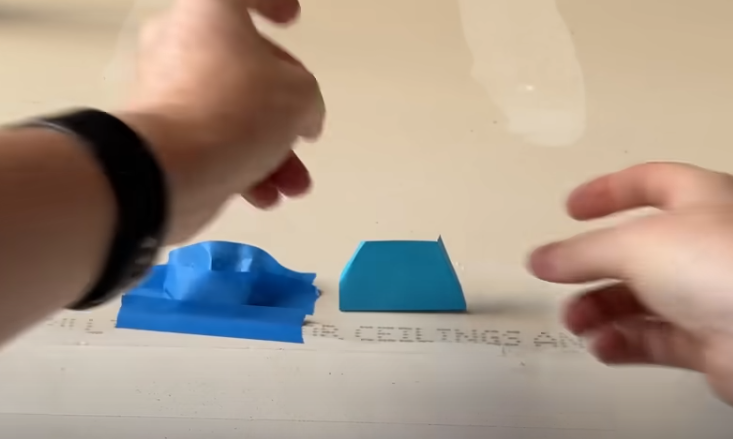
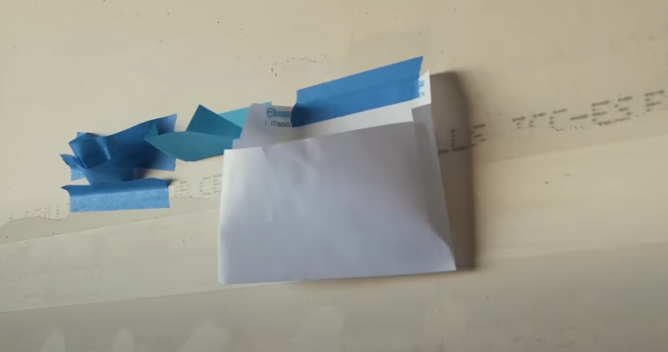
A third method is to use an envelope with a bit of painter’s tape on it. Open the envelope slightly so it’s not completely flat. All 3 methods catch the mess easily. Now you can drive your drywall anchors in with less mess.
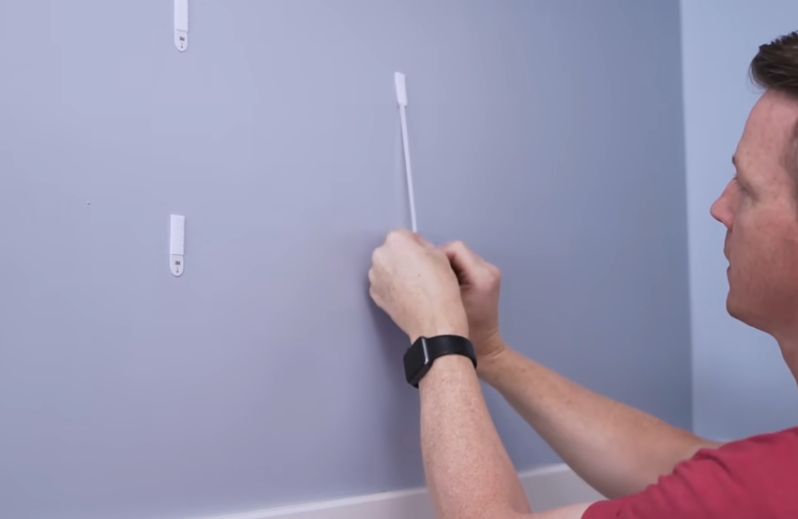
Tip 4 – Painter’s Tape: The Layout King
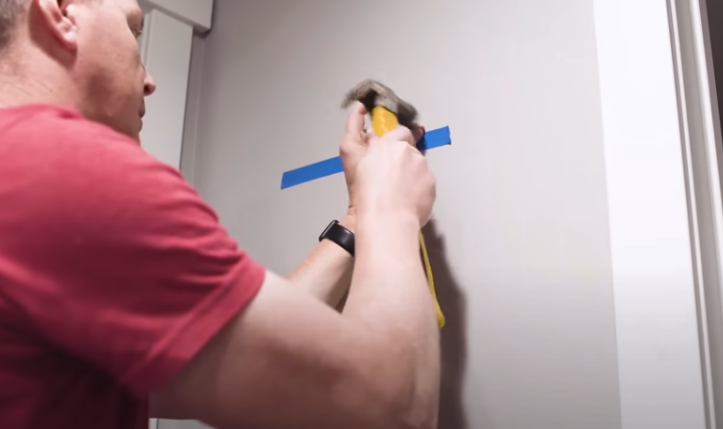
Tip number four is using painter’s tape to help with tricky layouts. Painter’s tape is helpful for things like power strips, but especially when hanging pictures. What you do is grab a length of tape that crosses the two areas that need to be mounted. I like to make sure these are in the right position, and then place the painter’s tape at the very top of the hooks, and push that in. Then I use a marker to mark right where that nail needs to go to get this perfect.
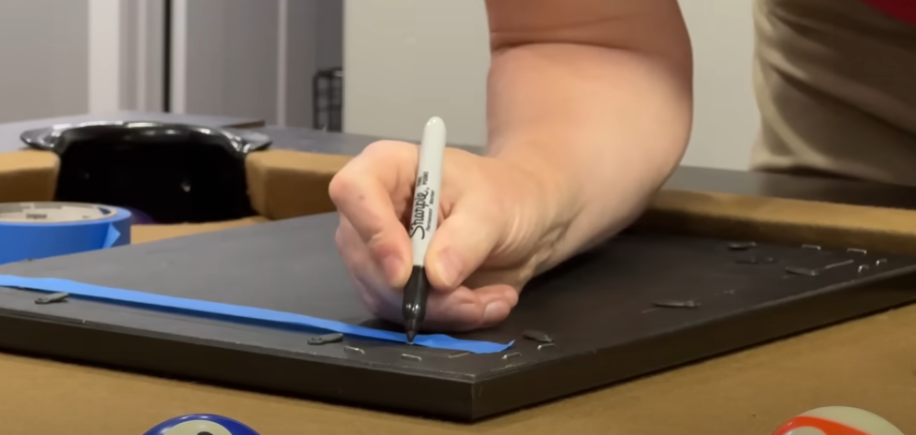
This can serve as a line for leveling to make sure the picture is perfectly level when you hang it up, too. Now you can use your piece of tape to put it exactly where you want it. Now we know exactly where to put those nails and remove the tape. You’re ready to hang.
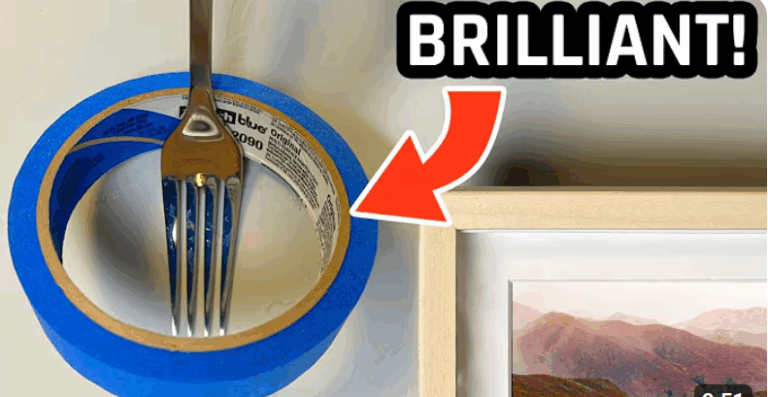
Tip 3 – Uptown Fork
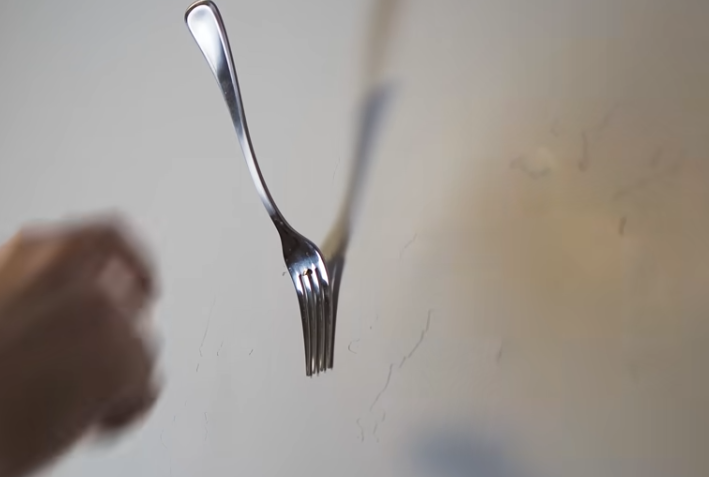
Tip number three is using a fork to help out when those wires won’t catch on the nail. Have you ever tried to hang something, and the wire would not grab? You can place a fork on the nail or the screw that you’re using and use that as a little hook to catch the wire as it slides down once the picture or mirror is in place, just remove the fork. Problem solved.
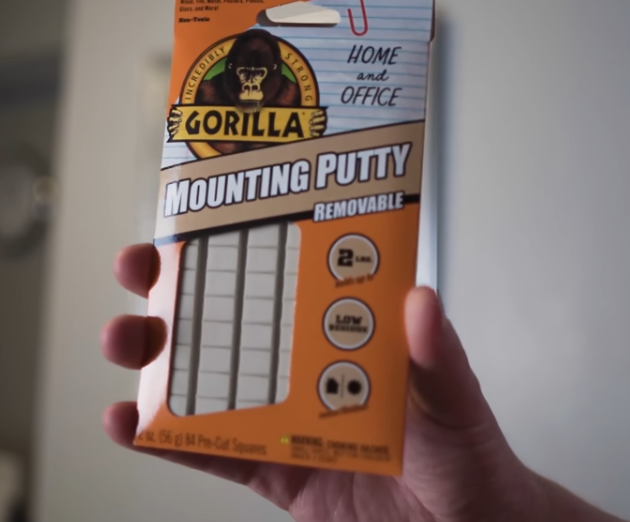
A little bonus tip, you can use some mounting putty on anything that swivels or swings like this.
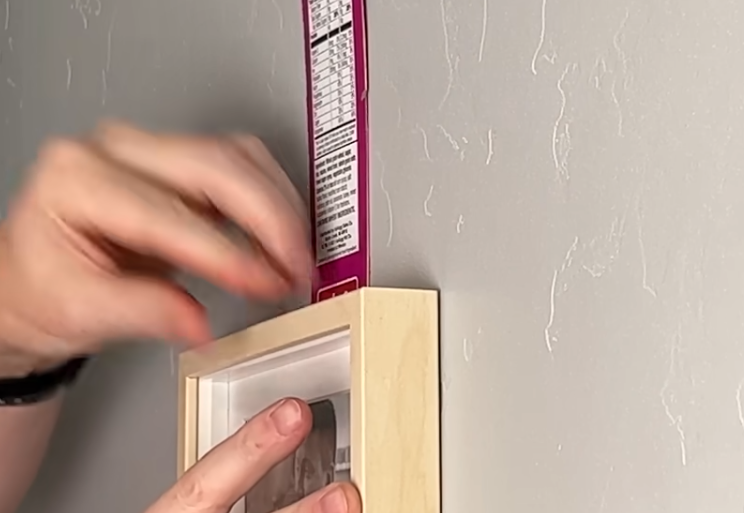
Tip 2 – Using a Cereal Box to Help Hang Pictures
Tip number two is using a cereal box to help hang your pictures. You may have seen some picture hanging tools like this one, and they’re super handy. They do exactly what they claim they will do. It marks where the nail goes, and it does just that. The way it works is you hang your picture on the actual hook. And then once you’ve got it in place, you push against it, and it leaves a little mark exactly where your nail goes to keep it in that spot that you put it. So those picture hanging tools are available all over the place, but I’m going to show you how to make one yourself, using just a cereal box and a thumbtack.
The side of a cereal box works great, but basically, you’re looking for anything that has this thicker cardstock-type material. I’m going to cut along the seam, and I’ll cut off my ends. Now you end up with this, and because I have that, I want it to fit inside my hooks. So I’m going to cut a little tab on the bottom.
I’m going to use a basic push pin, and I’m going to push this through, and then once it’s there, you basically want to put your push pin underneath, try to center as best you can, poke a hole like that. And then you’ve got a nice little hook here that you can work with to test exactly where your picture needs to go. Now, of course, if you’re using a much heavier picture, you may want to double up, or even triple up on these to make sure this is plenty strong to hold what you’re mounting.

So put your picture where you want it. Let’s say we want it there, and then you give it a little push, and there you go. There’s our new mark. We know exactly where this nail goes to put that picture in the place we wanted it.
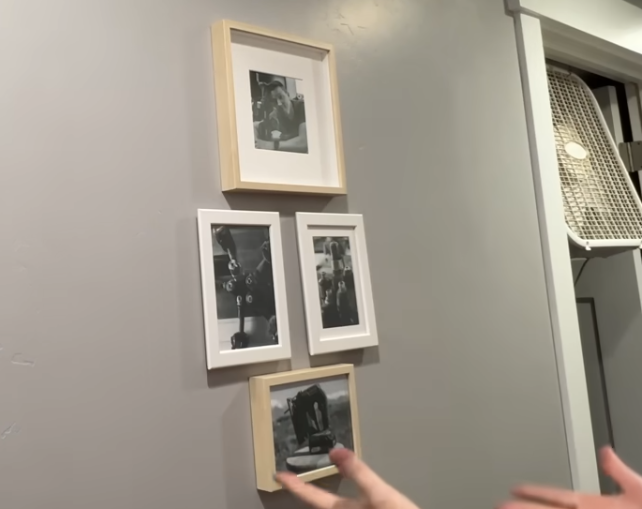
Tip 1 – Hanging Those Picture Collages
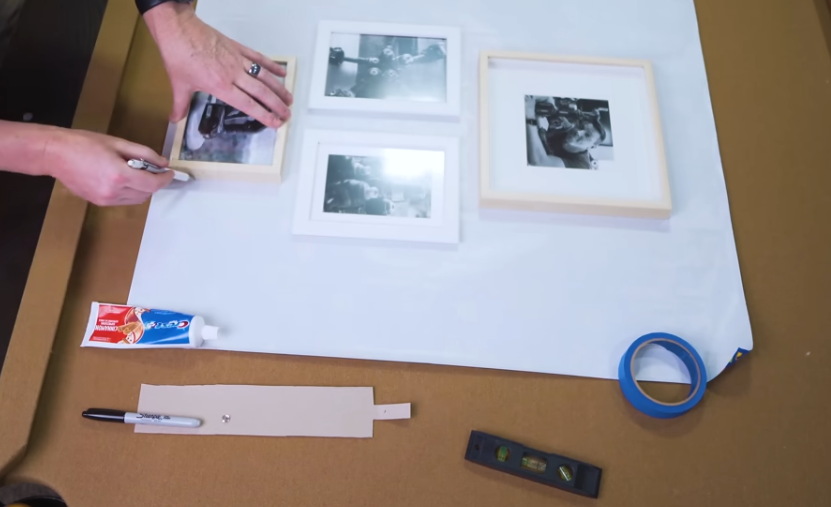
My number one tip for picture hanging is tackling the nasty beast that is picture collages or galleries. These things can be a beast to do, no matter what. And I’ve got a bunch of tips that are going to be put together, and it’s kind of like the final exam of all of the tips that we’ve just gone through. So, the first thing a lot of people talk about is using butcher paper to do a layout. The fact is, you can go to the dollar store and pick up some cheap gift wrap or just use something that you’ve got kicking around the house. Next, we’ll lay it all out the way we want to see it on the wall. Okay, I’m just using a regular pen.
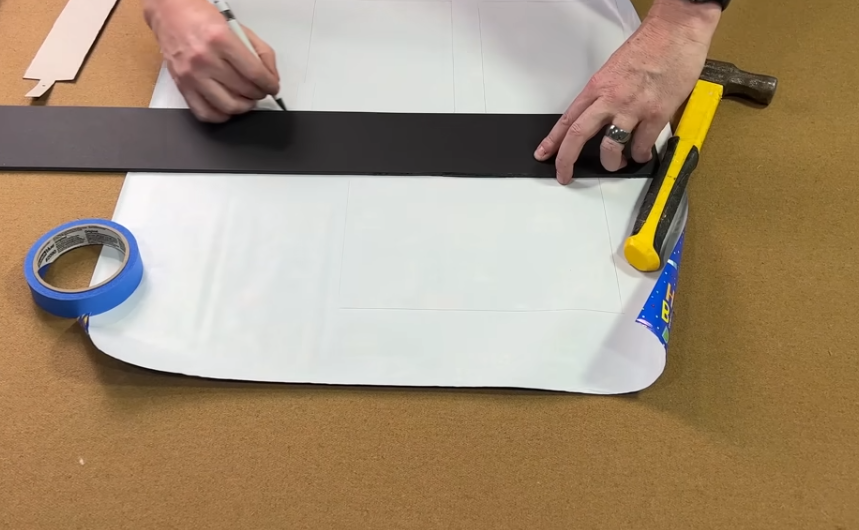
I’m going to trace my lines on everything. Once that’s done, we can remove them and set those aside for just a minute.
I’m going to cut off the extra here to make this easier to work with. Another tip that makes things a lot easier is to take some sort of a straight edge. It doesn’t have to be anything super fancy. I’m just using the manufactured edge of a poster board, and I’m going to mark a straight line across here because I want a line to reference for level.
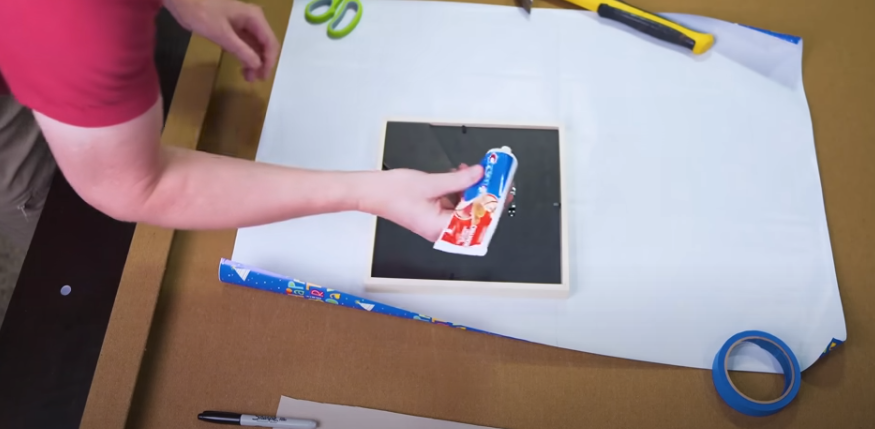
Next, we can use any of the methods that I used earlier to mark exactly where the nail should go. I’m going to do the toothpaste one, so I will lay it down, and if that toothpaste is extruding or sticking out enough, I’ll get that perfect. I’ll know that’s exactly where my line or my nail needs to go. Then I’ll lay it out and use the cereal box tip. I heard it pierce there. There’s my hole. Okay, there’s my nail hole for that one.
Now we can take our layout over to the wall and use our line that we drew earlier to make sure that it’s perfectly level. Next, we take our nails and drive them right through the layout. Then we are done, and we can rip down the paper.

As you’re looking at these photos, you might be wondering, did that dude go out and take pictures and do a whole photo session with his power tools? And the answer is yes. I hope it livened up the video and adds a little dork factor to the whole thing. Now, if you like this video, you might want to check out my video here, Seven Clever Uses for Painter’s Tape. Thanks for watching.
I have so many more YouTube videos and posts on DIY Projects to make your life easier.
Have you wanted to build a Planter box for your porch? Check out my post on a $23 DIY Planter Box. Click HERE for all of the info.
Electrical outlets can be tricky if they aren’t where you need them. Check out my post How To Add An Electrical Outlet For A Wall Mounted TV. It’s so worth it. Click HERE to learn more.