
Add a touch of class to your home with my woodworking projects. Here are a few of my DIY favorites you can do in your own home:
$23 Dollar DIY Planter Box
DIY Weight Rack for Dumbbells
Organize Your Kitchen Cabinets with DIY Shelving
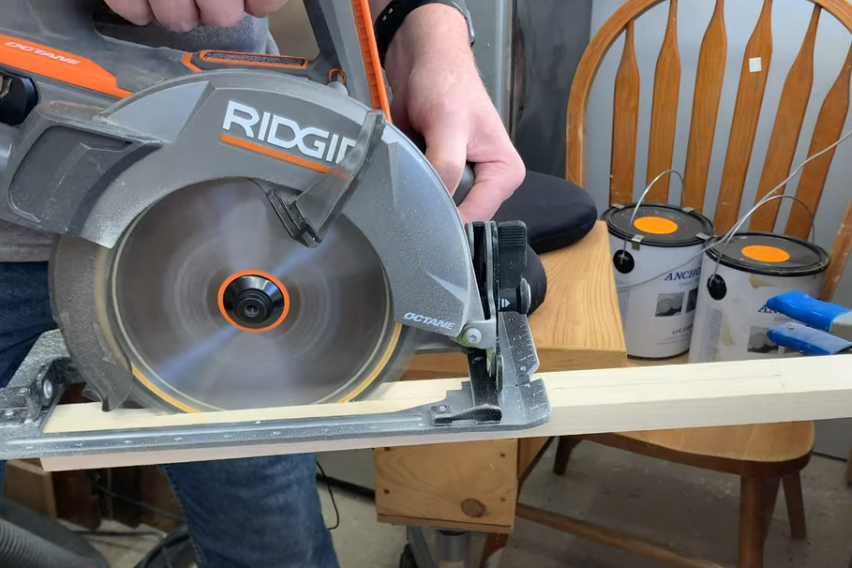
Today, I am going to be building a 60-minute challenge. I’m giving myself 60 minutes to build a mid-century modern plant stand. I hope that I can inspire you to say I can jump out and get something done. Making these mid-century modern plant stands is pretty easy and only requires a circular saw as far as power tools. The job is easy with a table saw and router, but these are optional.
I’m giving myself 60 minutes to build a mid-century modern plant stand. And my hope here is that I can inspire you to say I can jump out and get something done. I’m going to use the most basic tools I can think of. I believe I can do this whole thing with a circular saw. The job is easy with a table saw and router, but these are optional. The circular saw is the only real power tool that I will need. If this goes well, I’ll build a second one for a larger plant that I’ve got, and I’ll build that with the same materials. I’ll use all of my power tools to speed that process up and make it a little bit easier. Let’s jump in and see if we can make this plant stand.

I’ve got poplar boards that I’m using. These are called one-by-twos, which means they’re actually three-quarter inch by one and a half inch. I’m going to cut some of these down the middle. First, I’ll get my measurements of what needs to be cut where. My goal here is to cut this thing right down the middle.
Now I’m ready to do some more cutting. I need to notch these guys. I’m just setting the depth of this. And you can see, if you look down in here, I’ve got two inches, one inch, and down at the bottom, zero. So I’m going to try to set it to that first line at a quarter and then lock it in place.
So we’re at 40 minutes, and we’ve got a lot of it done. Next, I’ve got to do the notches so they can sit inside one another. We’re snug, and it looks good.
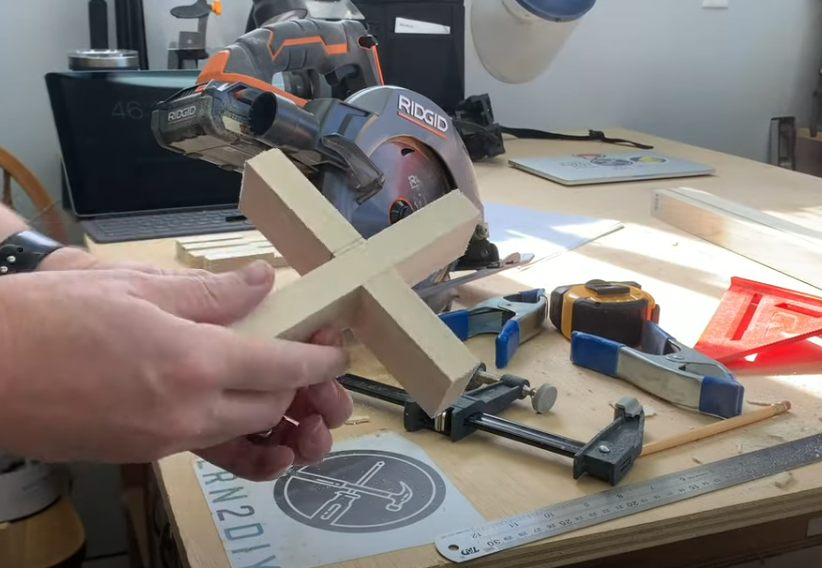
I’m now at 47 minutes in almost 48, so I’ve got about 12 minutes left. I hope these. That fits in nicely, right there, like that, which is great, but you can see that’s mostly the finished product right there. So once we do a bit of gluing, we will be good to go. In fact, let’s test this. Hoping I did this right.

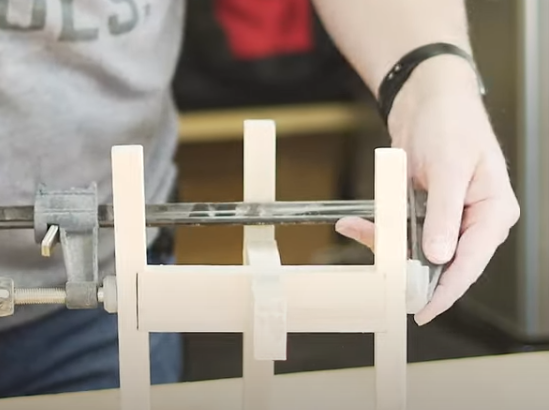
I’ve got plenty of room, so it’s not going anywhere, but it’s also not going to fall off. For sanding, I’ve got a sanding block sanding sponge. My wife said she’d like to look at it being a little bit more rounded over. So I’m going to do that. I will go ahead and use my clamps for this. Don’t be intimidated if you don’t have clamps, you can get these at a store like Harbor Freight or on Amazon. You can get them at Lowe’s and Home Depot. They literally cost just a few dollars a piece.
While it’s wet, I’m going to go ahead and take some paper towels and just wipe off any excess glue. I spent 63 minutes on that first plant stand. I’m going to draw the dimensions for the bigger plant stand. I’m going to put my phone in the corner and do a time-lapse. I’m not going to worry about filming. I’m not going to do close-ups or anything like that. I’m just going to let it run. I’ll show you a very abbreviated version of how this comes out when I can use any power tool I want in the shop, and not worry about filming. This will go quite a bit faster. It will include –
- Measuring and Planning
- Cutting and Notching
- Test Assembly and Routing
- Sanding, Gluing, and Clamping
1

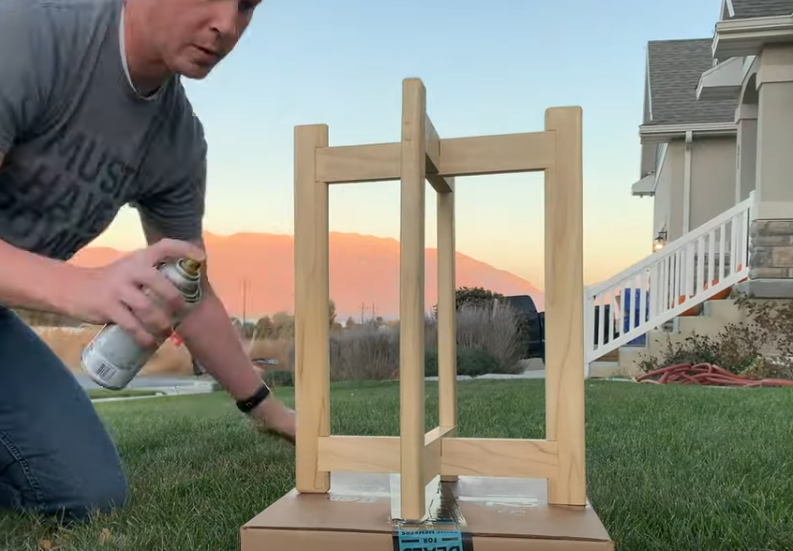
It was a little bit faster to work with the power tools and not have to worry about the camera work or anything. I finished this plant stand in about 51 minutes, so about 12 minutes faster. And now we’re ready to go ahead and put a coat of spray on this. I’m going to use some Rust-Oleum Clear Gloss enamel on this. You can pick this up at the hardware store. I’ll give this a couple of quick coats, and then it should be ready to go. I can bring them into the house once they stop stinking, so I’ll let them sit out overnight.
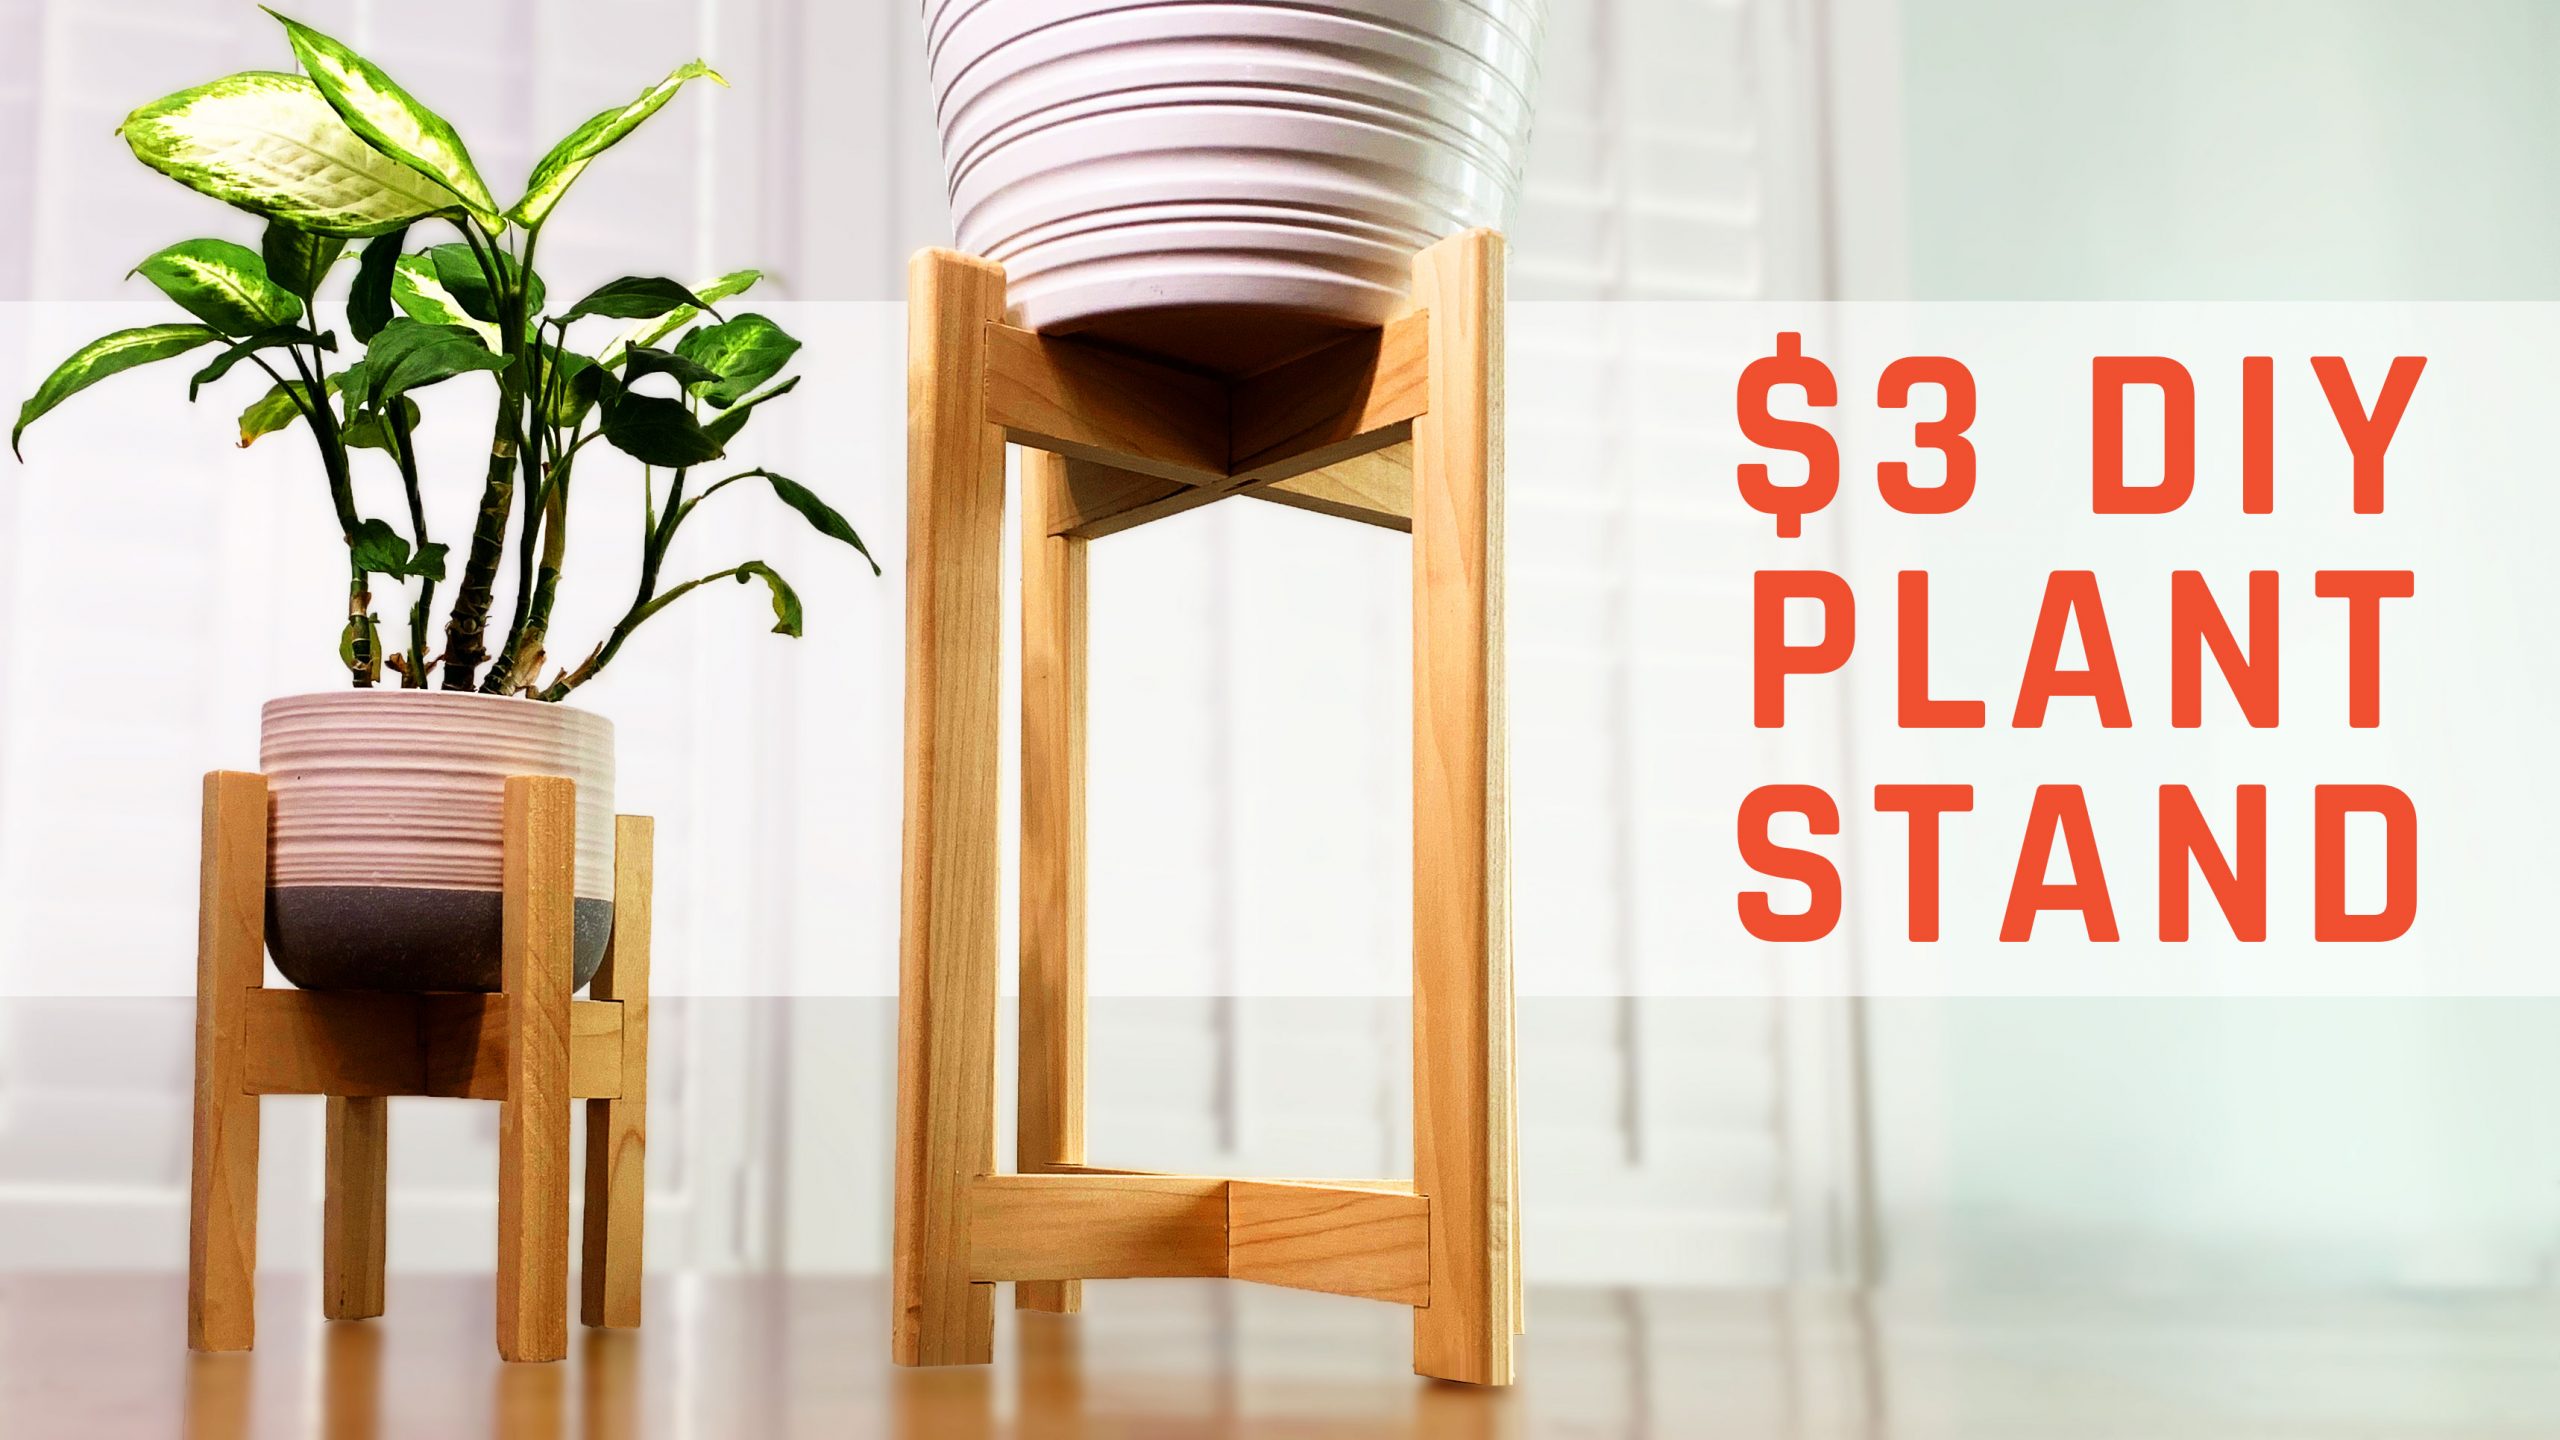
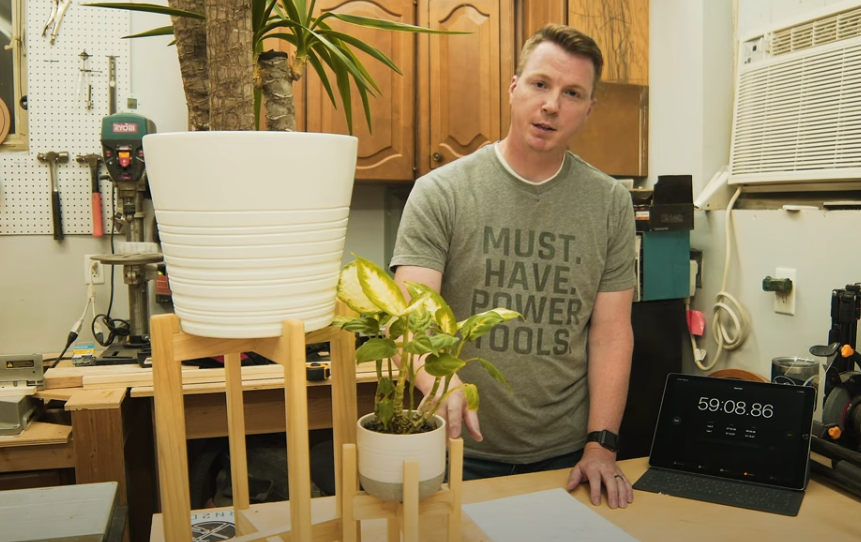
I’ve got a couple of coats of finish on our plant stands, and they look great. They were very inexpensive and easy to make. These are somewhat adjustable. You’re going to need to adjust them to the size of the pot that you’re going to be using, and you can figure out those measurements easily. If you have any questions, feel free to leave them in the comments below. Like I mentioned, the small plant stand was about $3 of material, and the large plant stand was about $9 of material, so pretty inexpensive and kind of a fun little project that you can do in about an hour.
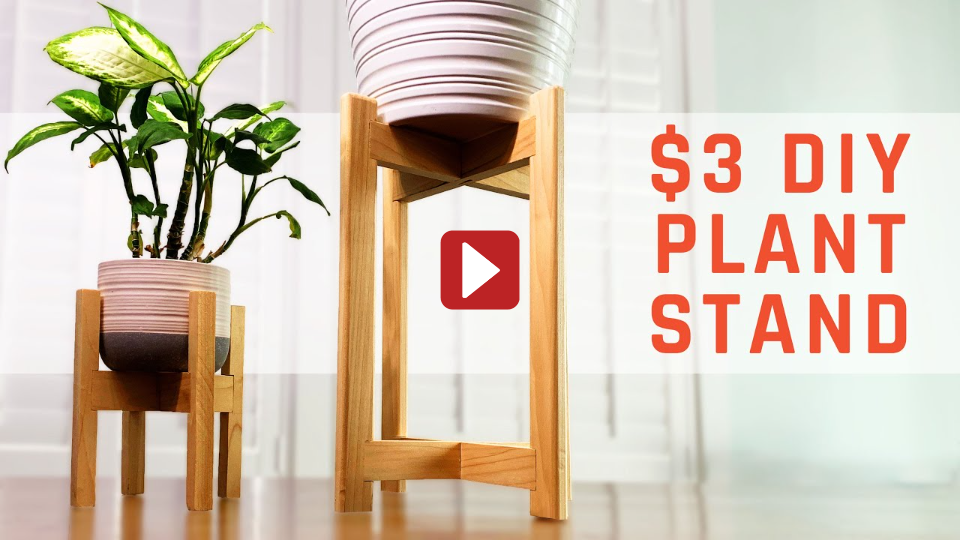
Below you’ll find a link with the plans for both the smaller / lighter plant stand, whose legs extend up around the pot, as well as the bigger / heavier plant stand, whose legs only extend up one inch. In both cases, you’ll want to adjust the lengths of the crossbars to accommodate your specific plant pots, as indicated in the plans.
If you have any questions or if you’ve made one of these yourself, please share in the comments! Thanks and happy making!
DOWNLOAD LINKS:
Light Plants: Click here to download the woodworking plans for lighter/smaller plants
Heavy Plants: Click here to download the woodworking plans for the heavier/larger plants
Are you a Homeowner? Check out my post on 5 Monthly Maintenance Tasks New Homeowners Should Do. Click HERE for details.
You can make your own beautiful DIY Kitchen/Dining Table that looks as nice as the high-end stores. Click HERE for full details.