
I am here to help with all your DIY home projects. Here are some great helps and tips for you:
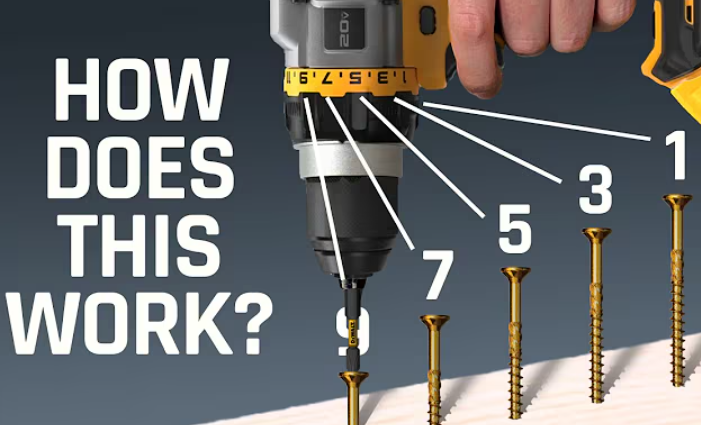
5 Drill Features Everyone Should Know
Living Room Makeover with Vertical Shiplap
Stop Squeaky Floors on Carpet and Hardwoo
I will show you a clutch collar, and we will make sure that you’re totally familiar with it. I’m going to do a little cutaway to show you exactly how this functions mechanically on the inside, so you can understand when to use it, how to use it, and how it compares from one drill manufacturer to another.
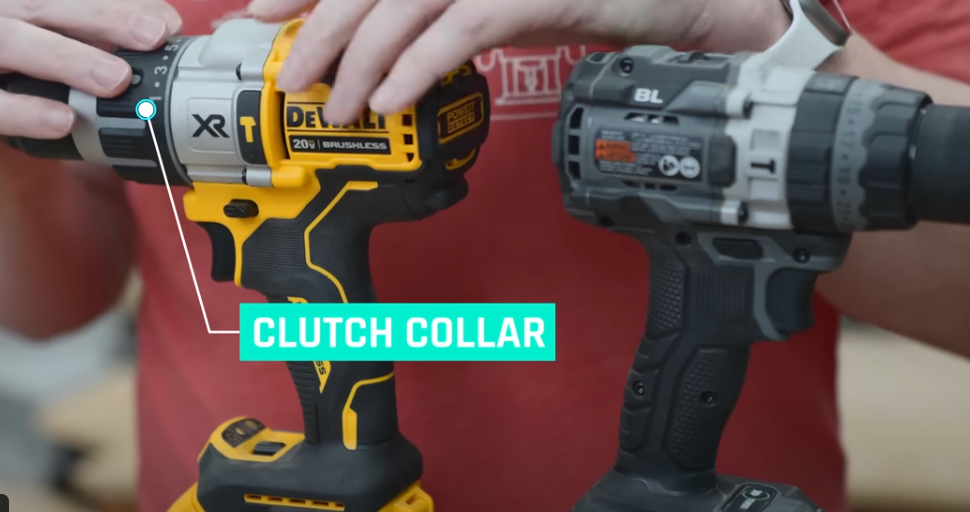
I’m going to share five lesser-known facts about the clutch. So, whether you’re totally new to this or you’re super experienced with power tools in general, I can guarantee that there’s going to be a few in here that will be new to you.
When To Use the Clutch on Your Drill
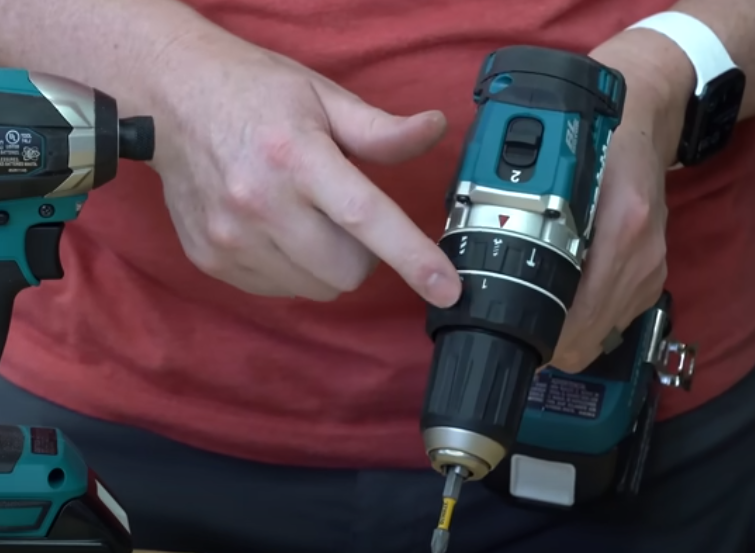
The clutch settings, depending on your drill, will give you different drive settings. So on this one right here, for example, we have the hammer mode.
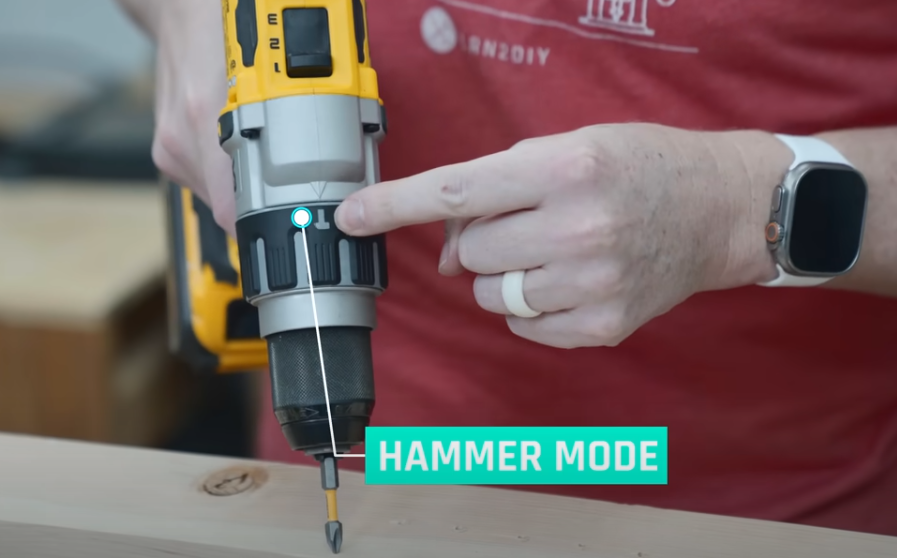
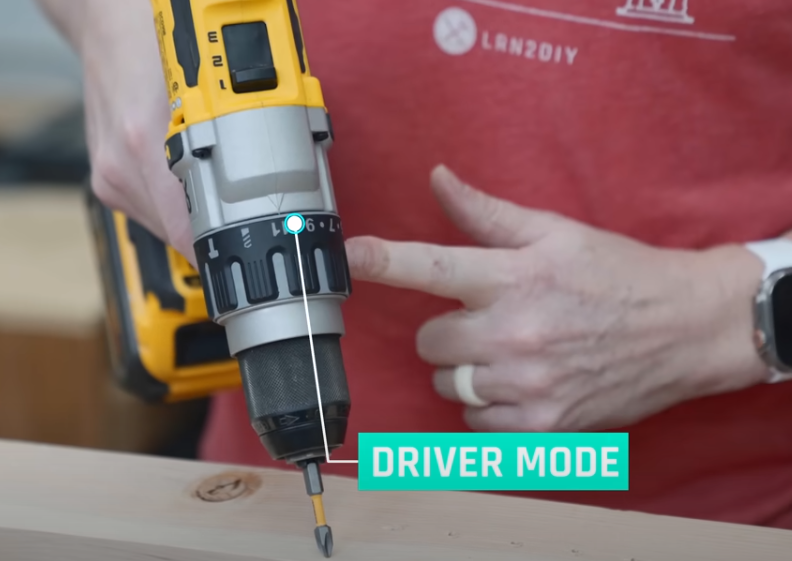
We rotate it over once, and you see a drill bit that’s for drilling holes. And then on this particular one, your only option is to then go through the numbers of the graduations on your clutch. Now, as long as I’m in that 11 to one mode, it’s in driver mode. So it’s going to drive something like a fastener, a screw, maybe loosen something, and that’s what it’s meant for.
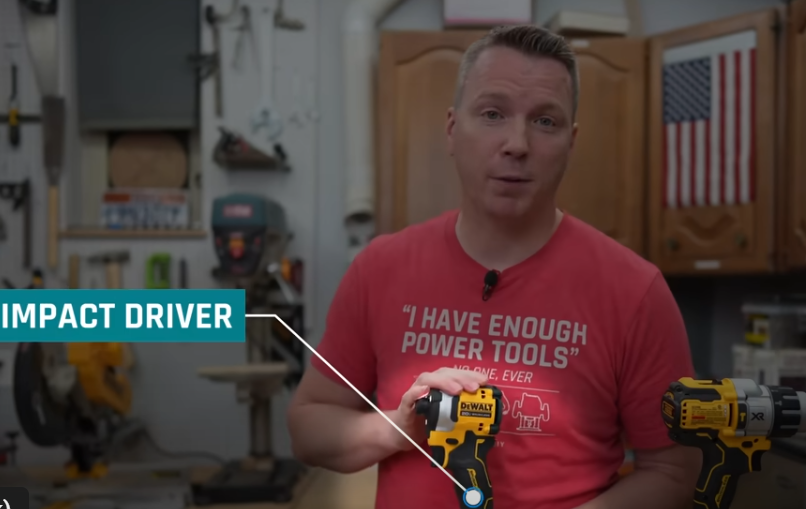
Now, that’s not to be confused with this little guy. This is an impact driver, and it’s job is to drive screws, loosen things, tighten things, not necessarily designed for drilling holes, but I have my own school of thought on why this thing can be used for just about everything.
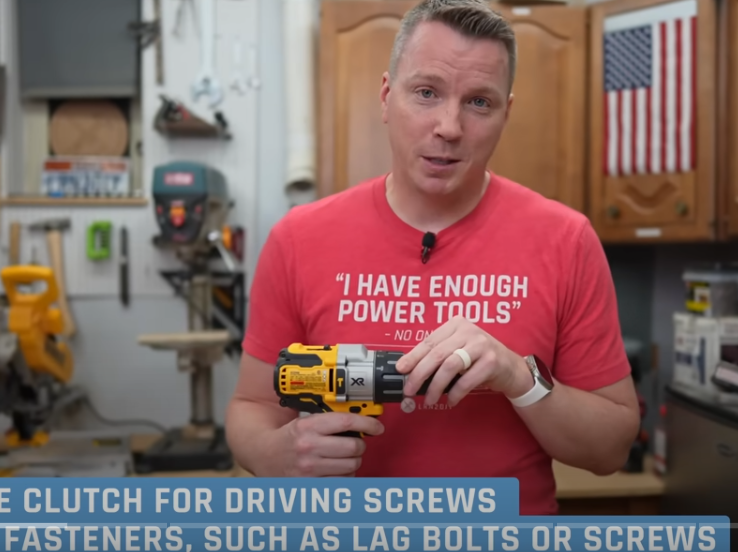
On the driver, remember that the clutch should only really be used if you’re driving screws or fasteners of some sort. Also lag bolts, screws, anything like that. One of the best ways to show you this is to take two and a half inch screws and drive them into this Douglas fir four by four. I’ll do it at each of the 11 graduations on the collar. So that should have been way softer. It drove it way down past the face of this even in the lightest setting, which is not good. That means this thing is putting way too much torque on even the lightest settings, not something I’m going to recommend at all.
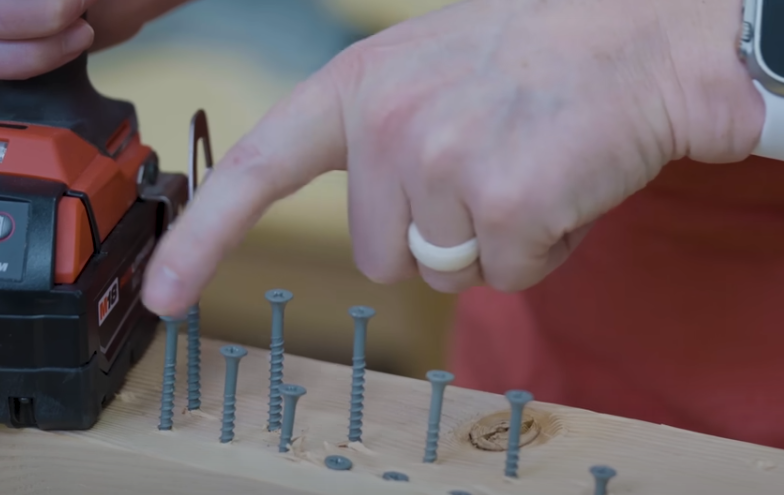
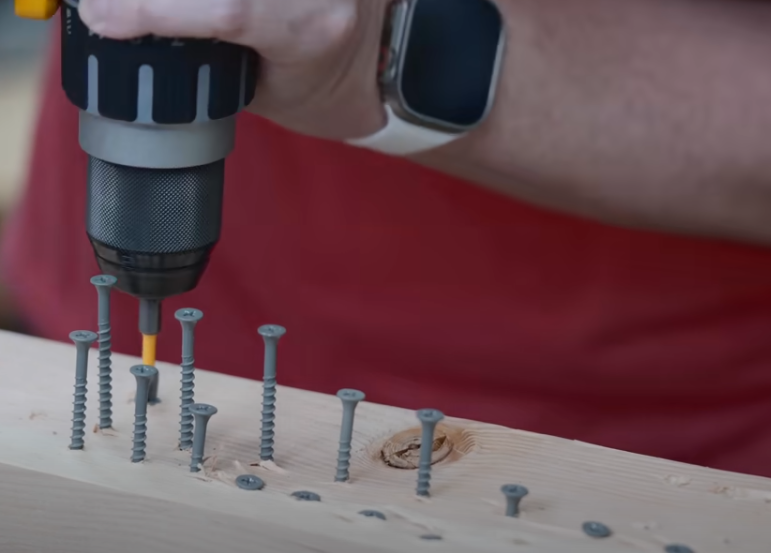
So, to show this a little bit differently, I’m going to grab that flex again, and we’ll go through every couple of steps on this one. I’ll do settings 2 through 24. To show you the difference, I’m also going to put it in drill mode, which means it won’t back off at all. It’s going to go full bore all the time. Let’s look at the difference in drill mode, so no clutch is enabled on this one. The difference is that they went all the way down and would have kept going all the way through if I had a longer bit. Now this isn’t a perfect example, but it does show exactly how much torque is applied, or roughly how much torque is applied, at least to each of the screws based on the clutch setting. So again, this is setting 2 up to 24, and then down here, this one that went way in exactly no clutch on that one.

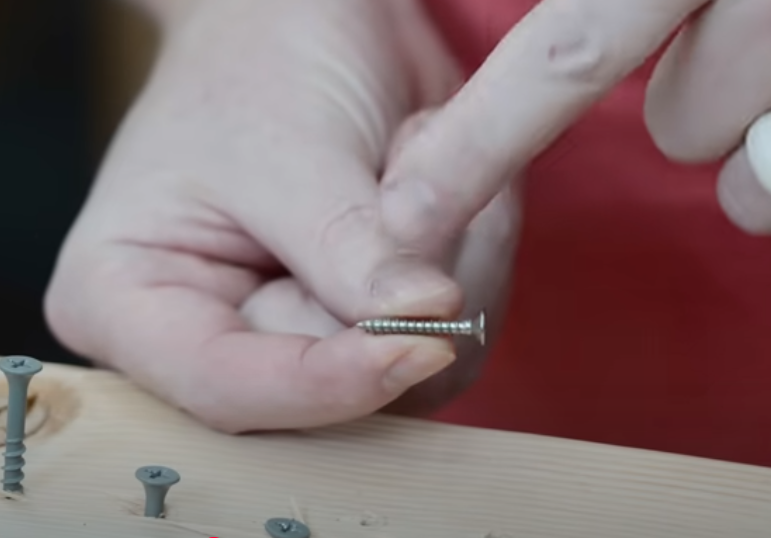
The obvious question is, why do you need the clutch? What are some circumstances in which those clutch settings are going to help you? And one of the reasons is, if you’re doing anything a little bit delicate in terms of smaller screws, you don’t want to go full bore on the thing. You don’t need 1400 inch-pounds of torque to drive this thing into anything. You might want to do something with the lighter clutch setting if you’ve got a small screw. A great example of this is when you’re installing cabinet hardware. You don’t want to go too crazy on that the wood is typically at least a little bit softer, and we don’t need to try to strip out that screw or that screw hole by using too much torque.
When you’re installing cup hinges in your doors, for example, they have fairly small and delicate little screws on either side of the cup, and those just need a fairly light touch, and the clutch is perfect for making sure that you don’t overdo it.
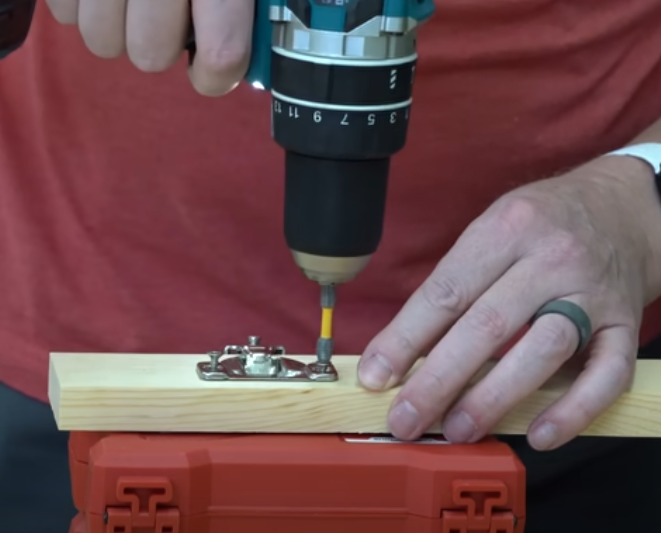
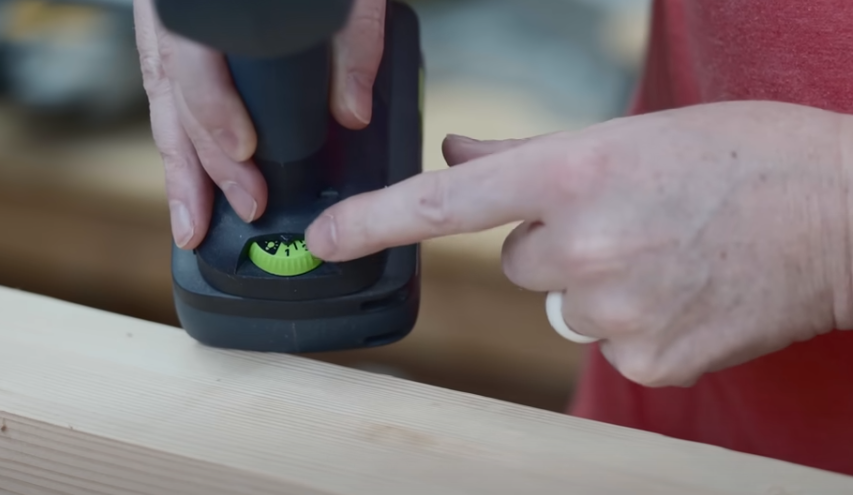
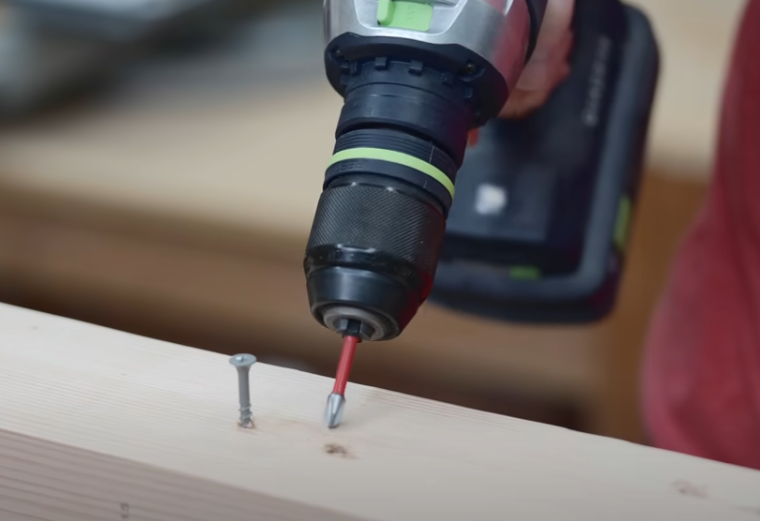
One that I come across more commonly is a pre drilled and pre counter sunk screws. I’m going to use my Milwaukee with this countersink drill bit here. I’m drilling a little hole, so I don’t need a lot of torque on this. Only the threads are going to be doing some grabbing. I’m going to take my Flex and turn it down to number one and make sure it’s in the driving mode. I’ll start with number one and work my way up from there. You always want to start with the minimal amount of torque that you can get away with, and then work your way up to find that sweet spot.
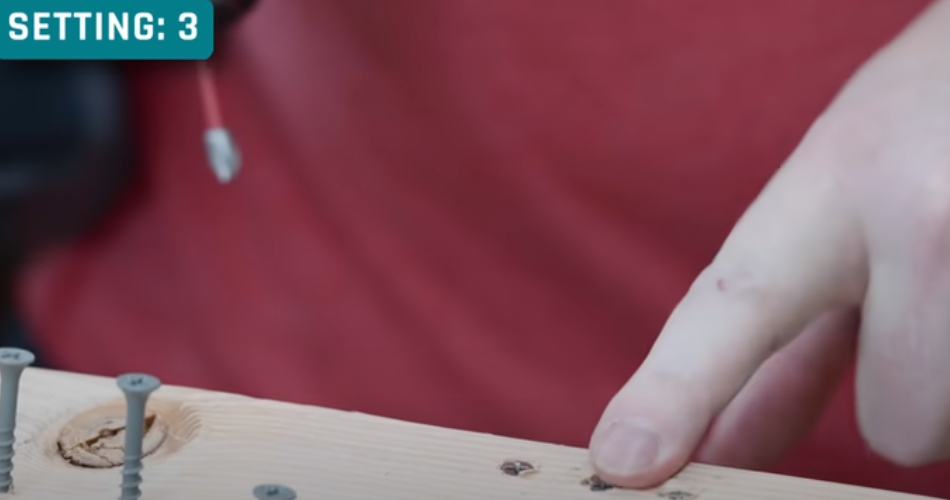
We are in number one. Look at that. That’s almost perfect. I want it to go just a little bit more. So I’m going to go to three, and that’s exactly where I want it to be. So something like this, where it’s countersunk and it’s pre-drilled, a three is all I’m going to need, because I’m just having enough torque for the threads to grab onto the surrounding fibers of wood. I’ve got my clutch set to three. I can go full bore and not worry about being delicate, because it’s going to stop itself. It’s a perfect fit and perfectly flush every single time, because my clutch is at the right setting.
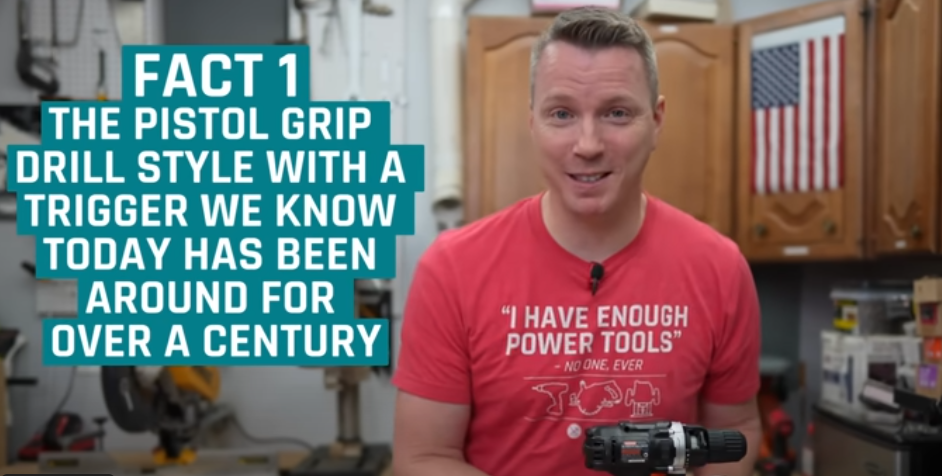
Fact Number 1 – Pistol Grip Drill
Let’s take a look inside the drill to see exactly how this works. This is a good time to bring up our first Fun fact here, which is that the pistol grip, or drill style, that we know today. With the trigger and everything, this has been around for about 100-plus years, but it’s been over 75 years since the clutch was invented by Black and Decker. Black and Decker is the company that is currently called Stanley. Black and Decker, DeWalt, Craftsman, and several other brands.
This is what they invented. Was a version of this. It hasn’t changed that much in all that time. That year was 1946, so this has been around a long time.
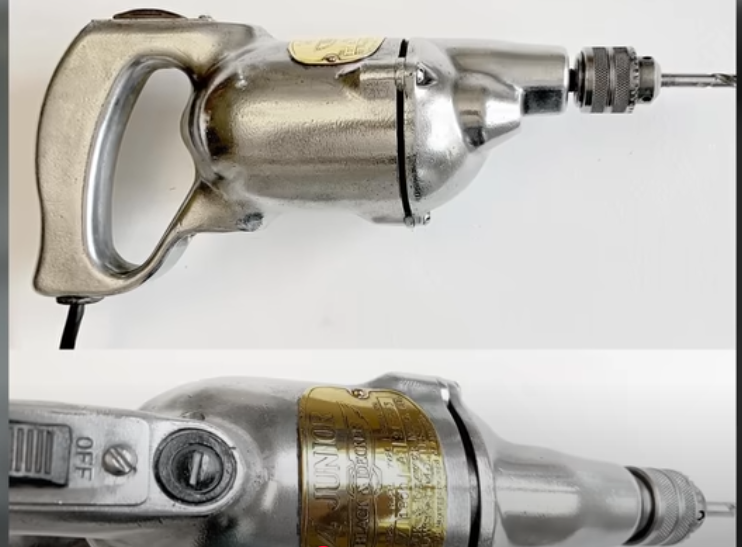
I’ve got my trusty warrior 18 volt drill here from Harbor Freight. This was my sacrificial drill here. I’m using my oscillating multi-tool to cut inside. You can see that I’m on the highest setting of the clutch, which means it’s going to offer the most torque or the most resistance. I’m going to try to rotate the drill so that you can see exactly what’s going on. So as I rotate it this way, it’s starting to separate from the transmission area. And now you see there’s quite a gap there, right here, in between this black shaft part here with the threads and then the body of the drill. Now that we’ve seen how the threaded portion here works, we can see it tightening up again all the way.
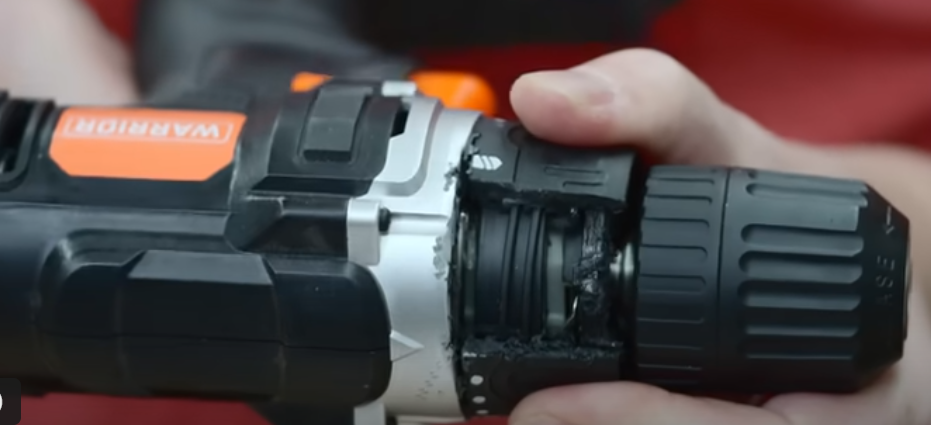
Let’s take this thing apart a little bit further and show you the actual mechanics of how this makes it happen. We’re going to make Warrior take apart Warrior here. So this is the warrior impact driver, and we’re going to use that to take apart its cousin brother, whatever that relationship might be. If we take this apart, we can see this big spring that compresses and gives us that resistance as we turn the collar for the clutch.

Fact Number 2 – Numbers On The Clutch Collar Are Arbitrary
Once it reaches that certain amount of resistance or torque, it will disengage and no longer spin the drive. Now that we’ve seen exactly how the clutch mechanism works as far as the mechanics inside, let’s talk about these numbers on the collar here. This brings me to my second lesser-known fact, which is that these are completely arbitrary. These numbers will vary quite a bit from manufacturer to manufacturer, and even on two different drills within the same manufacturer’s line. So that’s something you need to always be aware of. These do not represent any units at all.
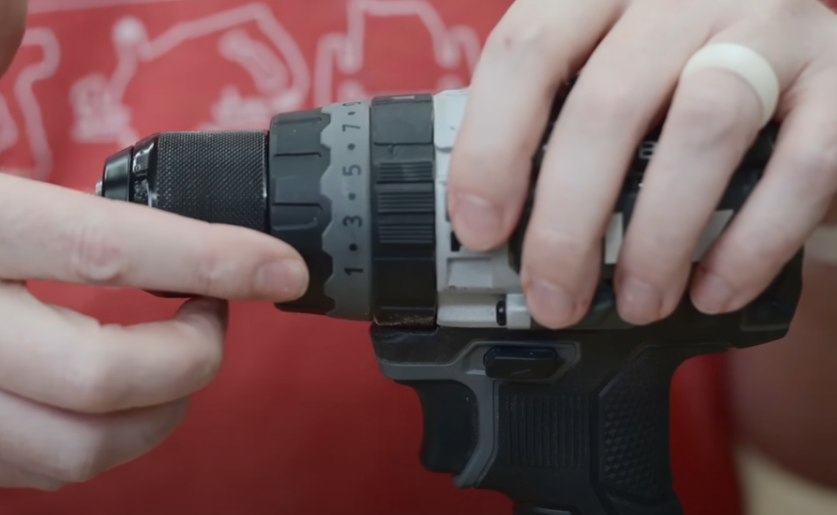
You’ll be hard-pressed to find a manual that says number seven is 100 inch pounds of torque, and number eight is 120 inch pounds of torque, or anything like that. These are not specific units. They’re just kind of arbitrary graduations in between the full torque capability of the drill and the least amount that it can produce. As an illustration of this, I’m going to use this Milwaukee drill to show exactly what the clutch settings on this one will do. This one has 16 clutch settings, so I’ll use each of those instead of the 12 that the flex drill had.
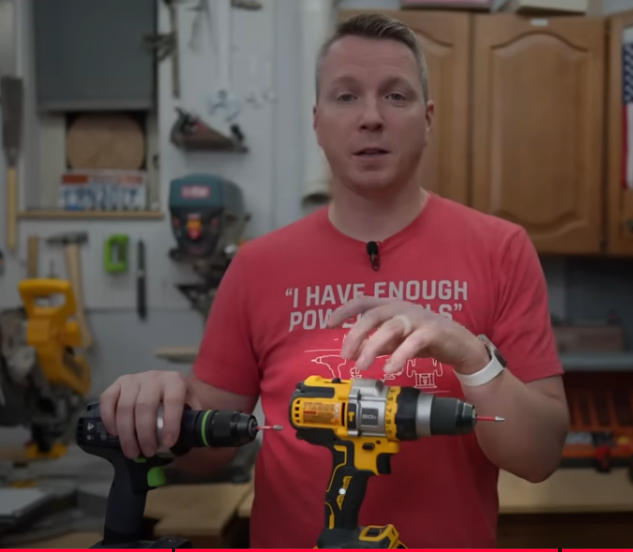
I’ll do these 16 right next to it, and you’ll see that these are going to line up a little bit differently. Even if we did another set of the flex ones back to back or right next to these, you’d see a difference there. So it’s not always the same, but as you can see here, these are different from brand to brand. With flex, you’re getting a pretty nice set. With Milwaukee, it’s a little aggressive. And then with DeWalt, even more aggressive.
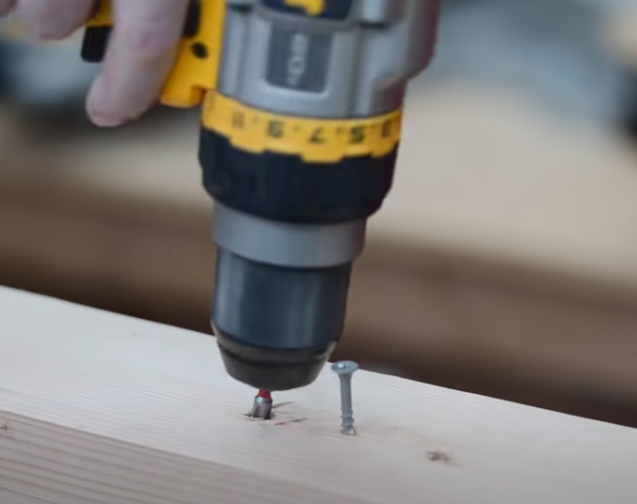
That’s the DeWalt on level one, the least torque it’s going to be able to produce. It went all the way down flush, which is crazy. This thing is way too powerful and has zero sensitivity. It’s just a hammer. I mean, it’s like, I’m going all the way, or I’m not going.
Fact Number 3 – Inside Mechanics Of Your Drill
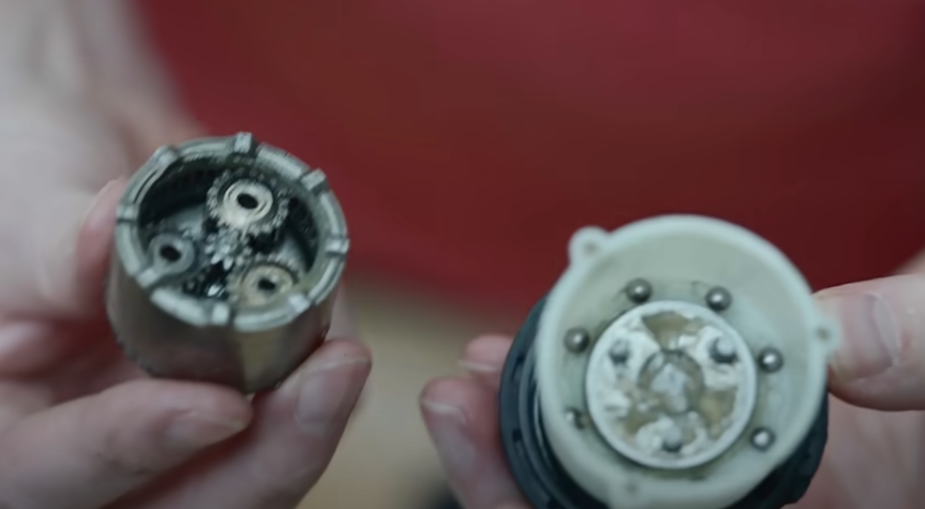
Now this brings us to a lesser-known fact number three, which is the mechanics of what’s inside here. There is a spring inside that collar, and on the opposite side of that housing is a metal plate with teeth in it. Those will engage or disengage with the ball bearings inside the housing. The spring is going to push the housing closer or further to the teeth on that metal ring, and that will engage or disengage based on the amount of resistance that it’s receiving.
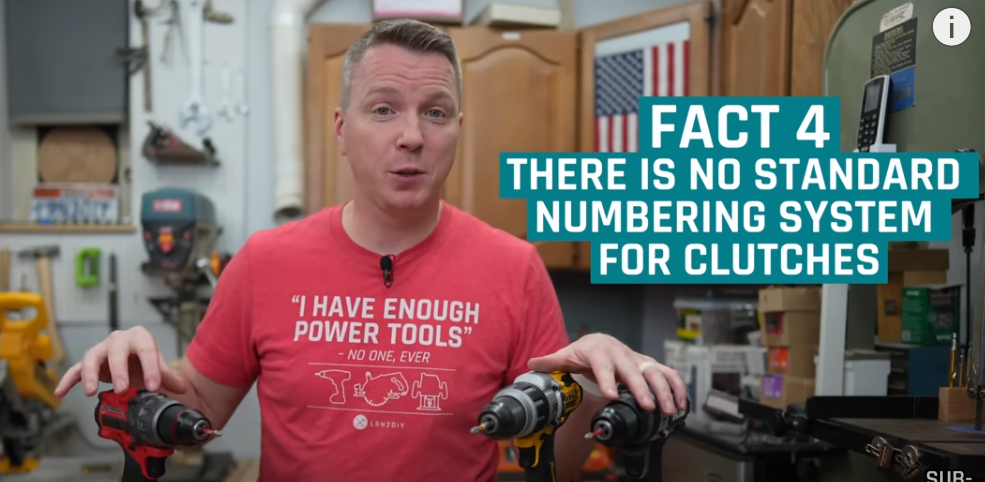
Fact Number 4 – No Standard Numbering System For Clutches
Lesser-known fact number four is what we’ve been seeing here. Not only are there no specific units assigned to these different numbers, but there is also no standard. I’ve done videos before on the lack of standardization across power tools. With multi-tools, the method of attachment of the blade is widely different across all types of tools. I’ve got a spreadsheet that shows dozens of different types of attachments for using these oscillating multi-tools. This is no different, and there’s no consistency even with the numbering system. For example, we’ve got this going up to 11 on the DeWalt, and the one right next to it goes up to 24; it’s a huge disparity. And that’s the range that I’m seeing across all these different types of drills. You can never look at a number and then assume that on that drill and every other drill, you can use that same number as far as the clutch is concerned, and the torque that you’re going to get out of that will vary every time.
Fact Number 5 – Switching Towards Electronic Clutches
Our fifth, lesser-known fact is that we’re moving less and less towards these mechanical clutches, like the one we just saw, taken apart, and more towards electronic clutches, like you’ll find in these two drills. This is DeWalt DCD 999, and this is the Festool. This is a much more expensive drill, but check out how it handles the clutch.
On the back heel, right here, you’ll find the clutch settings. So I’ve got this set to one right now, and let’s drive a screw and see what happens.
It stops right there, gives me a little chime, and lets me know that that’s all it will do. I will skip to number three to show you the difference. There’s something pretty interesting about these electronic drills, they went way deeper. This screw is about an eighth inch underneath the surface. It’s pretty aggressive on just level three, especially considering that this is geared towards woodworkers and people who need a little more precision and accuracy in their work. People who aren’t all about power, but more about finesse. So this one’s not really that great with the finesse, in my opinion, when it comes to the electronic clutch, that’s the thing that you’re going to notice.
If you talk to people who use these different types of drills for their daily work, you’ll find that most people don’t like the electronic clutches. They want the old-school mechanical clutches because they are just more consistent. They work better and they give you more control, especially in those lower numbers. So keep that in mind when you’re shopping for a drill. You may see one with an electronic clutch and think that sounds like new tech, and you want to give it a try. But you might be pretty disappointed with it.
Let’s look at the same thing with our DeWalt DCD 999 and see what we get. The bit slipped into the chuck, but only after it got an eighth of an inch down past the surface again. So not ideal.
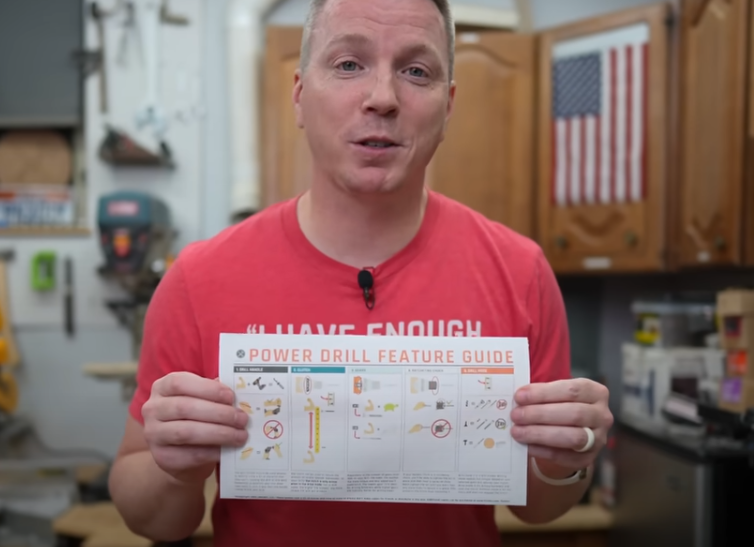
For those interested in having all this drill information at your fingertips, I’ve got a pretty cool drill feature guide that you can check out on my website. It gives you all five of the main features of the power drill and makes it easy to find out how to use each one. I like to keep mine by my chargers, and it gives me a glance at everything I need to know about how to properly use my power drill.
Are you thinking about a home theater in your home? Check out my Post on How To Improve Your Home Theater Experience. Click HERE for all of the information.
Ever wondered how to insulate a shipping container? They are often used for new structures. Here is my post on the Best Ways to Insulate a Shipping Container. Click HERE to learn more.
Do you ever wonder how safe your Garage Door really is? Check out my post on What are the Locking Mechanisms of a Garage Door. Click HERE for the full details.