
Squeaky floors are the worst! They creep up every year when the weather gets cold and annoy you all winter. Luckily, there is a solution. You can fix the squeaks from the top of the floor, and don’t even need access to the basement. Follow these steps:
Identify Which Direction the Joists are Running
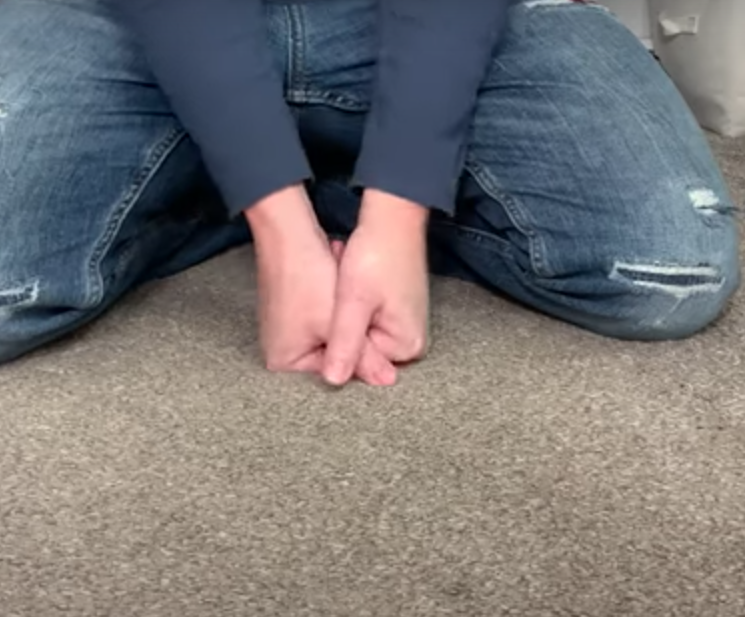
Follow the squeak by pressing on the floor to find which direction it’s running- that’s the direction your joists are running. The squeaks are caused by the subfloor and the joists not being fastened together sufficiently.
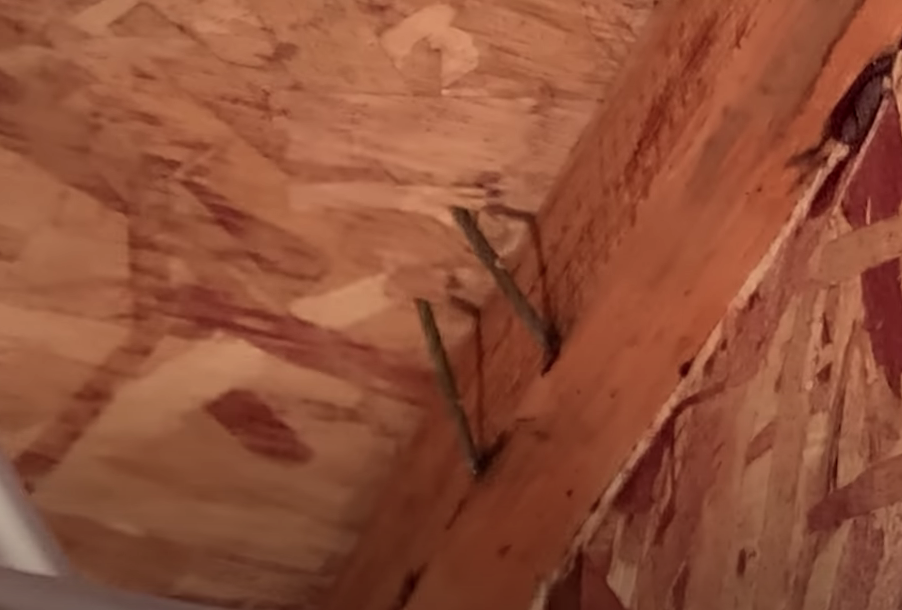
You can see in this picture above that the nails are mostly missing the subfloor- hence the squeaking.
Here’s a handy graphic to help identify which direction your joists are going:

No Fancy Tools Required!
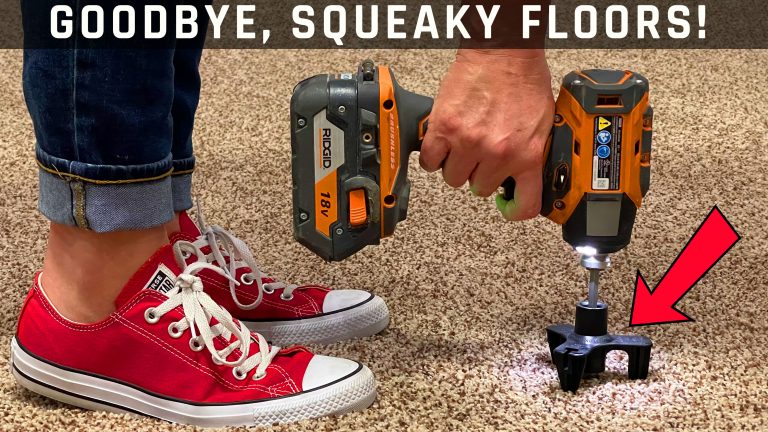
Getting rid of the squeaks will require a drill (aff. link), as well as this kit called Squeeeeek No More (aff. link). This kit includes everything you’ll need. One kit, one drill (aff. link), and you’re good to go.
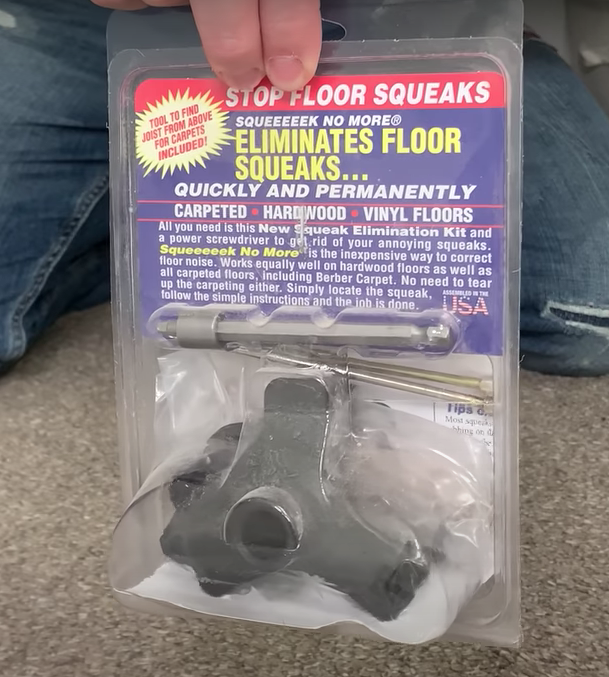
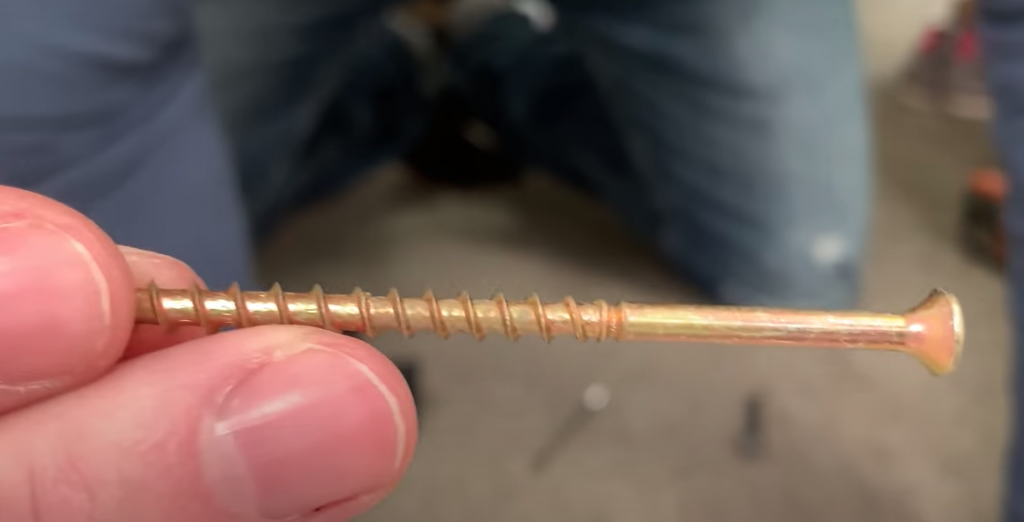
The kit comes with screws that snap off above the threads. Once you’ve driven the screw into the subfloor and joist, you’ll snap off the top and there’s nothing in the carpet or padding to step on or poke your feet.
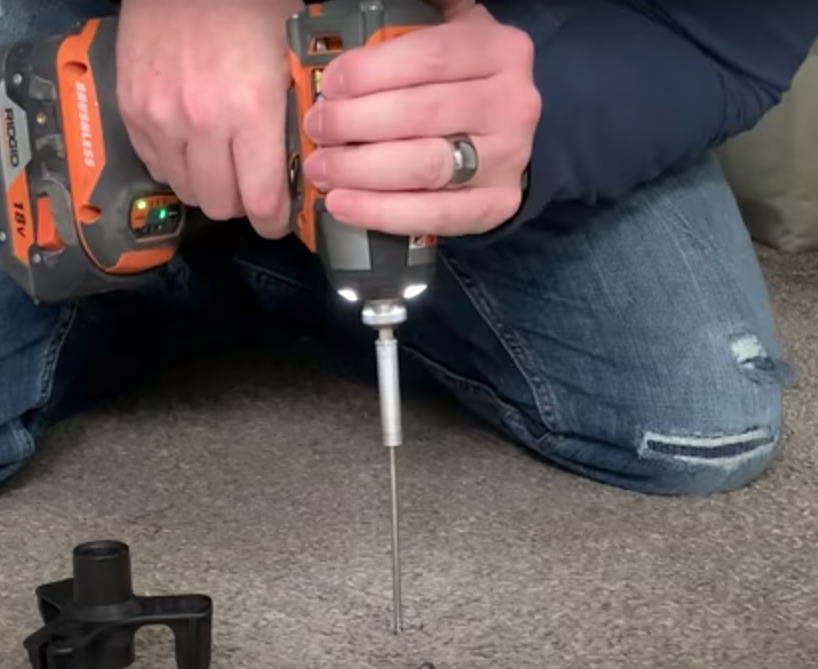
Find the Joist with the Stud Finder Screw
You’ll have a general idea of where the squeaky joist is located, based on the squeaks you hear when you step or press, but you will have to do some test drilling with the stud finder screw to know for sure.
Drill it in a couple of inches down, and then put it in reverse (while pushing down slightly). If the screw spins freely, you know you haven’t hit the joist. Keep testing!
Leave a screw where you already tested as an indicator, so you know not to do that spot again.
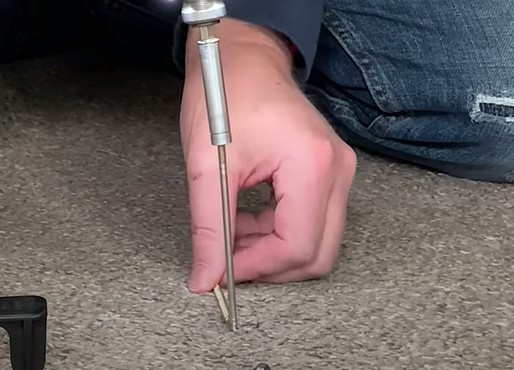
Move over a couple of inches and try again. Put the drill in reverse, and if the screw reverses back out, that means it has something to grab onto- you’ve found the joist! You may want to check in a couple of spots quite close to that area just to verify. Again, move your indicator screw so you don’t lose your spot.
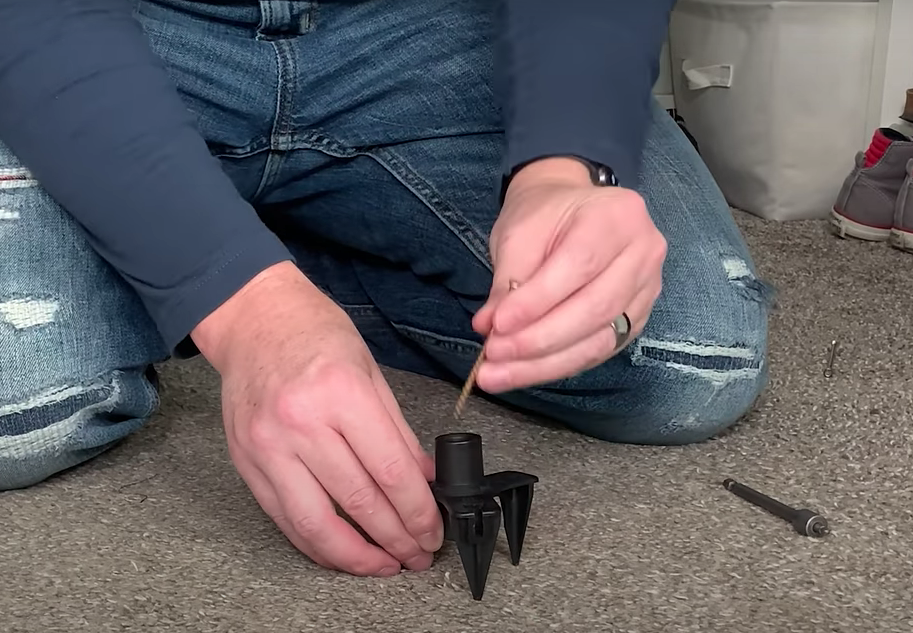
It’s Time to End the Squeak
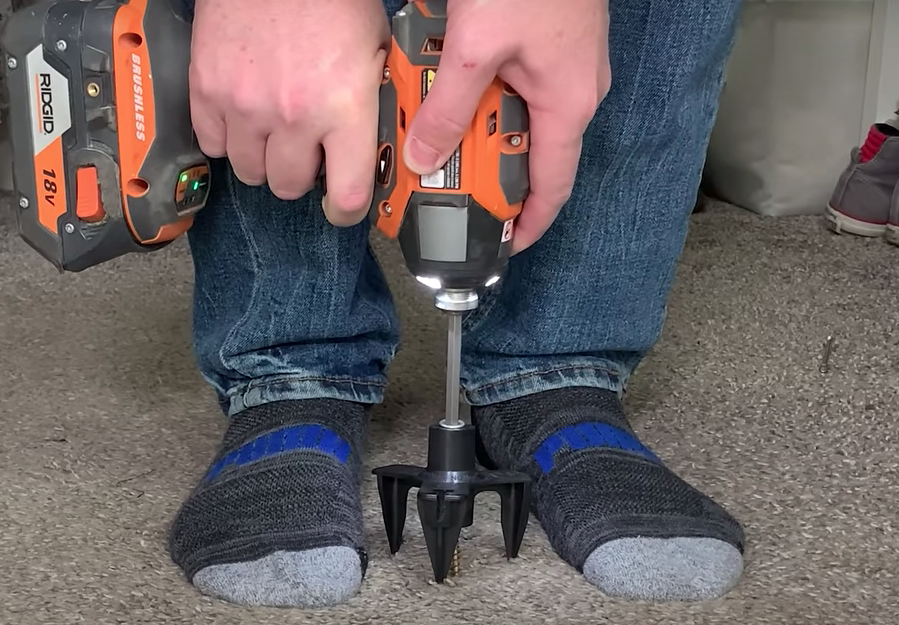
Place the tripod over the center of the joist (the best you can tell), and place the screw inside the tripod. You’ll use the drill bit that comes in the kit, which has a collet/stopper on it to make sure the screw stops in just the right spot and you’ll be able to snap off the head.
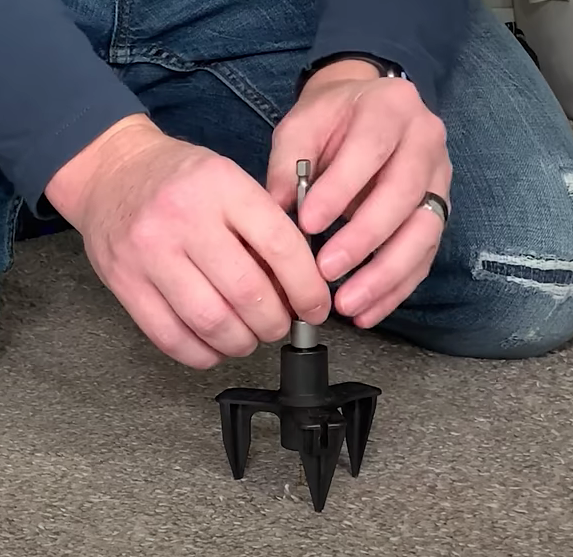
It’s important that you put all your weight down on that spot while drilling, so that the subfloor and joist are as close together as they can be.
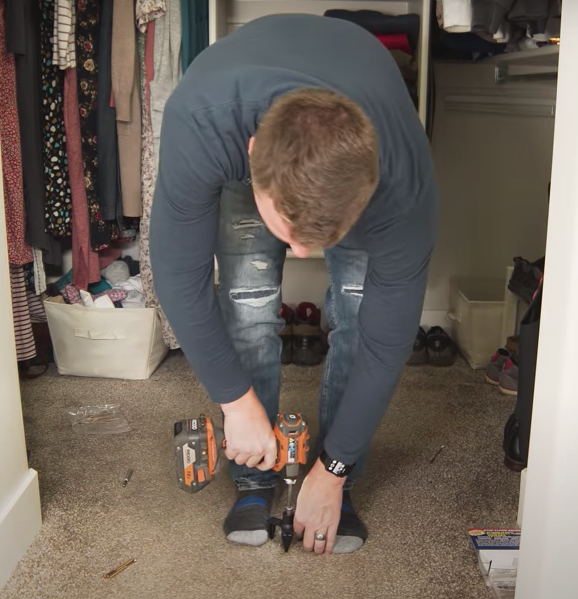
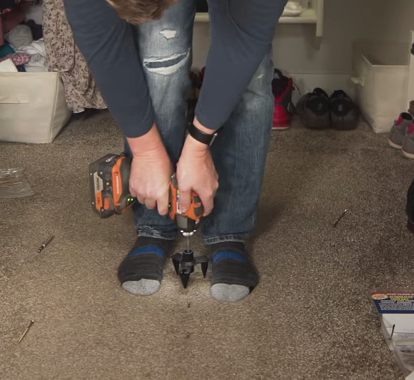
Drive it in!
You may need to do this with a few more screws in a line along the joist, depending on how severe the squeak is.
Test out the area to see if the squeak is gone, and if it’s not, continue with a couple more screws. If it’s still not gone, it may be coming from the next joist over, so measure 16″ on either side, and repeat this process in a new joist.

Remove the Tops of the Screws
Once you’ve eliminated the squeak, use your tripod, which has a built-in screw head remover. Fit the tripod around the screw, and pull. The top of the screw will pop off, leaving nothing in the carpet or padding.

Hardwood, Laminate, Linoleum, etc.
The Squeeeeek No More Kit comes with a separate tool for flooring other than carpet. Depending on which type of hard flooring you have, the template and instructions in the kit cover those. It’s the same principle- the template covers soft wood as well as hardwood, and the screw head pops off so there’s nothing to catch your feet on.

Just a word of note, you probably don’t want to drill a bunch of holes in those types of flooring, but the holes you do drill can be concealed with a wax crayon/marker (aff. link) that is specially designed for taking care of those types of holes.

And that’s all there is to it. Enjoy your quiet floors!