
Are you looking for more DIY Home Improvement Ideas to save you money? Check out some of my most popular posts-
Things to Know Before Remodeling Your Bathroom
Materials to Choose For A Low-Maintenance Home
DIY (Faux) Shiplap for About $80
Here are five clever electrical tips, including why you won’t mind giving up the old wire cutters.
Tip 5 – Stop Using Twist Wire Connectors
Tip number five is to stop using Marrettes. They have a little metal housing on the inside, and they are used to connect your wires. The fact is, you don’t know if it’s making a positive connection or not.
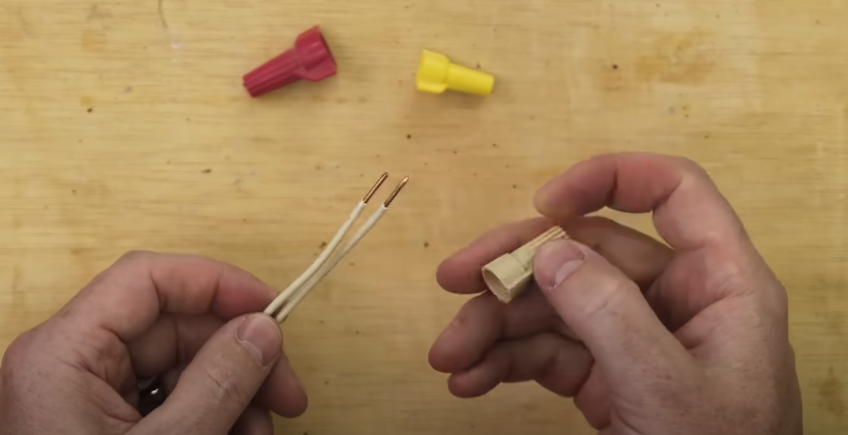
The replacement that is so much easier to use is called lever nuts. I’ll take a couple of wires like this and grab a lever nut that holds two wires. If you look up inside, you can see a couple of inserts, and when you close one of these, the metal inside pinches down and makes a positive connection. As I feed my two wires in here and push down the lever, I’ve got a nice positive connection. I can see that the levers are engaged, so there are no issues.
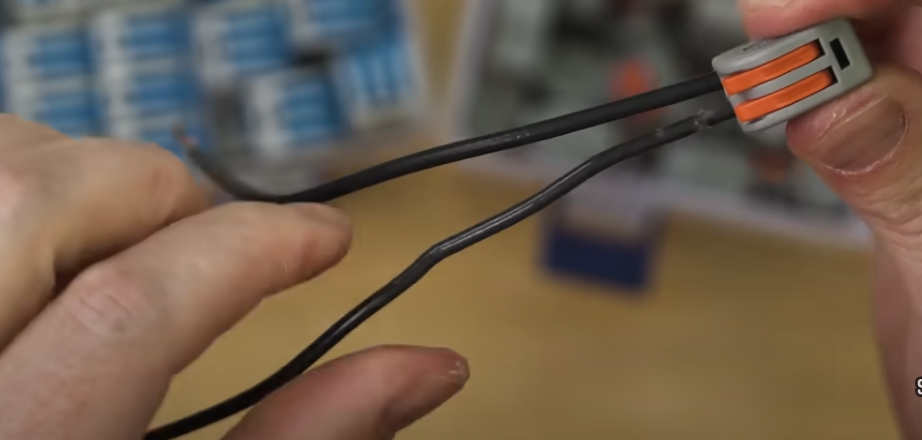
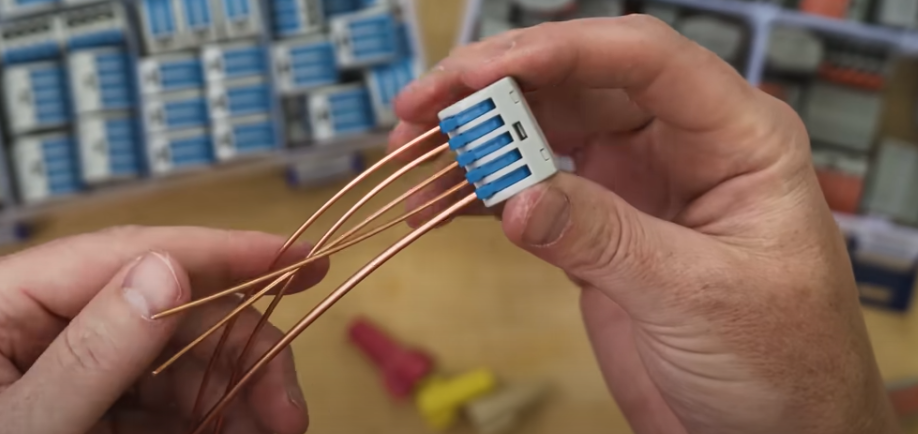
Another great thing about lever nuts is that even if you’ve got a situation where there are several wires. I’ve even got one that’s a much heavier gauge than these 14-gauge wires. I can feed all of them in, make sure they’re all pushed in, lock down the levers, and then I can use these five.
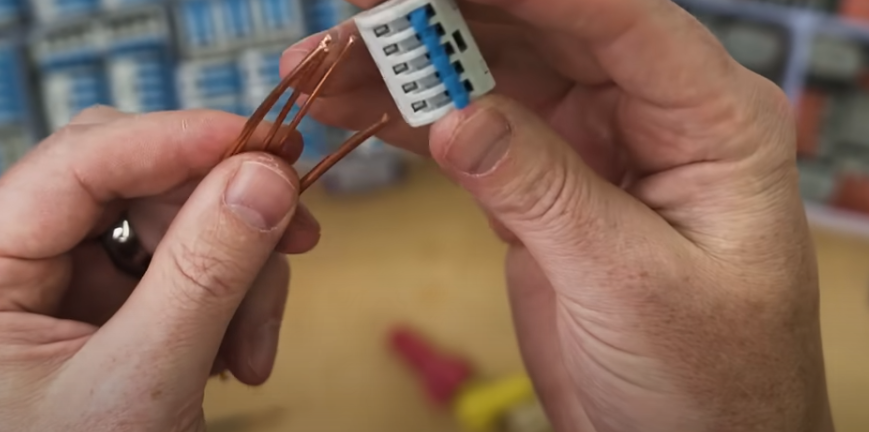
If I need to change something out, let’s say I need to replace the source for one, I can pull that one out and then put a different one in later. Then I will slide that in, lock it down, and it’s in there snug.
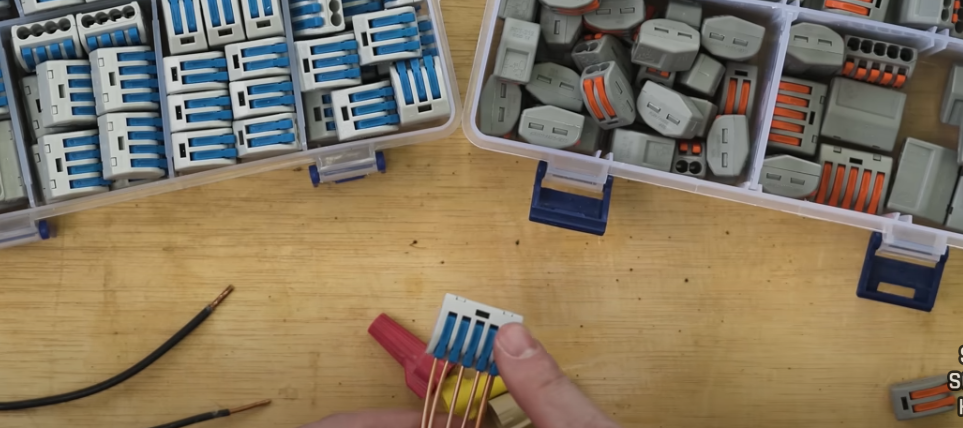
These kits are pretty inexpensive. They’re usually around 20 bucks. The nice thing is that they have all kinds of different connectors. There are a lot of pieces in these kits, and you have that peace of mind of knowing that everything is connected exactly the way it should be, and there’s no guesswork involved.
Tip 4 – No More Twisting Wires, There Is A Better Way
When splicing wires together, twisting them is not the answer. If you’re trying to fix a wire that has been cut, start by stripping the wires about an inch and a half or four centimeters deep and exposing the wires inside. Twist each set of wires until they resemble one solid wire.

Slide some heat shrink tubing over one side, and then I will come back to this toward the end of this step. Starting with one of the wires, create a hook where the rest of the wire follows parallel to the existing wire, and then bend over the end at 90 degrees like this. Repeat that on the other wire also.
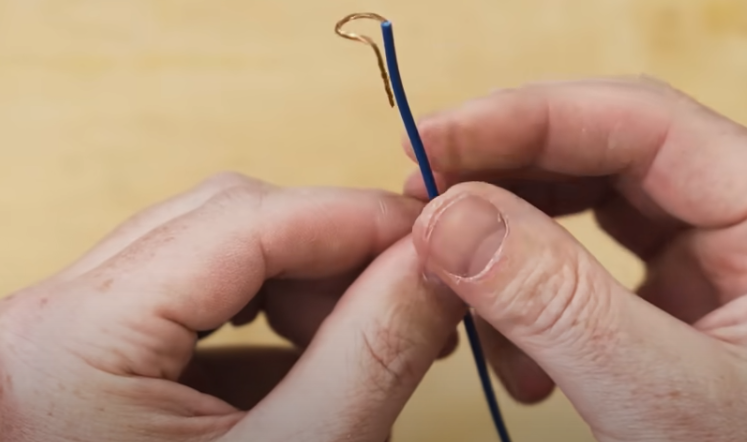
Line it up like you see here, and then once you’ve got the open ends going through the loops of the opposite piece, grab both open ends and pull tight. You can see it creates a perfect little knot here. As you pull on each wire, it’s going to tighten that knot, making a stronger and stronger bond. Snip off any excess wires that are hanging out over the insulated area.

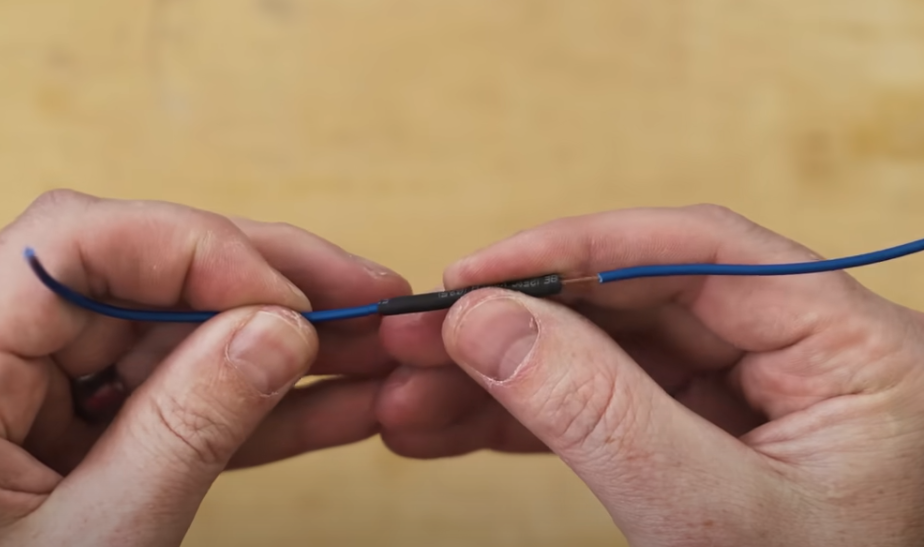
Slide over the heat shrink tubing and then melt it a little bit with a lighter. The two wires have now become one. They’re sealed and protected with a good contact signal, and they’re not going anywhere. This is a super strong bond. I can give these wires a good pull, and they will not come loose.
Tip 3 – Don’t Toss That Broken Cord
There’s no need to replace an entire cord if the plug or end has gone bad. We’ve all seen this before, when the cord seems to break in the wrong spot, right up near the plug. Fortunately, there’s a pretty easy solution to this. You’ll need to cut the cord where you can get a nice, clean end. Looking inside, we can see that we’ve got three wires. We need to expose the three inner wires.
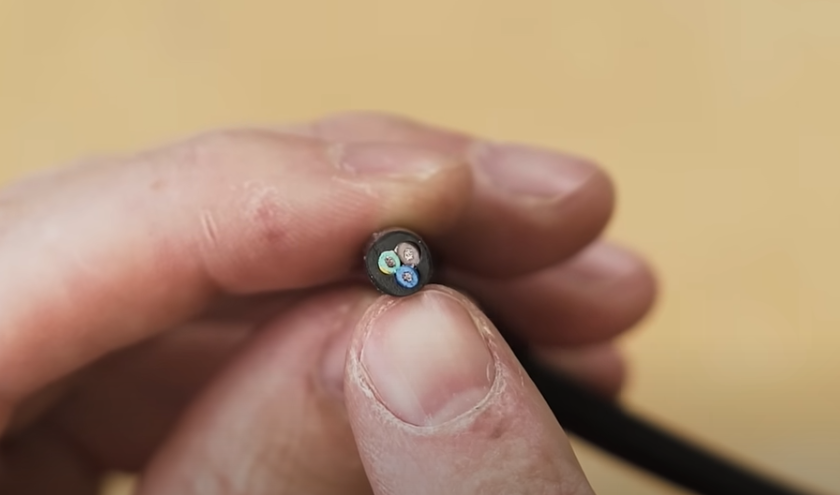
We’ll use a sharp blade and make a small cut or incision at the end of the cord. We can then peel it open and pull those wires back to get as much as we need. In this case, a couple of inches will do just fine. Cut off the excess, and then strip about a half-inch of wire on each one. We can now get rid of the old plug and replace it with a standard three-prong replacement plug, just like the old one.

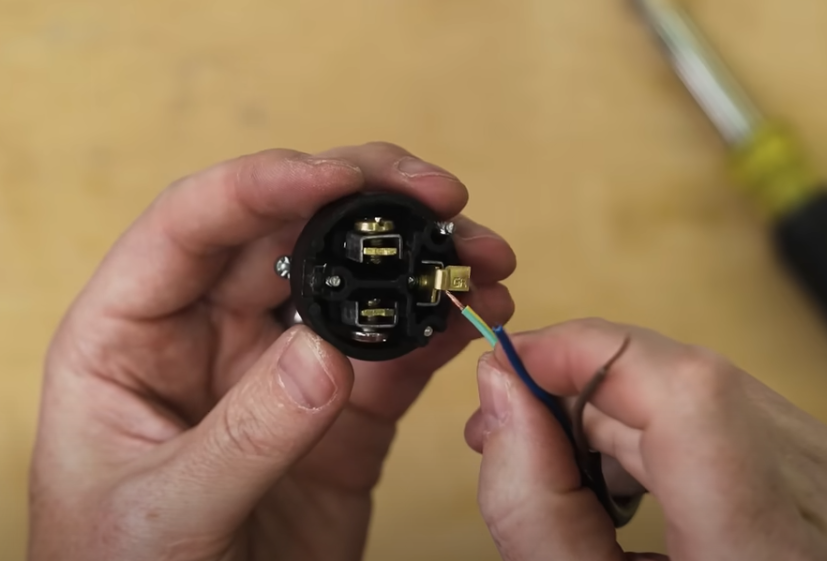
This one has a ground, a hot, and a neutral. You can pull the top off and feed the wires through the back. The color of the wires inside the cord that you’re fixing may vary. Sometimes they might be black, white, and green, just like you’d find in an outlet, but more often than not, they’re using other colors. In this case, the brown, the blue, and the green are pretty traditional, and the brown represents the hot or the line, the blue represents the neutral, and the green is the ground.
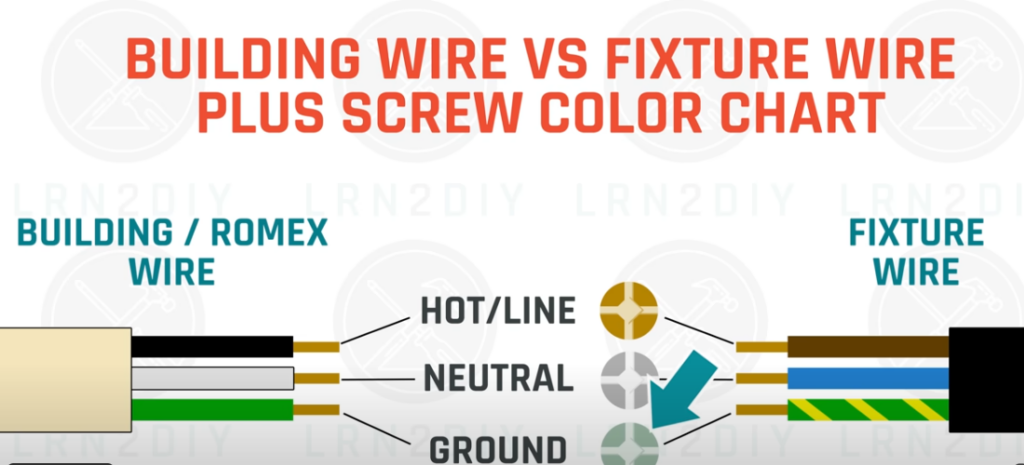
The colors of the screws inside the replacement plug are typically going to be brass, silver and green. Green is always ground, Brass is hot, and silver is always neutral. Loosen each of the three screws and then feed the wires in and tighten them for a good secure connection. If you need to feel free to trim any excess wire so there is no extra wire hanging out with the wire securely in place, you can put the top of the plug back in and then use the three coarse threaded screws to fasten it in place.
The last step is to tighten the clamp on the back. There are two screws to fasten there, and once you’ve got those tightened down, that plug is nice and secure and not going anywhere. Now these replacement plugs come in both the three-prong and the two-prong, or non-grounded variety. They cost about 2 to $5 at the hardware store.

Tip 2 – Work “With The Grain”
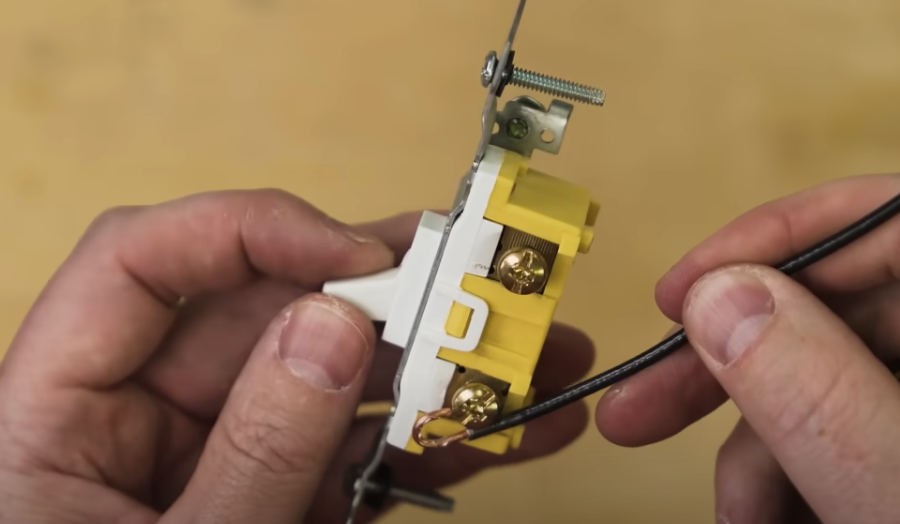
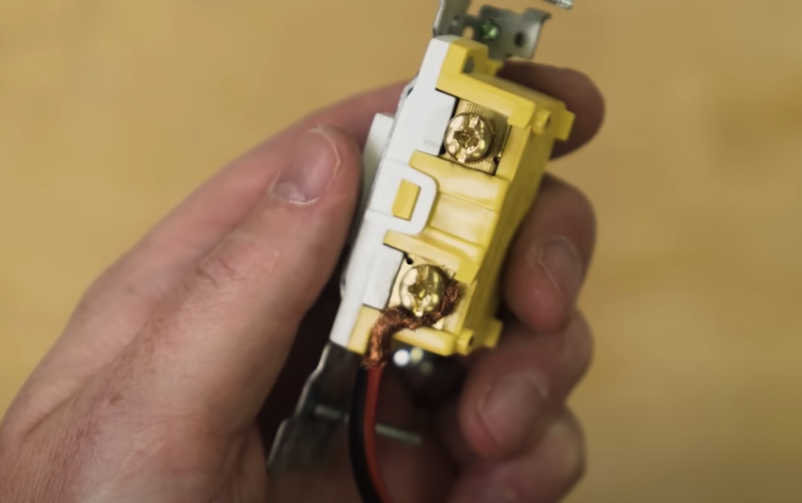
Tip number two is “always work with the grain”. When you’re working with screw terminals, you’ve probably heard the term righty, tighty, lefty, loosey. What some people get confused by is the fact that that refers to the top of the rotation. So on a screw like this, for example, on this light switch, when you turn the screw clockwise, the top of the screw turns to the right, and that’s where the righty, tighty, lefty loosey comes into play. When you’re using a hook like this, ideally, you always want the open end of that hook to be towards the right. If you line your hook up backwards, like I’ve got here where the opening is on the left, then what can happen is, as you tighten, it’s going to try to open up that hook, and it could slide it right out from underneath the head of the screw.

The more you tighten, the more likely it is to push it right out. I’m tightening this one down, for example, until it’s nice and snug, and when it feels like it’s all the way tight and everything’s got a good connection, you can see that it’s popped right out the sides, and I can pull it away If, on the other hand, I choose to the grain by putting the opening on the right side. Then as I tighten that down, both the screw and the plate underneath it are going to tend to close that hook, and that’s going to create better contact and a better electrical bond between the wire and the terminal. For this demonstration, I used a pretty loose hook to show you what could happen. But if you use a tighter hook, you’re going to have better results no matter what. You can see there’s a little ledge or a little drop that tends to hold that hook or that wire captive inside there. So these are designed to work as best as possible, even if you do it wrong. But by doing it right, you’re going to get better contact and a better signal every time.
This same tip applies even more so to stranded wires. If you place the wire in the wrong orientation or against the grain, as you tighten the screw, it will tend to push all of those little strands out and away from the screw itself, making an even poorer connection. When you place it with the grain, it’s going to tend to pull those wires along with the tightening of the screw and make a much better connection. Better yet, tighten up those threads as much as you can by twisting them into one solid piece, wrap it around with the grain, tighten it, and you’ll get a much better connection overall.
If you connect a stranded wire like this to a screw terminal. One of the best ways is to use a U type or a fork connector with the stranded wire and then insert that under the screw and as promised.

Tip 1 – Say Goodbye To Classic Wire Strippers
I don’t think you’ll mind giving up these wire clippers have been around for a very long time. One of the trickiest things about them, however, is knowing what size wire you’re trying to strip. Oftentimes, you don’t know, and that requires a bit of guesswork to try one, and then the other to see what works and what doesn’t.
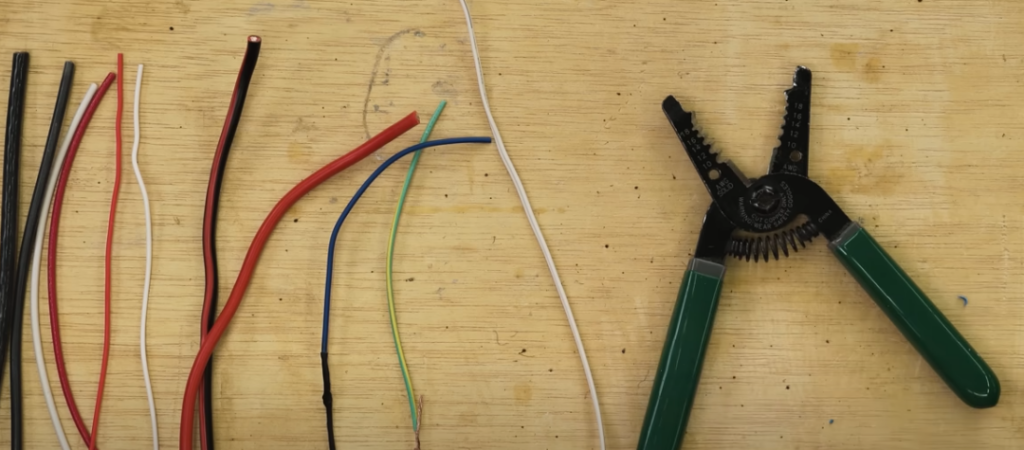
A few years back, I got my first set of these new-style, universal wire strippers. These are pretty awesome for a host of reasons. The way these work is very simple. Basically, it’s got some jaws, and it’s going to grab both the right side and the left side, and it will pull the right side away from the left side. It will either remove that sheathing altogether, or at least separate it enough that it’s easy to pull off yourself. The crazy thing is, this works on any size wire.
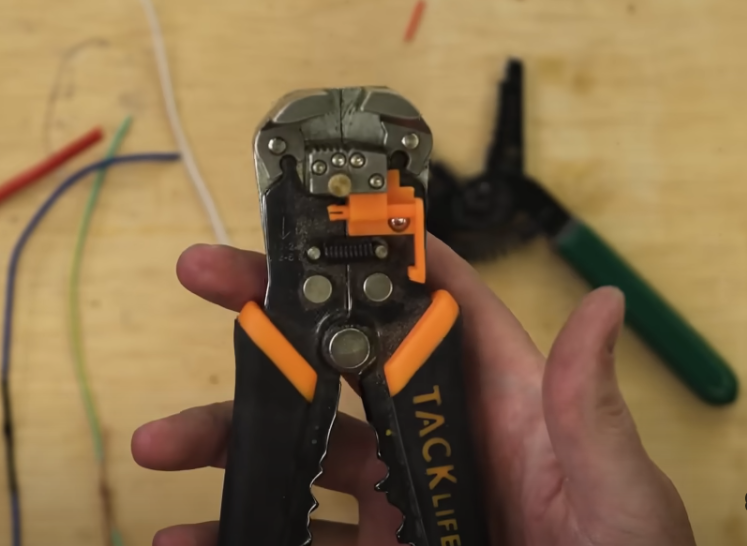
I can do this on 20-gauge or 18-gauge, like I’ve got here. I can do it on 14-gauge wire and still not have touched a thing. I can do this on even 10-gauge or 8-gauge wire. It doesn’t care, and it doesn’t matter what size wire I’m putting in there. Now, those were all solid wire, but you can see that this works just fine with stranded wire as well. The best part is that it doesn’t cut into the wires themselves. A lot of times, when you’re using a sharp blade and you’re trying to cut it precisely, you end up cutting some of the wires, and that weakens the signal and gives you less area to make contact with.
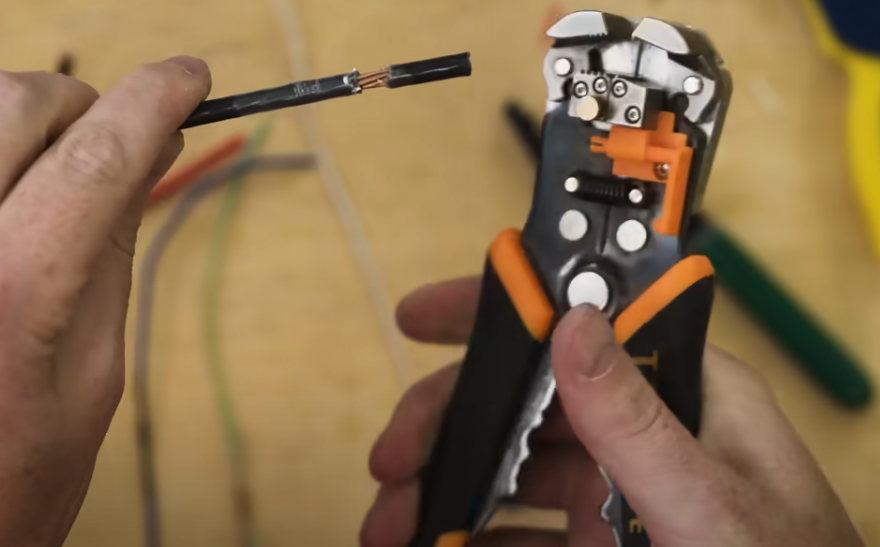
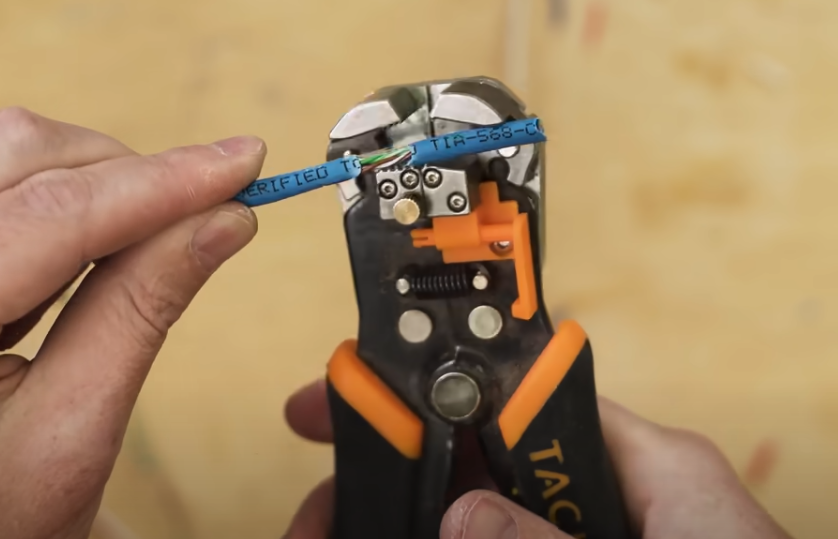
Universal wire strippers typically come with all of the features you see on traditional wire strippers, like crimpers in the handle and a wire cutter. Now there’s one other huge feature that these universal wire strippers have that traditional wire strippers can’t touch, and that is, they can tear the sheathing easily off of complex wires. Let’s take a look, for example, at this Ethernet wire. Typically to open this up, you’re going to have to make a little slit somewhere and then pull that sheeting back. But with these universal wire strippers, place them in there anywhere you want, and it will just break that right off.
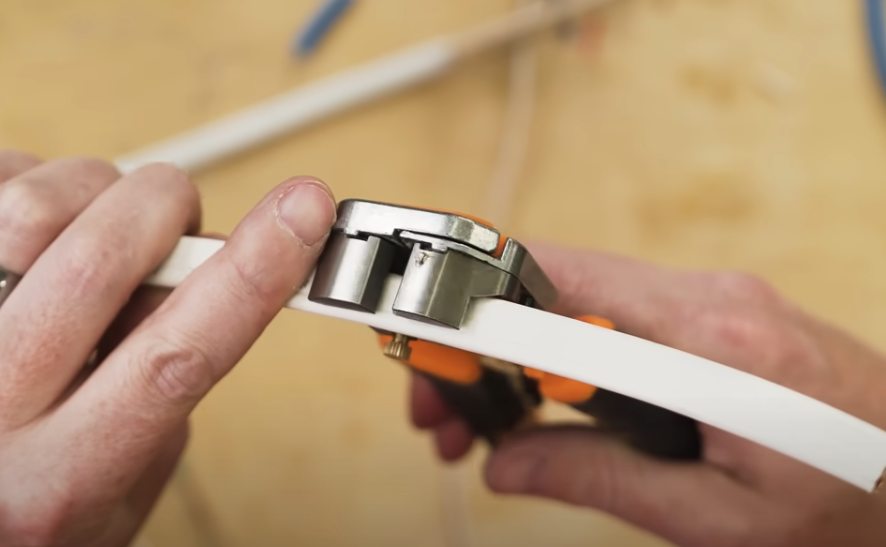
These universal wire snippers also work well on multi-wire cables like Romex. Here is some 14/2 cable, and it can handle no problem. It even works on 14/3, which is wider than the jaws themselves. But as you can see, I can grab onto it, pull it apart, and then I can either yank the rest of that off or just flip it around and cut that as well.
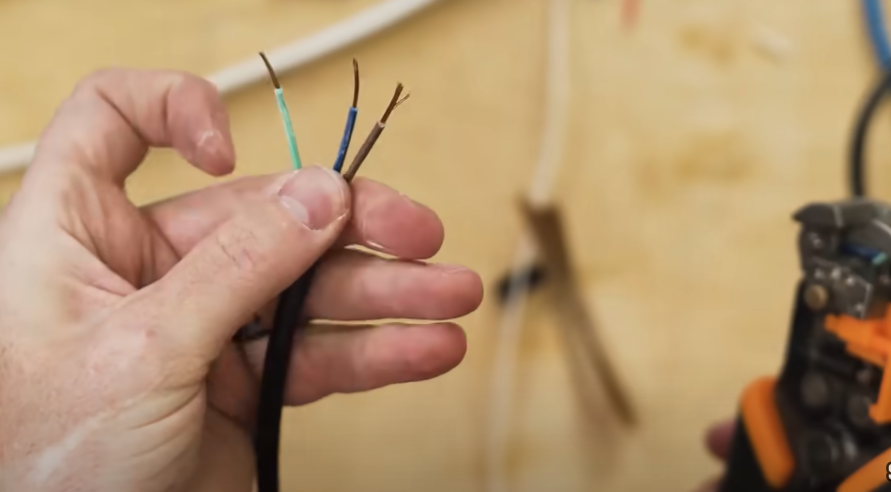
Remember earlier in the post when we were trying to replace the plug on that power cord? Those three little cables are delicate, and we don’t want to cut into them. So, rather than snipping the end and then pulling the sheathing back, you can just use some universal wire strippers, and it will pull that outside sheathing off without a problem. Then, without touching a thing, you can also strip the three small wires inside.
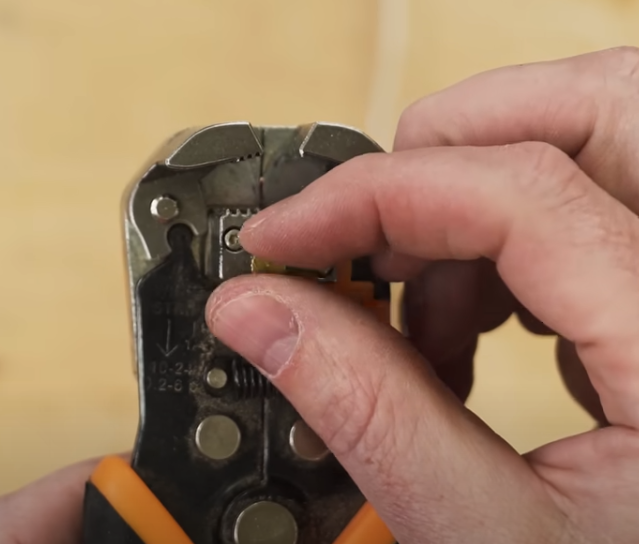
If you are working with finer wires, there is this little knob here that you can twist to adjust the delicacy or the pressure with which it pulls those apart. These wire strippers also have a depth stop built in. So if, for example, you want to take a half-inch off a whole bunch of wires. You can just set your depth stop to a half inch, push each wire up against it, squeeze the trigger, and you’ll get consistent results on every wire.
There are seven more things I want to show you. Hopefully, you found some cool stuff in there. But what about painters’ tape? I’ve got seven clever tips for painters’ tape that you can check out HERE. And I’m pretty sure you’re going to learn something new in there. By the way, none involve painting, as it turns out. So go ahead and click HERE.
Have you thought about purchasing a 3D Printer? Be sure to look at my post 3D Printing: 13 Things I Wish I Knew When I Was Getting Started. Click HERE for all the details.
Caulking jobs are commonplace with Home Ownership. Check out How To Caulk Like a Pro. Click HERE for more information.