
Are you looking for more DIY Home Improvement Ideas to save you money? Check out some of my most popular posts-
How To Update Your Home’s Exterior for the New Year
Decorating Tips For Your Next Remodel
Things To Know Before Remodeling Your Main Bathroom
Here are seven alternate uses for painters’ tape to help you out around the house.
Tip 1 – Blue and Glue
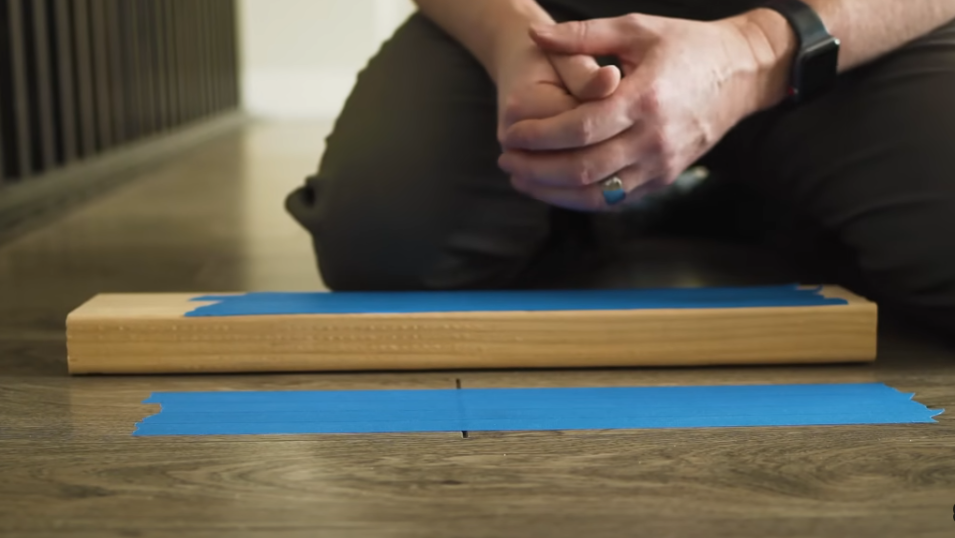
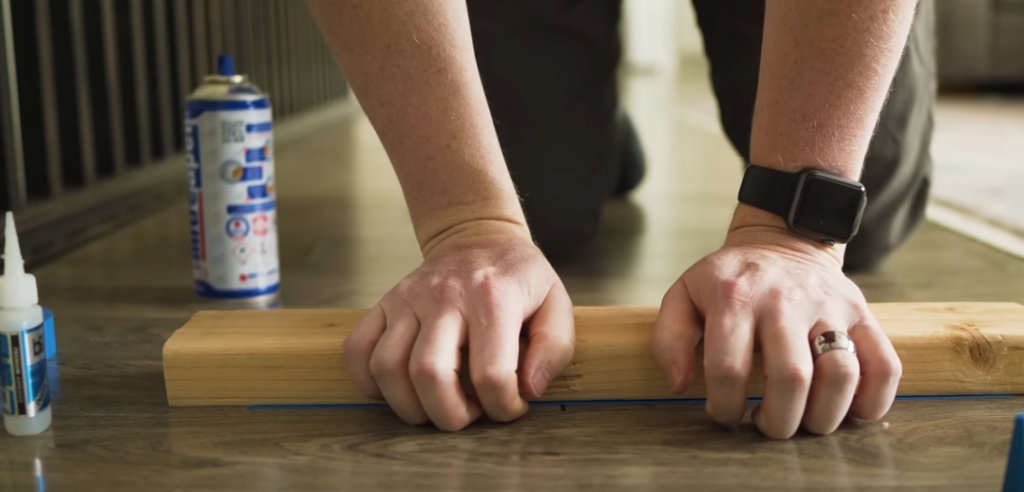
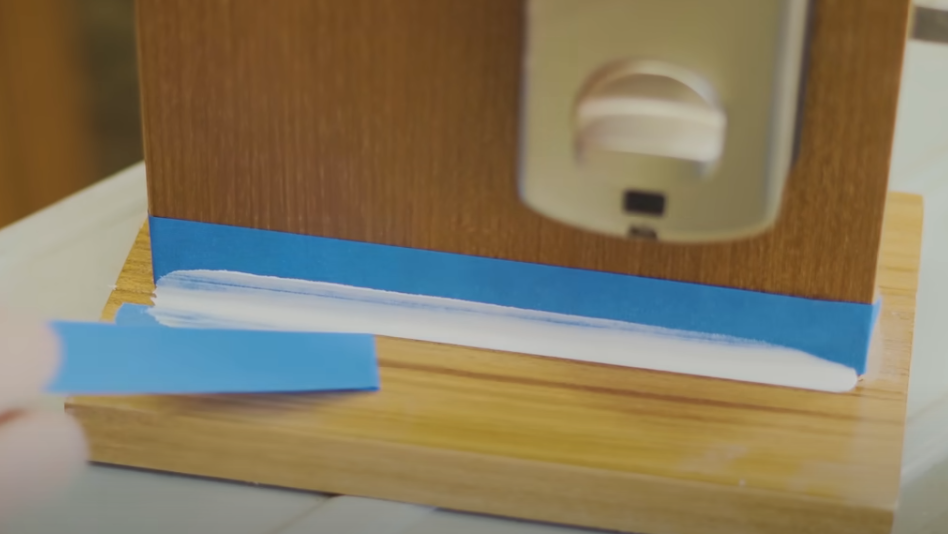
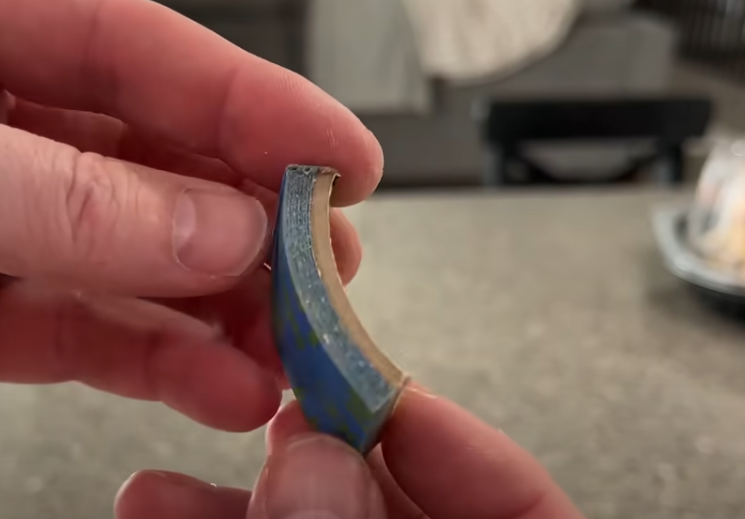
Now our number one tip is called Blue and glue. This is a technique I learned from my buddy Robert at RAS guitars. I’m putting down blue painters tape on one surface and then on the other, and we’ll use some glue to temporarily connect the two pieces that we can remove after the project. I’ve got the 2 surfaces prepped with the painter’s tape.
I have a couple of options. The cheapest and easiest way is to use super glue and a bit of moisture. I have a slightly damp sponge that I apply to one side of the prepped surfaces, and then super glue on the other. I have found that super glue gel doesn’t work well. So I want to get the standard or traditional super glue that’s runny and liquid, and that reacts well to water. It acts as an accelerator to help it bond immediately.

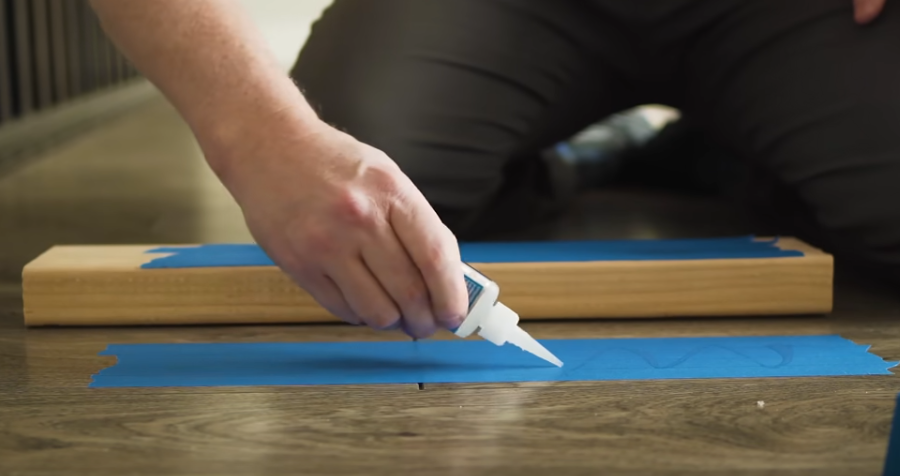
The other option is a bit nicer, and most people don’t have this, but if you do, it’s a great way to move things quickly. This is called CA, or cyanoacrylate glue. I have a can of accelerator. I’m going to show you how this works quickly. I’ll place a little bit of this glue onto one side of the tape that is on the floor.
Then I’ll spray the other side with accelerator, making sure not to get it on the glue at all.
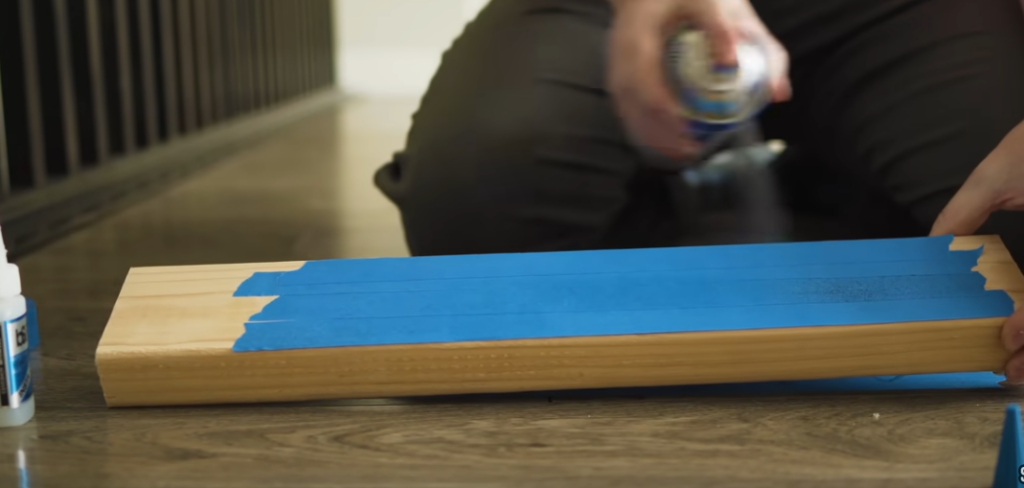
When I place the two together, they’ll react. I will push down hard on this for just a few seconds. That should be all it takes. Now, this is rock solid in place. It’s not going anywhere. And you can use this to temporarily keep these two pieces together.
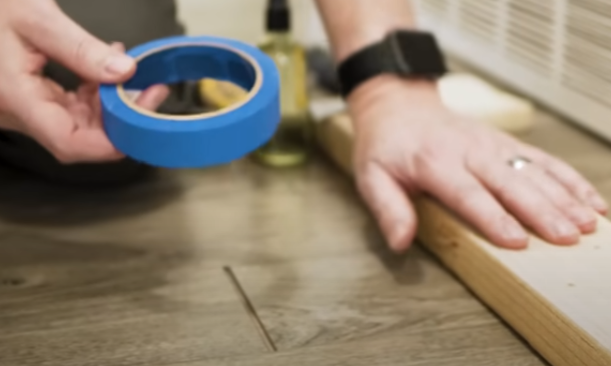
When you’re all done with that and you’re ready to remove them, you can use a standard chisel, and you can pry these apart, and they’ll come apart a lot of times. You can take this off, and then the glue will hold the tape together so that you can put the tape onto another surface to glue it on there temporarily as well.
Now, if you’re wondering why I’m gluing a two-by-four to the floor of my house, that’s a good question. I’ve got a video where I can show you how you can actually use that two-by-four to fix gaps that exist in your laminate flooring or a floating floor. So be sure to check the video out HERE.
Tip 2 – Paint Color and Date Reminder
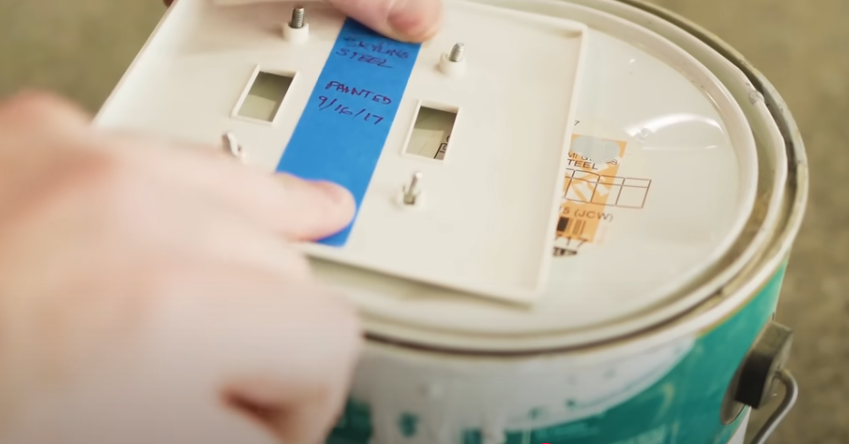
An issue that you can run into is when you’ve painted a wall, and then you forget later the exact color that was used and when it was painted. Here is a little trick you can do with painters’ tape and the light switch cover plate when you finish your painting job. Before you screw your cover plates back on the wall, take a piece of painter’s tape and write down any information you need to know about the paint and the date that you painted it. Place that in the middle of the switch plate. The next time you go to paint, all of the details will be on the back side of the switch plate.
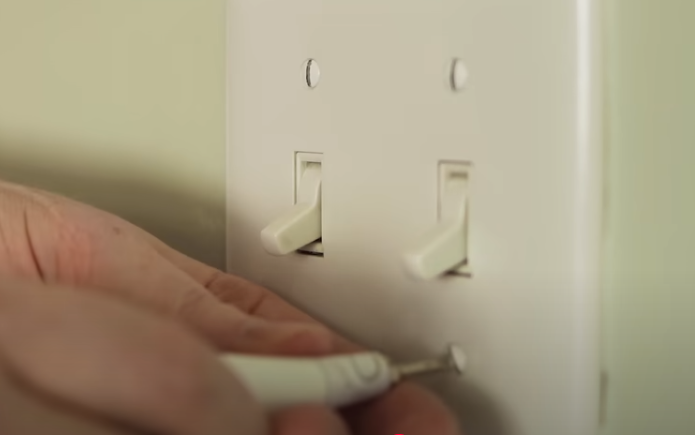
Also, don’t be a barbarian and leave your screw heads like that just, you know, indulge us OCD people, and straighten those things out so they look beautiful.
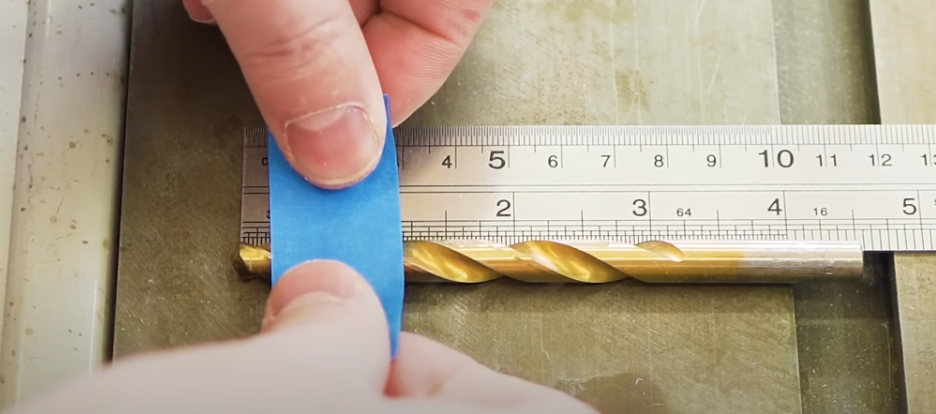
Tip 3 – Drill Bit Depth Gauge
Sometimes you need a certain depth on your drill bit, and you don’t want to drill too deep. Again, painters tape to the rescue. So let’s say you only want to drill a quarter-inch deep. Place your drill bit and line it up with the edge of a ruler. Take a bit of painters tape and put it right on that quarter-inch mark, and create a little flag. Connect the ends around the drill bit. And that’s your quarter-inch measurement right there.
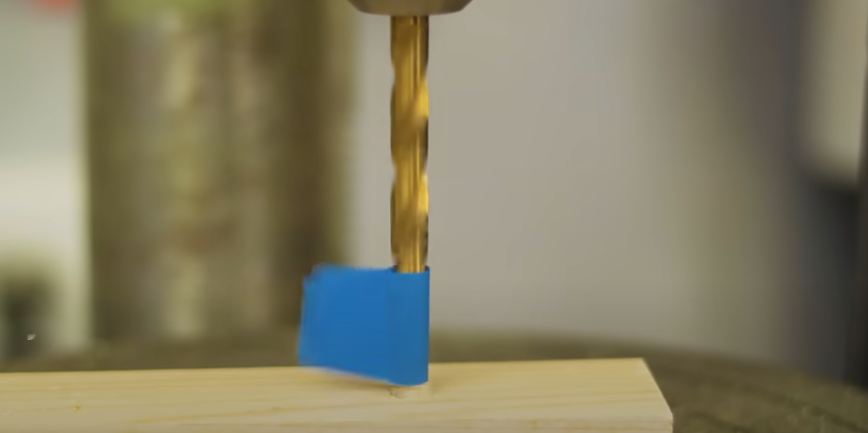
As soon as your flag starts clearing away the wood chips, you will know you have hit the mark. With this blue flag on here, you can pretty easily see exactly when that makes contact with the surface of the wood, and you know you’re done. The hole is drilled to the exact depth that you needed.
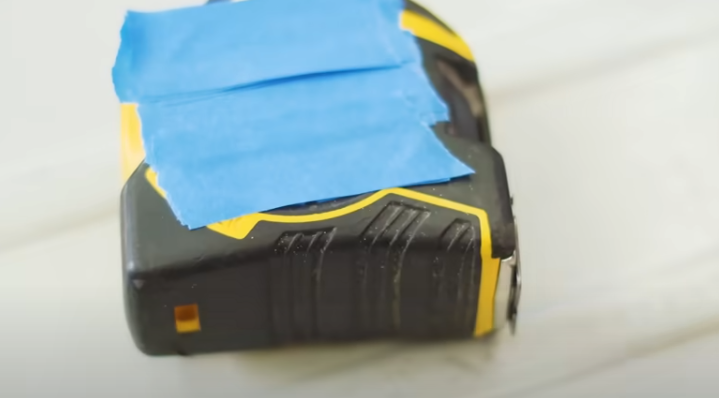
Tip 4 – Tape Measure Labels
Number four on the list is adding little strips of blue tape onto your tape measure to write down your measurements as you make them. Now this tip has 2 parts. The first thing is to put those down and write them down.
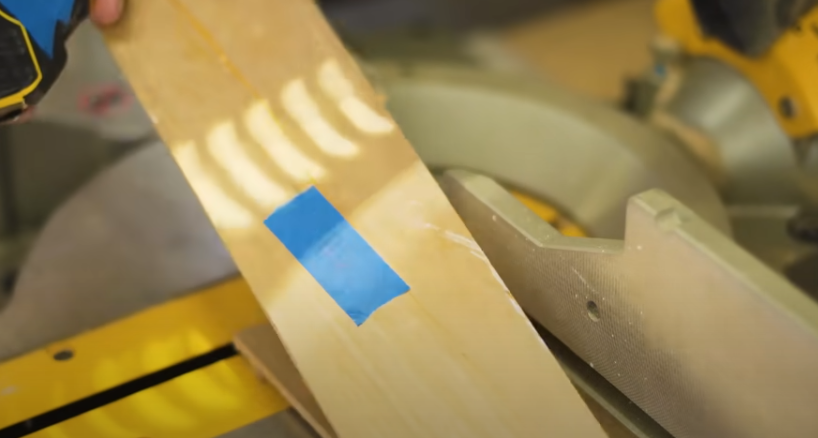
If you’re taking a measurement inside your house, for example, and you need it from A to B, write that down. Then you have to walk out to where your saw is, maybe in your garage or your shop. The second part of the tip here is that you can just tape that piece of tape with its measurement written on it right onto the board. You will know exactly which measurement that board is.
Tip 5 – Caulking Guidelines
Painter’s tape makes a great guide for getting perfect caulking lines. So let’s say, if you need to run a bead of caulking along a joint, you can use painters’ tape to lay a straight guide. Be sure it is an equidistant amount away on the base, as well as on the wall. Push that down and make sure that it is on there good and tight. Then apply the caulking and run your finger across it.

While it’s still wet, remove both strips of tape.
Tip 6 – Dust Catcher
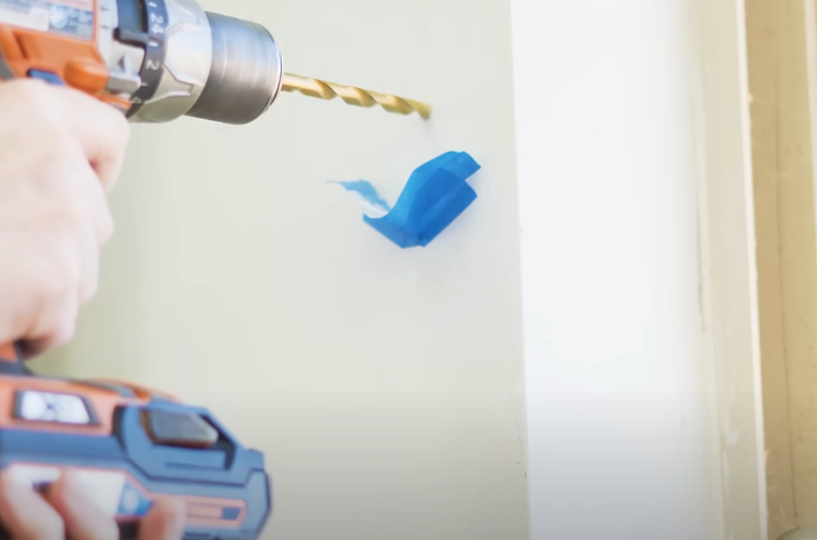
You can use painter’s tape to help keep things clean while drilling into drywall. I’ve got a couple of pieces of tape. If I need to drill a hole into drywall, I’m going to place this tape in a kind of U shape, so it makes a little pocket for things to fall into. When I drill the hole, I can catch all that powder that comes out of the wall. If you need to drill any further, it will even catch any wood chips or shavings that come out. When you’re done, it all stays on the tape.
Tip 7 – Tearout Prevention
When you get nasty splintering happening, it is called tear-out. This is what happens when your saw blades come up through the surface of the wood. And you can see, for example, on the skill saw here, the teeth are pointing this way. When it spins, it spins this way, and that means the saw blade is coming up through the top surface here, which is causing this tear-out right here. On a table saw, the teeth point down, and they come out through the bottom of the wood.
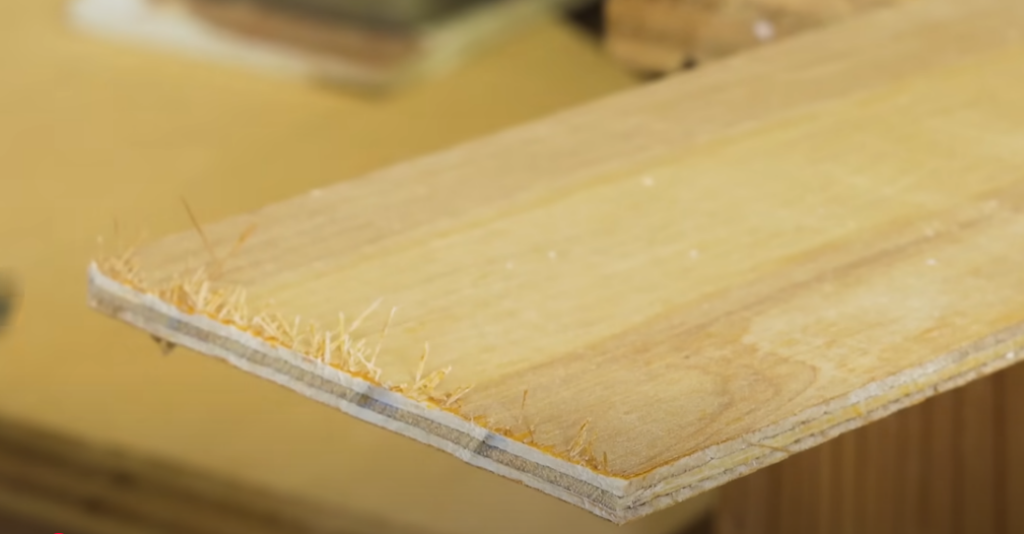
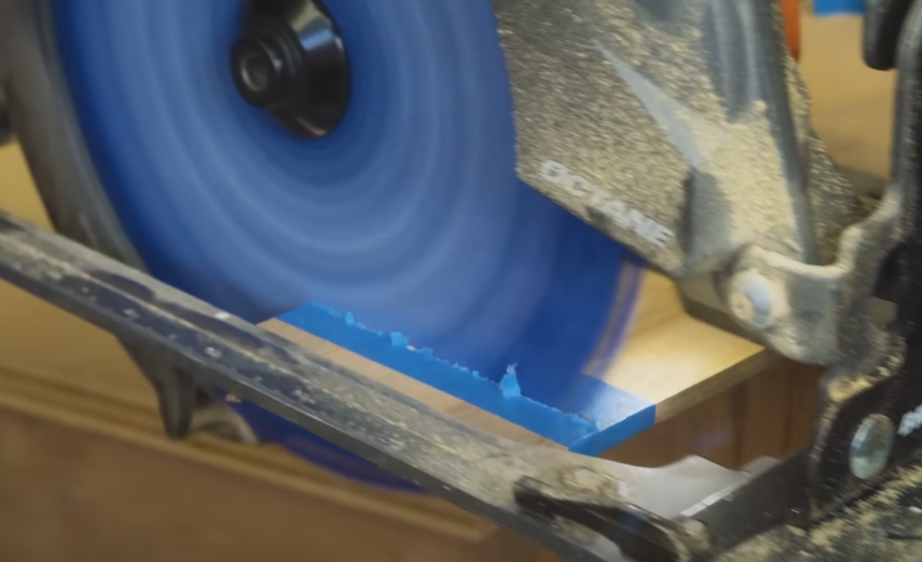
Painter’s tape can help with this. Watch what happens with no painter’s tape? It gets pretty gnarly and is a bad cut. Not something you would want. I’ll do the same thing with a bit of painters tape on there.
Push that down, run it again. When I remove that painter’s tape, it looks much better.

Painters’ Tape History Trivia
Painter’s tape was invented in 1988 by 3M, the same company that invented its predecessor, masking tape. Unlike masking tape, the painter’s tape didn’t leave that sticky residue. And a quick tip, if you do have some sticky residue from masking tape hanging around your house, you can use some WD-40 to wipe that right off.
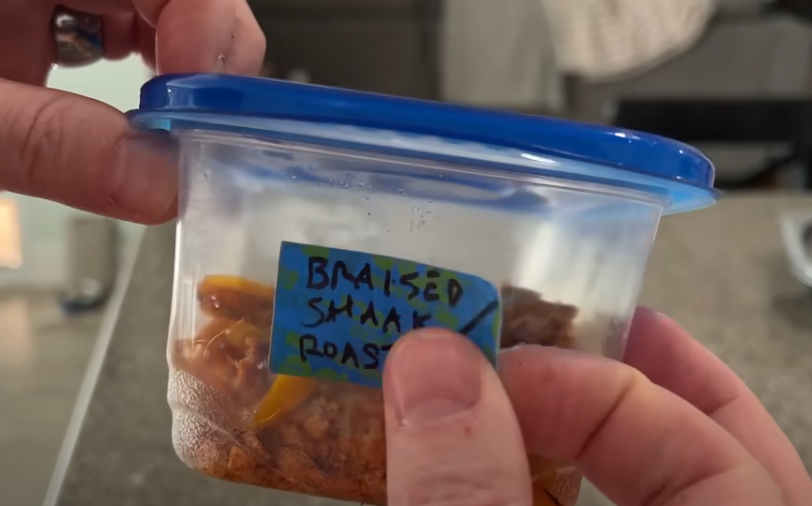
Bonus Tip – Painters’ Tape Makes a Great Label
An extra bonus tip for you, which is not part of my seven tips. If you have a roll of painters’ tape that’s getting low and you have a safe way to cut it, you can actually cut this up into small pieces so that you have a bunch of small stickers or labels. These are perfect for things in the kitchen or just labels around the house.
Are you a Homeowner? Check out my post on 5 Monthly Maintenance Tasks New Homeowners Should Do. Click HERE for details.
You’ll like this one on Home Renovation Ideas to Consider As You Head Into Spring. Click HERE to learn more.