
Here are some fun tips and projects to improve your yard and home. Click on the links to get all of the info.
7 Clever Painter’s Tape Tips/Tricks Everyone Should Know
3 Scams Targeting Homeowners
Things To Know Before Remodeling Your Main Bathroom
Check out How to Build a Treeless Treehouse Footings and Deck Part 1 Here
Also, check out How to Build a Treeless Treehouse Walls, Trap Door, and Siding Part 2 Here
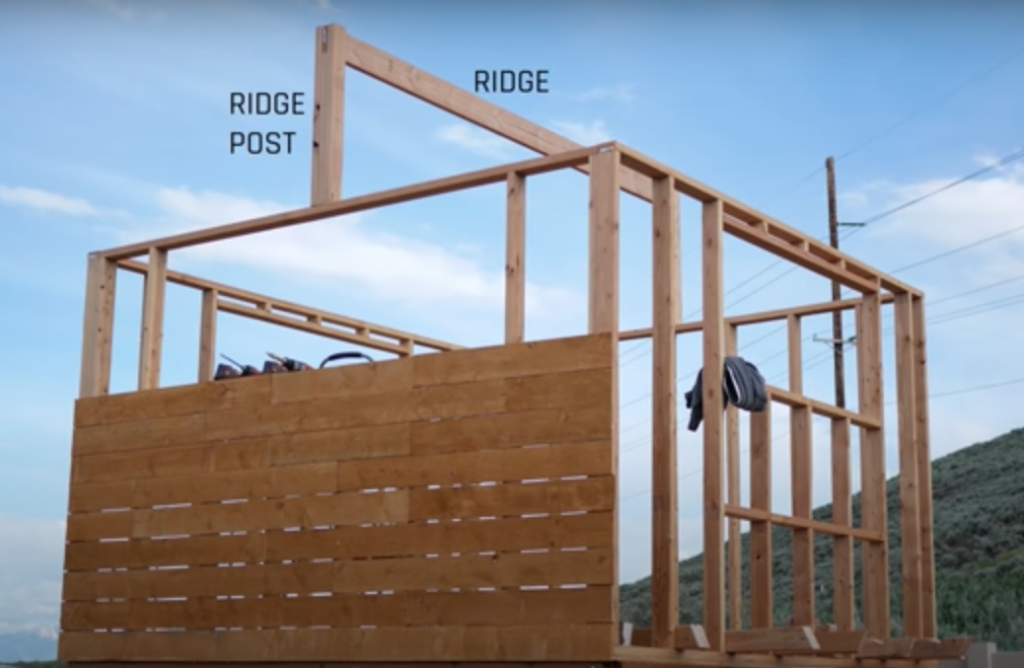
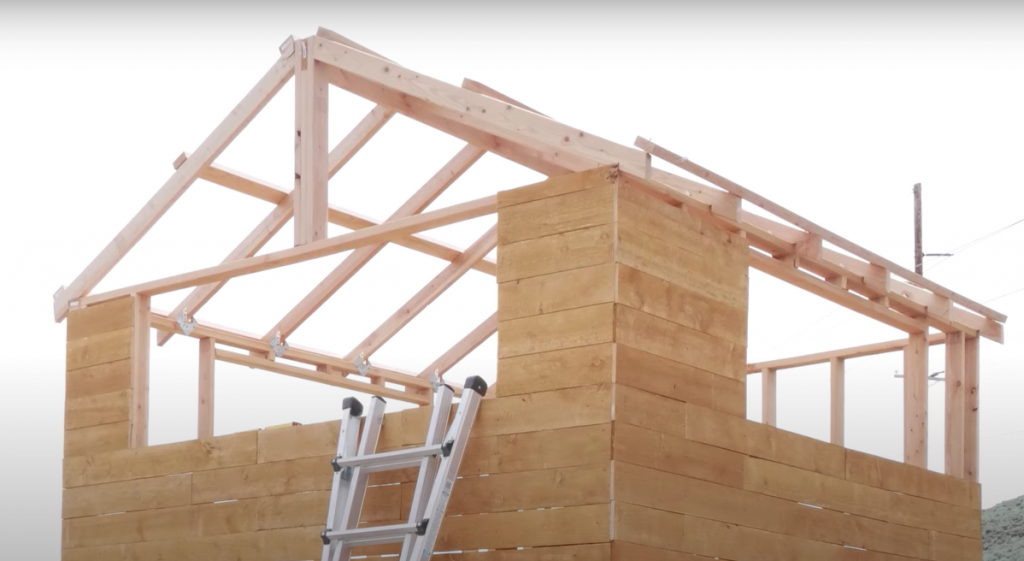
The first thing you need to do to get started with the roofing is to set up the ridge. The ridge board is the one that runs front to back and is supported by the ridge post. The ridge post is basically a set of three 2x4s, with the middle one being shorter, to support the ridge.
Our clubhouse is 10 ft x 10ft, but yours may be different. Use a calculator like blocklayer.com. They have a great truss calculator that helps you figure out what your rafter length needs to be, what the angles will be; this depends on the pitch, the overhang, and the rest of the dimensions that you put in. It’s completely customizable on the website and will provide an exact cutout of what the birdsmouth will be. (The birdsmouth is where your common rafters connect with the framing around the walls.) It will even give you a PDF to scale to use on the board and use as a template for cutting out the birdsmouth.

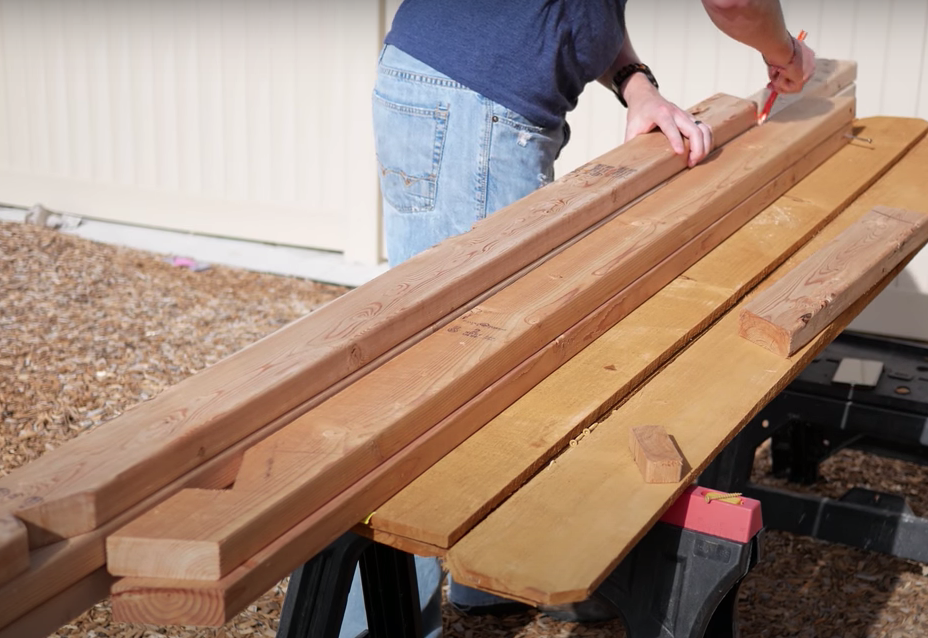
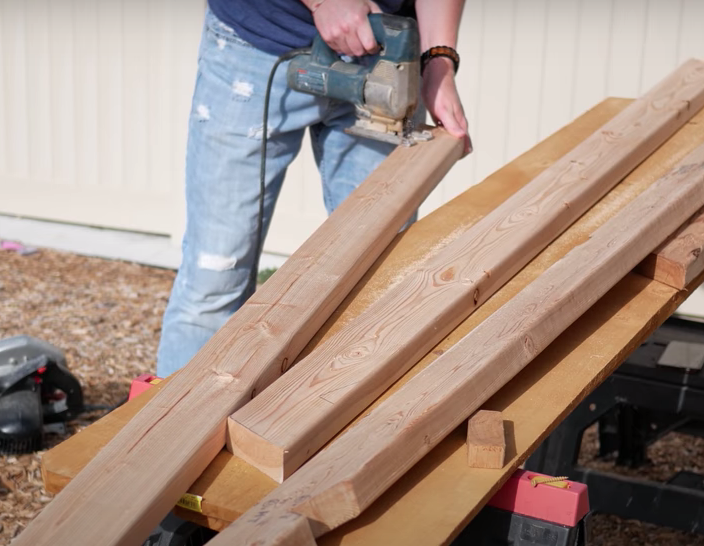
It may be easiest to create one single template out of your first board that you can then transfer to the other 2x4s to make multiple, consistent rafters without having to make multiple measurements for every single board.
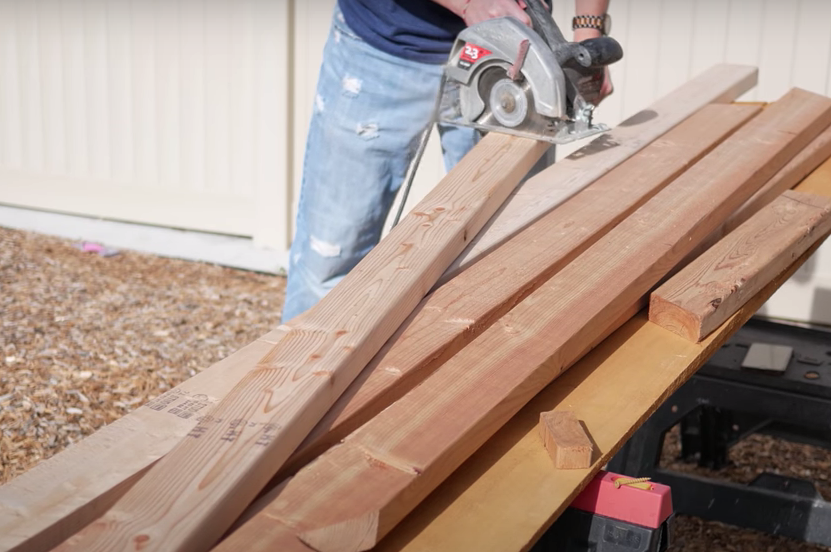
Use a circular saw to cut out the angles, and a jigsaw to cut out the birdsmouth for a nice straight cut without cutting more than you need to. Some people choose a circular saw for both. You do you, boo.
When putting your rafters up, keep in mind that the first one on the edge is going to be a little shorter in length due to the ridge post you’ve put in place, so take about 1 1/2″ off of that one, and the one on the opposite side. This is the case for both ends of the roof (front and back), so 4 boards in total will be a little shorter. The rest of the rafters will be full length.
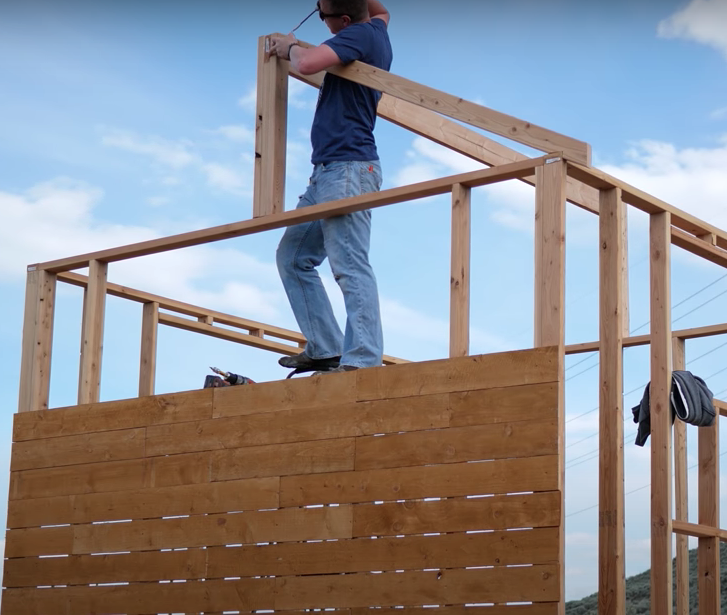
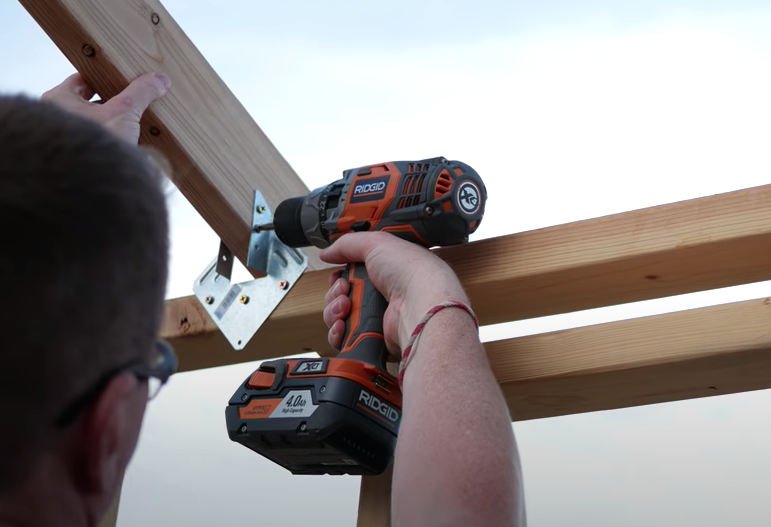
To make it easier to mount, pre-drill the screws, and then attach them by driving some screws on the underside of the walls, and then driving through the tops, near the ridge.
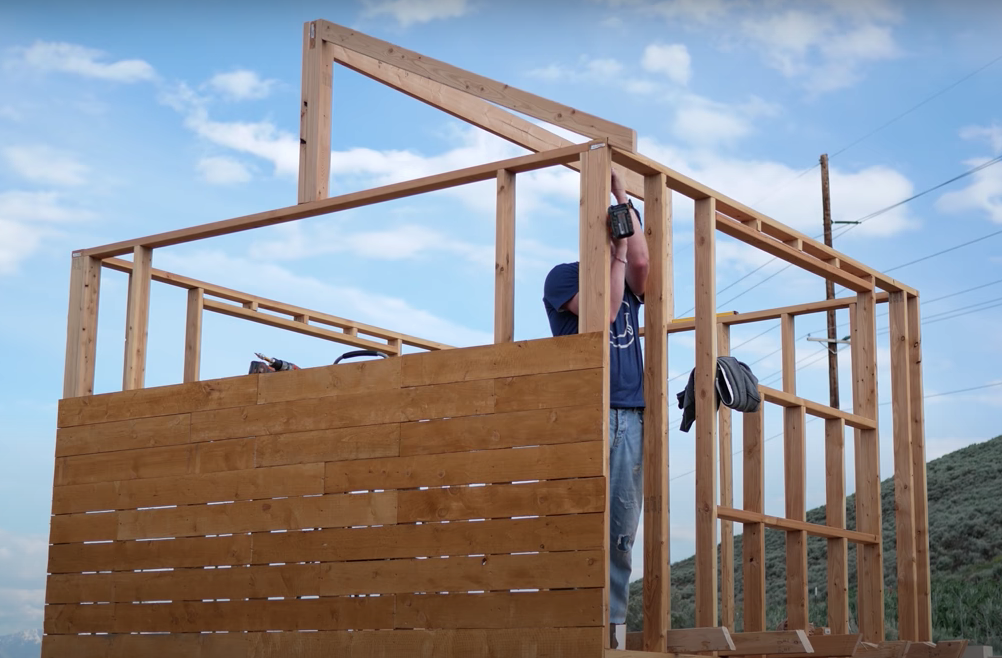
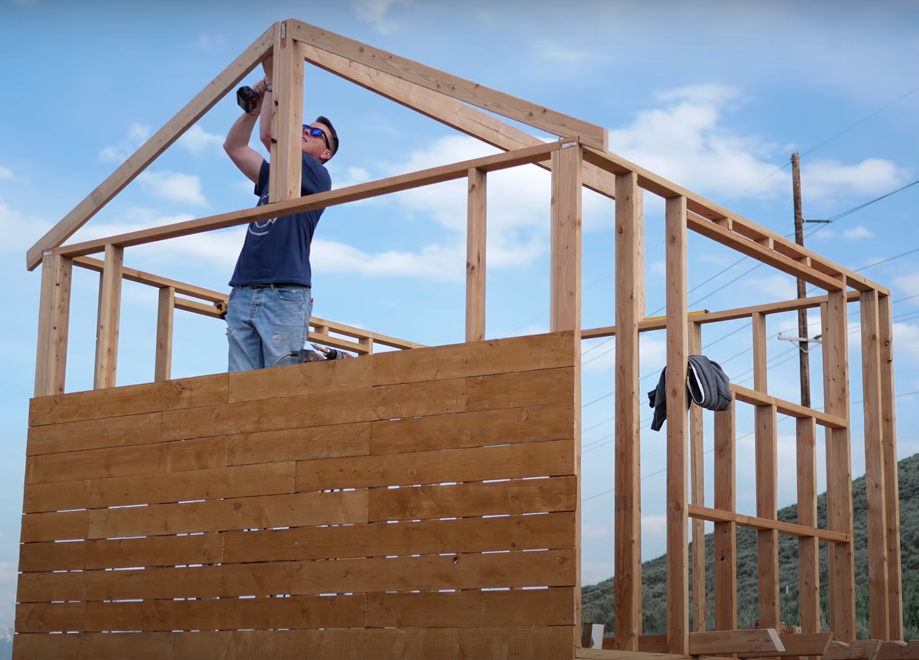
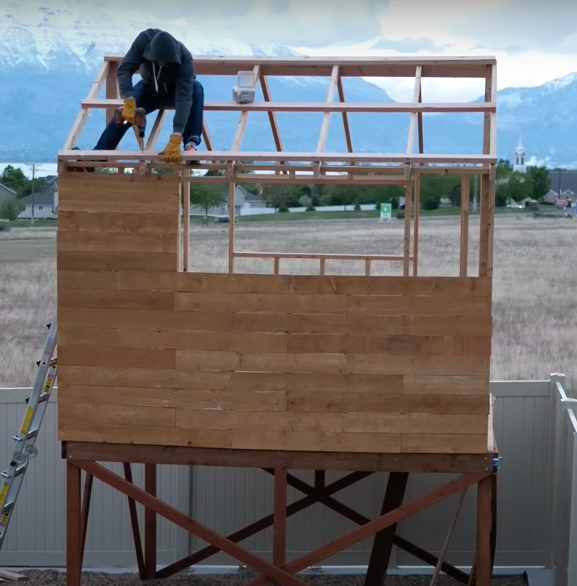
Doing the rafters on each end gives you the ability to make sure the ridge post is nice and plumb. With your 4 end rafters in place, use a measuring tape to mark where your other rafters will be (every 2 feet on center in our case), which will make it quick to attach the rest of them.
Use hurricane ties/straps to strap everything down. These usually go on the outside, but we put them on the inside in this case.
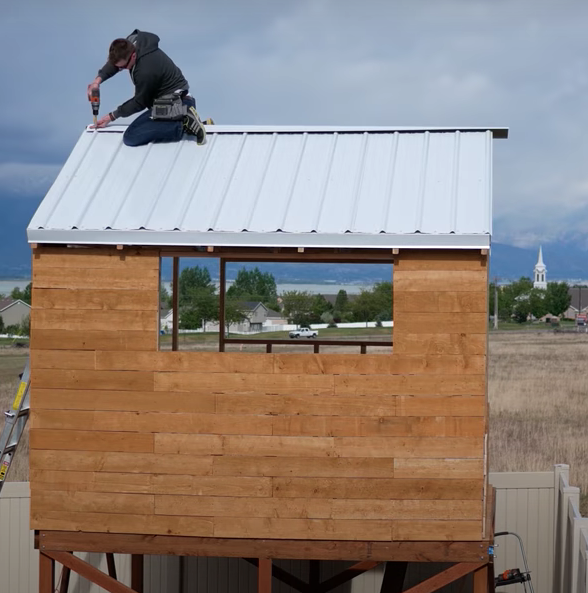
Next up, we put some 2x4s running the length of the roof, which is what we attached the metal roofing to. Put one on the top, in the middle, and on the bottom, on either side of the roof. Fasten each board with outdoor rated screws to every rafter to make sure there is good connection.
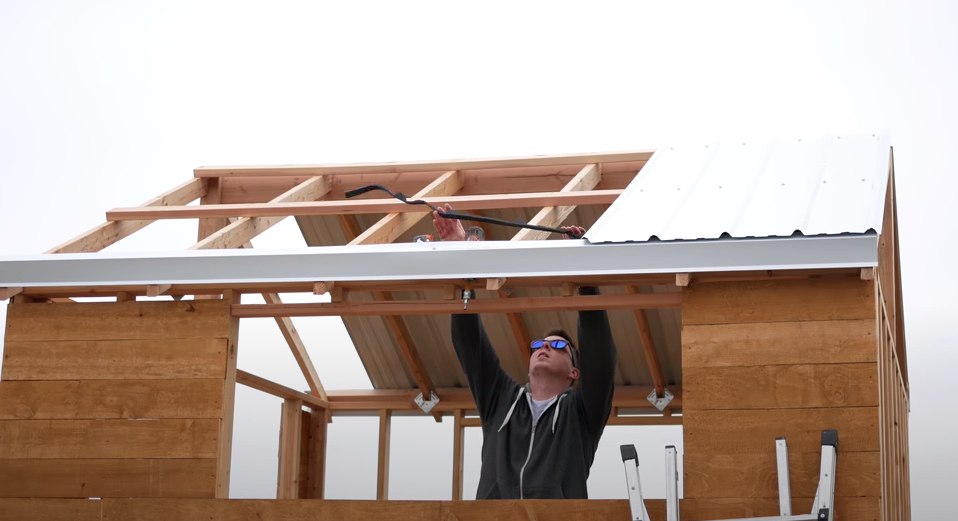
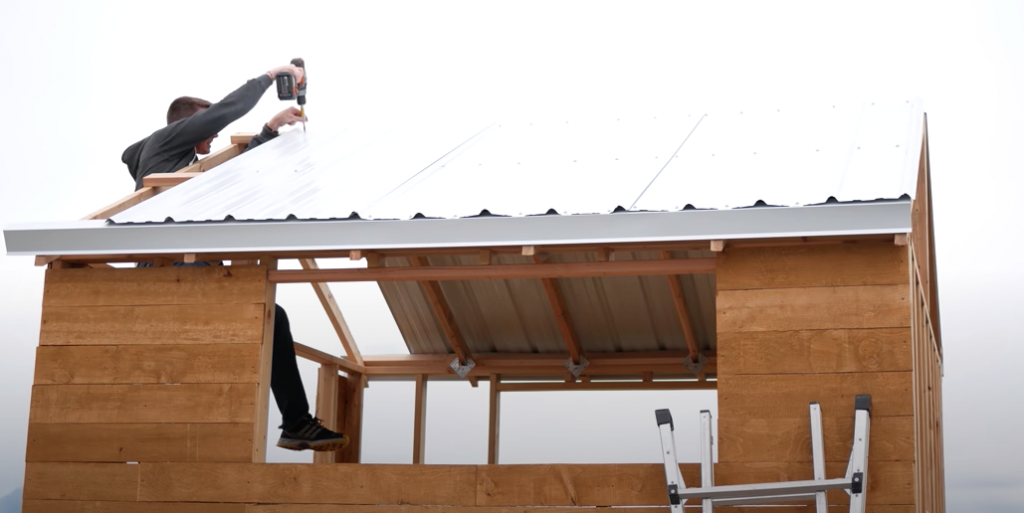
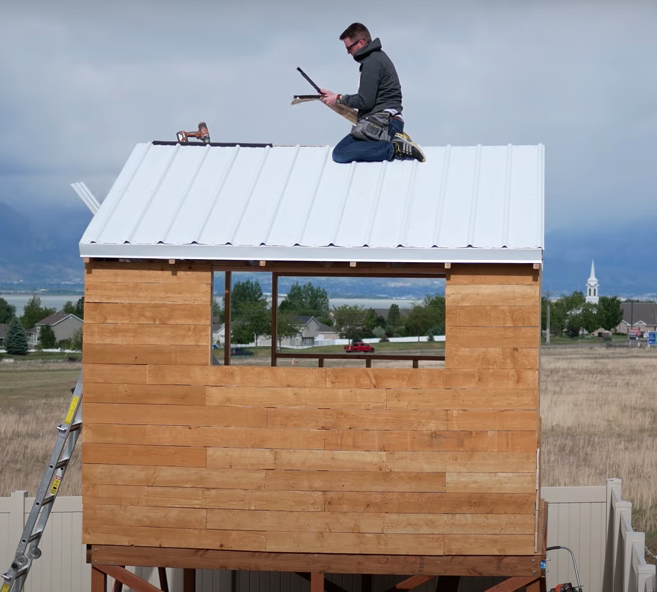
For the roofing itself, we used a ribbed 29-gauge steel roofing panel. These are 3 ft wide and available at most metal supply stores. They can cut these to length, but we lucked out and found some that were the right length already. The screws that you’ll use for the metal are a special type for this exact application. They have rubber seals/washers that help keep water out. Drive two screws on each valley on the roofing, securing it to each of the 2×4 runners you put into place earlier.
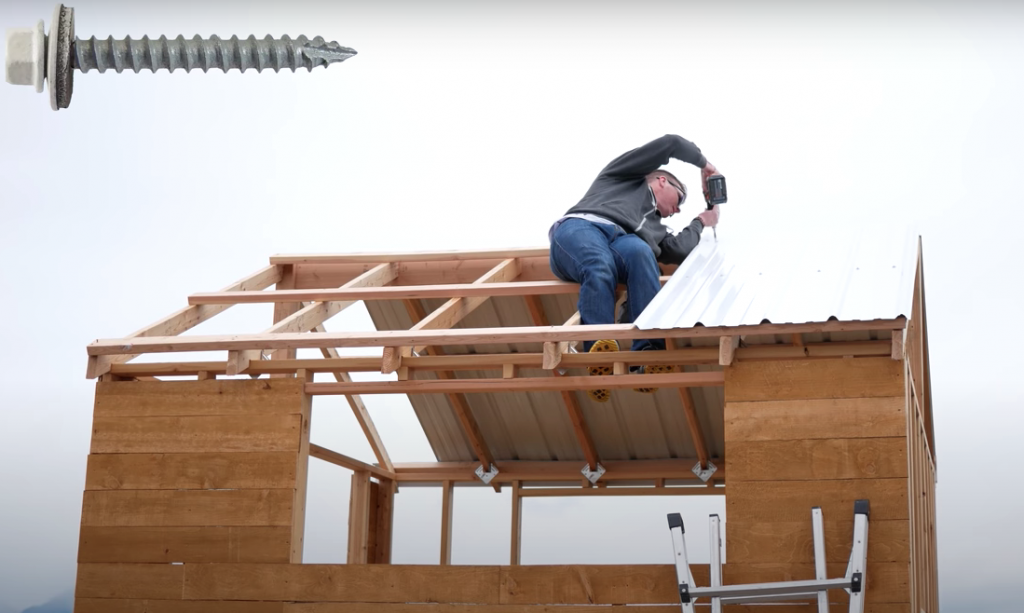
Don’t forget your metal flashing, which goes underneath the roofing panels. Almost forgot about that! You need to use a foam seal in between the flashing and the roof to keep water and wind out. These are available at the metal supply store as well. Attach the roof panel to the flashing and framing.
Make sure your panels are overlapping as you go from one piece to the next.
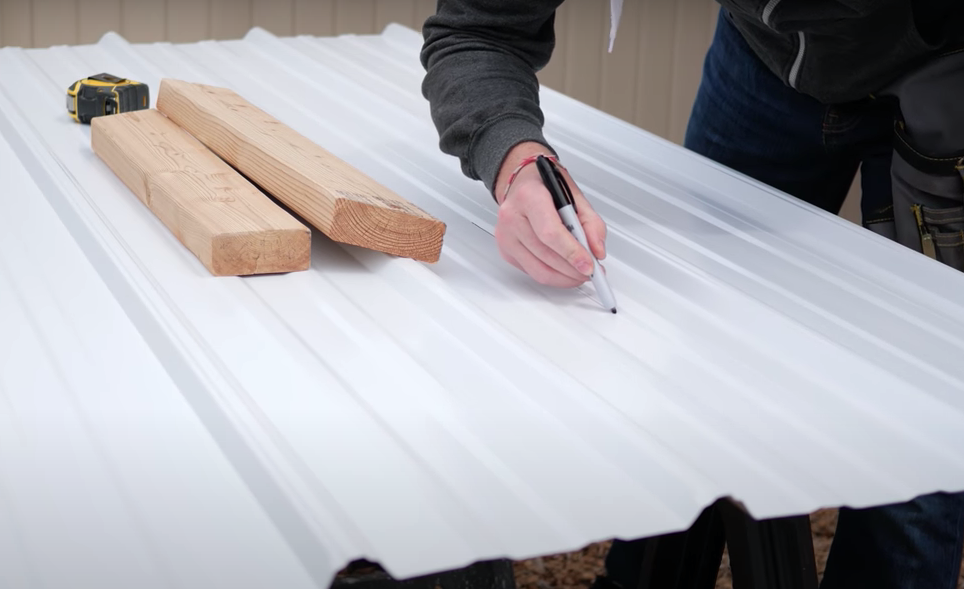
When you get to the end piece, you’ll most likely need to cut it to fit. Use a Sharpie to mark your line, and a cheap cut-off wheel from Harbor Freight to cut it to length.
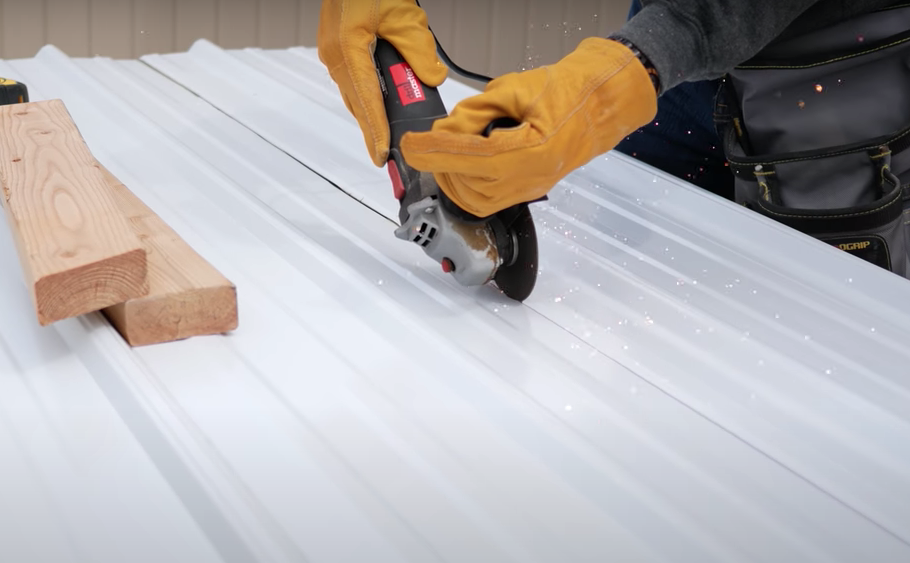
Use the same cutoff wheel to cut off any excess flashing.
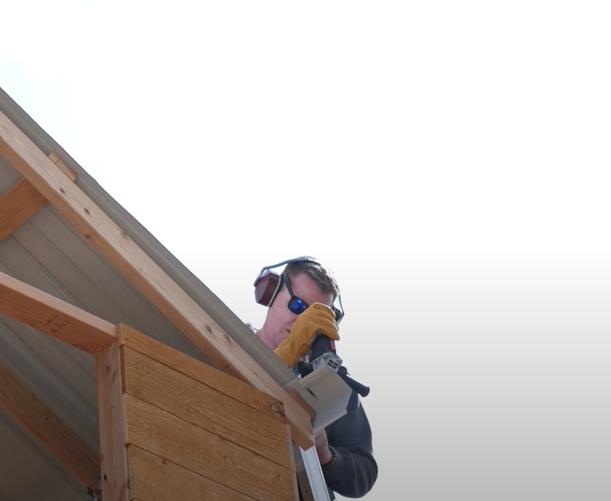
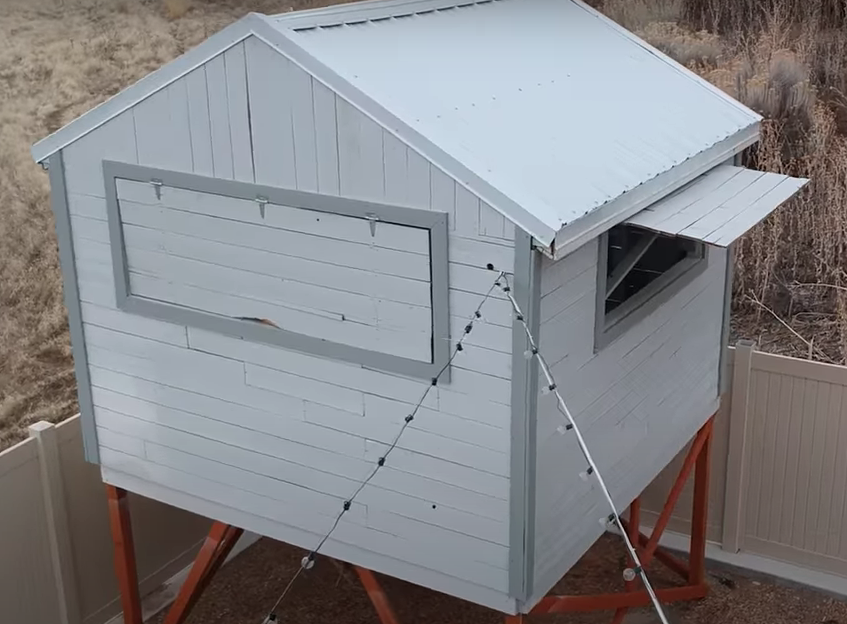
Time for the ridge cap. The toughest part of doing the ridge cap was just getting up there and working on the roof. 🙂 Without a lot of support up there, just go slow and be careful. Start by placing some adhesive seals, working your way down the ridge. Grab the ridge cap, put it in place, and fasten it with screws every 9 inches on the ridges.
Once the roof was up and the siding was finished, it was time to paint. You can use a paint sprayer or roll it on, whichever you prefer. A couple of coats are recommended.

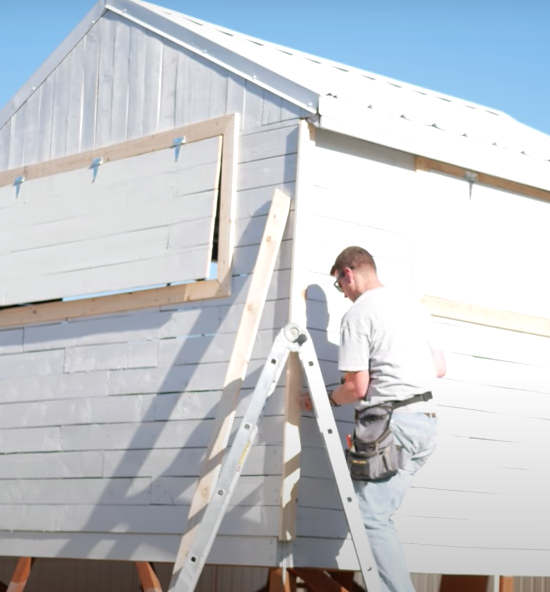
For trim, we used 1×4 cut to size, with 45-degree miters on each end. Pre-drill the decking screws and put them about halfway in so when you put up the trim, all you have to do is fasten the screws all the way.
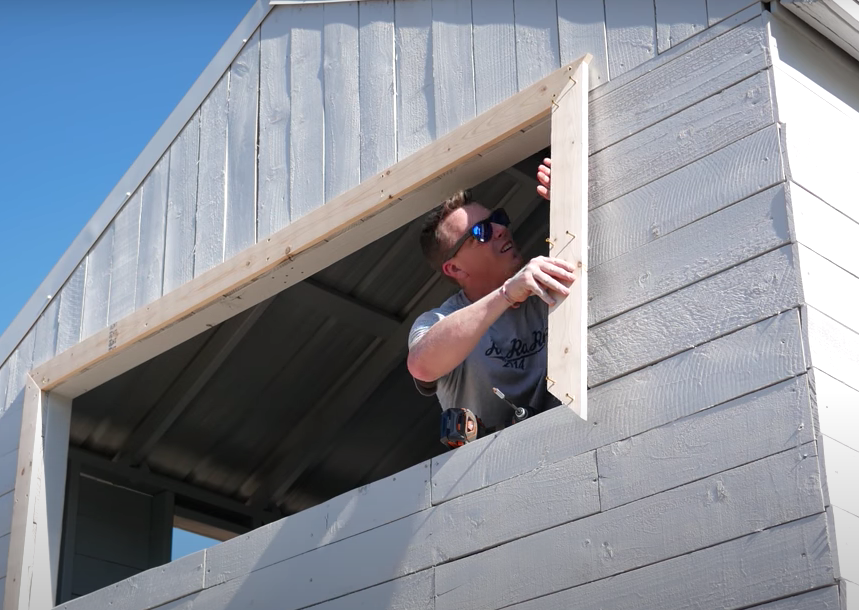
We then attached the shutters using barn door hinges, making sure to attach to one of the thicker parts of the shutter itself so screws wouldn’t poke out the other side.
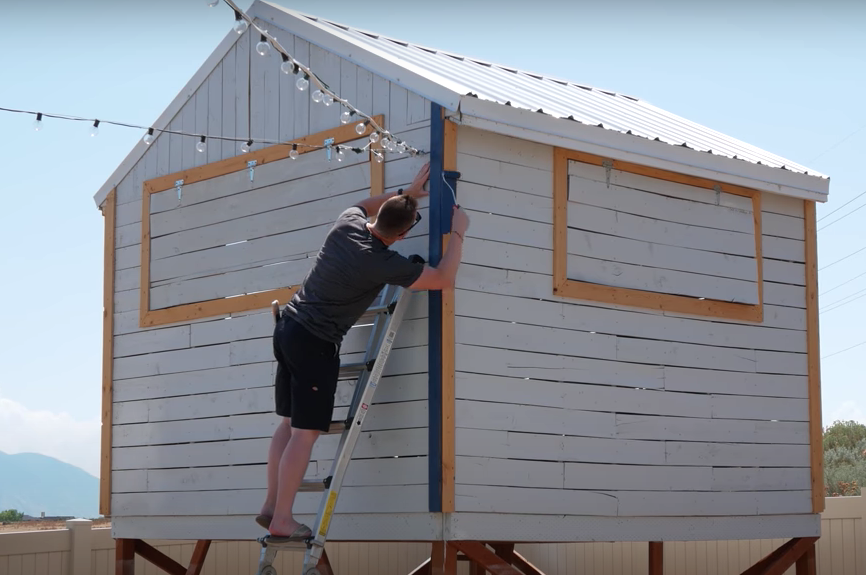
For the corner trim, cut the corner trim top piece at the same angle as the roof itself, then put the side piece on which should be square on top and bottom.
Once the trim is in place, feel free to paint whatever color suits your fancy. We tried out this blue color, but didn’t love it in the end and switched to a more neutral gray.
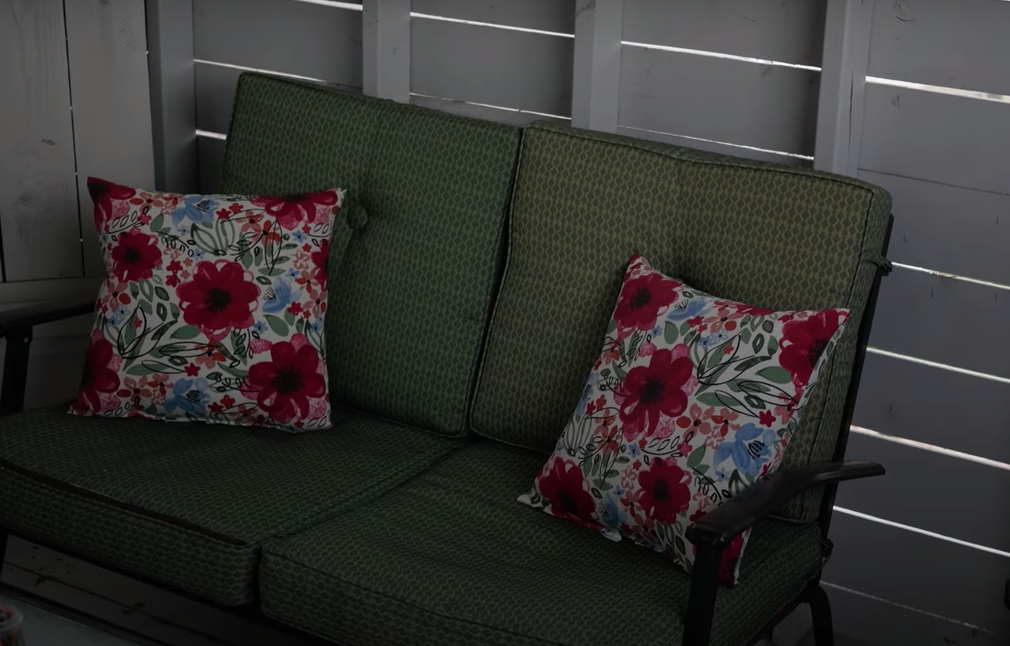
This clubhouse was a fun project. It’s a great place for the kids to hang out and play games, read, or hide from their siblings. We got some patio furniture off the classifieds to help make it cozy. 🙂 Let us know if you have any questions, and we’ll try to help out. Thanks for reading! Watch the video here!

PRODUCTS IN THIS VIDEO: (Links are affiliate links, which means you pay the same but we get a small commission, which helps us create content. Thank you for using them!)
• 1 1/2″ Outdoor Screws: (PAID AMAZON LINK)
• Ridgid Brushless Cordless Driver Combo (I LOVE these drills)
• 1 1/2″ Metal Roofing Screws (White): (PAID AMAZON LINK)
• Angle Grinder (Cutoff Saw): (PAID AMAZON LINK)
• Cutoff Wheels: (PAID AMAZON LINK)
• Sharpie Retractable Markers: (PAID AMAZON LINK)
I’ve tested some great tools that will be a great help with all of your DIY Projects. Be sure to check out the results.
I Bought and Tested the Most Expensive Drills at Home Depot. Click HERE for all of the Details.
You may be wondering about the Hammer Fist tool. Here is my Hammer Fist Review. Click HERE to learn more.