
We bought our house with an unfinished basement, which was exciting to us because it was a clean slate that we could do whatever we wanted with. One of the first things we planned for was a home theater area.
Unlike a lot of people, we decided we against a dedicated home theater. We wanted a shared space for watching movies, playing games and hanging out. There are some trade-offs to having a dedicated home theater, but we do love the results.
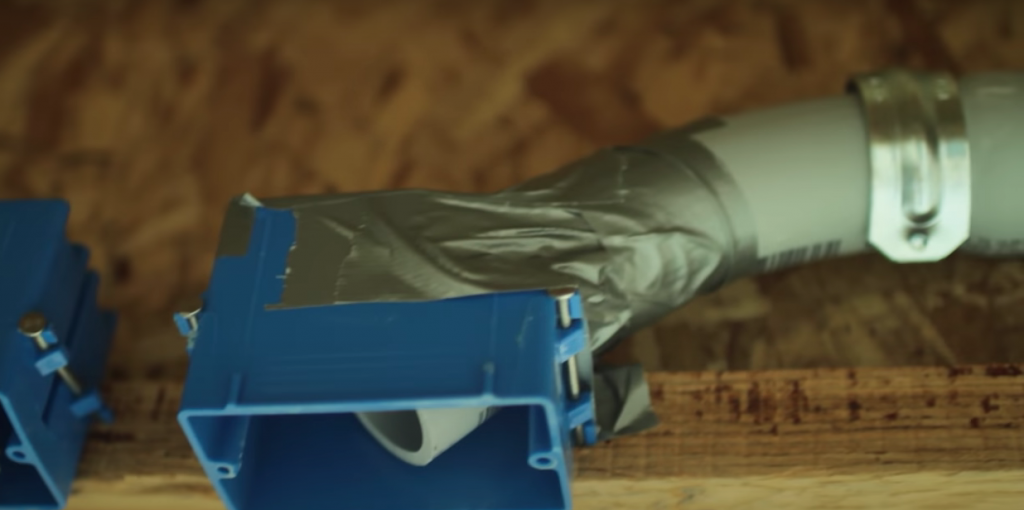
Framing and Wiring
In planning for the home theater, we had to think as far back as the framing. We had to run enough speaker wire in all the locations we wanted at the time, as well as what we may want in the future, for both in-wall speakers and external speakers.

We didn’t have a 7.2 system, or a 7.2.2 system at the time- we had a 5.1 basic stereo system, but we knew we would want to upgrade in the future, so we framed and ran wire accordingly.
We also knew we were going to want a projector, and with that in mind, planned out where we wanted it to be, what the throw ratio would be based on the size of screen we wanted. From there ran a 1 1/2″ conduit pipe with soft elbows so we could run HDMI cords, ethernet, or whatever else we needed to from the projector, down to where the receiver would be.
We made sure to use in-wall rated speaker wire for all the speaker wire that we ran, but one thing I would do differently is run MORE of it. I would have run speaker wire for both in-wall speakers as well as external speakers.
I also would have placed the subwoofers in two different areas. Right now they’re both on the right side, and it would have been nice to to have them surrounding the area a little bit better.
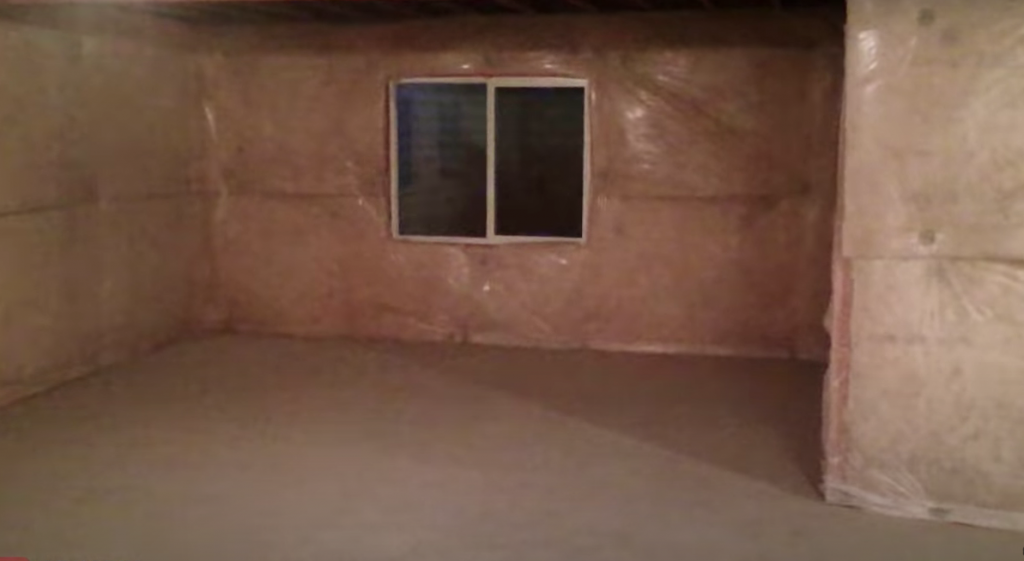
Insulation
When it came time to insulate, we wanted to make sure the walls were really well insulated. We insulated every wall in the basement, as well as the ceilings, so that the bedrooms downstairs are much quieter when we have a movie playing. We also put in a solid core door to the stairs that connect the downstairs to the upstairs. Both of these things make a huge difference.

After we had everything insulated, we put up drywall, and finished the basement. It was a long process…
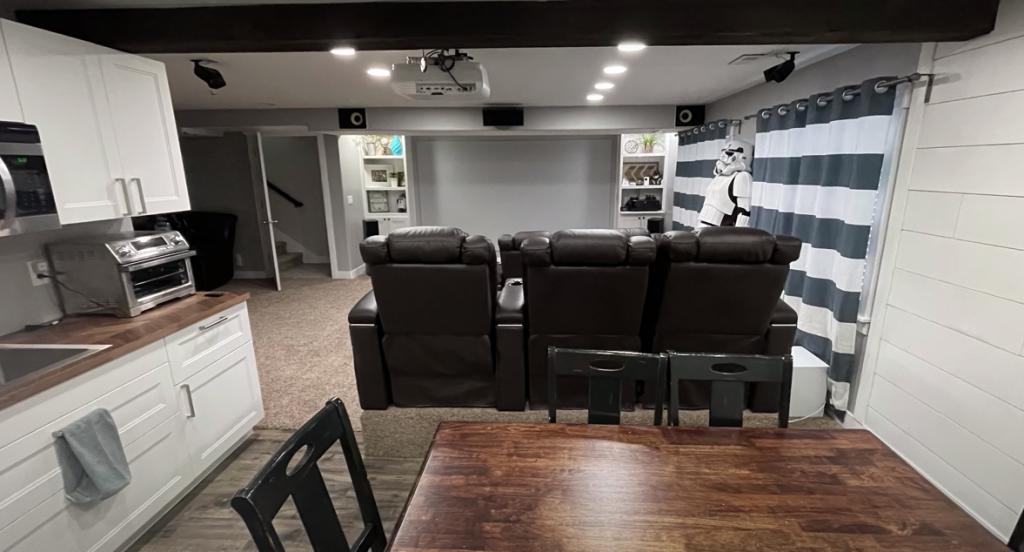
Cabinets and Beginning Home Theater Setup
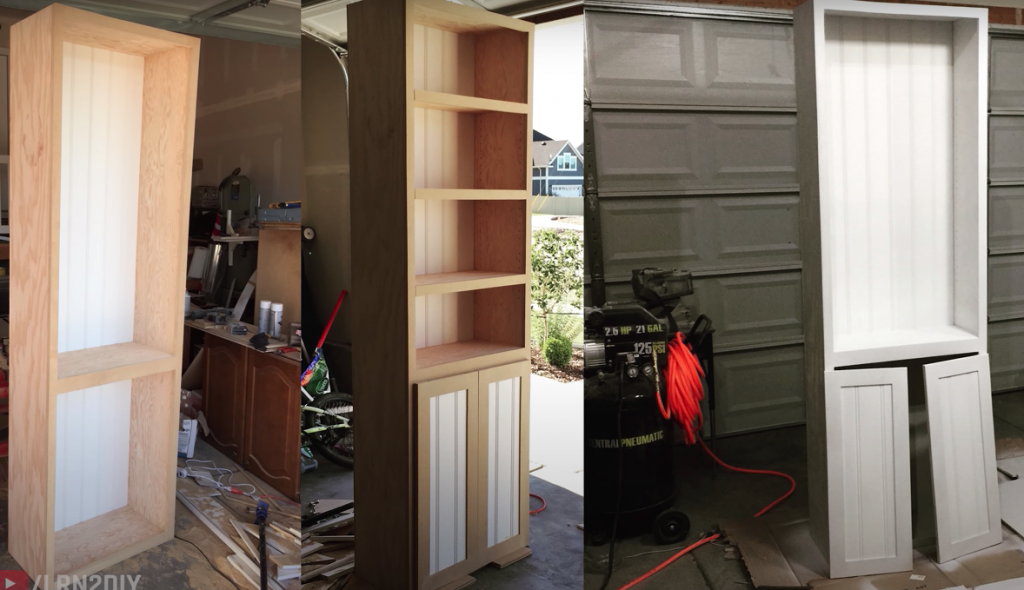
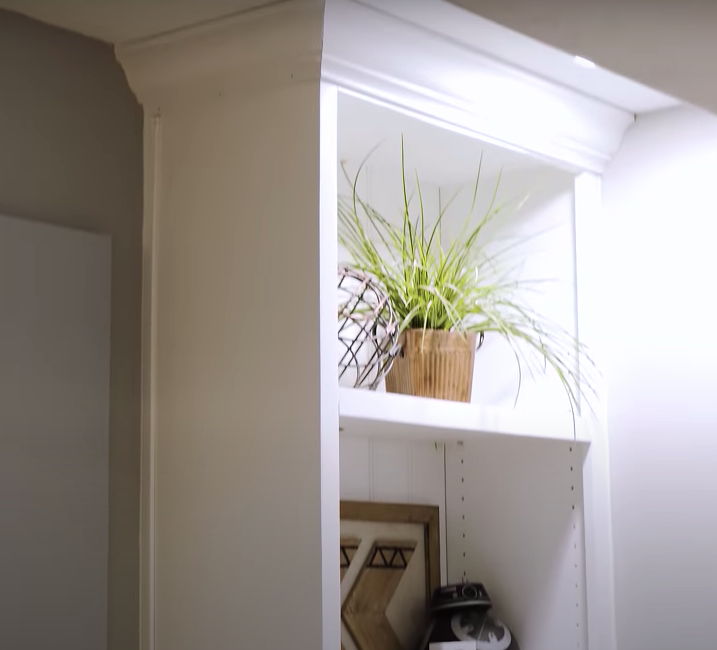
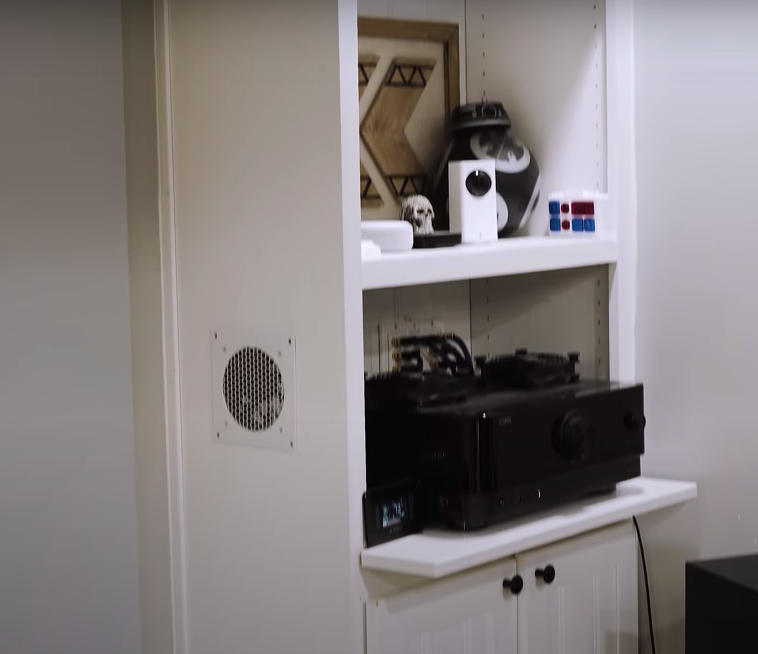
Next up we built some cabinets, which we really love. These sit on either side of the screen, and they house all of the media equipment, like the receiver and gaming consoles. They also have decor to fancy the place up a bit.
There are also cabinets on the bottom to hide anything we didn’t want seen.
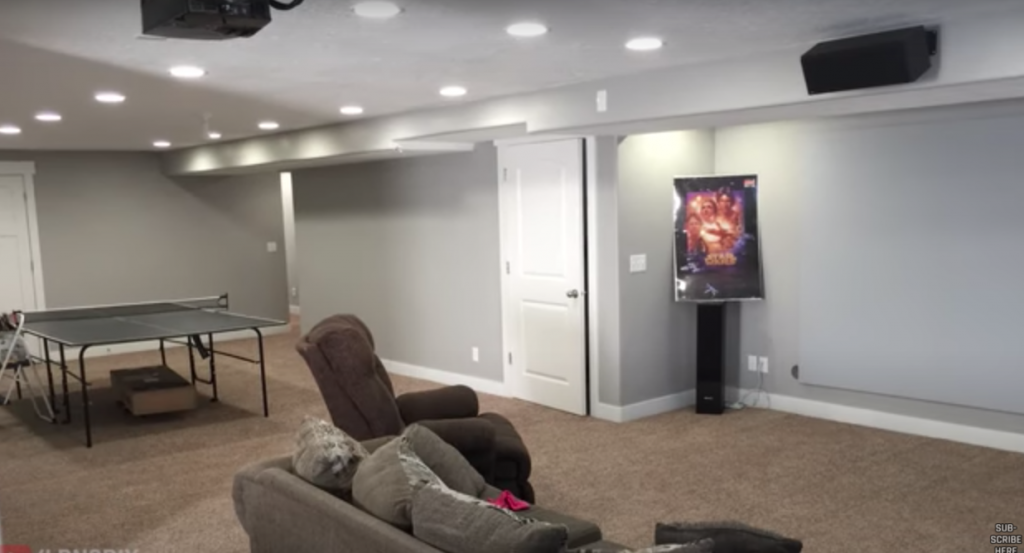
Once the basement was finished, we were excited to have a home theater space. We purchased a 1080p projector for around $500, and found a 5.1 speaker set used on the local classifieds for about $250. From there, we built a screen for about $100. So you can see by the picture below, we got started on a budget, and have slowly upgraded as we could afford to do so.
Home Theater Upgrades
For the amplifier, we’re using a Yamaha TSR 700 (paid aff. link). It’s capable of 7.2.2, which we’re currently using. It runs in 4K, but can also be upgraded with a future update to 8K. We probably won’t be doing that anytime soon, but it’s nice to know it’s an option. It also has all the Dolbys: Dolby Atmos, Dolby Atmos Height Virtualization, Cinema Vision, etc.
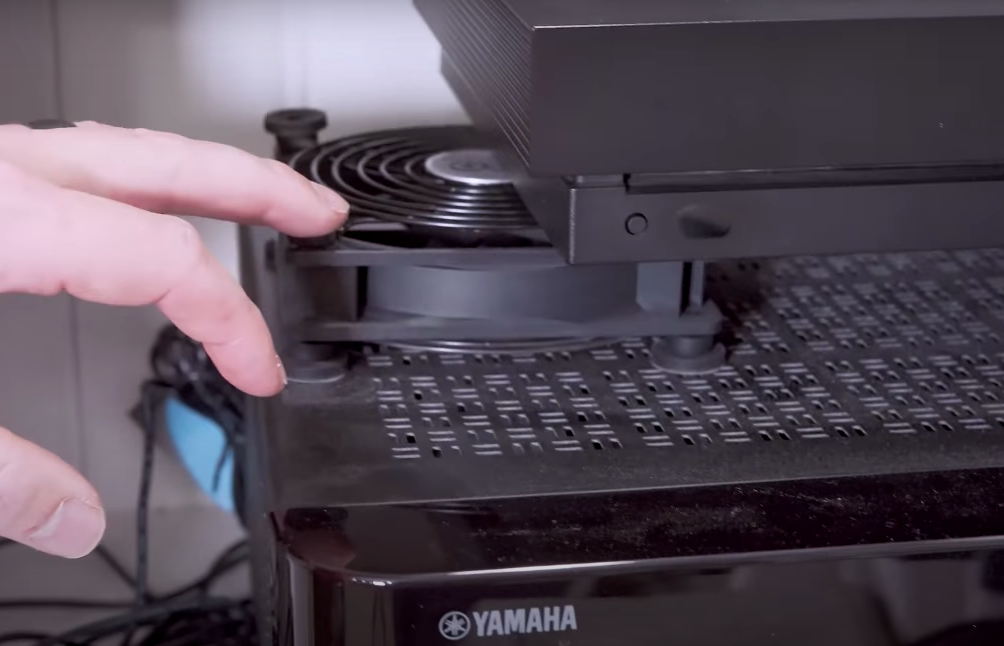
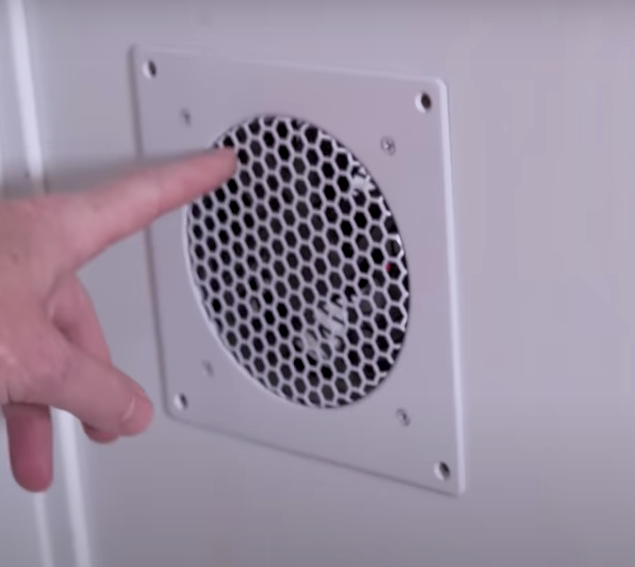
To keep everything cool temperature wise, we’re using the AC Infinity setup. If this thermostat reaches 80°…
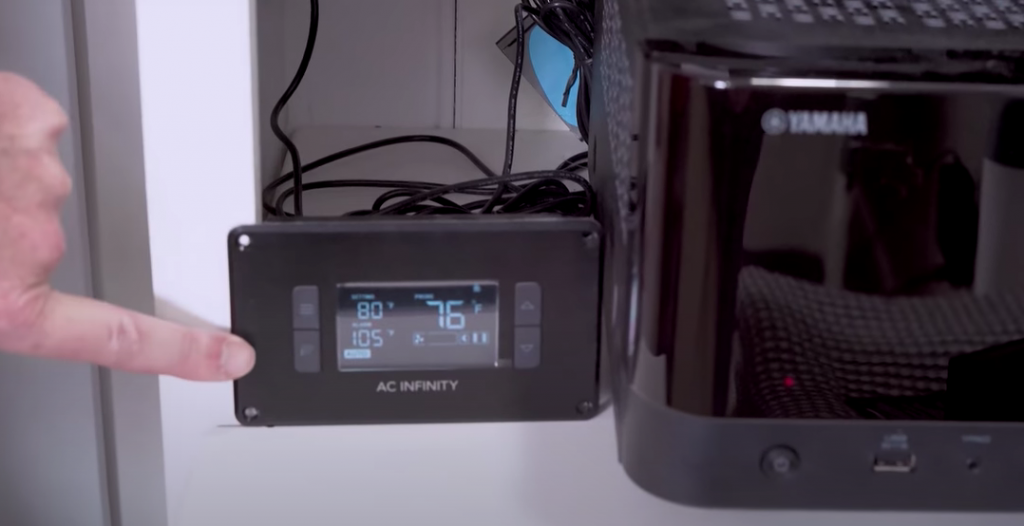
It will kick on some fans, which will blow air and circulate through both the receiver and the XBOX.
There’s another fan on the side of the cabinet to help blow everything out. We painted the grill white to match, and it seems to work quite well.
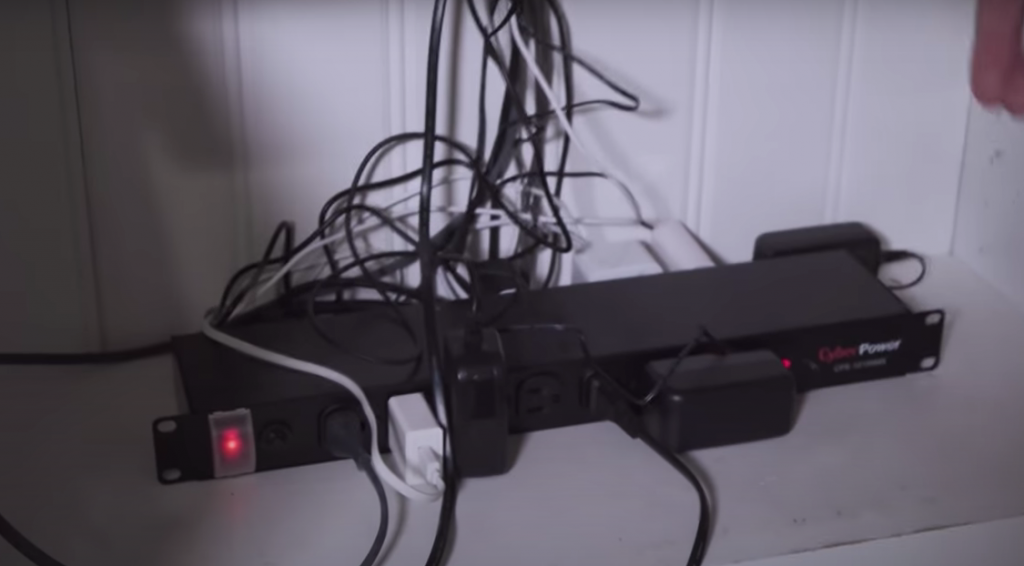
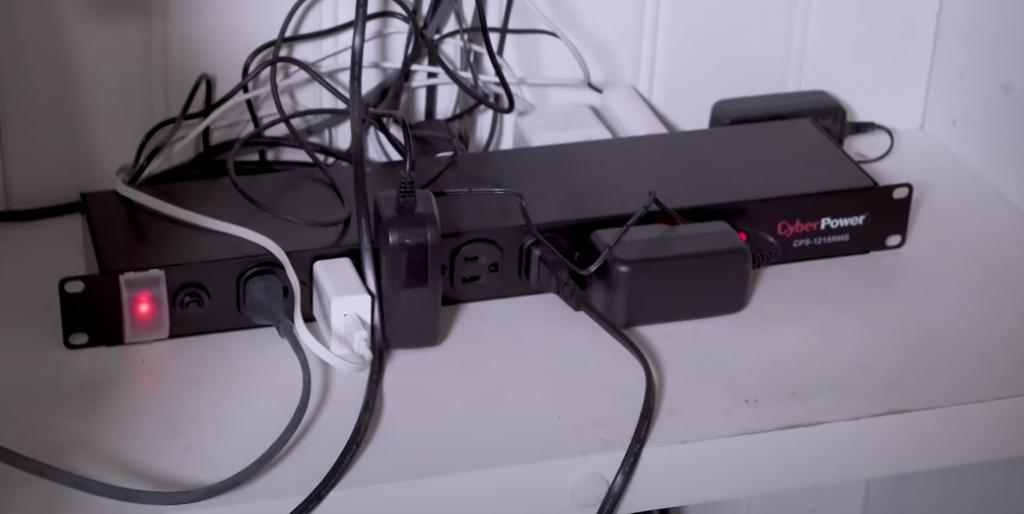
As far as making sure everything looks decent as far as power conditioning, we’ve got the CyberPower power conditioner that everything in the entire setup is plugged into.
Speakers and Subwoofers
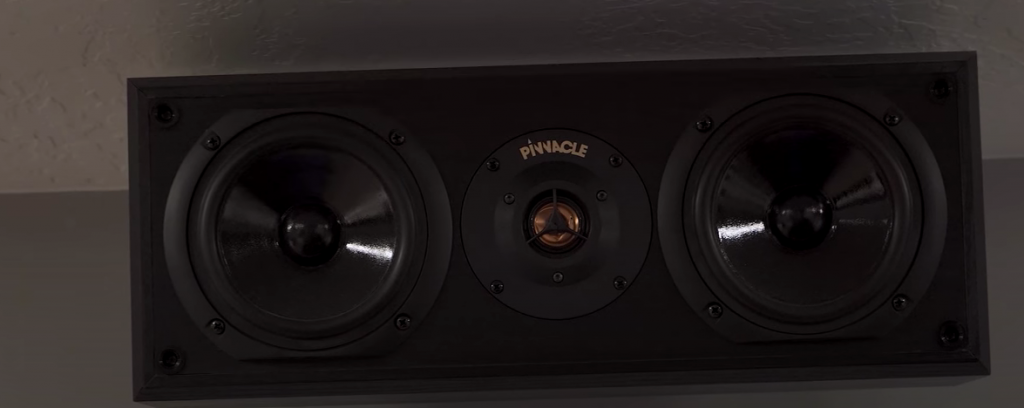
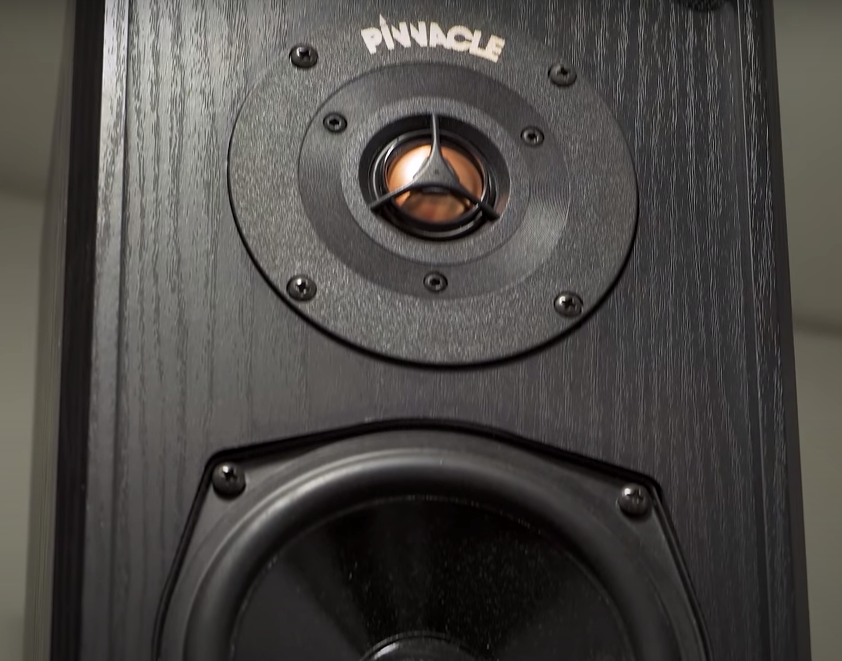
For speakers, we use the Pinnacle tower speakers that we got from the classifieds; those are running as the front left and front right; we’ve also got a Pinnacle center channel that’s great for vocals, voice and other audio.
We also have a pair of rear surrounds, also made by Pinnacle. So that’s one whole set.
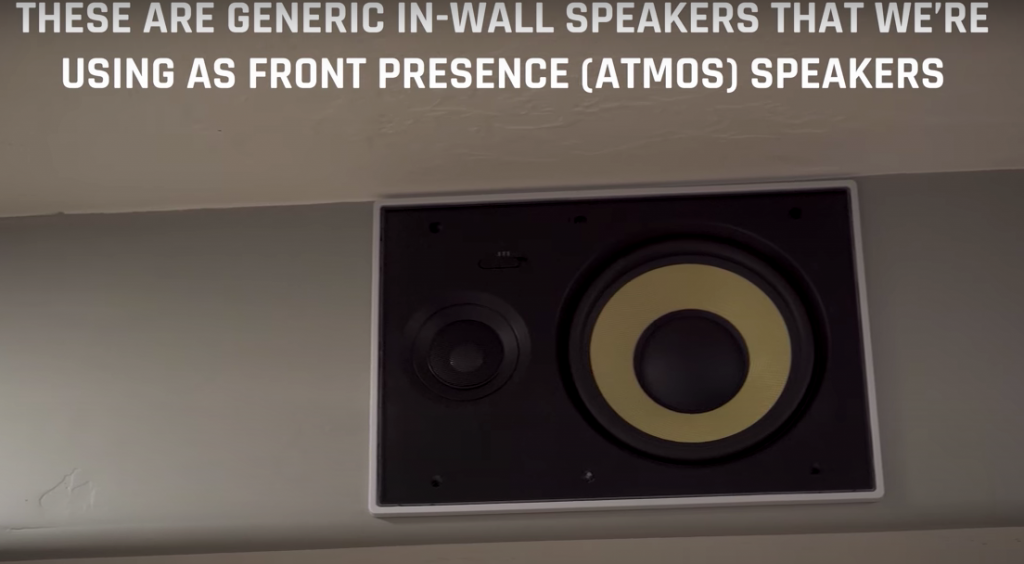
For Atmos speakers, we got some free in-wall speakers from a neighbor who was moving, and are using those.
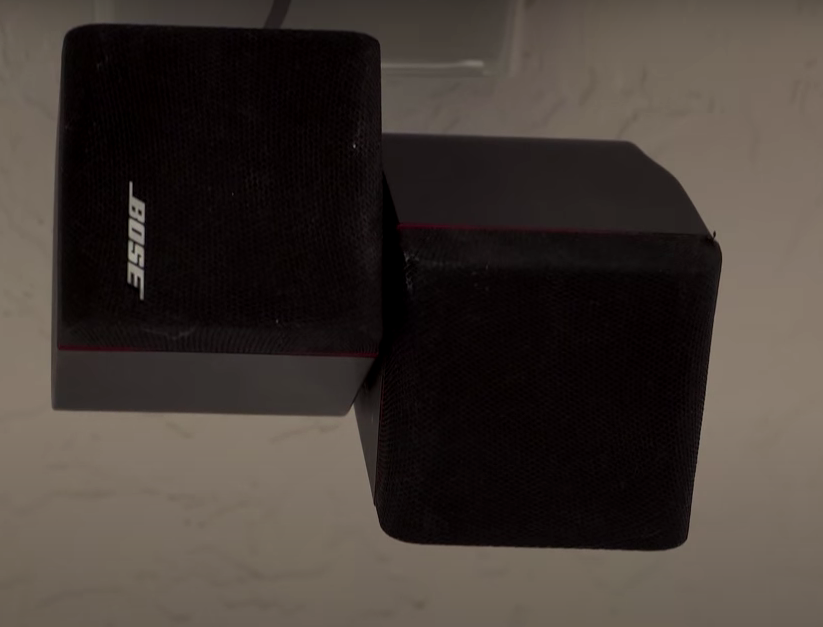
And then we have our Bose center surrounds that came as part of a set, again, on the local classifieds.
For subwoofers, we’ve got a Jamo powered subwoofer (paid aff. link), which really cranks. It’s a 12″, and is the main bass source for our system.
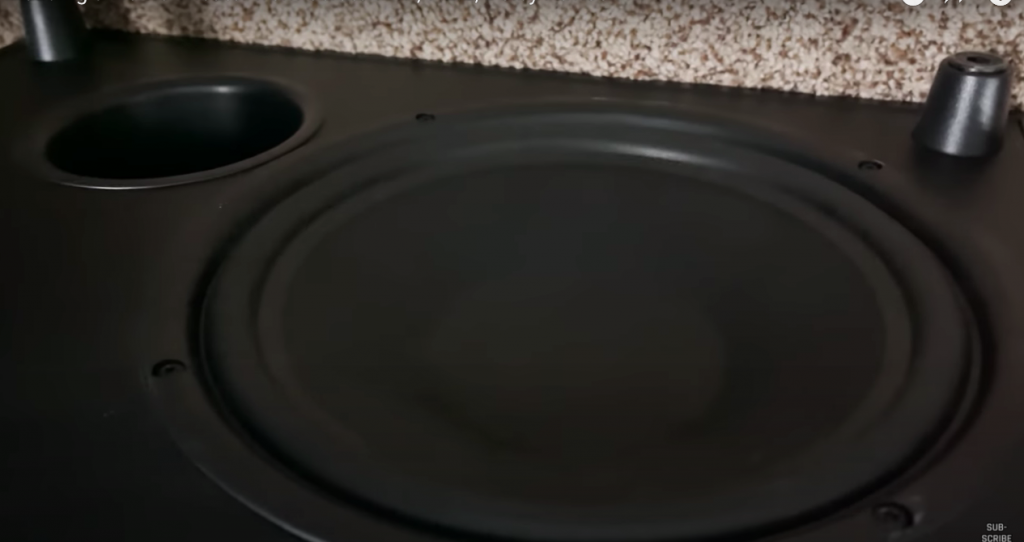
We also have a Polk Audio 10″ subwoofer (paid aff. link) that we use as an auxiliary subwoofer, and it sits closer to where we are on the back row.
As far as the sound system, we paid under $400 for all of the speakers in this room, and $350 for the receiver that powers them all. If you’re willing to look at used equipment, you can find some great deals out there.
Projector
We bought 4 different 4K projectors to test and compare- you can watch the video here about it. What we settled on was the Epson Home Cinema 4010. This is a 4K Pro UHD projector with 2400 lumens of brightness, and a 200,000 to 1 contrast ratio. It weighs in at a hefty 25 pounds.
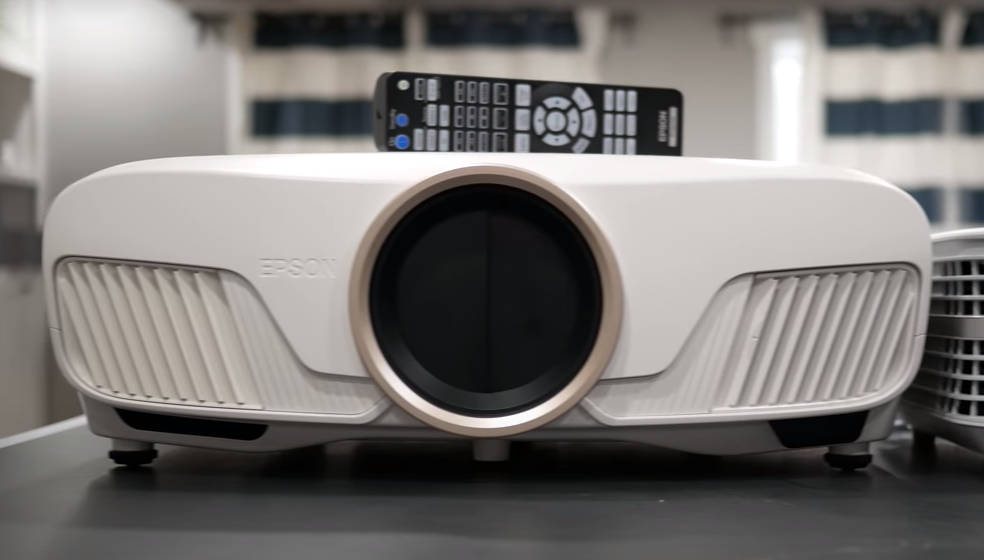
It’s not technically a native 4K projector- like many in this price range, it uses 4K enhancement. It’s got multiple LCD’s and uses a 3 chip technology to give you the impression of 4K and matches the resolution. It looks stunning! This is not a 1080p projector; it is 4K, but it’s what we call Faux K. It produces at BEAUTIFUL image that is super impressive, and we love watching movies with it.

Projector Screen
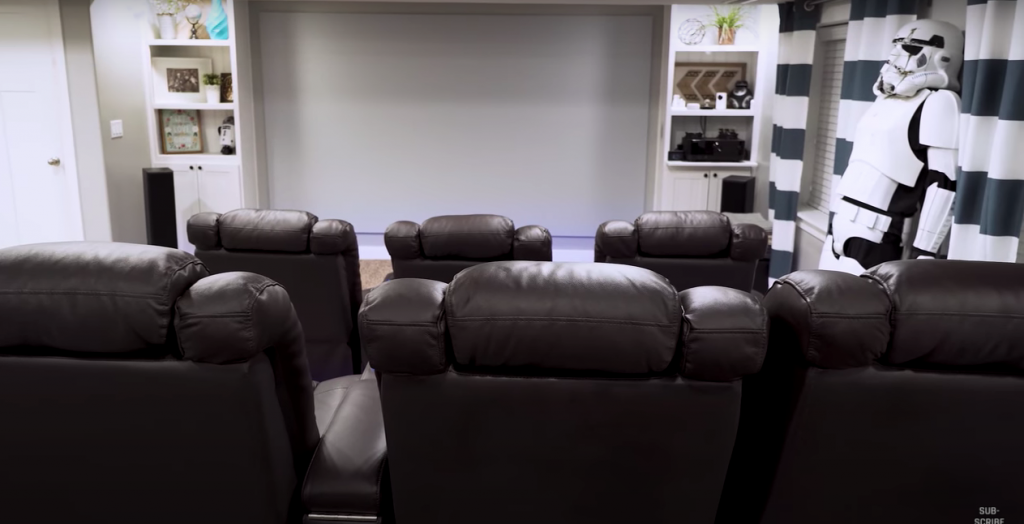
We have a 142″ screen, just shy of 12 feet. This is a screen that we built using Carl’s Flexigray material. This is a pretty simple build, and here is a video and article that go over how to do it.
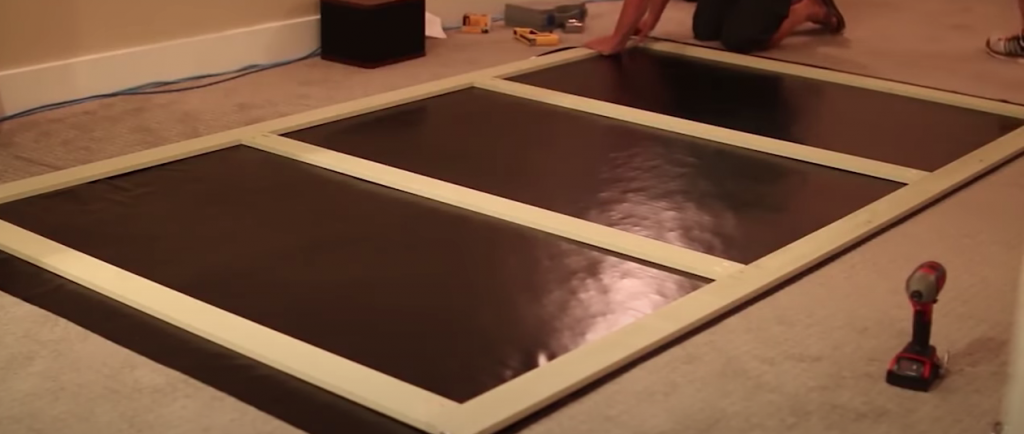
One thing we want to do is add a matte border around the perimeter of the screen to help with the visual contrast we perceive by having that sharp edge around it, especially as it absorbs any light and produces a crisp frame.

Seating
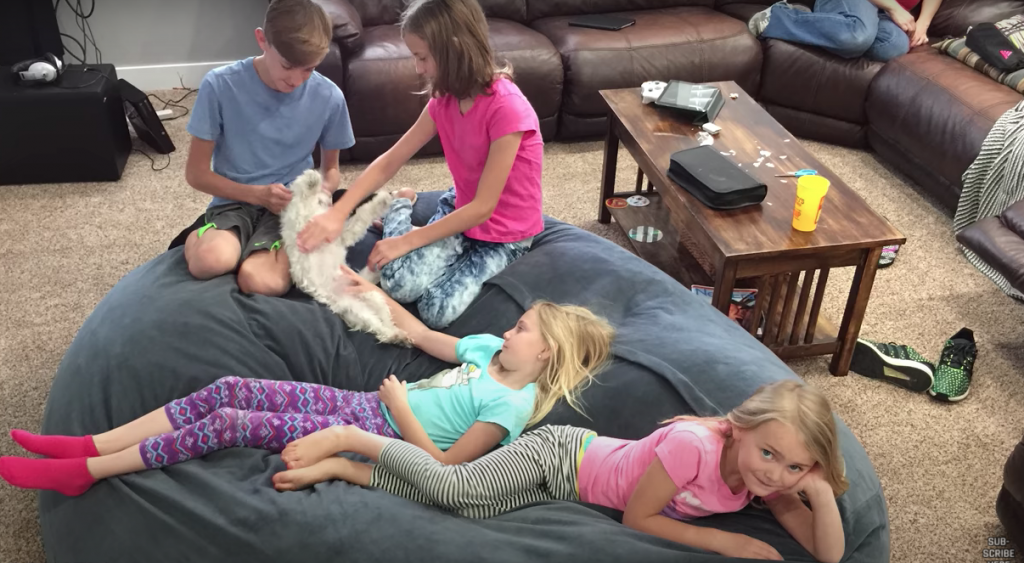
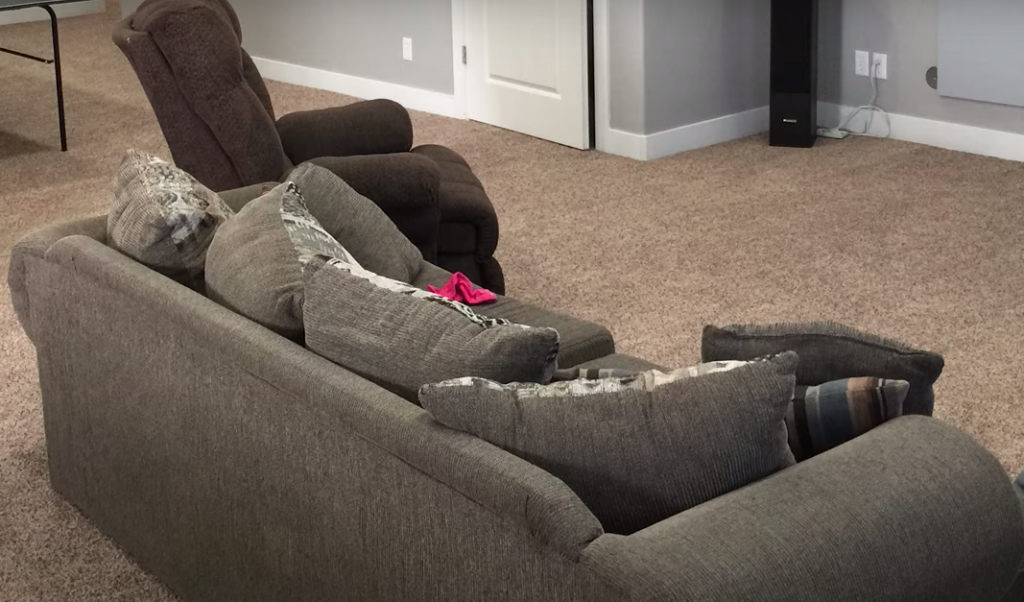
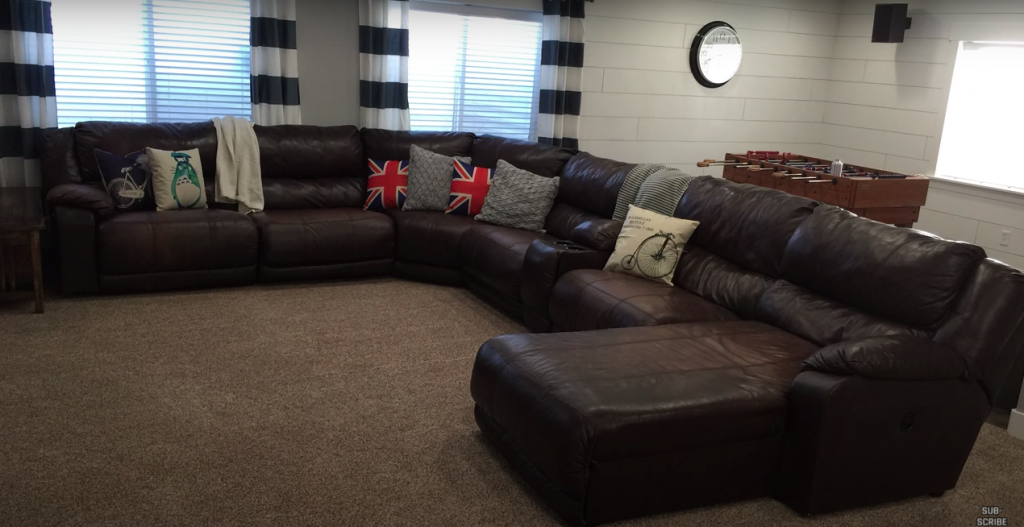
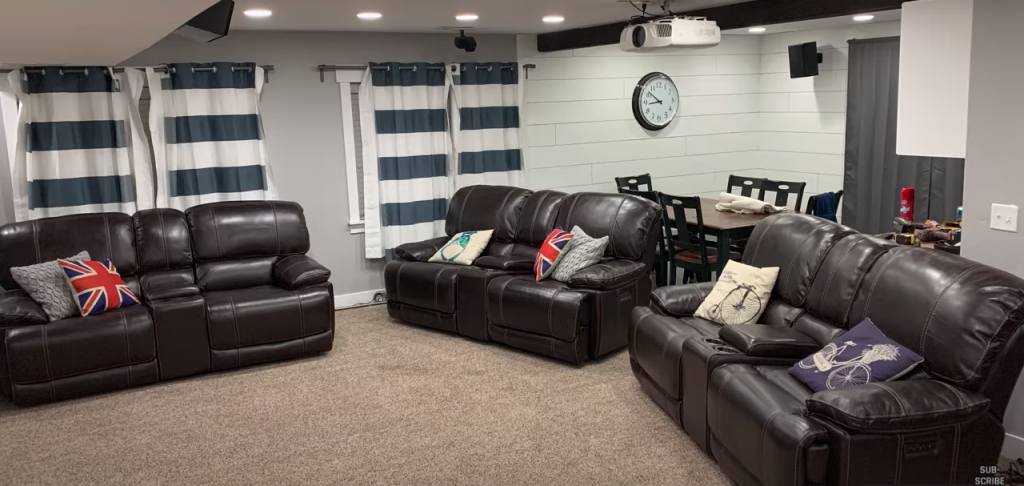
Over the last several years, we’ve had many seating configurations down here. We’ve had sectionals, a big bean bag, couches, electronic recliners, you name it. None of them have been exactly what we wanted…
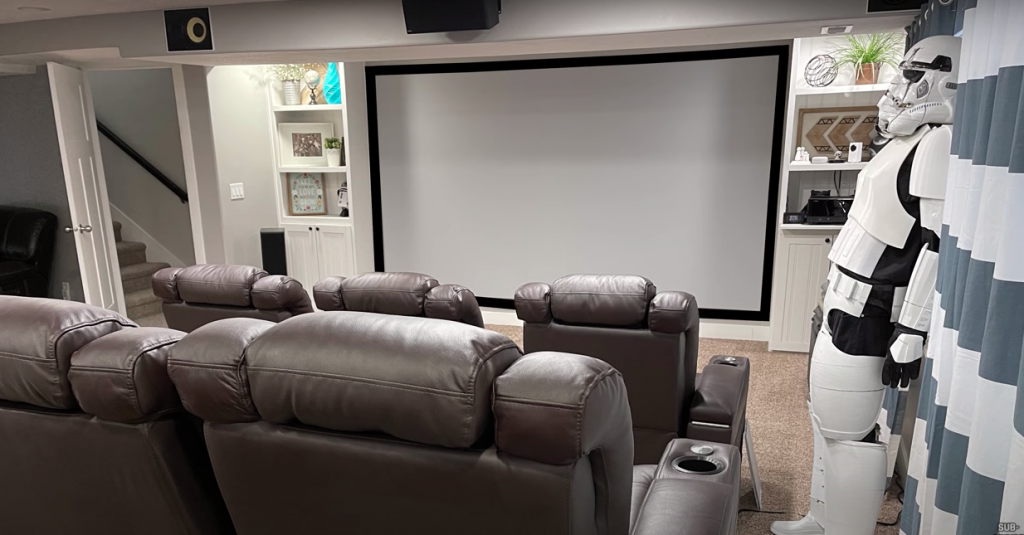
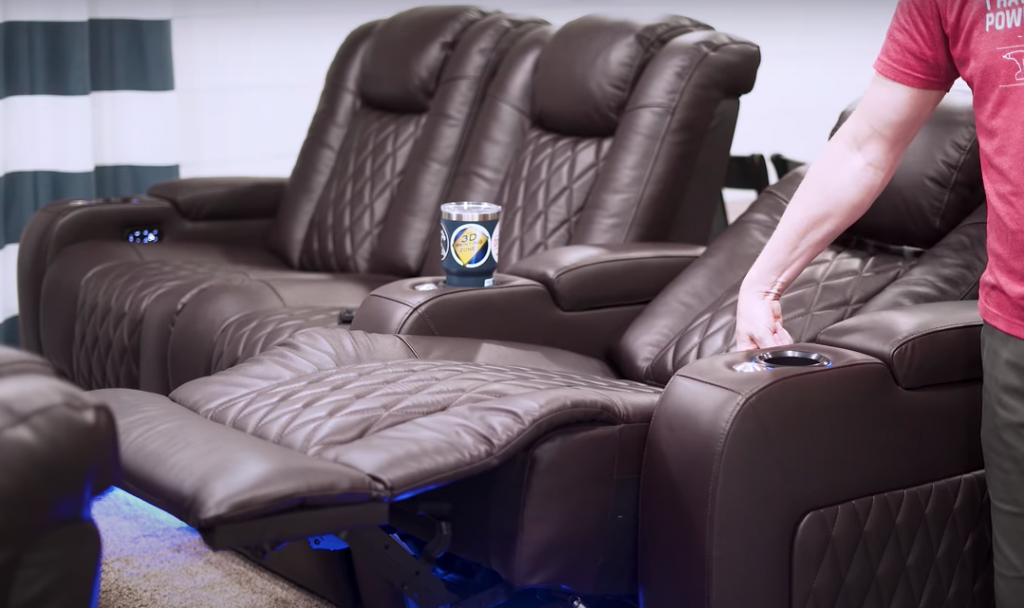
Until now! We were fortunate to have Valencia reach out and want to work together, and they sent us their gorgeous theater chairs. This is the Tuscany Series, and we have seating for six. A huge shout out to Valencia for sponsoring this video and post!
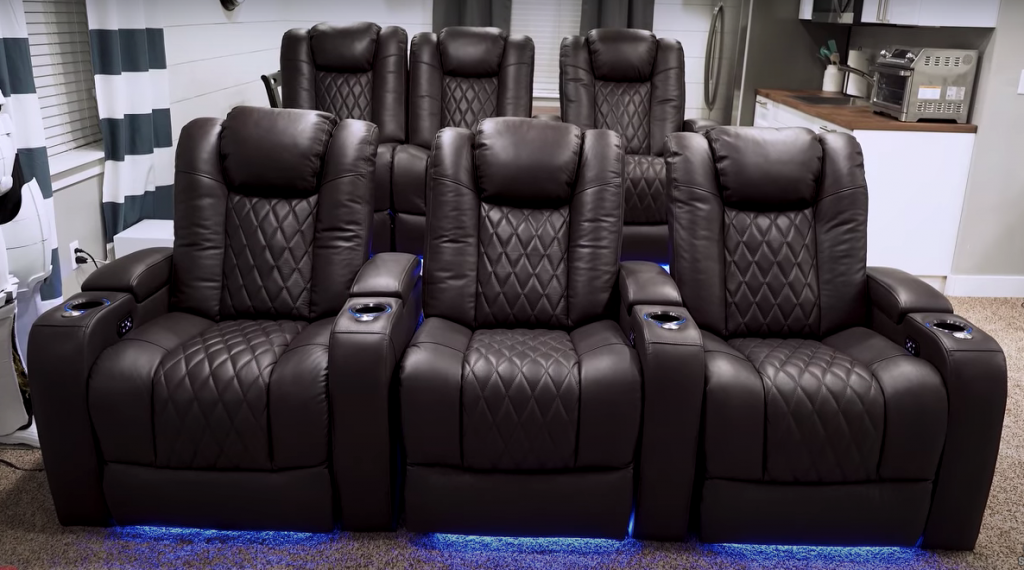
For the first time, everyone in our family gets to face the screen and have their own recliner, so no more fighting to the death for the good seats. Every seat is a good seat!
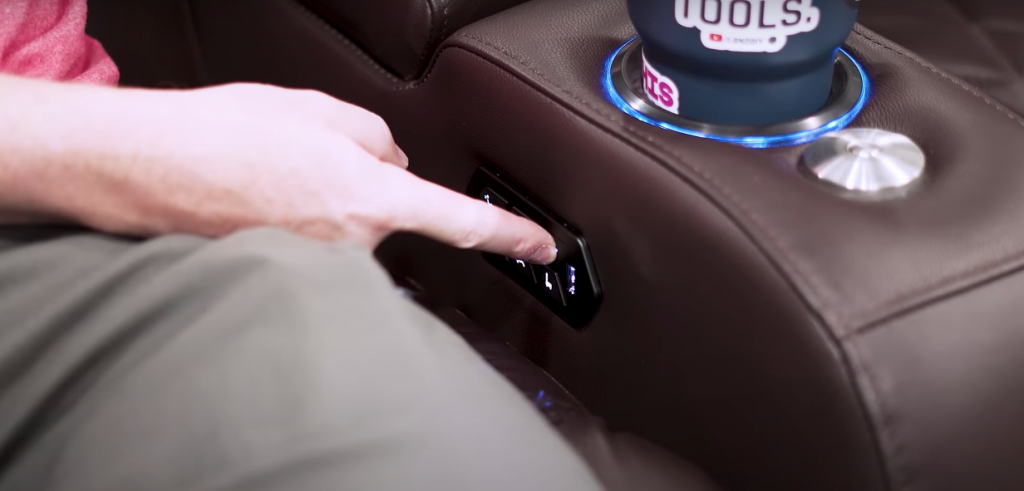
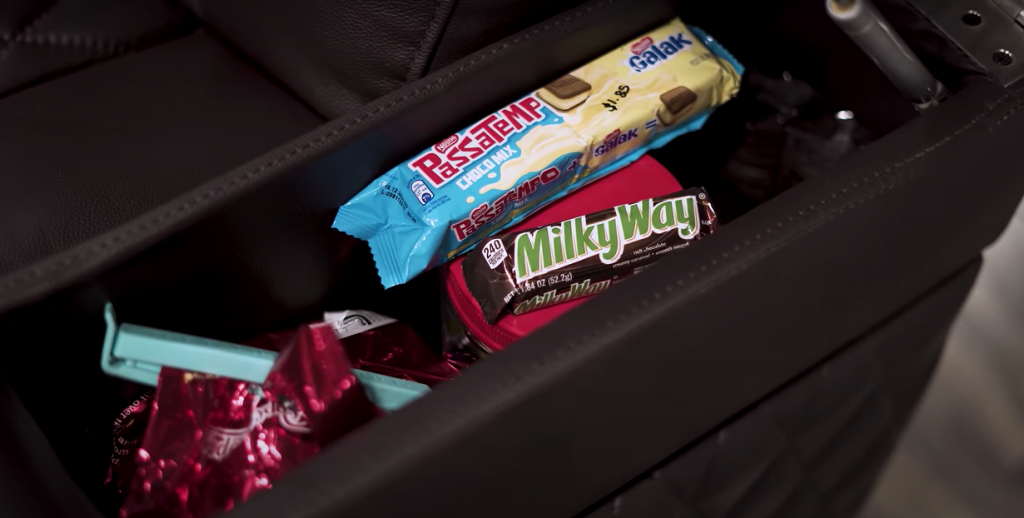
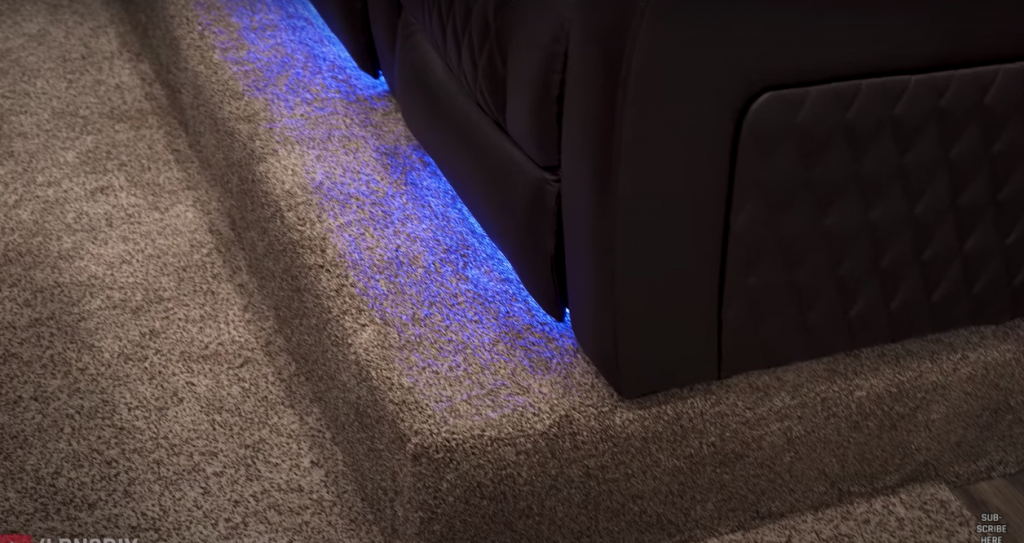
These chairs are absolutely loaded with features. From the premium Nappa leather, ambient lighting, LED cupholders, HUGE storage compartments for each seat, and the adjustability– they’re top notch and we’re loving them. They also have endless configurations that will fit your space. Our favorite is the fact that we could get a loveseat and have it work with 4 other chairs.
Check out the options on their website for your home theater space and see what would work for you. They have tons of different options for style, price points, and room configuration. We’re super impressed with these seats.
Once we got the theater chairs, we needed to build a riser for the second row of seating. It was a fairly simple build, and we’ll have a video and article on that coming soon.
To Do List:
As with most things, building our home theater has been a process, and there are a few things we still need to improve.
- Lighting- we need to find a DIY way to block out sunlight when we need to, but have it be removable when we want some natural light in the room.
- A better way to control the A/V system. Right now we have 4 remotes to control everything, which means we’re constantly searching for remotes (thanks, kids) and feeling frustrated.
- A border around the screen, as mentioned above.
What is most important to you in a home theater? Let us know in the comments, as well as any questions we can help with!
Watch the video here!