
I was introduced to woodturning about 20 years ago, and loved it right away. After being swamped with life and my many hundreds of other interests and hobbies for the last 15 years or so, I’ve gotten back into a bit of turning lately, and have found a really awesome way to combine old school woodturning with new technology, like CNC software, CNC carving, and graphics processing. Nerd heaven just got a little bit better, friends.
In this case, I had a lot of fun woodturning pens, and then experimenting a bit on the new Snapmaker Rotary Module to see what cool designs I could create on them.
Turning a pen starts with a block of wood called a pen blank. You cut it to size, drill a hole for the brass tube to fit and be glued into, and then turn it on the lathe.
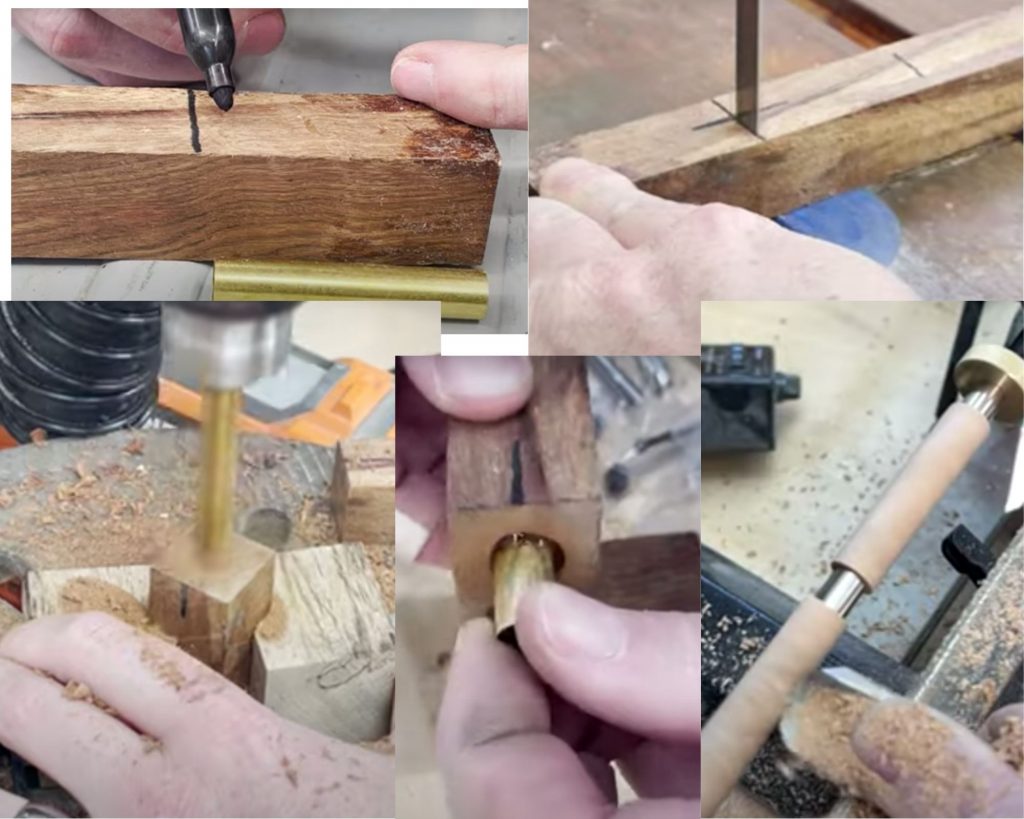
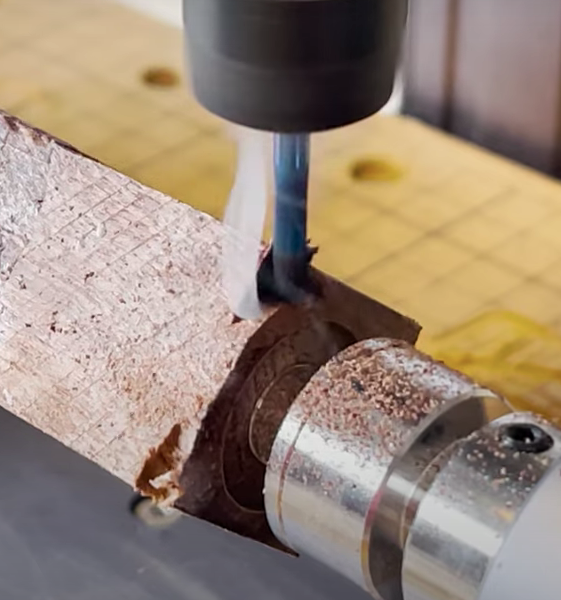
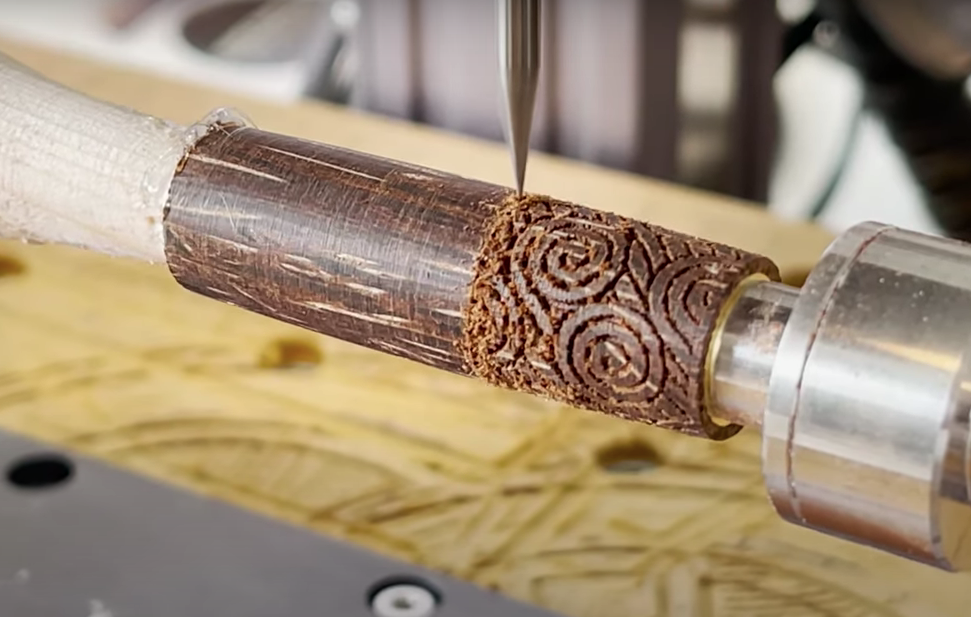
From there it goes to the CNC and using the software to get the pattern I want on it, and let that 360˚ carving take place.
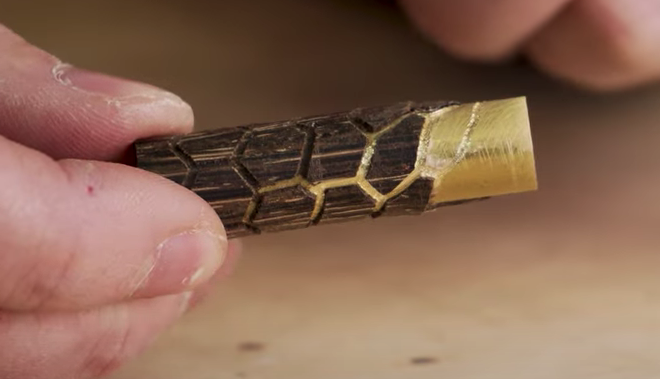
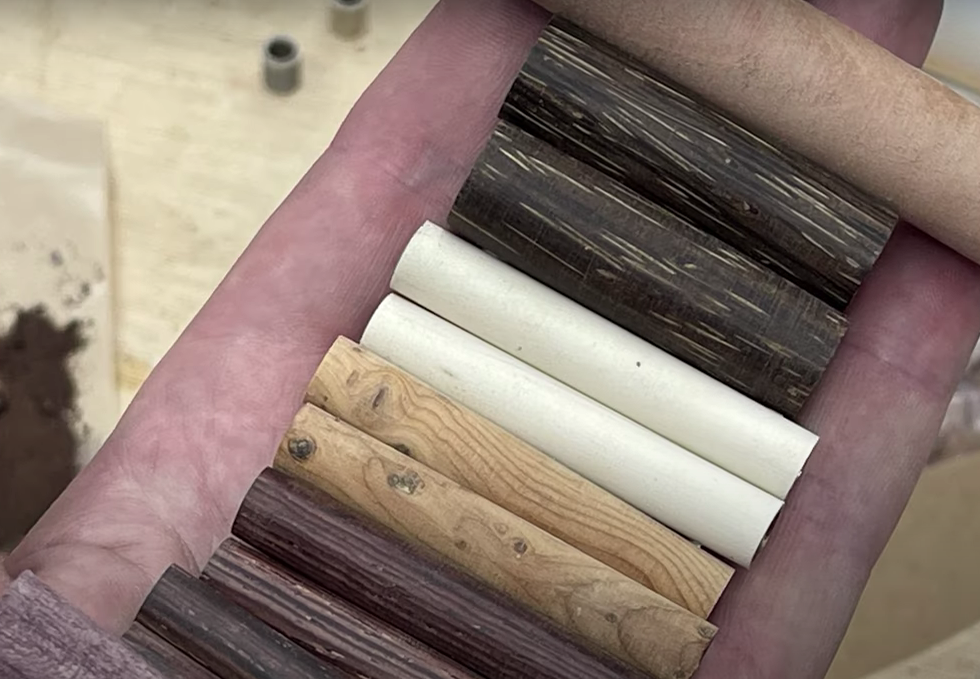
Once that’s done, I can opt to fill those carvings in with some powder, sawdust, or infill; or leave it as is.

From there, it’s back to the lathe, where I sand it down to its final dimensions.
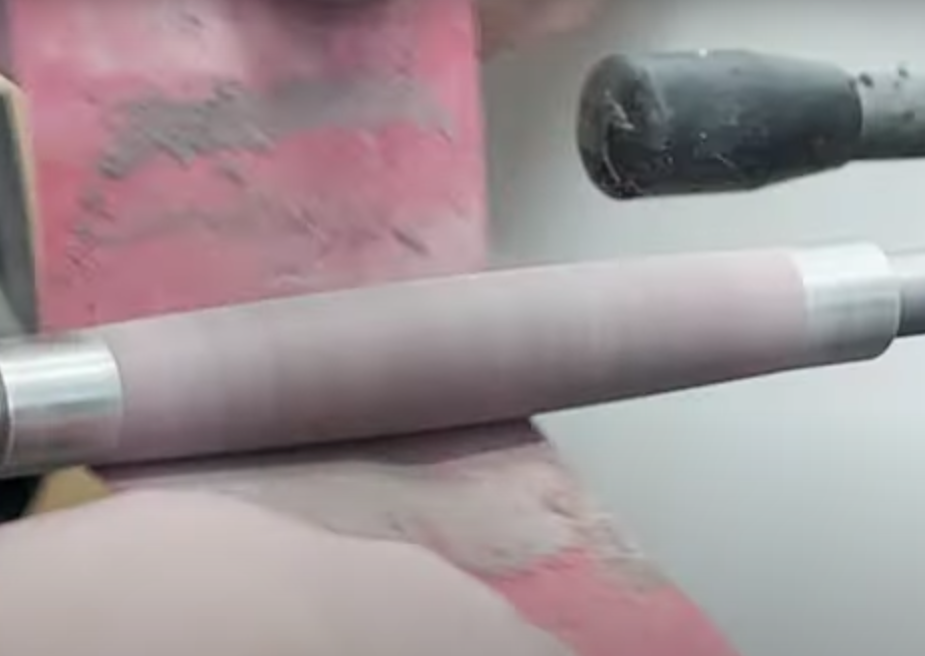
From there I use a CA glue finish to give it a hard, durable finish.


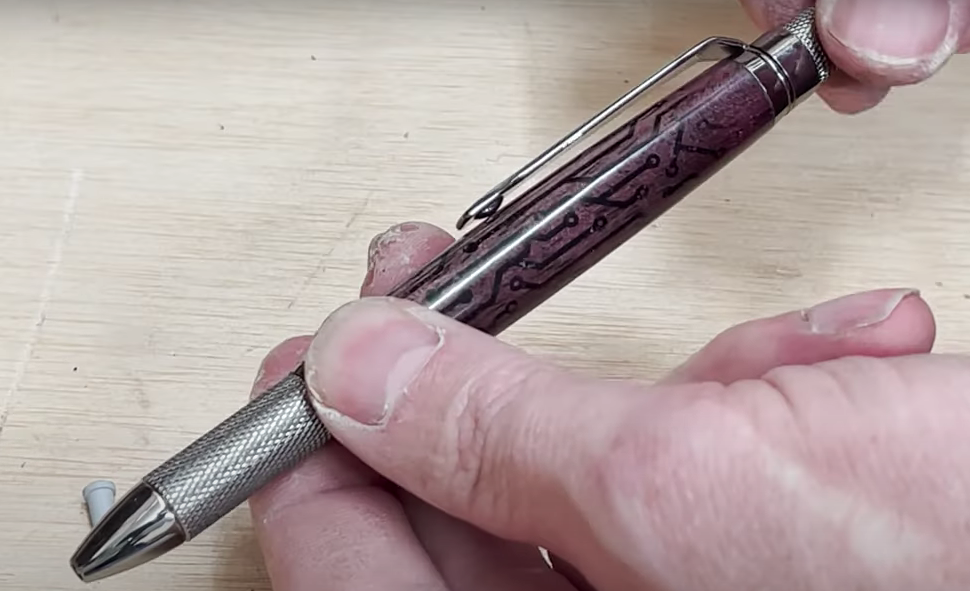
Then I use the pen kit to put everything together to create the final product, which is a unique, one-of-a-kind pen or pencil.
Sometime last year, I learned that Snapmaker was coming out with a rotary module. This allows you to attach the module onto your Snapmaker (which does CNC, laser engraving, and 3D printing). With that you can do everything in 3D. It will rotate an object around, as it carves it or laser engraves it, and I knew I had to have one.
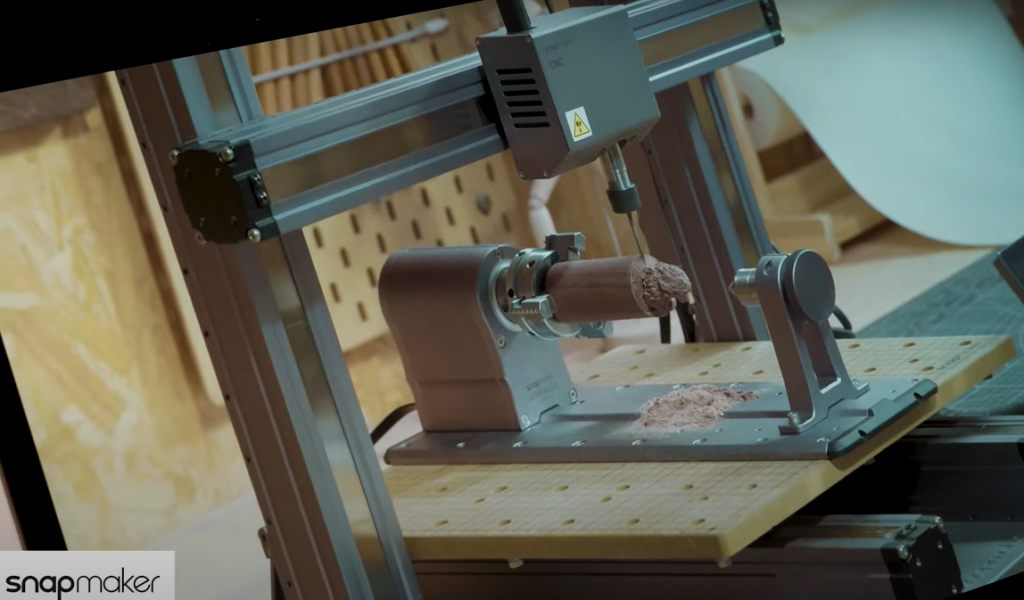
Snapmaker was kind enough to send me one of their rotary modules to attache to my Snapmaker A350.
I immediately discovered that I had a bit of a learning curve ahead of me.
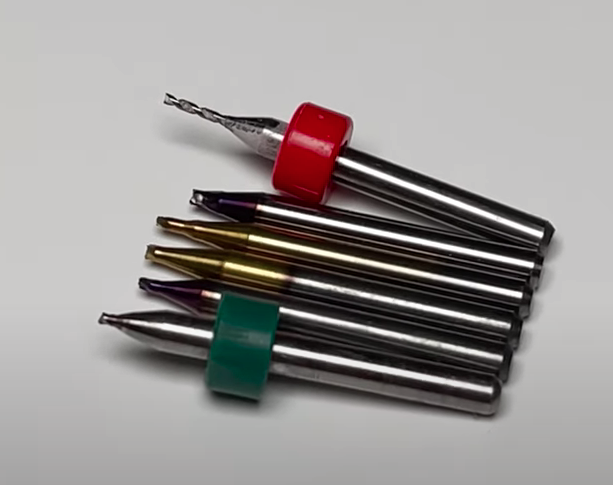
I broke many bits…
I carved into the metal tubing of the pens because I wasn’t doing things in the proper order…
I nearly started some fires…
Once I got past those initial hurdles, I had one final one to overcome… MATH.

I had to figure out the circumference of what I wanted to carve, which turns out to be just a formula of the diameter times pi- D x 3.14= Circumference. Once I knew that, I could plug that in, and that becomes the width of the image that I need to use in Photoshop or another graphics application.
I used a sight called Vecteezy to grab a bunch of patterns to carve. You can also down some great ones from Etsy.
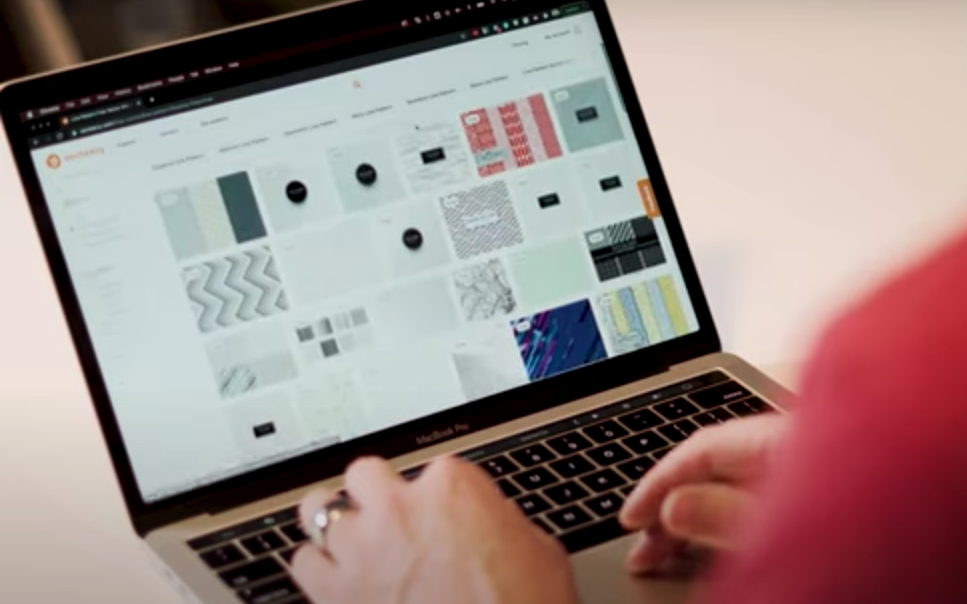
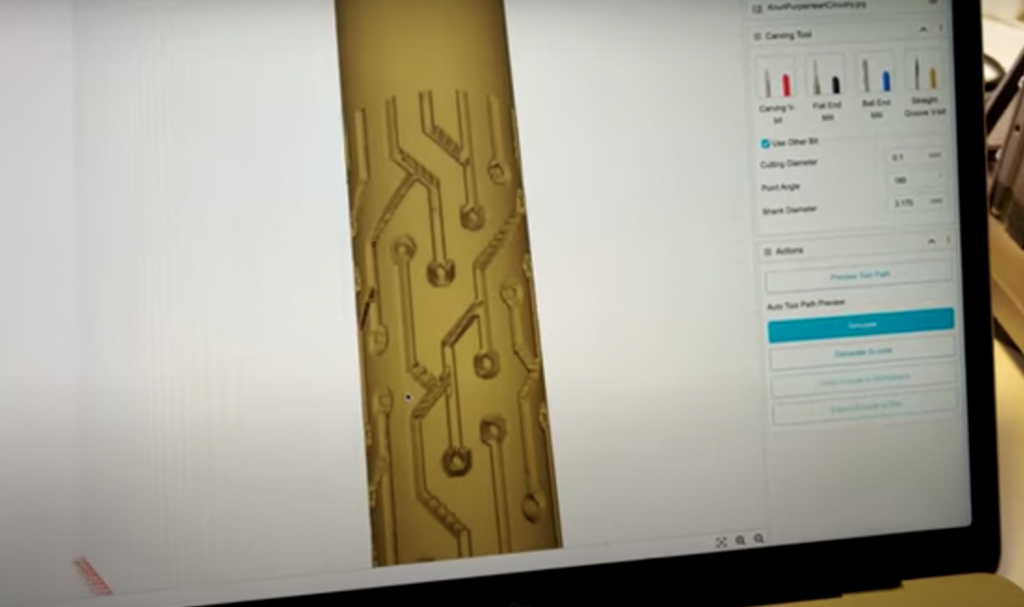
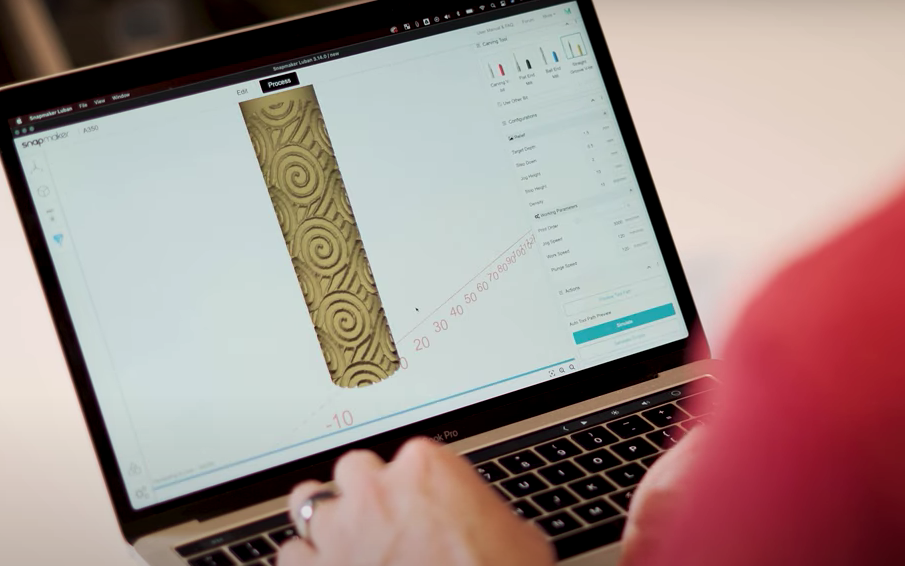
You bring that into a photo editing software like Photoshop and get it to the right size. Then, bring it into the Snapmaker Luban software, line it up, and render it in 3D so you can see exactly what it’s going to turn out like.
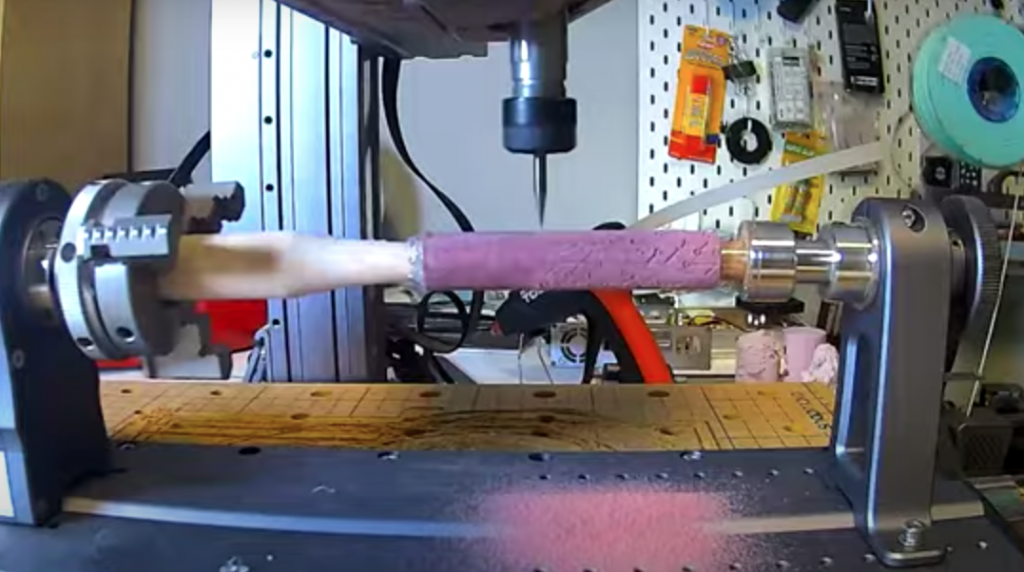
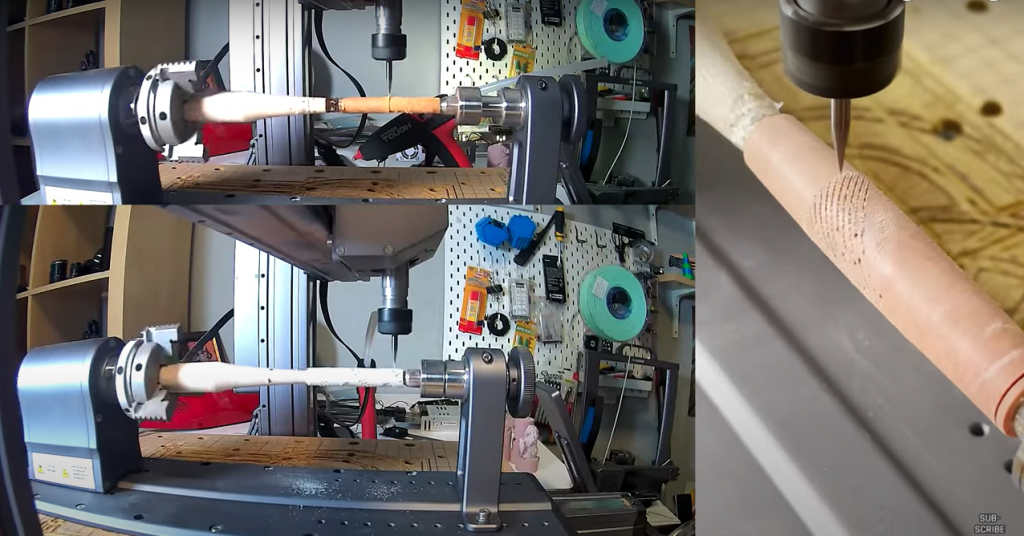
You then mount your piece into the rotary module on the CNC, get it calibrated, and let it do its thing.
Once I had those details worked out, I went out to the shop and got some pens and pencils turned on the lathe, and then got some designs ready for them.
I put them on the CNC and had them all carved…
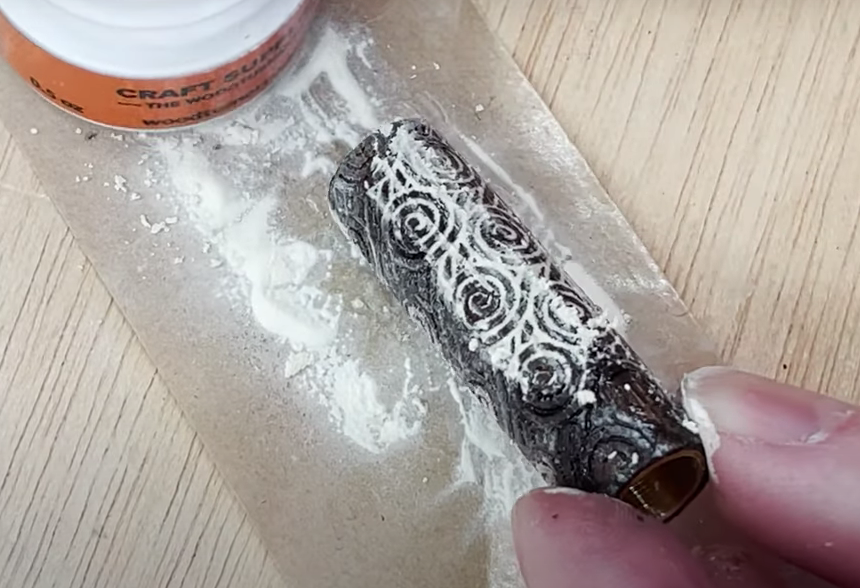
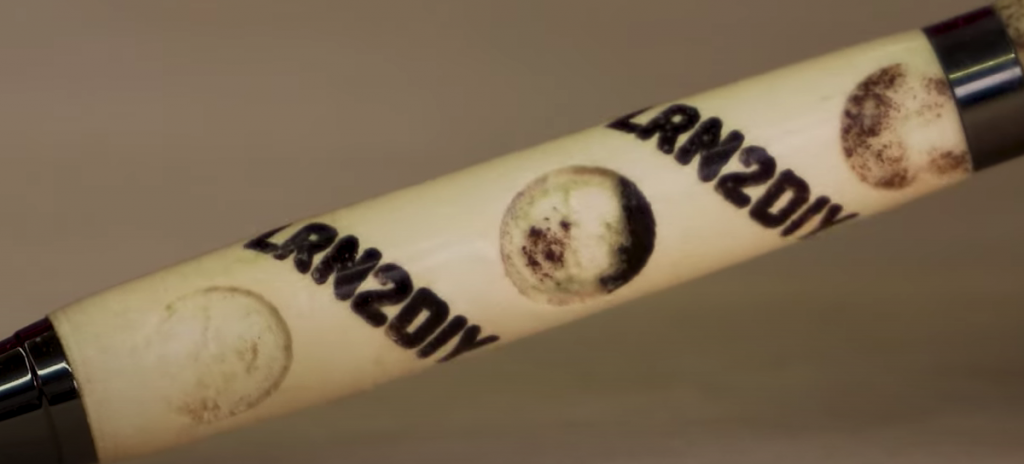
I decided I wanted to fill the carvings in with some powders, sawdust, crushed stone, etc. Here on my LRN2DIY pen, it’s actually filled in with black palm sawdust from another pencil I turned at the same time.

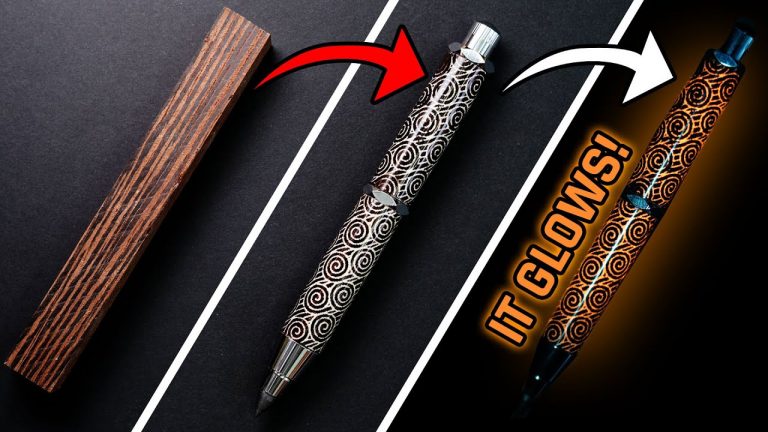
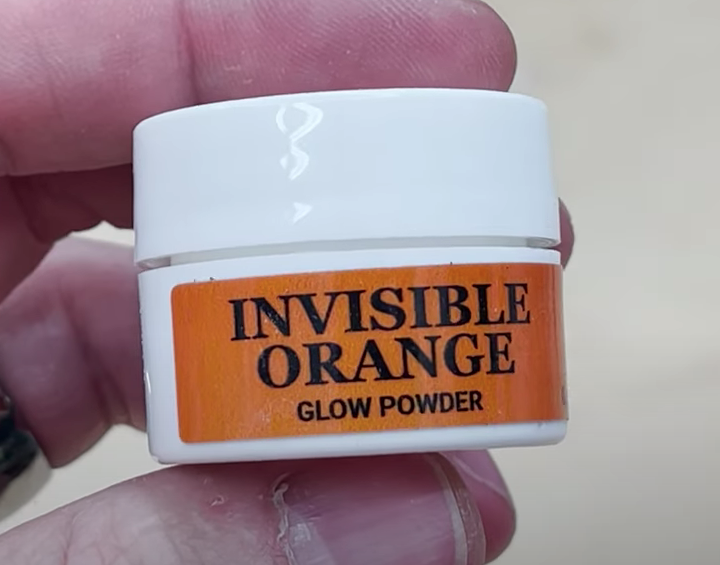
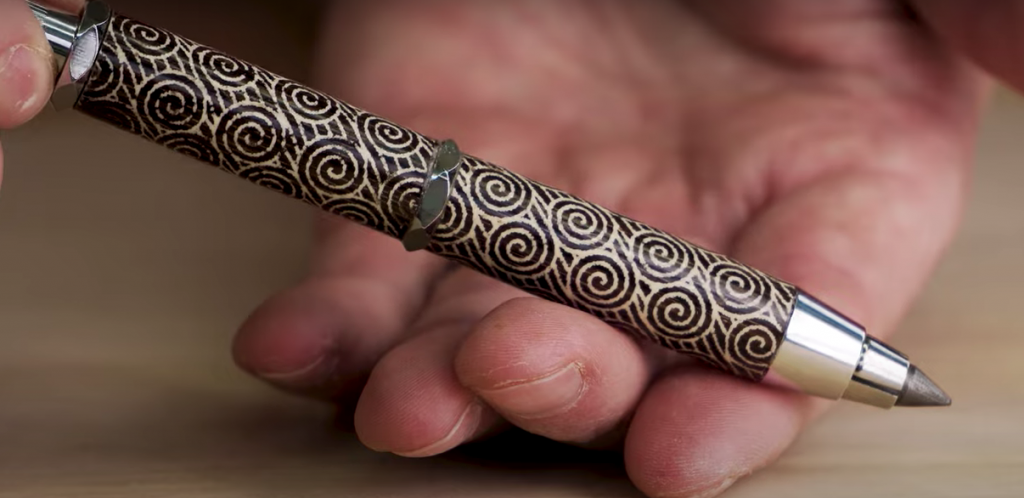
This is the pencil I made out of black palm, which provided the sawdust for the pen above. I decided to fill this one in with a glow in the dark powder, which glows orange in the dark.
What it looks like in the light…
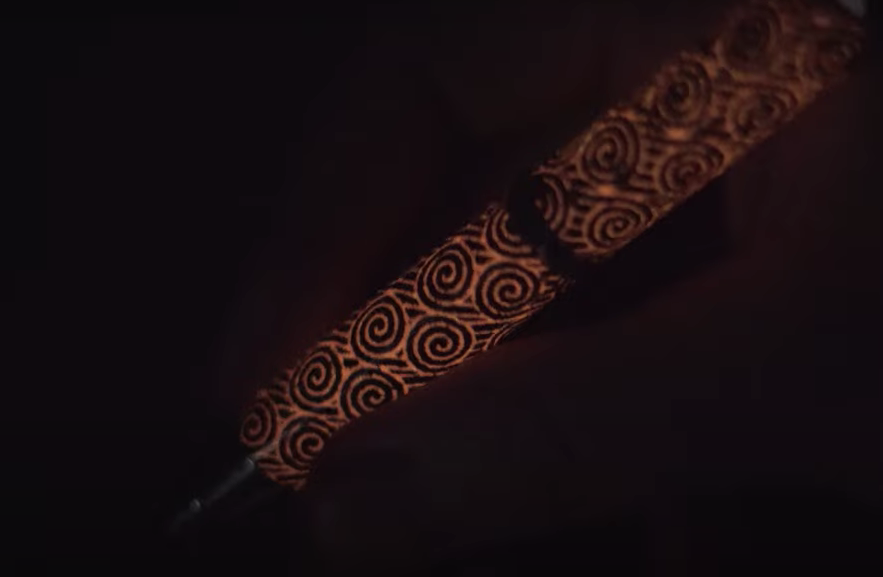
And what it looks like in the dark…
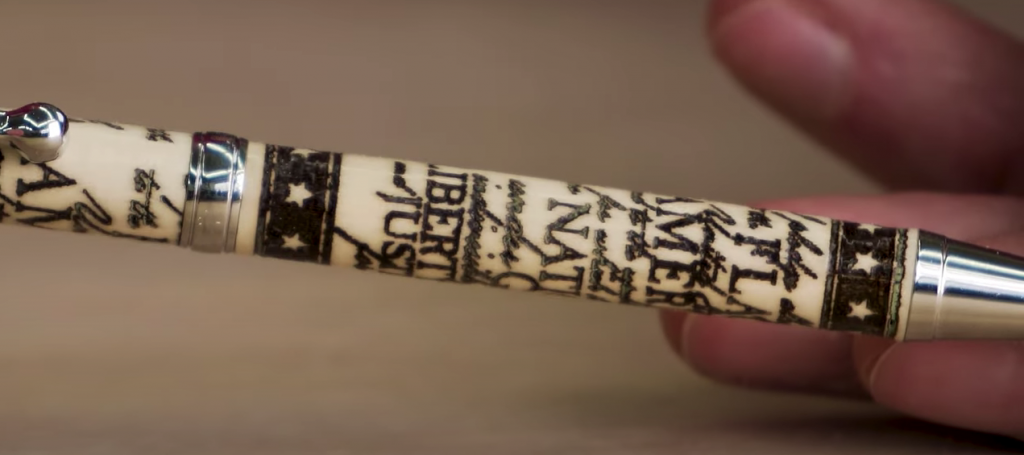
I filled each of these pens in with different things, like crushed stone, powder or sawdust, so there’s a really cool variety of what you can do.
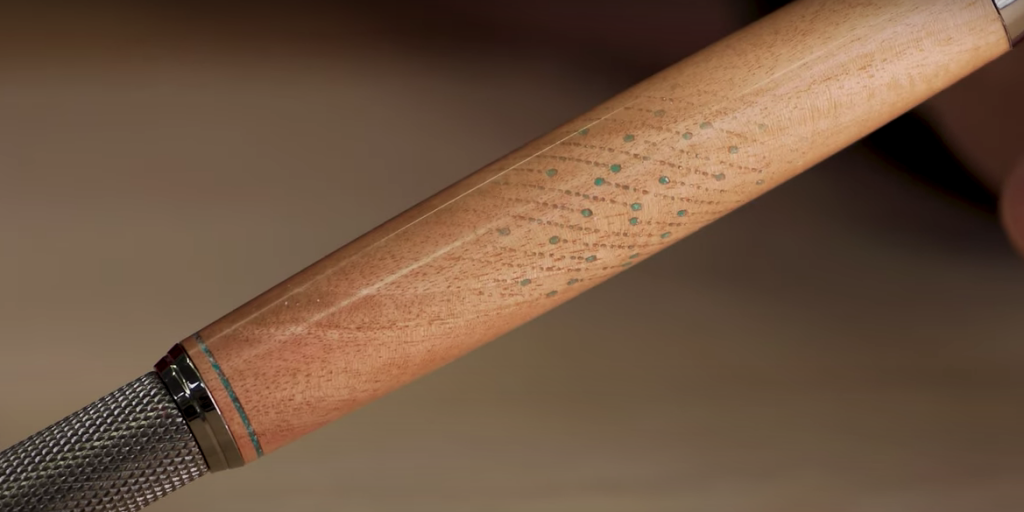
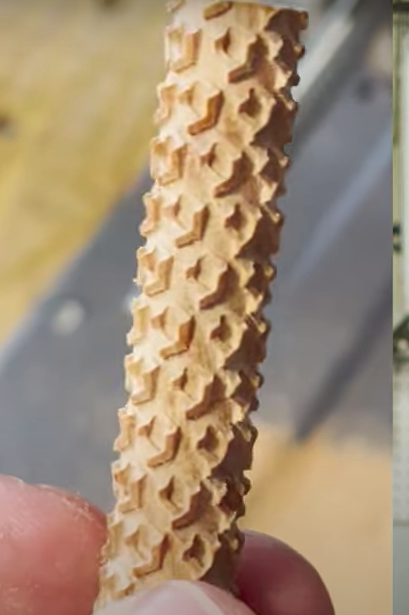
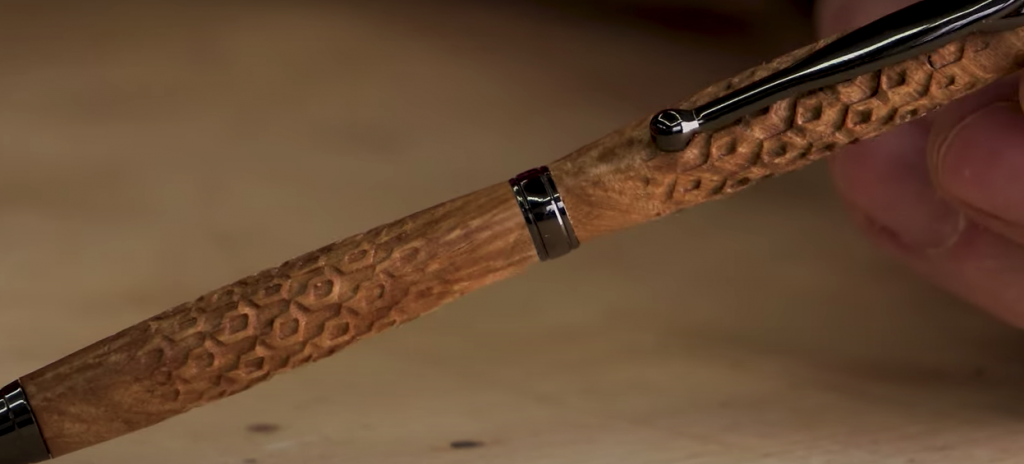
Another option is to find a cool pattern with lots of lights and darks, carve it into the wood of a pen, sand it down a bit and make it a sort of grip for your pen. I haven’t seen anything out there like this.
Needless to say, I’ve been having a ton of fun playing around with the Snapmaker. What ideas do you have for it?
Watch the video here!
Products used in this video/post:
► SPONSOR ◀︎ Check out the amazing Snapmaker 2.0 Rotary Module: https://bit.ly/3gS8NTN
📦 PRODUCTS IN THIS VIDEO 📦
Bob Smith Industries 5 Minute Epoxy: (Paid Amazon Link) https://geni.us/DgyH
Artwork Sources:
• Swirly Pattern: https://www.vecteezy.com/vector-art/183136-chainmail-pattern-background
• Q-Bert Pattern: https://www.vecteezy.com/vector-art/1419144-geometric-3d-cubes-pattern
• Weave for Slimlines: https://www.vecteezy.com/vector-art/1858501-abstract-3d-modern-white-and-grey-pattern-background-with-cubes
• Abstract Hexes: https://www.vecteezy.com/vector-art/702215-white-hexagons-textured-with-wavy-patterns
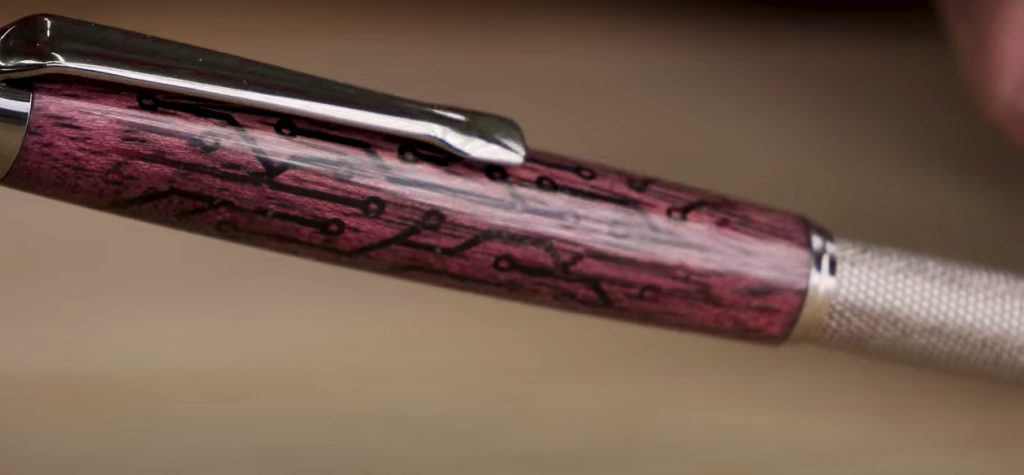
• Circuit Board: https://www.dreamstime.com/seamless-circuit-board-pattern-vector-microchip-background-image148252353
• Knurl: Dots N Waves: https://www.vecteezy.com/vector-art/1085683-brown-and-beige-banner-set-with-interlocking-lines
Pen Kits: (www.woodturnerscatalog.com):
• Knurl: https://www.woodturnerscatalog.com/p/1/6969/psi-Knurl-GT-Pen-Kit?term=knurl+pen+kit&term=knurl%20pen%20kit
• Artisan Slimline: https://www.woodturnerscatalog.com/p/1/3412/artisan-Slimline-Pen-Kit?term=artisan+slimline+pen+kit&term=artisan%20slimline%20pen%20kit
• Toolbox Pencil: https://www.woodturnerscatalog.com/p/4/3740/artisan-Toolbox-Pencil-Kit?term=toolbox+pencil&term=toolbox%20pencil#ReviewsPanel
Other supplies: (www.woodturnerscatalog.com):
• Invisible Orange Glow Powder: https://www.woodturnerscatalog.com/p/47/7364/turners-select-Inlay-Ultra-Glow-Powder?term=orange+glow+powder&term=orange%20glow%20powder
• Crushed Stone Inlay: https://www.woodturnerscatalog.com/p/47/5179/turners-select-Crushed-Stone?term=crushed+stone+inlay&term=crushed%20stone%20inlay
• CA Glue Pen Finish: https://www.woodturnerscatalog.com/p/15/6238/insta-bond-Premium-CA-Pen-Finish?term=ca+glue+pen+finish&term=ca%20glue%20pen%20finish