
Building a treeless treehouse is a fun and rewarding project that lets you create a unique space without relying on large trees. In this DIY guide, we’ll walk you through the first crucial steps: constructing the footings and deck. These foundational elements set the stage for a safe, durable, and level structure. Whether you’re looking to create a quiet retreat or a playhouse for the kids, following these steps will ensure your treehouse stands strong and stable for years to come. Let’s get started with Part 1: Footings and Deck!
I’ve got so many DIY Projects that you will be excited about. Here are a few of my favorites:
How To Make Your Old Couch Feel New Again
DIY Planter Box For Around $20 – 2 Versions
How To Build An American Girl Doll Bunk Bed
Once upon a time, we had small children who loved having picnics in the front yard, dressing up like frogs, and playing on a good ol’ swing set.

The years passed in a blur, as they tend to do, and now those kids are too big for a play set, but not big enough to get jobs and move out, and picnics in the front yard are no longer cutting it in the fun department.

In an attempt to get them out of the house and away from the Xbox et al, we decided to build a clubhouse/treehouse/fort. Everyone wanted a shady place where they could hang out with friends, so we thought this would be a space that everyone would enjoy, from the 7-year-old to the 14-year-old.
We sold our play set for $500, and figured that would be a nice amount to get started with. We estimated the whole thing would cost about $1000, which was so cute of us. The running joke was that this video/post should be titled “How to build a $1000 clubhouse for $2000”. Be not discouraged! Where there’s a will, there’s a way, even if that “way” is spending $300 every time you go to Home Depot.
By the way, we decided not to go with that title, because generally, interweb trolls who like to comment on videos are not the most intelligent of folk and take everything literally. “Whaddya mean I can build this $1000 clubhouse for $2000? Are you stupid or something’?” <<< (We wanted to avoid this.)
Here’s how we got started:
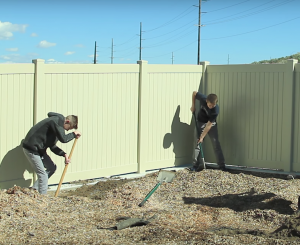
Holes and Posts
We measured a 10×10′ square and had our son and his friend dig some holes, around 2-2 1/2 feet deep, depending on whether you need to use gravel.
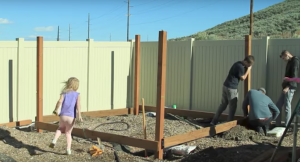
After the holes were dug, we put the 8 ft. long pressure treated 4×4’s in them. You can make an optional base to keep posts stable for when the concrete sets.
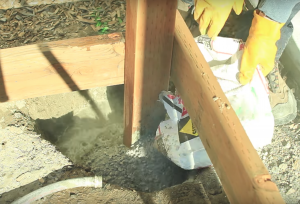
Concrete
We used two 50 lb. bags of concrete for each hole/post. Fill the holes 1/3 with water and the 2 bags of concrete. Use a shovel to mix it and get all the air out. Wait for the concrete to cure, around 12 hours or overnight. Back-fill with dirt, and level it all out.
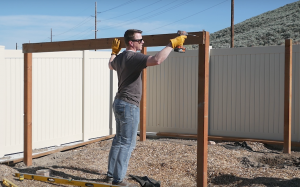
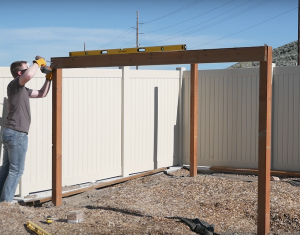
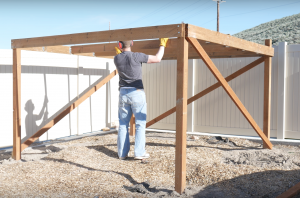
Frame the Deck
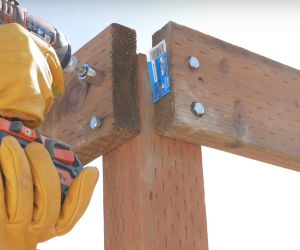
Use 2×8 pressure-treated boards. Start with the shortest post and put 1 side in using just a temporary screw. Use a level and do the same to the other side, continuing until you’ve gone all the way around. You should have a level platform to set up your cross-beams. Fasten all the boards down by driving 2 lag bolts into the ends of each board. The ones we used were 3/8″ thick, 4″ long. Use galvanized washers if possible.
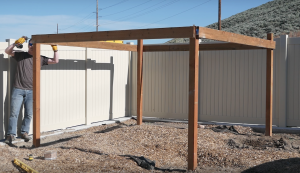
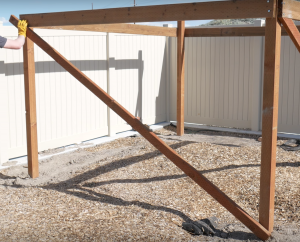
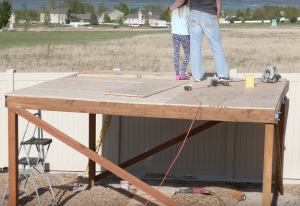
Add Supports and Truss Hangers
We made diagonal supports from the bottom of one post to the top of the next to add structural support. Fasten with deck screws
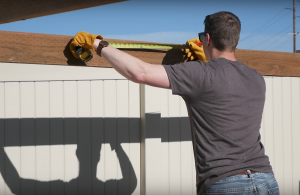
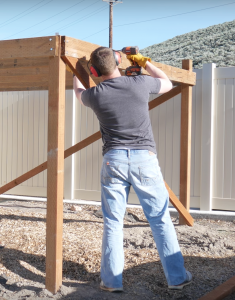
Mark the location of your truss hangers along 2 boards that face each other at 16″ on center. Start at the outside edge of where the platform will be, so when you lay the sheets of plywood, each edge will fall on the center of your crossbeams.
Tap the hangers in place using the tabs on them before you use screws (4 outdoor rated screws).
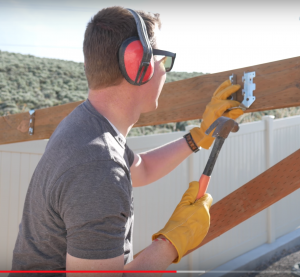
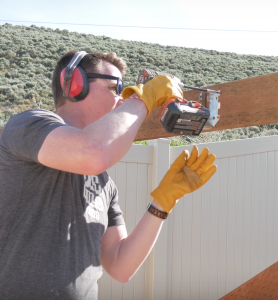
After you have placed the crossbeams into the hangers, drive screws into the ends of each to make sure they’re in there securely.
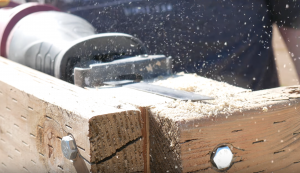
Trim any posts that are longer on top then the floor will be. A reciprocating saw (like the Sawzall brand saws) works great for that.
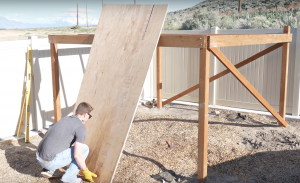
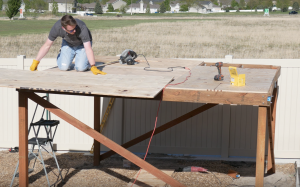
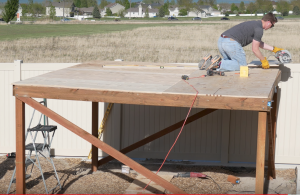
Flooring
We used 3/4″ plywood, since this floor will be inside, but you could use decking material as well. Line up each piece with the center of the boards underneath- you can mark with a chalk line. Put screws in every 8-12″ (outdoor screws, por favor), and trim any over hanging pieces.
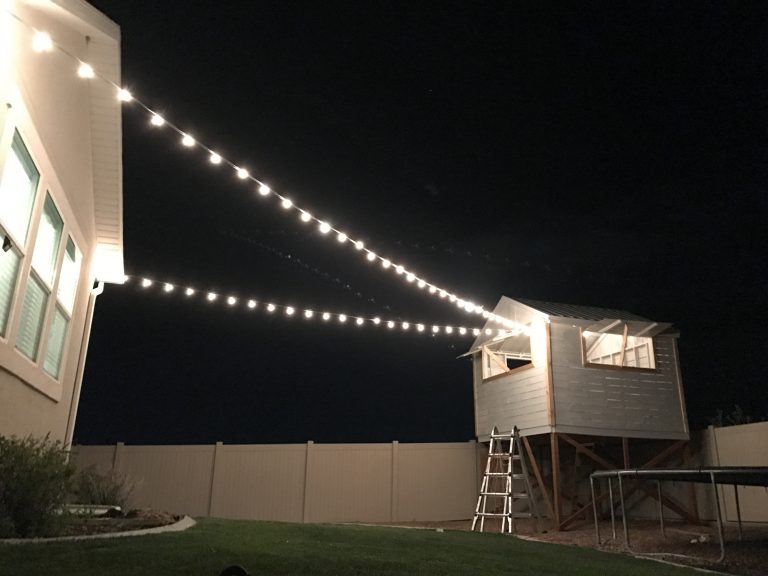
Enjoy the view, and get ready for the next step: framing and siding! Be sure to stay tuned for part two, which will be coming soon.
A popular post on LRN2DIY is my DIY Kitchen Dining Table – Pottery Barn Inspired. Check out all of the details HERE.
Be sure to learn more about Materials To Choose For A Low Maintenance Home. Click HERE for more.
Ty I love how you do your videos.