
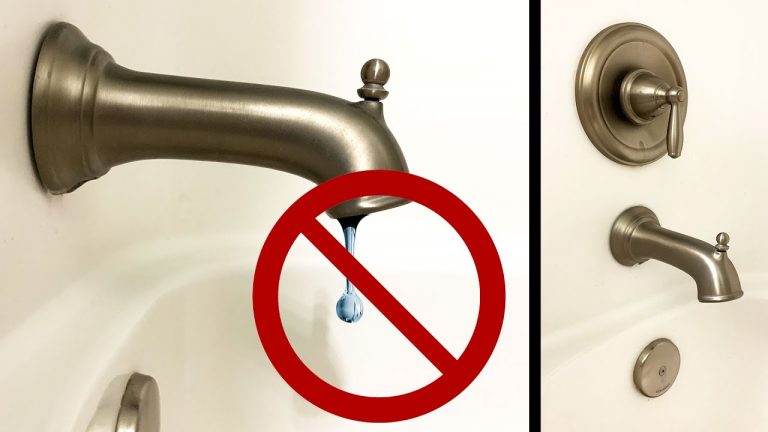
Stop the drip and save your day—learn how to fix your leaky Moen tub or shower in just 30 minutes! With this easy DIY repair, you can stop the constant dripping. Here’s how to fix it!
I love sharing my DIY tips and tricks to save you money and beautify your home and yard. Here are some of my favorites:
Top Methods For An Energy-Efficient Home
Maintenance Tips to Consider for Older Homes
Tips For Lowering Your Winter Heating Bill Costs
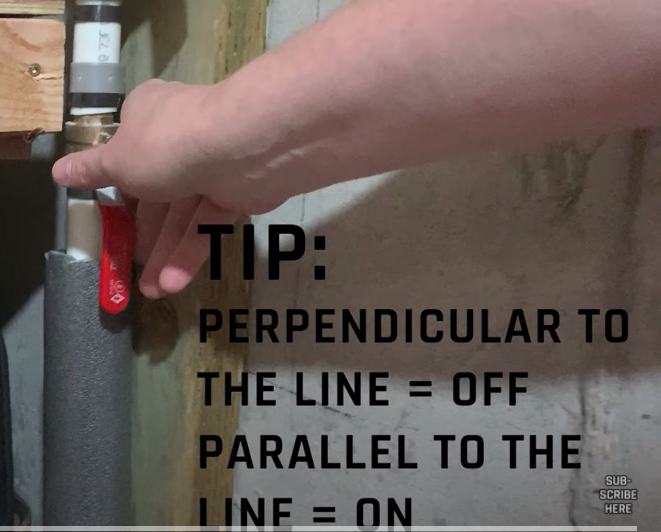
First, you’ll want to locate your home water main and switch it off. Make sure to check that it’s off and empty out any excess water from the drain.
To go a little further, we suggest you place a towel over your drain to prevent anything from falling in.
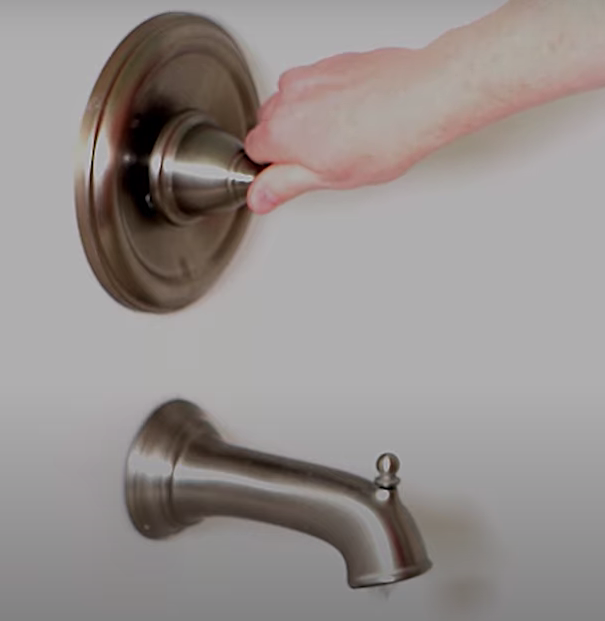
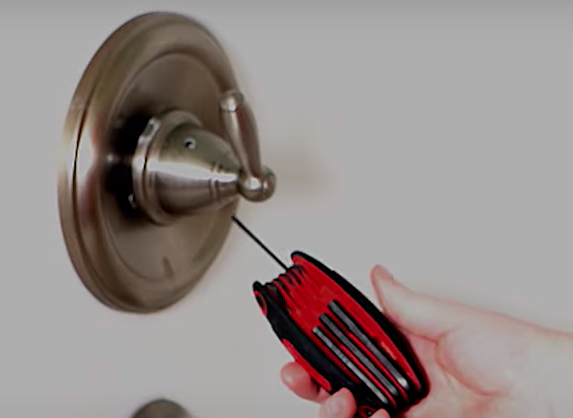
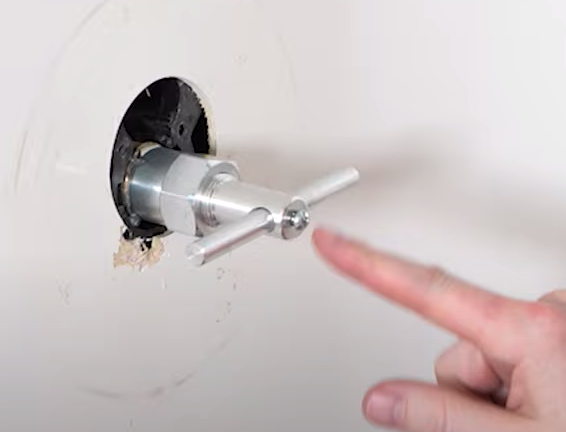
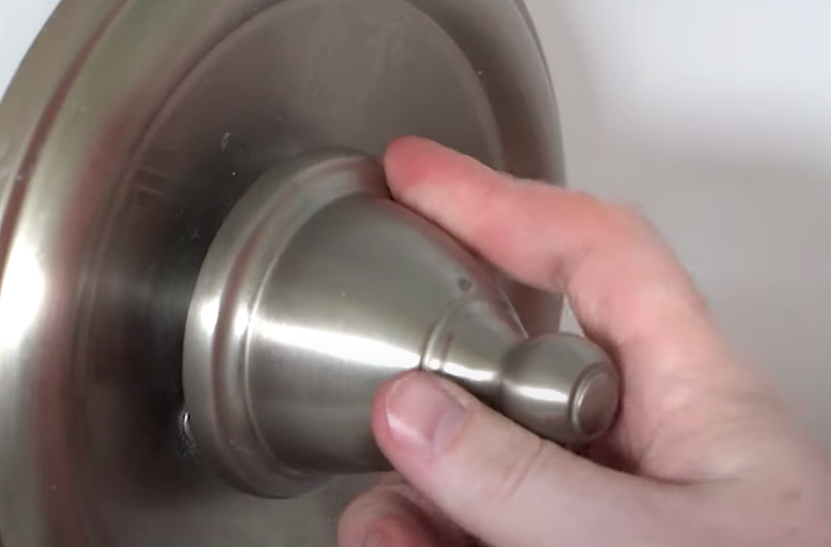
To get started, you’ll want to find the set screw.
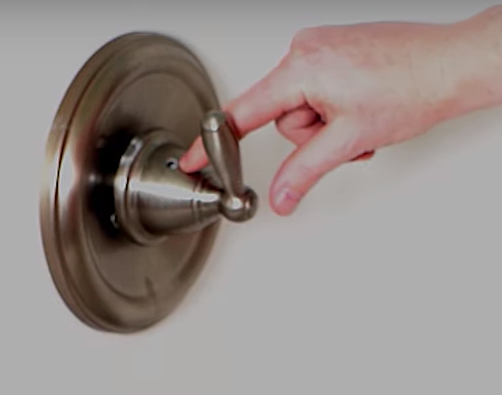
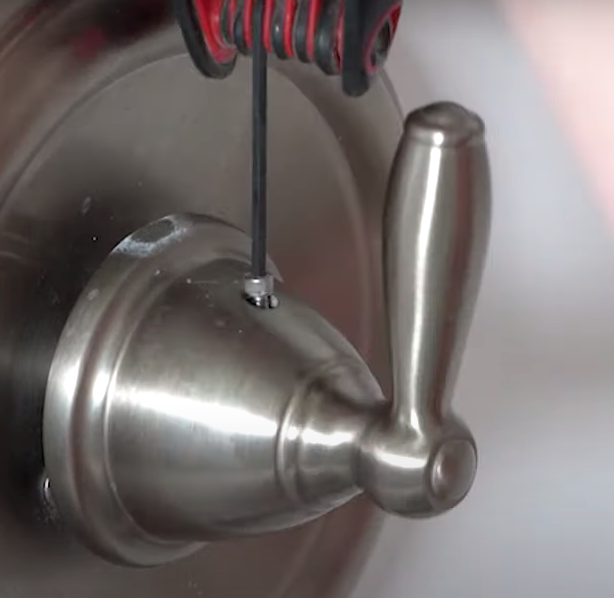
Next, unscrew it with an Allen or hex key.
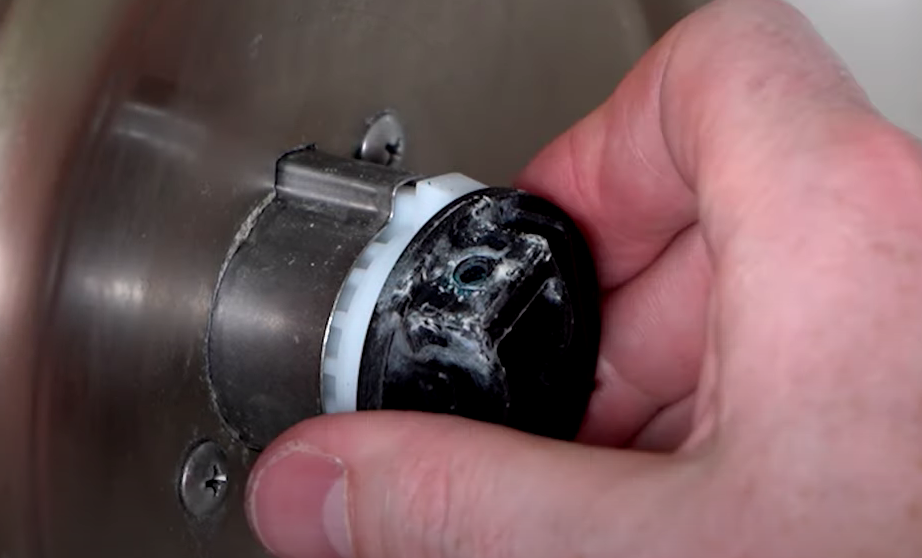
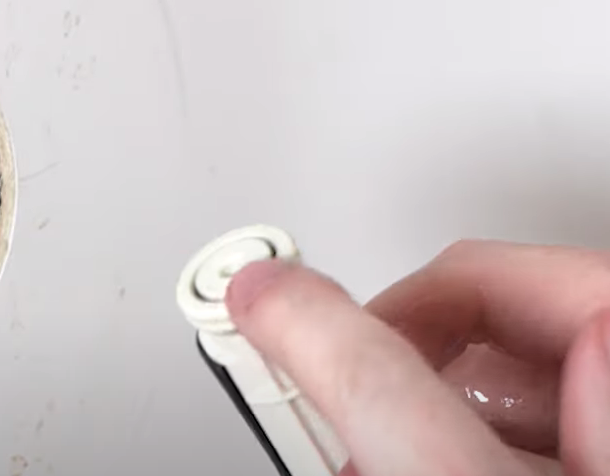
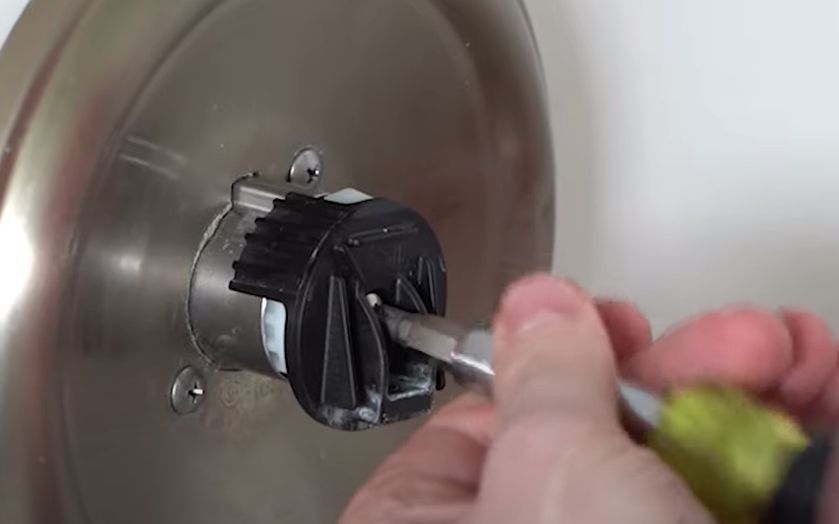
Underneath will reveal the housing cartridge; this has a Phillips head plastic piece in the middle. You’ll need to remove that as well with a screwdriver.
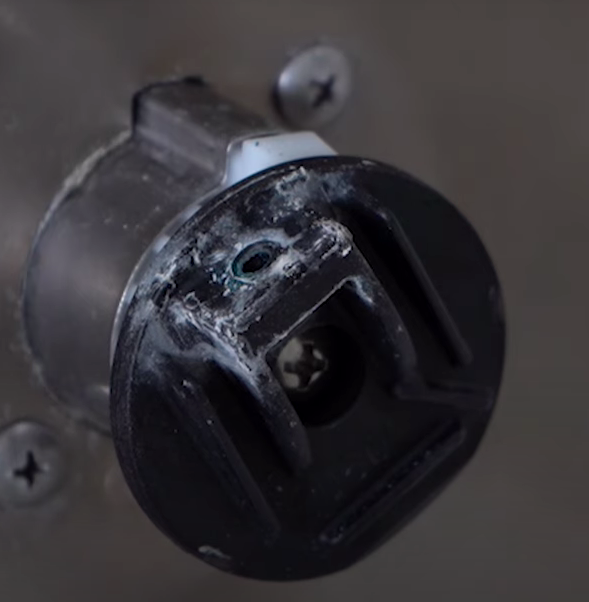
That will remove the entire plastic piece- keep the screw with it and set it aside.
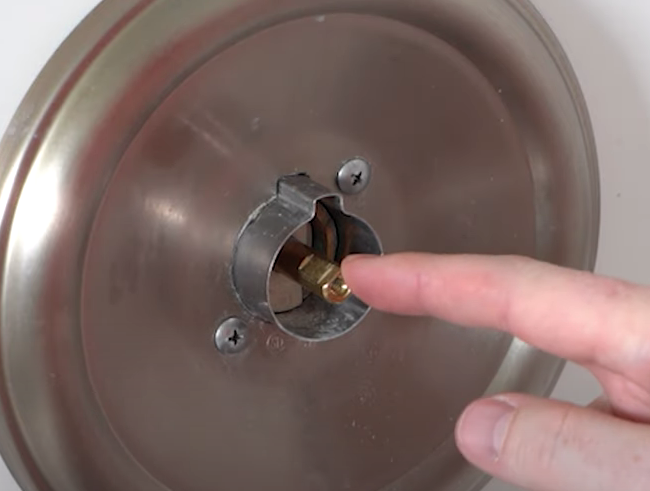
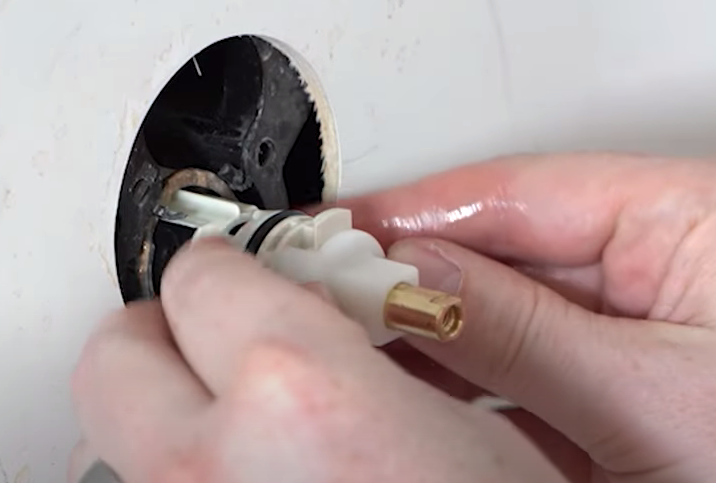
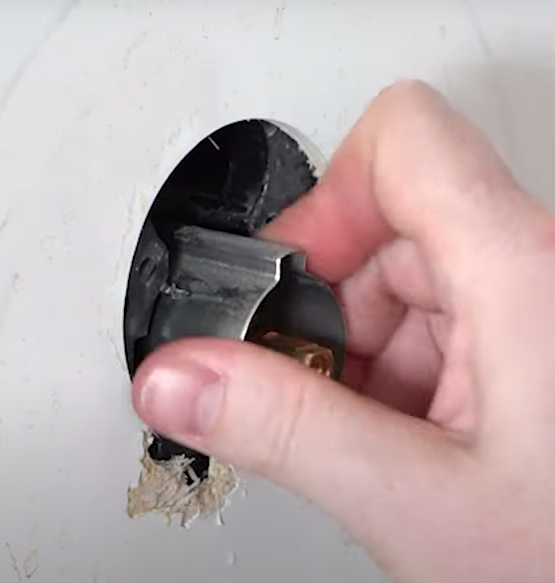
This brass stem is the stem of the cartridge. The cartridge is what handles turning the water on, off, and making it hot and cold. In order to access it, remove the vanity plate by removing the screws.
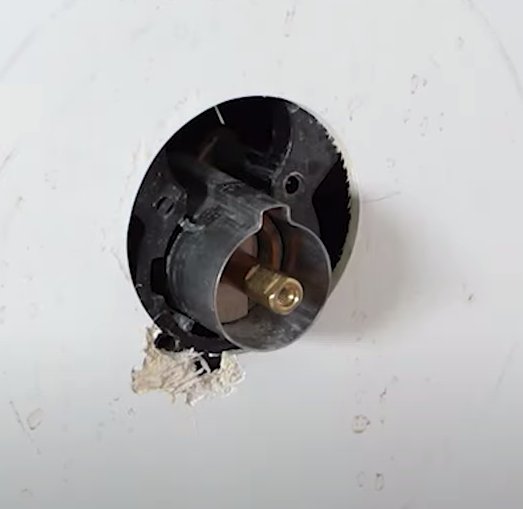
Pull out the metal sleeve so you’re just left with the cartridge.
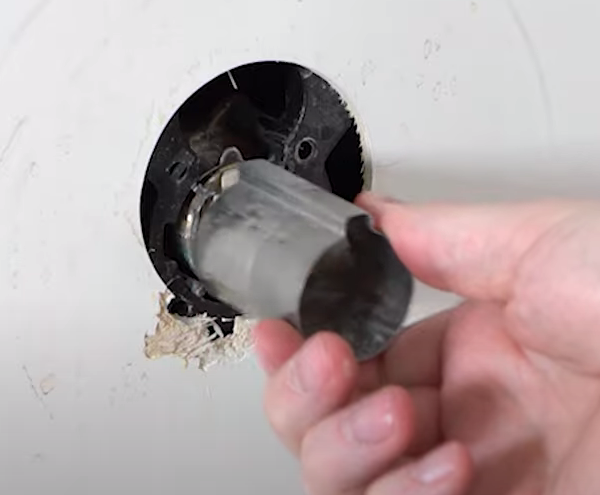

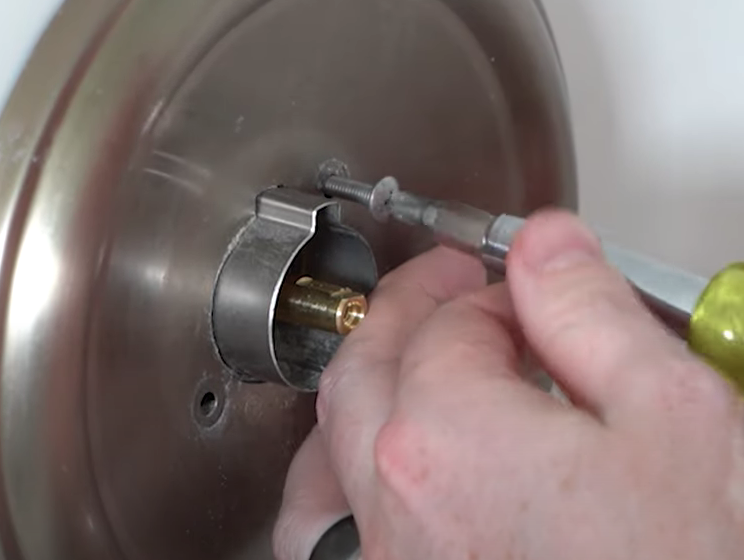
On the cartridge, there are some numbers that you can check to make sure you get the correct replacement part. Once you pull the pin out, you can see the numbers more easily. This particular cartridge is a Moen 1222, which is a fairly common one.
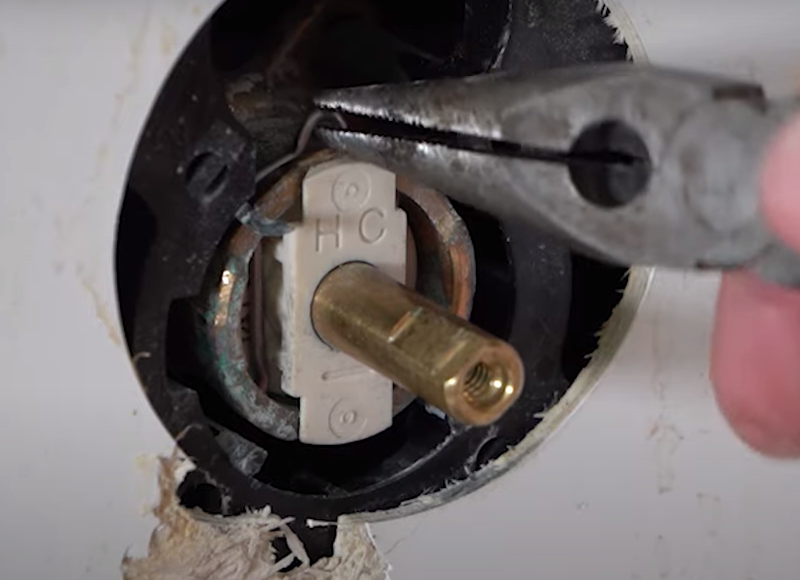
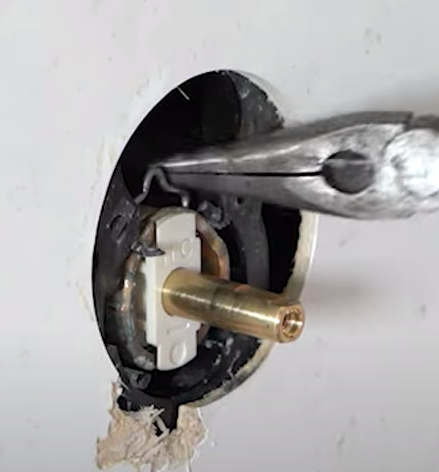
Use some needle-nose pliers to remove the pin. Be very careful not to lose it- you’ll need it later.
Gently remove the cartridge with some pliers- here’s what is looks like when it’s out. It should have the part number on it, so you can look it up and see which one you’ll need.
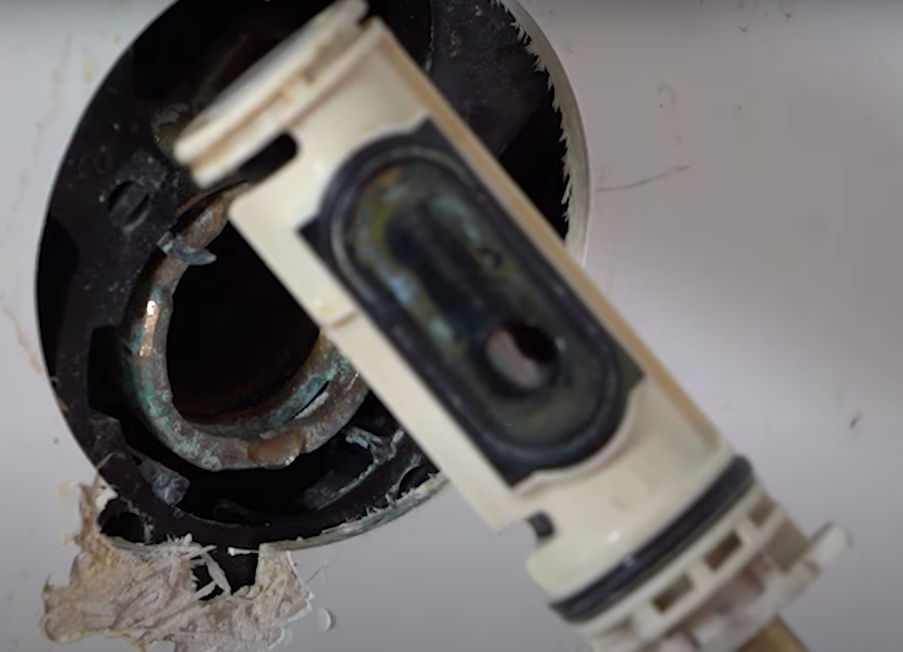
If your cartridge doesn’t come out easily with pliers, you can use a tool called a core remover or cartridge remover.
Once the cartridge is out, make sure there’s no debris in there. You’ll want to make sure it’s clear before putting in the new cartridge.
From here, it’s the same thing in reverse order.
There should be some lubricant in the packaging with the new cartridge- it helps to apply that to the cartridge before sliding everything back in.
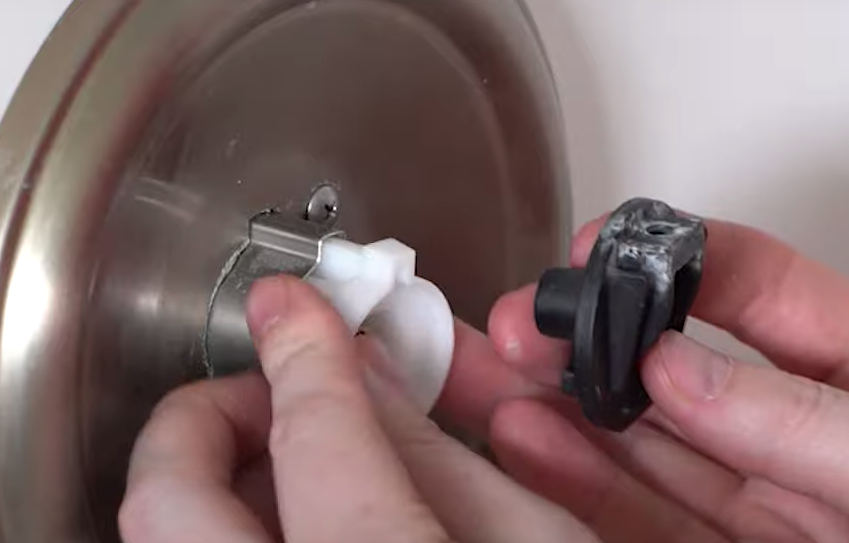
Make sure the “HC” is up, like it was before.
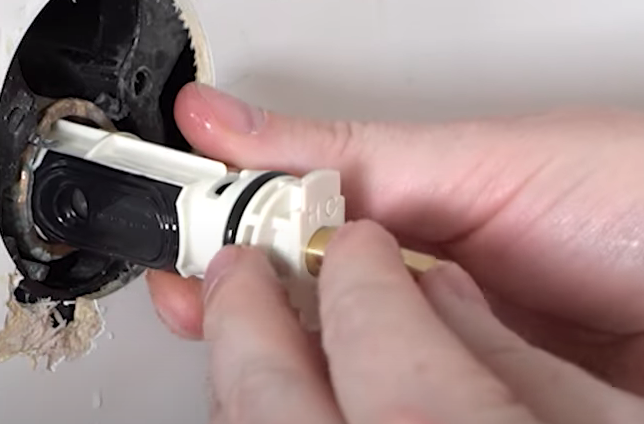
Make sure the cartridge is locked in and flat before putting it back in. There is a little white tool that comes with the kit that should help with this.
Once the cartridge is back in place, the pin needs to go back in. Make sure it’s placed properly in the openings in the cartridge so it goes all the way down.
When the pin is in place, the sleeve should fit right over it, and it should lock in place so you can’t twist it.
Replace the face plate
Put the white piece back in, and the black piece with the screw that fits in as well.
Tighten it back in place, and the handle should fit right on the way it did before.
Replace the set screw and tighten it in.
Once you have everything put back together, turn the water main back on. You’ll want to test the faucet to make sure the hot and cold are working. You should have no dripping. Enjoy the sound of silence!
Products used: New Moen Cartridge: https://amzn.to/2VWjI2u
Cartridge Remover Tool: https://amzn.to/3eKBHBL
After you get that leaky faucet fixed, check out what I have on Bathroom renovations and repairs.
Do you have a toilet seat that is always shifting? Check out my post on How to Tighten or Replace a Loose Toilet Seat. Click HERE for all of the details.
Are you needing to get a new toilet in one of your bathrooms? It is so easy to do. Check out my DIY post on How to Install a Toilet Like a Pro. Find all the information by clicking HERE.