
Are you looking for some great home DIY projects? I’ve got detailed instructions for you. Check out some of my favorites! Click on the links-
Unique Ways to Transform Your Home Garage
Important Components For Your Network Connection
Home Renovation Ideas As You Head Into Spring
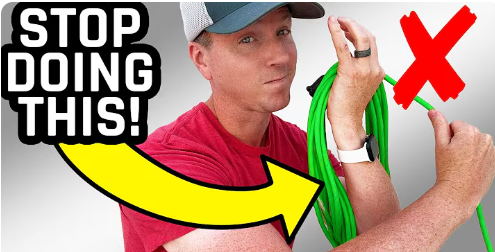
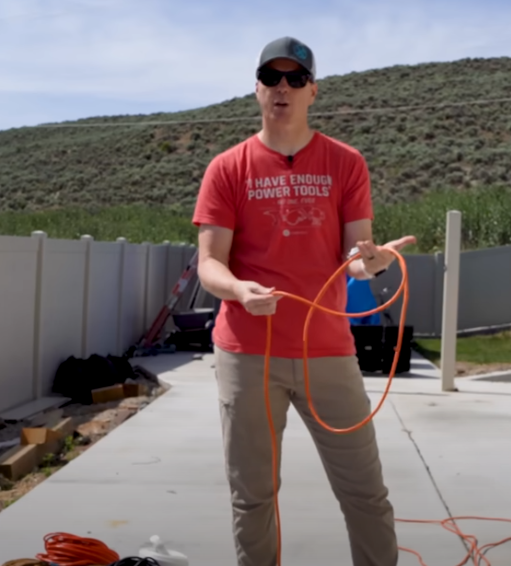
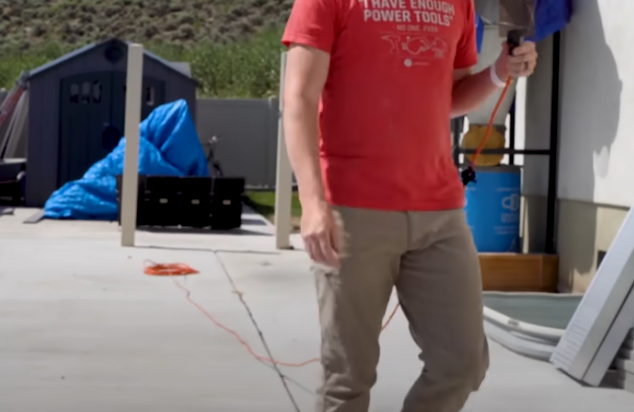
Winding up extension cords or hoses can be an absolute mess, especially when they get tangled, have knots, and all that fun stuff. I will show you a couple of easy ways to work with these. What I learned when I was younger was that you put it in your hand and wrap it around your elbow. Then you plug the ends together.
When it comes time to use the cord and as I pull it out, I’m bringing chunks of tangled cord. The cord stays in a big knot and doesn’t want to work. I end up with a knotted messy cord.
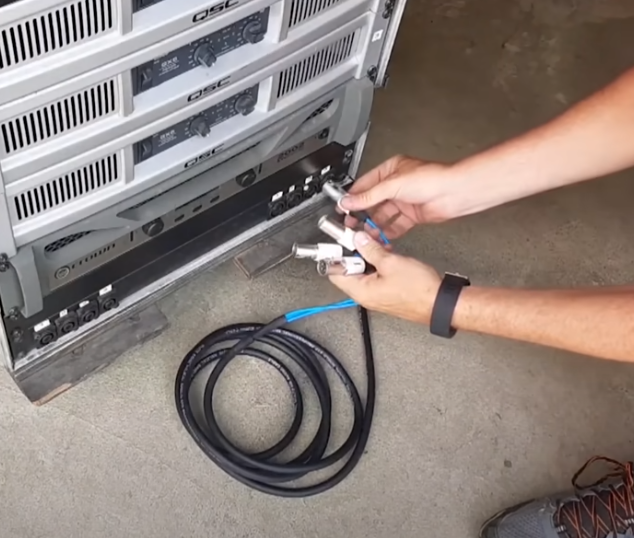
While I was in college, I took some classes that taught me what these key grips used when they were wrapping up their audio and video cables on the set. This can work for concerts as well. You have huge spools of wire and need to feed it to the musician or need to follow around the camera, and you don’t want everything to get tangled up.
Over and Under Technique for Wrapping Extension Cords
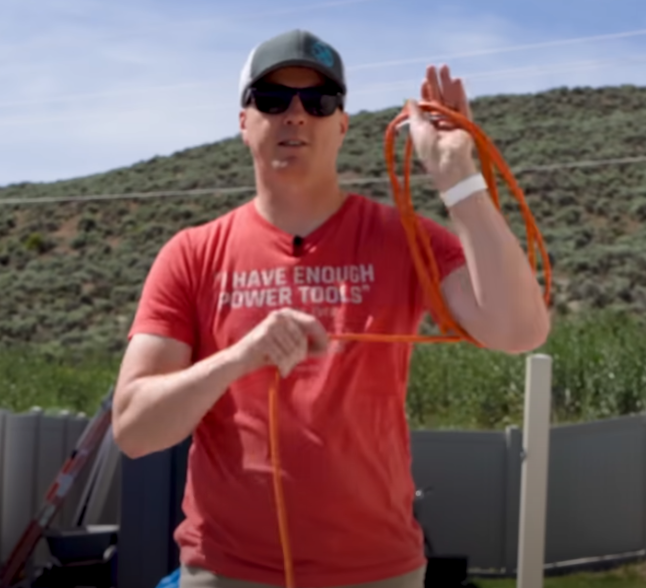
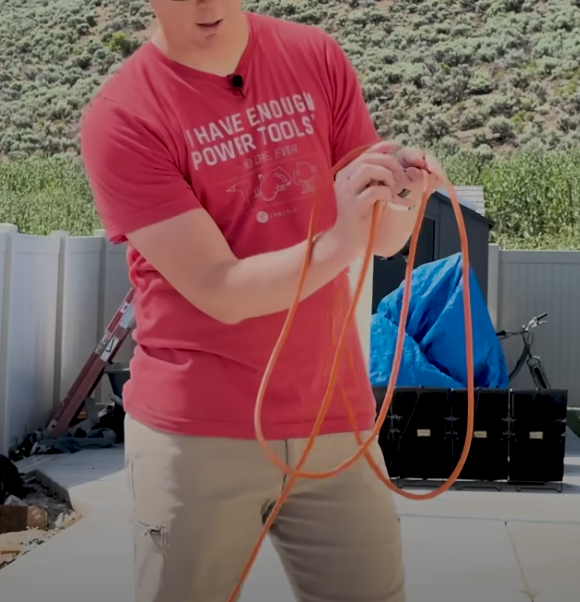
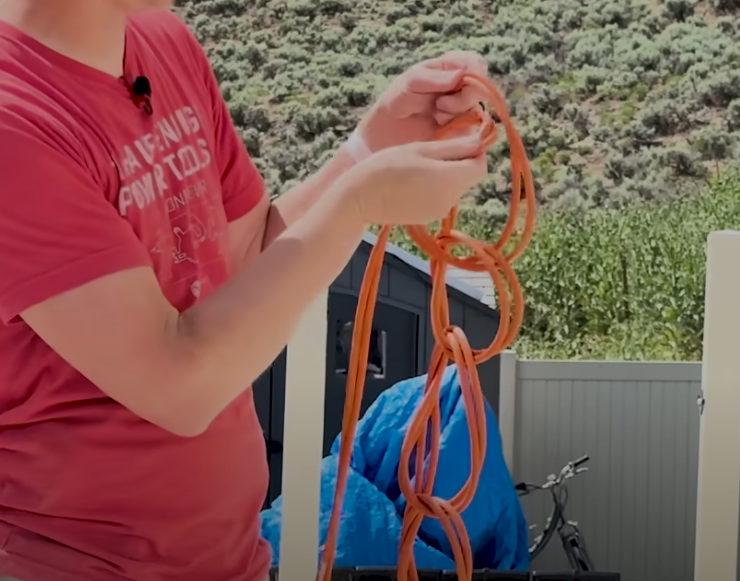
The over-under technique for wrapping a cord is pretty simple. The idea is you do one of the first loops over. I’m using my dominant hand to do the wrapping. My non-dominant hand is a shelf, a holder here. So I’ve got a regular loop.
The next one I’m going to go under. I’m bringing this one, and I’m twisting my wrist under, so my forearm is underneath the loop. I pull it out and let it hang, grab another arm’s length, and then I’m going to do a regular loop like the first one. Then the next one is going to go under. I do a little toss to get my loop going and end up with my forearm under. I hook it onto my left hand acting as a shelf. Then pull out the cord and grab it again for my over loop. Then repeat until it’s all wrapped up.
I can feel the twist in this so I can twist it or untwist it to get it nice and straight. That’s really what we’re after is to make sure that none of these are twisted up and have kinks, bends, or bows in them. On that one, I had to twist it. I felt like I could feel that if I go like this, see what it’s doing. It’s fighting me on that.
I want to relax the cord as best I can. In this case, what I needed to do was twist it because it was about 180 degrees twisted in the wrong direction. Now I can grab my next one and go under, over, under, over, and so on. When I’m done, I’ve got a couple of things going on.
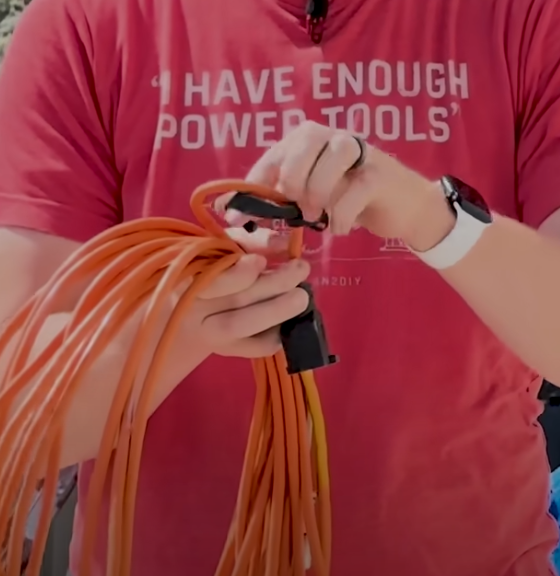
Velcro Twist Ties to Hang Cords
I like to always keep little Velcro twisty ties on here. It’s a velcro strap that has hooks on one side and loops on the other. I can wrap it up, then tie it off like that. So this thing’s ready to hang up, throw in the back of your truck, whatever you need to do. Ideally, you want to keep one side to where it left off. I ended off with the female side in the front and the male side in the back. I want to ensure I keep those in order as best I can, and that’s what your twist tie will do with the Velcro. As I go to use this on a job site or somewhere else in the house, leave the velcro on the cord.
Over and Under Technique Unloops Perfectly
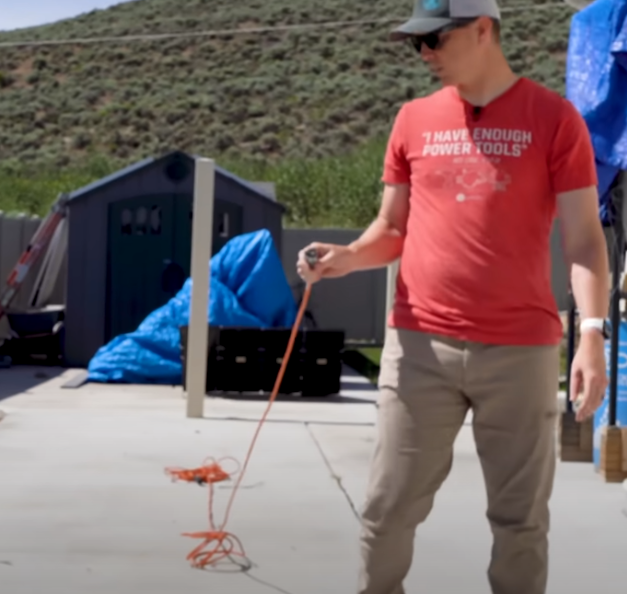
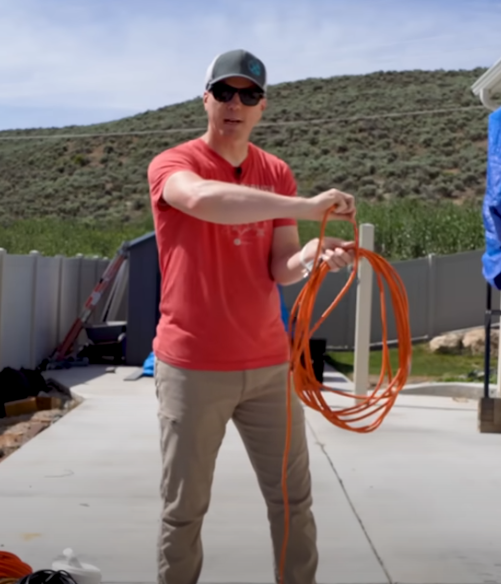
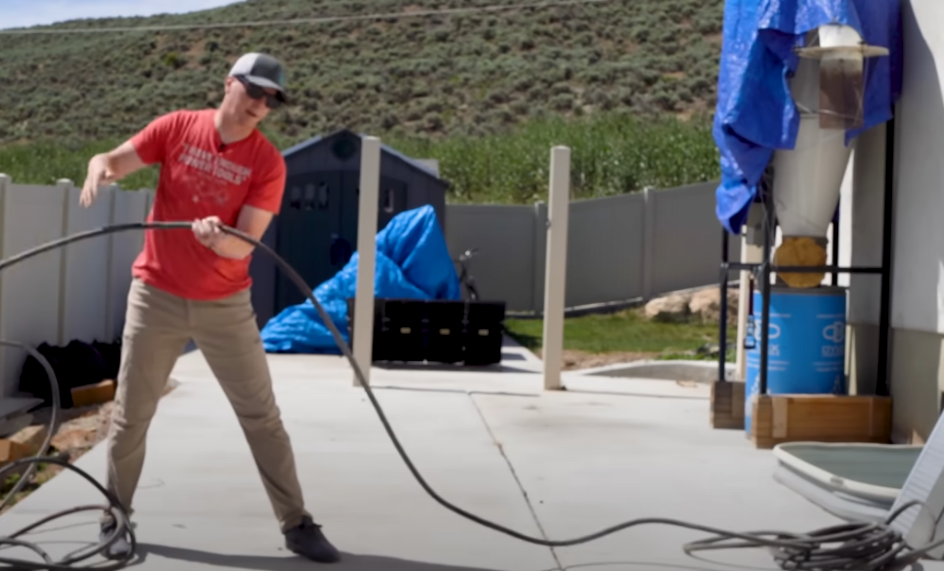
I can take this part and say, I’ve got it plugged in a few yards away. Check out how nicely it unwinds. I set down the wrapped cord, and as I walk away from this it’s going to unloop itself pretty much perfectly every time. It is nice and flat, with no twists, kinks, or problems. As you wrap, make sure that there are no twists or loops. The cool part is, once you do it once unless something tangles it outside of what you know, your wrapping process is going to stay in place.
Over and Under Technique works with Hoses
If I grab both ends and toss this, it’s not going to be tangled at all. It lays out nice and flat, just like we want it to with no issues. When you’re working with the hose. The over-under technique is the ideal way to go. I’m going to start with one end and wrap it like this. Now this one, I don’t even remember how this was wrapped up last time. You have to keep an open hand here, especially if it’s a longer hose. This is a 50-footer. You might need to stack it a bit for a hose, to give yourself enough room to hold it. So continue with the over and under technique just like the extension cord. I’m going to twist it so I can do the next over, and then grab my next under. You might have to wrangle it a little bit if it hasn’t been done properly in the past. I’m going to keep wrapping it around like this and it gets very thick and hard to handle. We’ve now got a nice coil here.
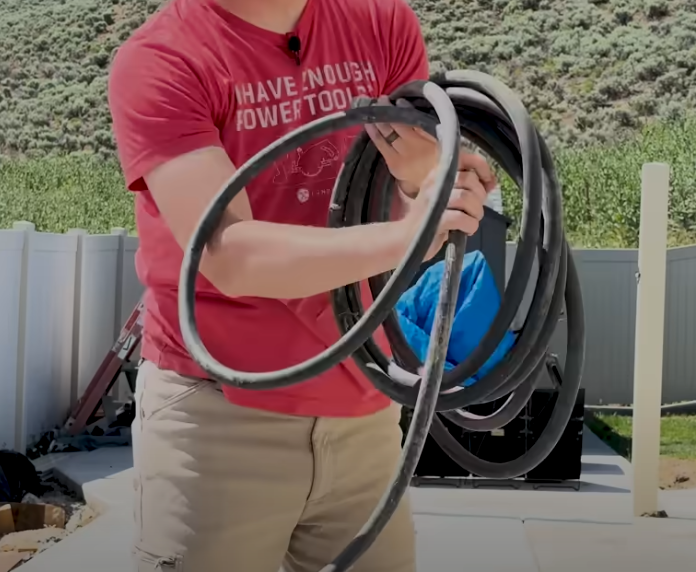
The cool part is this coil is going to be so easy to work with. As I unwind this, it’s going to come free, nice and easy, with no issues. So that’s why the over-under technique is the perfect technique for hoses.
Chain Technique for Wrapping Extension Cords
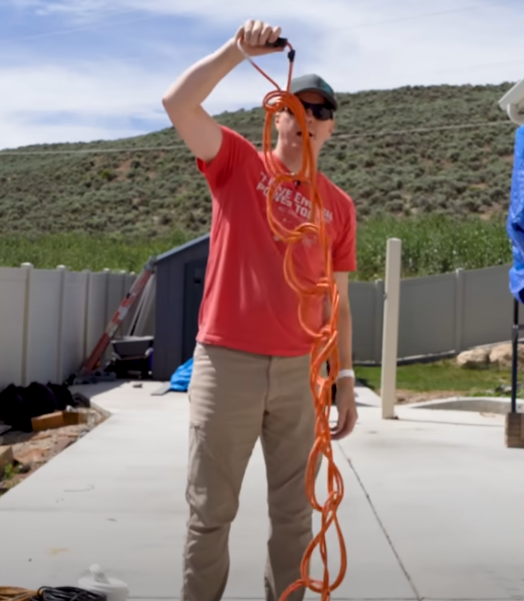
The second technique is totally different from the first one, and kind of looks like a mess, but works really well. I call it the chain technique, it works well, but for a different purpose. You wouldn’t use this with a hose, but for an extension cord, it works great. Again, I’ve got a 50-foot cord. I’m going to start by taking the two ends and then plugging them into each other. Then I’m going to follow it along, kind of fist over fist until I get to the end which is the halfway point right here.
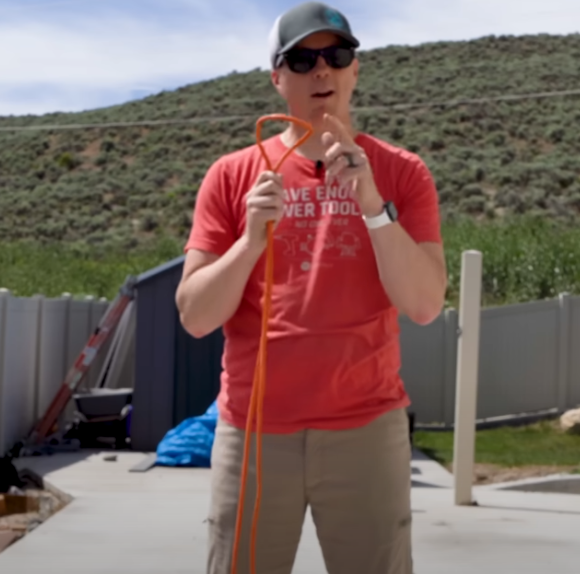
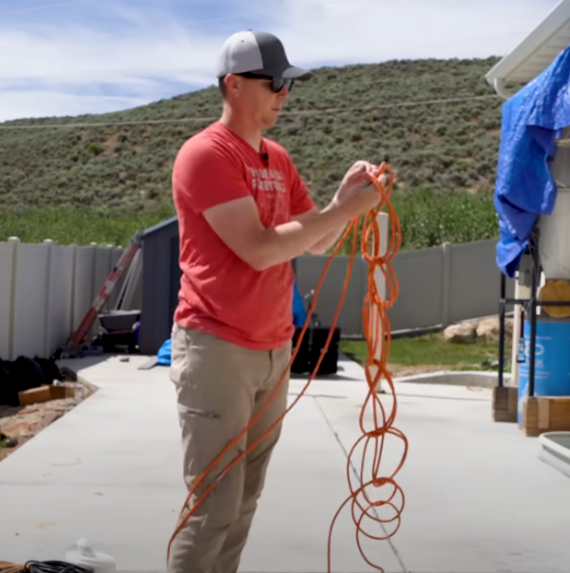
Once I’ve got the halfway mark like this, I’ll take that loop that I’ve created, and I’ll call the other part over here, the tail. We’re going to feed the tail up through the loop, and then we end up with the tail again, and then our loop. So I’m going to feed the tail through the loop, and I’m going to keep these in fairly small sections. Every time I make a new loop, I end up with a new tail, and I put that through it like so, and I just keep those tail pieces together, and it begins to twist in my hands, and that’s okay.
To explain again, I’ve got the one in my hand, and I’ve got the bottom tailpiece. I’m going to push it through and make that loop, which creates a new loop on top, over and over until I get to the end. When I get to the end, I can store it as a long chain, and that works out great. This is durable. I can take this and wad it up, I can toss it onto the ground, put it under the seat, whatever I need, and then I just grab the female and male ends here, and you’re good to go.
Chain Technique – Easy to Unwind Only What You Need
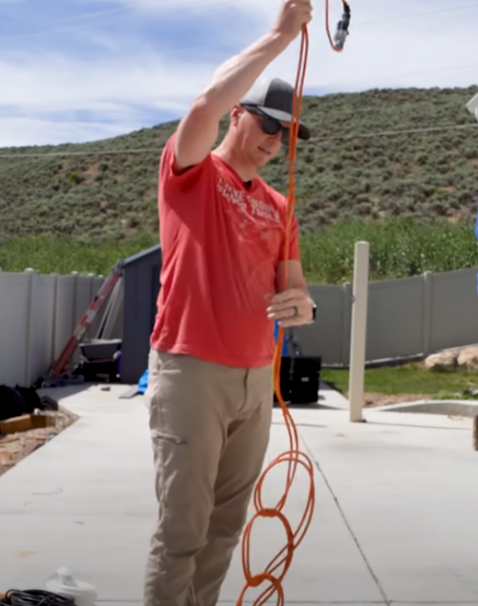
I don’t need to unravel the whole thing to use it. Let’s say I have a 10 or 15-foot span I need to run. I can pull the ends through once, and then it’s going to untangle itself. I can release as much or as little as I want. If I need a few feet, I’ll leave the chain part intact and run part of the cord one way and the other side of the cord the other way. I don’t have to redo the whole thing. I’ll plug the ends back into each other because it also protects the prongs from getting stepped on. Then I start the chain again. I’m going to pick up where I left off. Loop it through, loop it through, loop it through. Then I’m done, and I’ve got it ready to go for next time.
It’s easy to undo the entire cord just by pulling on it like this, so it will unwind all the way right down to the end. Nothing’s tangled up, and you’re ready to go for next time. It’s another way to keep things tidy and in order, and to avoid undoing too much, getting twists, knots, tangles, and all those things that plague us with extension cords, audio cables, hoses, and everything else. I don’t recommend the chain method for hoses because they’re usually not as pliable as an extension cord and HDMI cable. Hopefully, you found this helpful.
I love testing out the best tools that will help with all of your DIY projects. I will do all the work and then you will know what will be the best choice for you. Here are a few of my latest comparisons for Home DIY.
I Bought and Tested the Most Expensive Drills at Home Depot. Click HERE to see what I liked best.
I saw The Hammer Fist and had to give it a try. Here is The Hammer Fist Review. Click HERE to see the results.