

Are you looking for DIY home improvements to save you a lot of money? My DIY blog posts empower you to tackle home improvements confidently, helping you enhance your space while saving money on labor and materials. Here are just a few:
DIY Mini Split Installation: A Complete A to Z Guide
What Are The Locking Mechanisms Of A Garage Door
How To Install a Toilet Like A Pro
After we wall-mounted our new TV, the first thing we had to deal with was all of the ugly wires hanging down. In a related article, I show how to hide your TV wires for just $10. In fact, I later published another article and video showing how to do this using a kit that hides both your A/V wires and electrical wiring, if you’re interested in doing this with a kit.
Unfortunately, I wasn’t aware that per local code, you cannot place low-voltage wires behind the walls. You can conceal low-voltage cables, such as HDMI, A/V, and audio cables, but the actual TV plug needs to be in a separate outlet. So, that’s what we will be showing you today.
This applies to adding an outlet to your bathroom, kitchen, or garage as well. What I did was run a new outlet from an existing outlet in the room. The best part about it was that I didn’t have to make a mess with the sheetrock or the painting. The only time I had to cut into the sheetrock was when I was putting in the new outlet box, but it didn’t involve any mudding, taping, or that kind of stuff.
The Tools You’ll Need
There are quite a few tools that I used to get the job done, but don’t get too overwhelmed because these are simple and affordable tools that you can purchase almost anywhere. There’s nothing wrong with borrowing these from a friend or family member.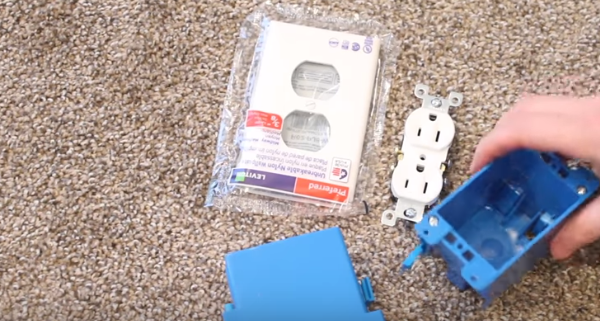
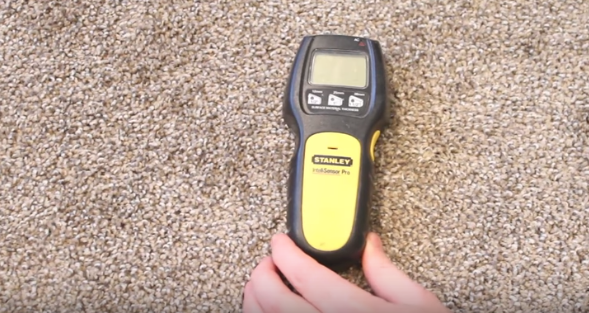
The first things you’ll need are a stud finder, a faceplate, an outlet, and a couple of single-gang boxes. Take note, these are the kind that are for existing work, so they have little tabs that grab onto the drywall.
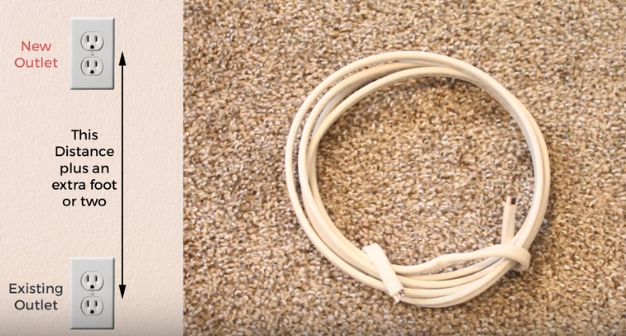
You’ll also need some Romex wiring. The amount you’ll need, however, will depend on the distance from the existing outlet to the new one. In my case, it’s only about four feet, but I went for eight feet just to be safe.
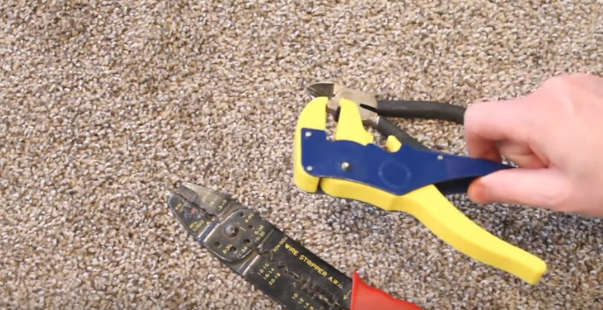
You’re going to need some wire strippers and wire cutters. Any wire strippers will do.
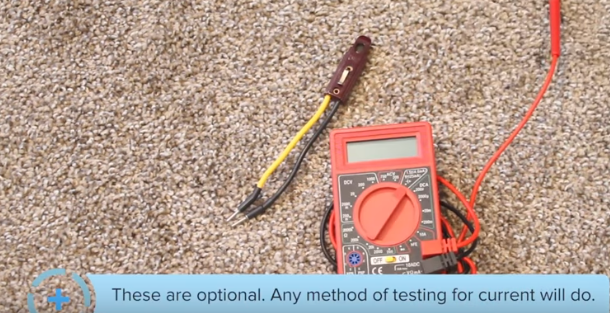
You need to make sure that the power is out to ensure that you’re not working with live wires. You’ll need a voltage tester or multimeter. Optionally, you can just plug something into the outlet that you know works. If it turns on, the outlet is live. If not, it’s powered off.
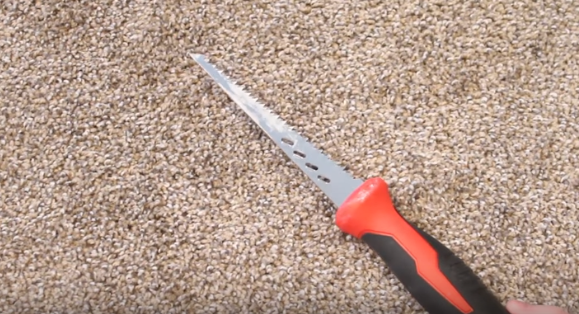
You’ll also need a drywall jigsaw or a utility knife, but you can use whichever one you have on hand. You’ll need to pry the existing outlet from the stud, so you may want to grab a large screwdriver or pry bar.
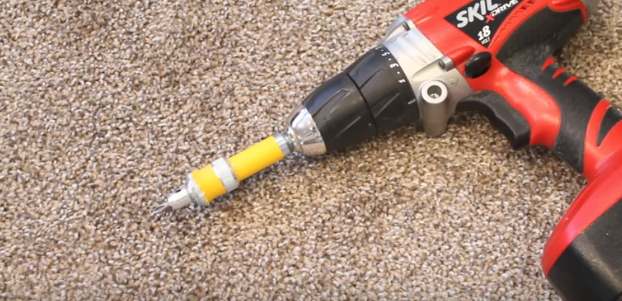
You’ll need a Phillips and a flathead screwdriver. I use a drill in my video, but only because it has a clutch, so that I don’t overtighten things.
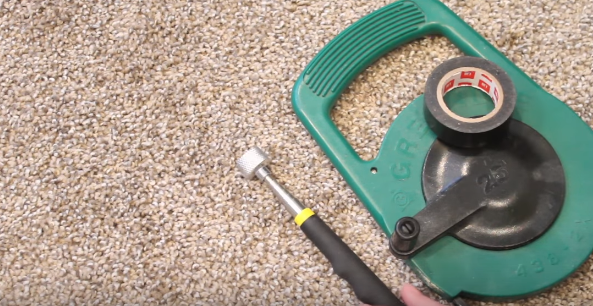
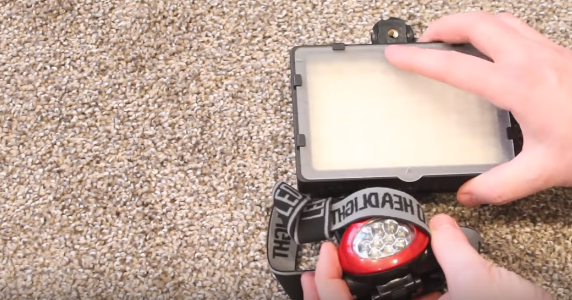
The last few things you may need are fish tape (you can actually just use a measuring tape for this), a reciprocating saw (or a hacksaw), and some lights for when the power is off. Fish tape is entirely optional, but electrical tape is handy to have.
Clearing the Work Area
The first thing to do is to use the stud finder to make sure the area between your existing outlet and the new outlet is clear. It’s important to make sure that there are no horizontal studs in the area you want to work on.
A fire block is the last thing you’d want to find in the wall you’re working on because it’s going to make the work a lot more difficult. You may have to do pumpkin cuts around the fire block, which makes the whole process complicated, but it doesn’t mean the job can’t be done.
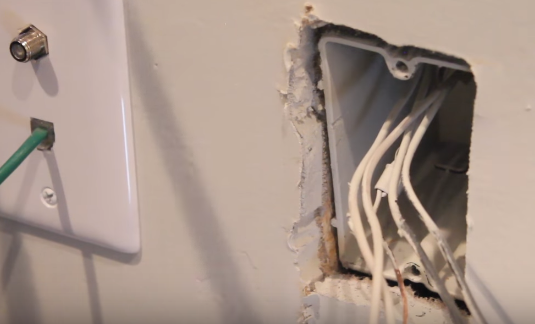
Getting the Existing Outlet Out of the Wall

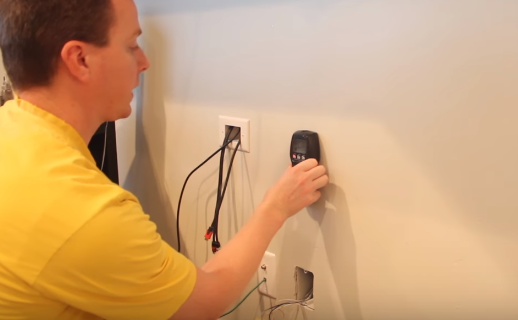
Now that your work area is clear, what you need to do is remove the faceplate and take out the outlet.
You need to test with a multimeter or voltage tester to see if the power is still working before actually touching the outlet to make sure that no electricity is running in the area.
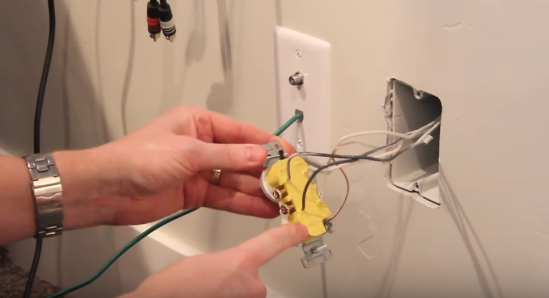
Every setup is going to be different. You may or may not have a lot of slack in the electrical box. And also, the appearance of the back of the outlet is going to be different.
In my case, the wires all went directly into the push-in inputs. What I did was get those guys out, which was a bit tricky because these types of cables don’t easily come out. They’re meant to stay in tight for good.
Some outlets have a release on the back where you can insert a pin or a small screwdriver. The one that I used doesn’t have that. What I did was riggle the wires out. They do come out bit by bit, but if riggling them out is difficult for you, then you can always cut them.
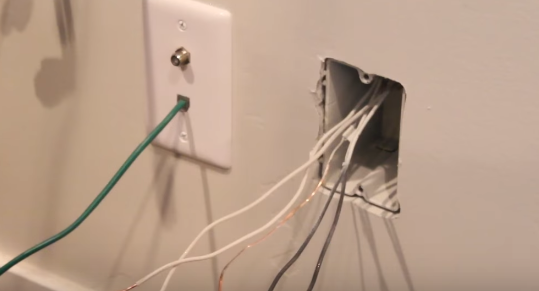
For the next part, you’re going to need a pry bar or a large flathead screwdriver to try and see if you can get the outlet away from the stud that it’s attached to.
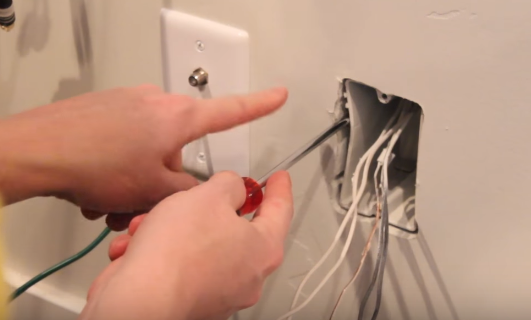
I already knew which side the stud was going to be on because usually what happens is that they’re nailed to the wall. So, I got close to the top and the bottom to see if I could get a little slack. Be careful not to mess up the drywall because there’s really no need to get it out. It’s enough to loosen it a bit and give yourself some slack.
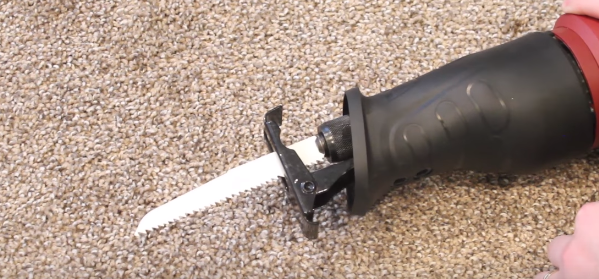
Cutting the Nails of the Existing Outlet
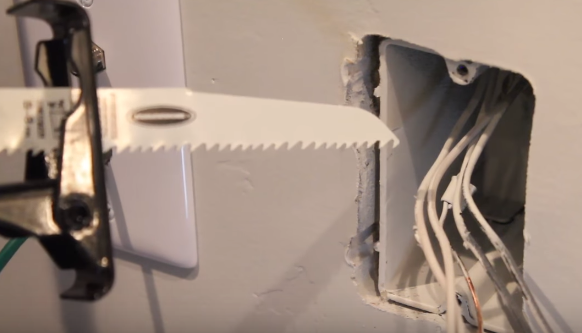
There’s usually one nail on the bottom, about an inch back going to the stud, and another one on the top, about an inch back going on the stud.
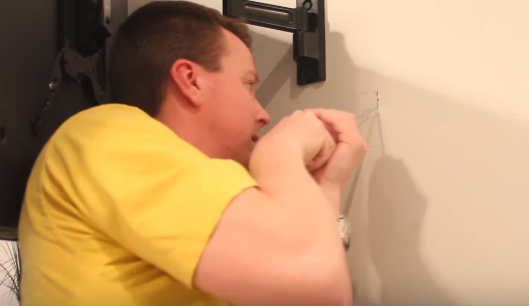
In the picture, the box just went slack when I tried to seize the nails with the reciprocating saw, which means that I got it. The purpose of doing that was so that I could pull the outlet, get the wires free, and work with them.
Attaching the Gang Boxes to the Hole
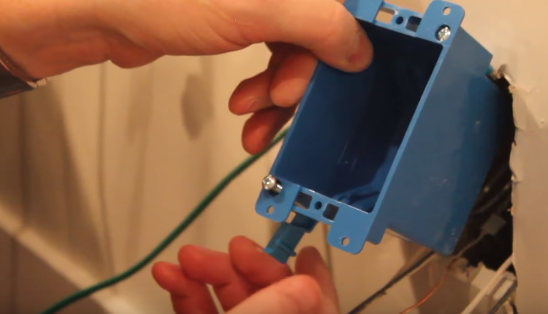
You need to make sure that the flaps of the tabs are going to fit in the wall and not going to be against the stud.
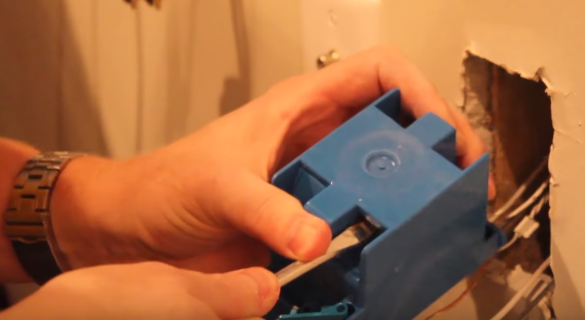
What you have to do is pop up the little tabs and give yourself something to work with. I attached the wires to both tabs. You need to get it to the point where it’s accessible.

Just like in the picture, you need to drop the new Romex wire and feed it right into the gang boxes that you installed at the bottom and tie it in with the old cables.
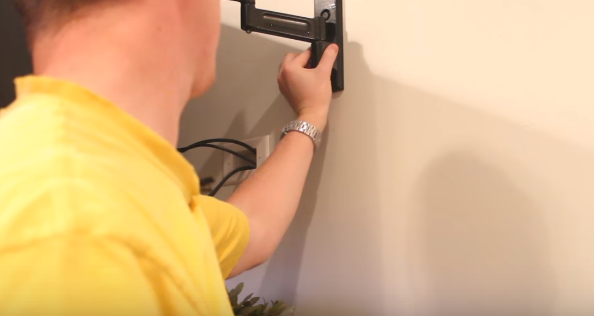
In the picture, you’ll see the TV mount installed onto the stud, which is the same stud down below that I have the actual outlet on.
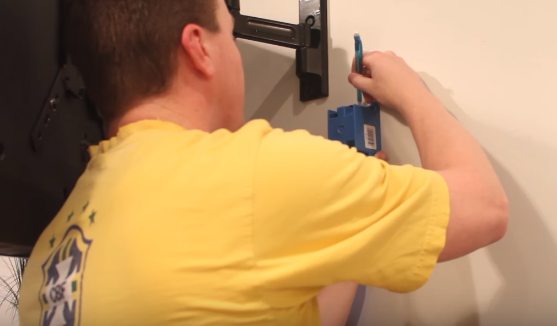
What I did was trace my new outlet behind the TV. Once I was done with that, I used my jab saw to cut the hole.

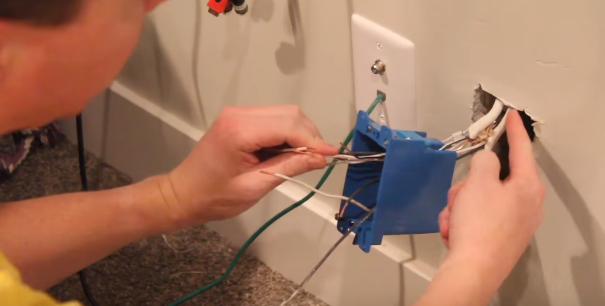
I stripped off some pieces of the Romex wire on the top. I didn’t strip the wires on the bottom because I wanted to fish them down without them getting splayed or in the way. When I got both ends out, I spread the wires and fed them through this box like in the picture.
Once those are in there, you can already cap them together to connect the electricity. I used the wire connectors to make a new connection when the wires were through, but before I could do that, I needed to use my wire cutters to get extra wires.
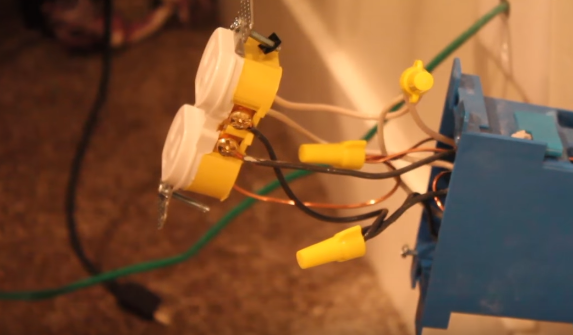
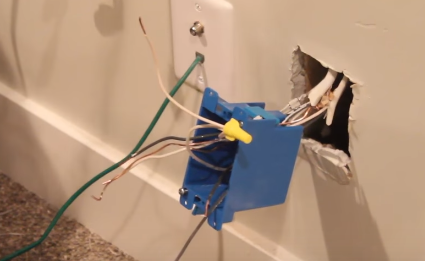
I already had plenty of wires here, so I grabbed one section at a time and then stripped off the ends. In the picture, you’ll find a close-up of the work done.
I used a standard pair of pliers to twist the sections that I got from the Romex wires with the one at the bottom outlet. And then I slipped the cap on and tightened it really well to make sure that the connection is stable between the three wires.
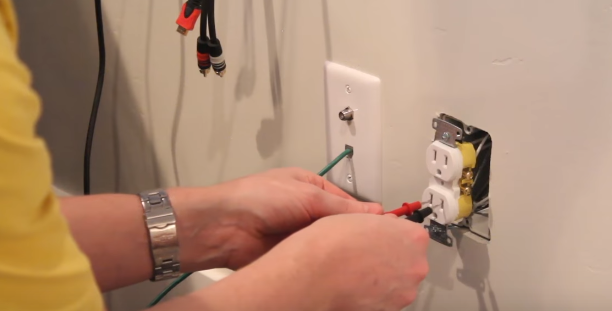
This left me with only one wire to connect to the actual outlet itself. What you need to remember is that black goes on brass. White goes on silver. And your ground goes on green. I wired this up, kind of like how I had it before.
With that done, I crammed all the wires back in. I took the drill and put back the gang boxes with the outlet in. What I did next was tightened these screws down and put our plate back on, and that’s about it for the bottom outlet.
I just did the same thing with the top outlet. I got the wire stripped and got the ends exposed. I then fed it into this other gang box and then wired it up to our outlet. After that, I got the outlet and box mounted in, the tabs pulled nice and tightly against the drywall, the faceplate on, and then everything was all set.
One important thing is that I cut this wire a lot shorter. We didn’t need an extra foot and a half hanging off there. There’s no way you’ll be able to cram that all into the box. You can also do a little hook on the ends of your wires so that it can wrap around the screws.
The last thing I did was turn on the power, test it, and make sure everything was working well.
We got our outlet installed. We didn’t have to do any drywalling or taping. We just cut the hole and ran our existing outlet down here. So, it worked out nicely. Our power is up. Everything’s working.
So, if you have any recommendations or ways to improve what I’ve done, feel free to let me know in the comment section.
WATCH THE VIDEO!
These tips and tricks with Painters’ Tape are life-changing. I’ve got 7 Clever Painter’s Tape Tips/Tricks Everyone Should Know. Click HERE for these great tips.
Have you always wanted to turn your Family Room into a Home Theater? It’s easier than you think. Check out my post titled “I Got A Laser TV and I’m Never Going Back“. Click HERE for all of the details.