
Installing or replacing a toilet is one of those household things that may seem intimidating, but it’s actually pretty simple.
Emptying the Water
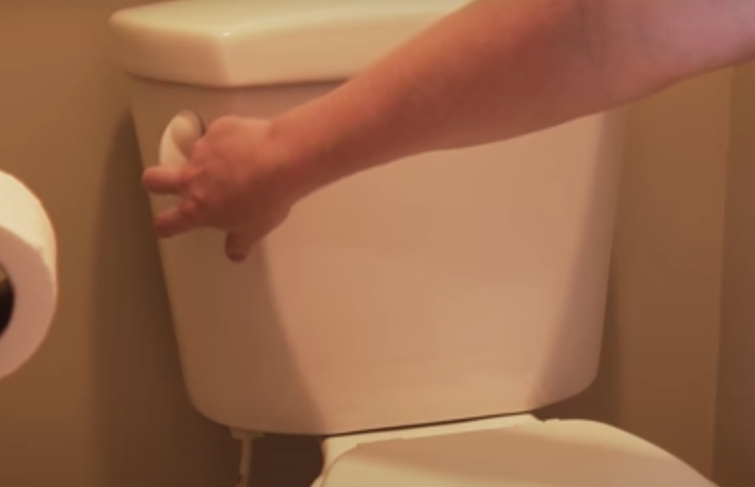
First thing to do is turn the water off at the line by the toilet.

Then flush the toilet, and hold down the handle to get as much water drained from the tank as possible.
Next, use a sponge to remove any excess water from the tank and the toilet bowl.
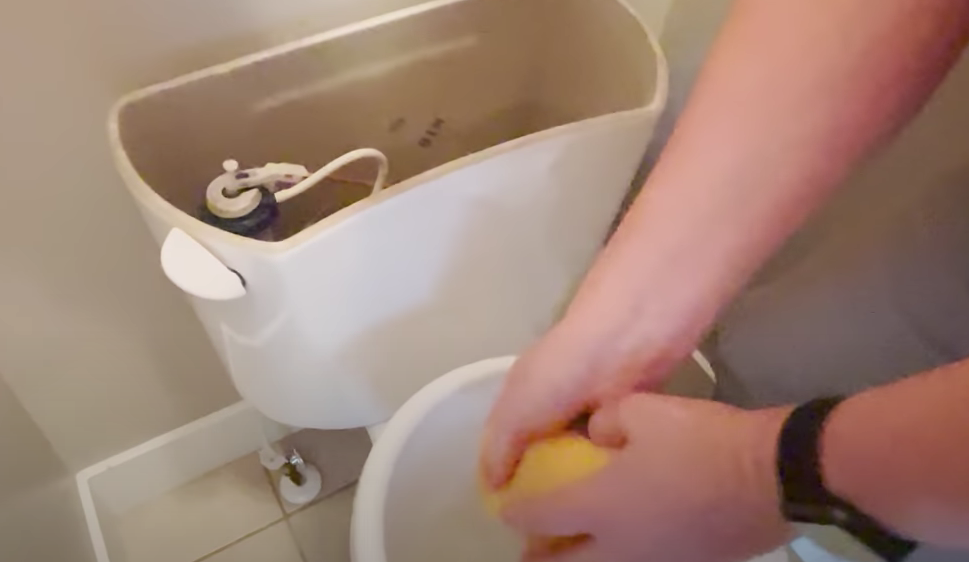
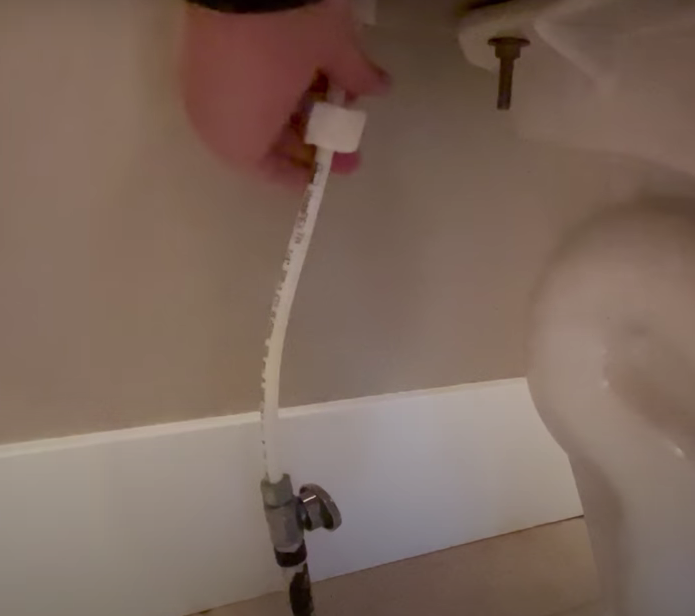
Now that the tank and toilet are emptied of water, you can disconnect the water line from the tank.
Removing the Toilet
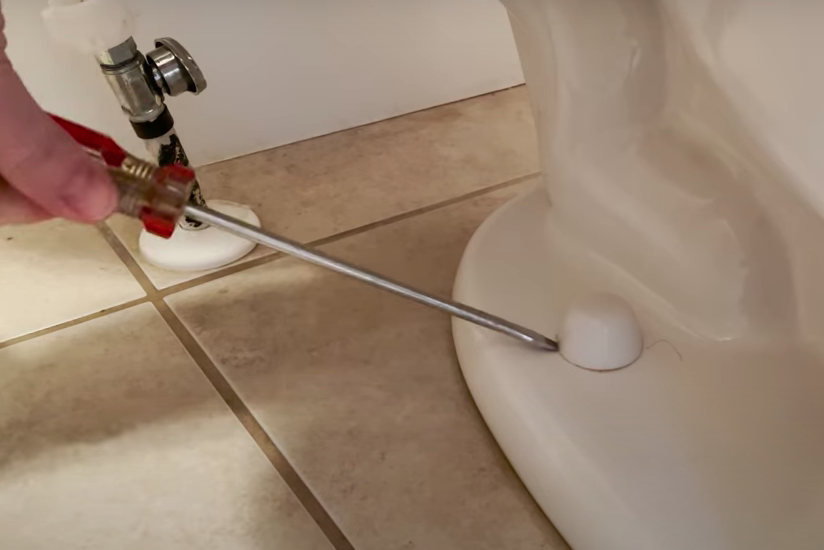
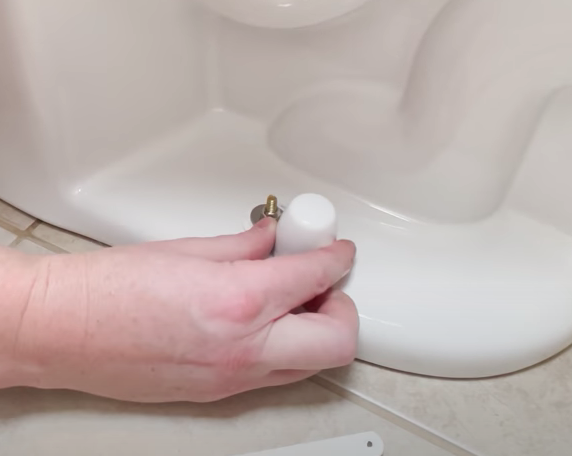
To remove the toilet, remove the decorative caps by sliding a flathead screwdriver underneath them and popping them off. Sometimes you can just squeeze them or twist them, and they’ll come off.
Remove any nuts, bolt, and washers from the screw, using pliers if necessary.

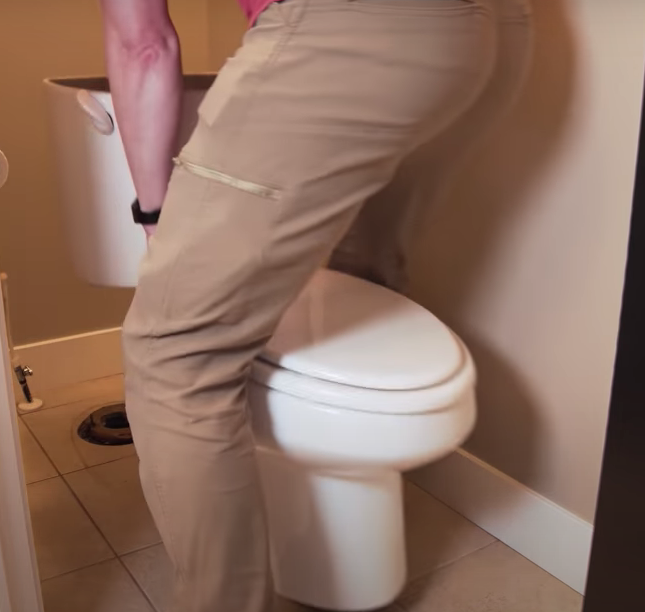
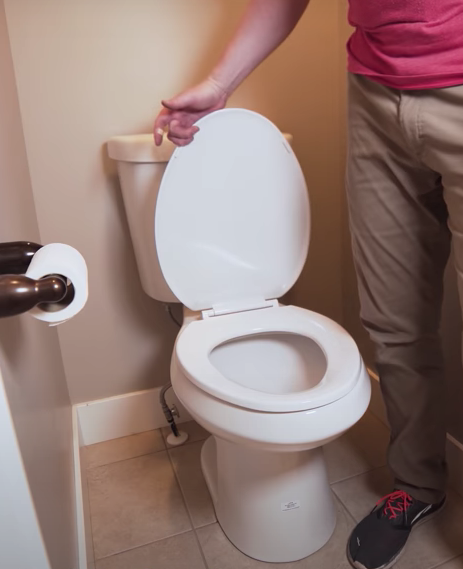
You’re ready to remove the toilet, and have a couple of options. You can remove the tank from the bowl/base by removing the bolts inside the tank that attach the two. It’s probably easier and faster to just try to get it all out at once, though.
Just remember to lift with you legs, and remember that it will be heavier from the back. It should break free of the wax seal as you pull up, and come off easily.
Removing and Replacing the Wax Ring
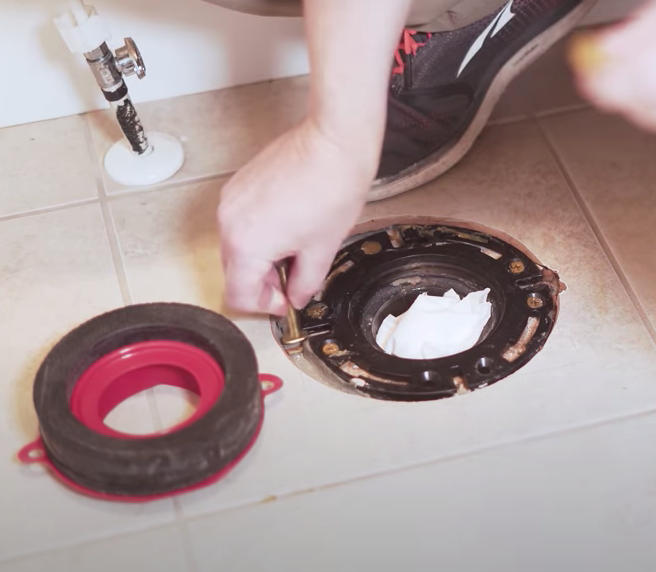
(Once the hole under the toilet is exposed, it’s a good idea to plug it up with some toilet paper to help keep any fumes from coming up to the surface.)
The wax ring always looks gross, so don’t worry about that too much. Remove it by sliding a putty knife or something flat under it. It may come off in a few pieces and be deteriorated; just make sure to get it all off.
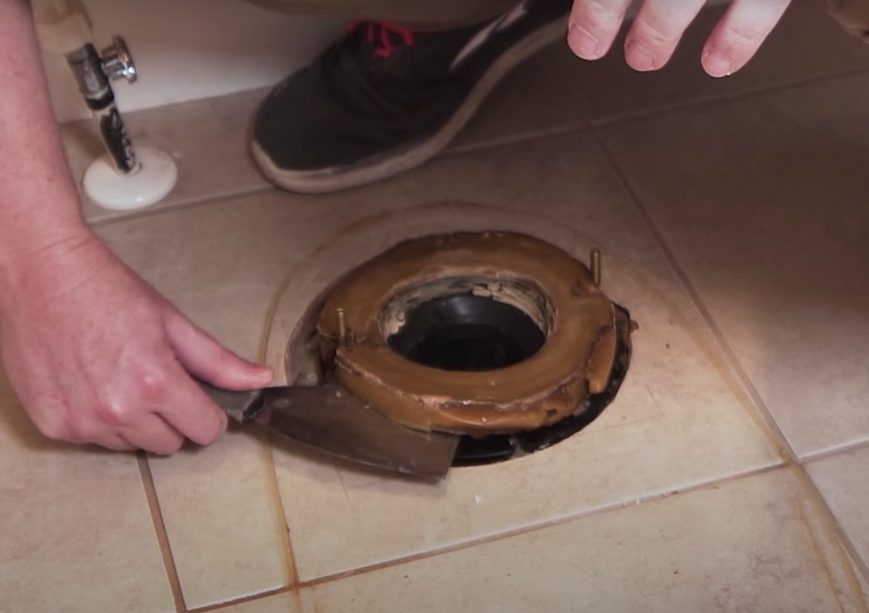
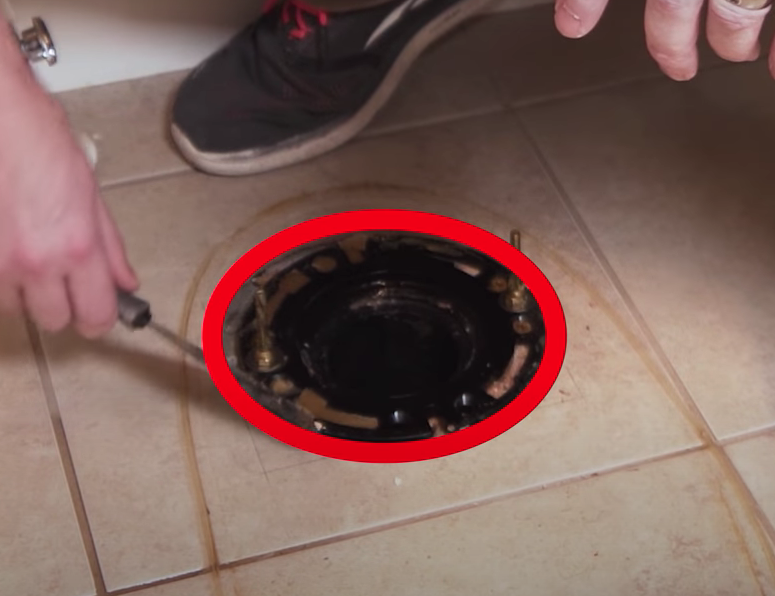
Under the wax ring is the flange. Make sure to get all the wax out of the flange as well. This flange happens to be in really good shape; yours may be a little more corroded or deteriorated, and you can replace it if necessary; you’ll want to make sure your flange is in good shape.
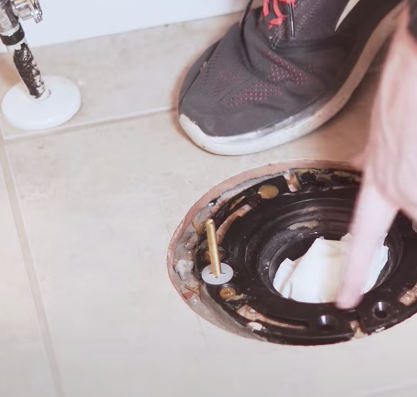
Remove the closet bolts from the flange to prepare for the new ring.
Take up any old caulking, so the new toilet sits flush on the floor.
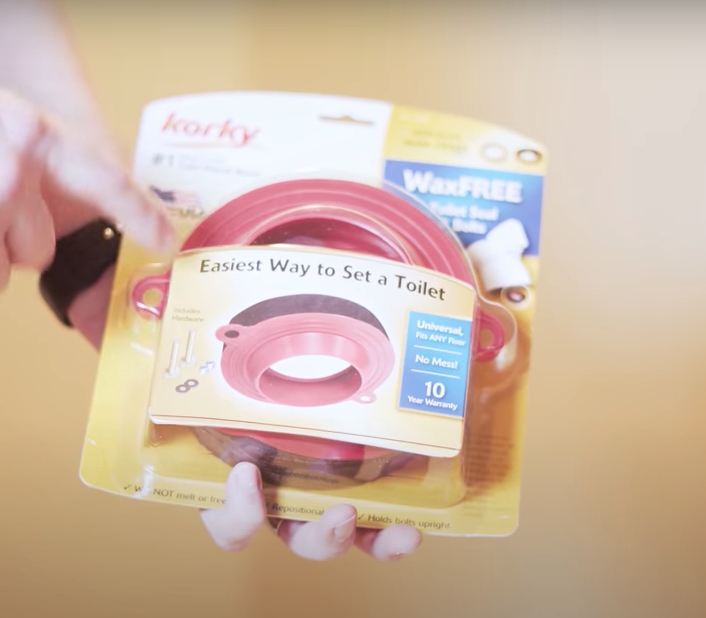
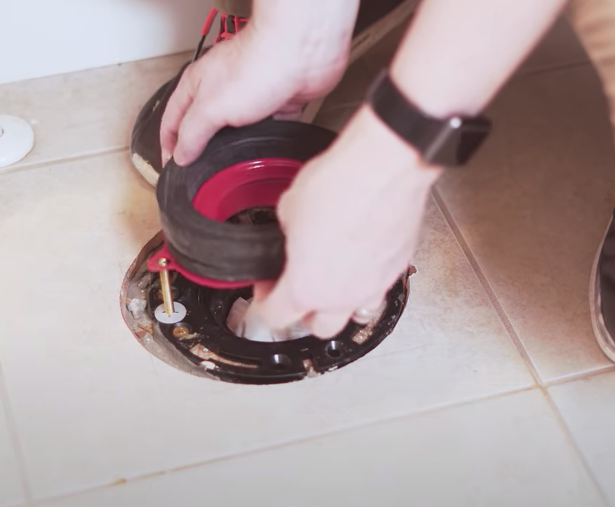
Instead of a wax ring, we decided to try a new foam ring. These are supposed to last ten years and fit any toilet.
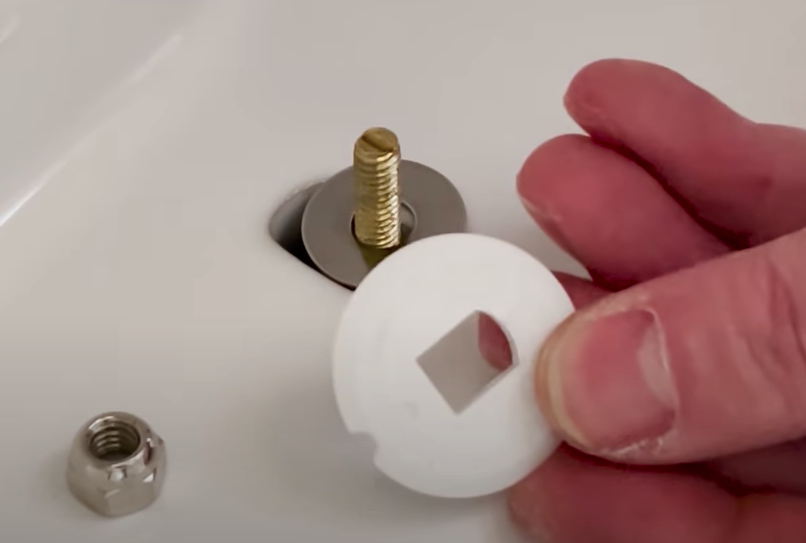
The new toilet, and the new ring may well come with new closet bolts, so just slide those into place in your flange, and secure them with the white nylon washers that also come in the kit.
Next, you’ll want to check on the instructions that come on the toilet ring/seal as far as the height you need to have. In our case, the flange and the floor are even, so we used both rings on our seal. Slide it down onto the closet bolts, remove the toilet paper plug, and you’re ready to put the toilet on.
New Toilet
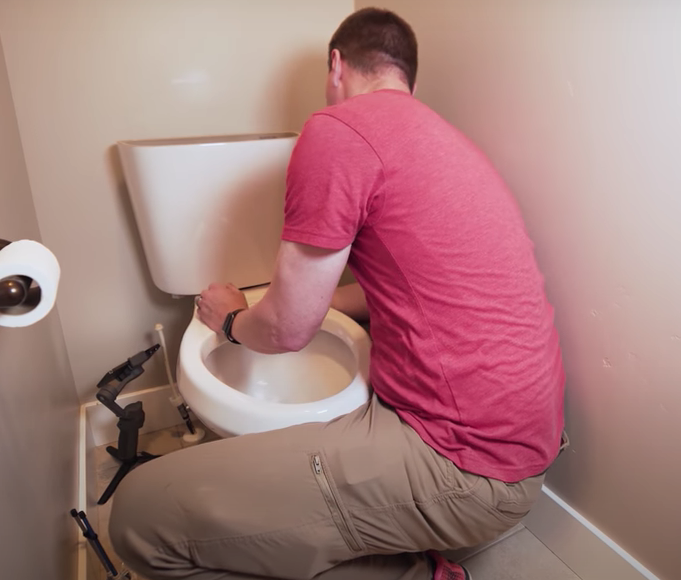
At this point, put the new toilet bowl into place. If the toilet is rocking back and forth, it’s sitting on top of the new ring, and when it’s compressed it will likely hold in place.
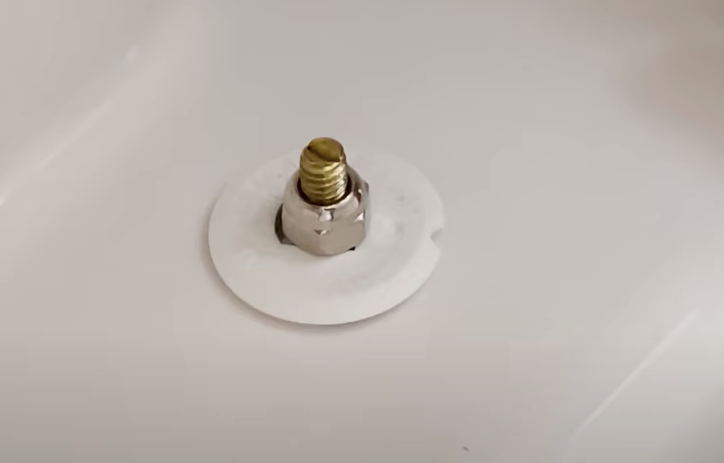
With the toilet in place, there are a few parts to put together on the bolt: the metal washer, the decorative white washer, and the nut. Place the metal washer first, then the white washer, then the nut.
Tighten the nut, making sure to not tighten so much that you crack the porcelain.
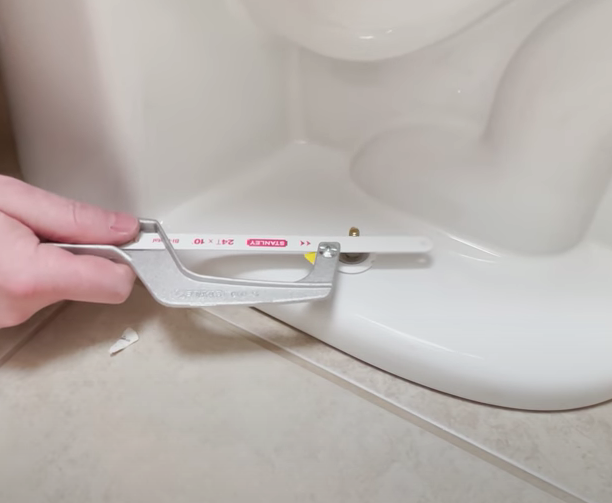
Sometimes the new toilet bolts are too long for the decorative caps to fit under. If that’s the case, you can easily cut them down to size using a mini hack saw.
When attaching the tank to the lower bowl, just make sure not to tighten things so much that you crack the porcelain.
In this case, the toilet tank was higher than the water line could reach, so we had to replace it. You may be luckier than us and not have this issue.
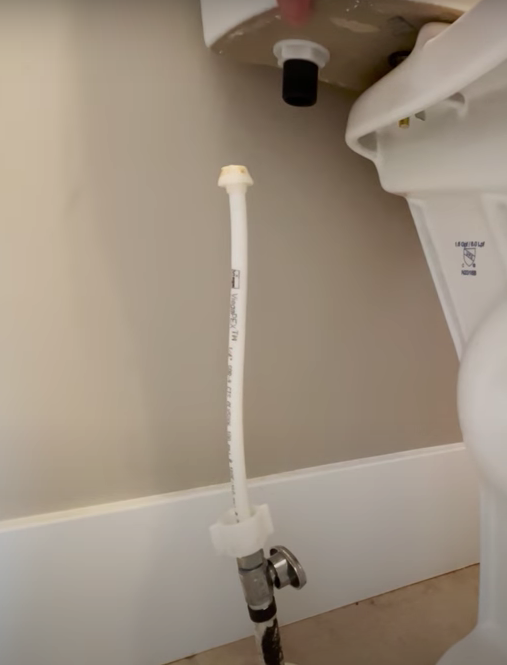
We were able to replace it without too much hassle. It may require a trip to the hardware store, so it’s a good idea to check these things before you get started.
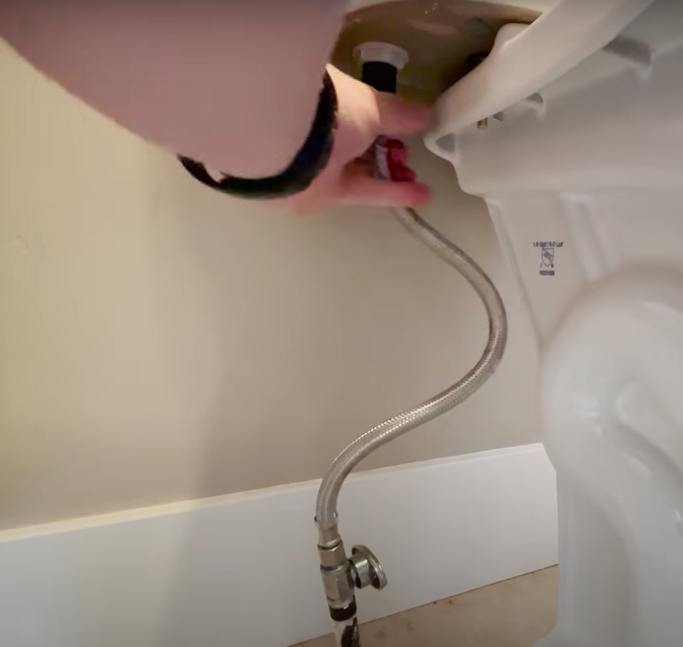
Now with the new toilet in place, turn the water valve back on. The tank will fill up, and you should be able to do a test flush and be all set.

Good job, you! Your are a true DIY warrior and deserve a throne!
Watch the video version here!
Products used in this post:
Korky 6000BP Universal Toilet WaxFree Seal with Hardware (PAID LINK – $12 USD): https://geni.us/5YdWQZ4
• Lenox Tool Mini Hack Saw (PAID AMAZON LINK): https://geni.us/H4I7nA
• Tekton 6 Inch Adjustable Wrench (PAID AMAZON LINK): https://geni.us/H4I7nA
• 12” Toilet Water Supply Line (PAID AMAZON LINK – Your length will vary): https://geni.us/qCJt8PJ
• Clear Rear Hot and Cold Bidet (PAID AMAZON LINK): https://geni.us/z0zqtk