
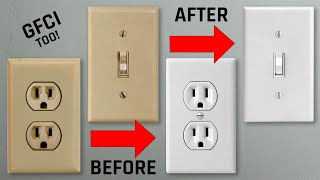
Time to upgrade your old outlets and light switches? Look no further. It’s easier than you think.
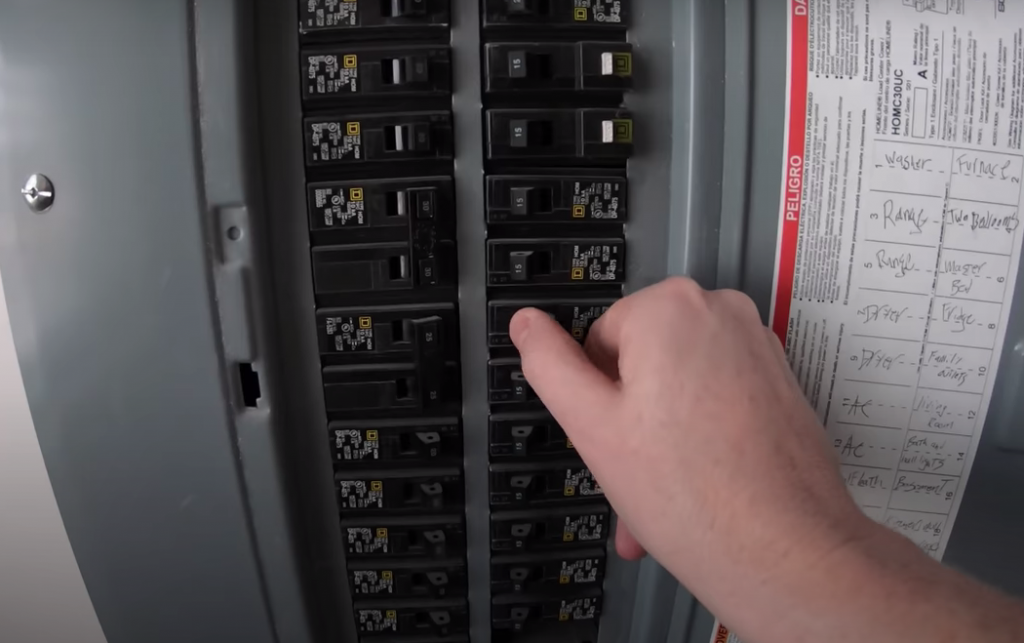
1- Turn off the Power!
Make sure you’ve gone to your circuit breaker box and turned off the power to the outlet or light switch you’re going to be replacing. Once you’ve done that, be sure to test that there is no power to the outlet. You can plug in a lamp or something else to test it out. No one’s got time to be electrocuted.
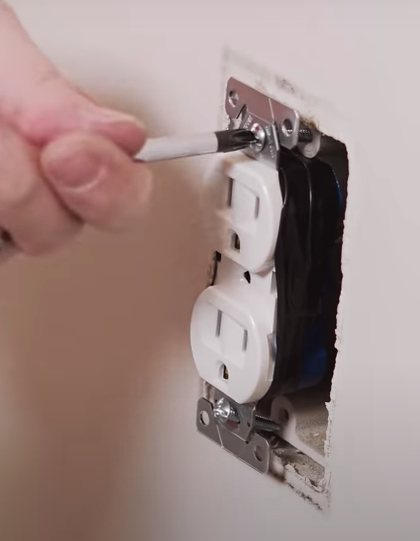
Remove the old Face Plate and Outlet
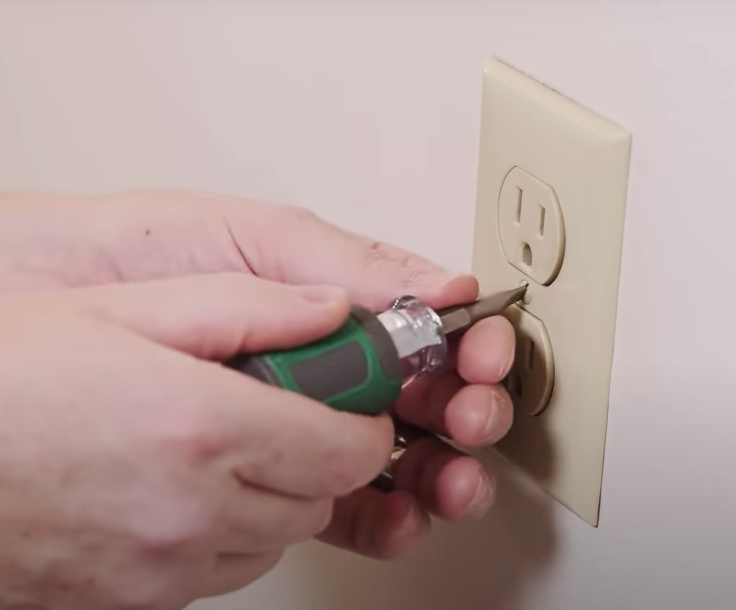
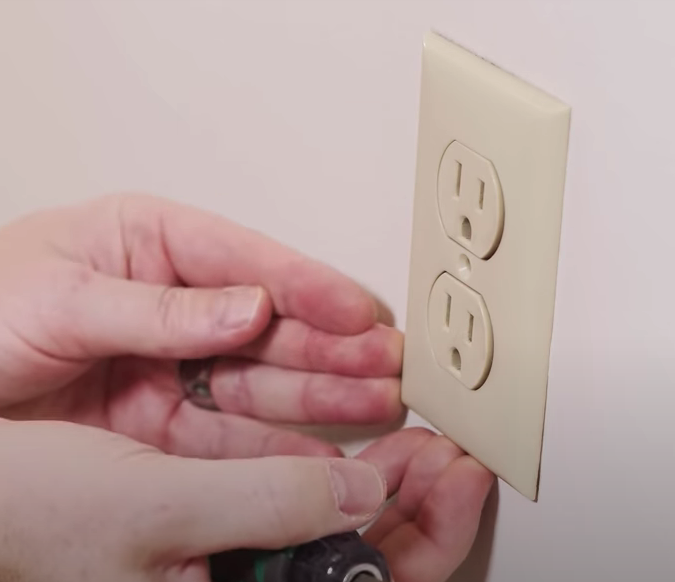
Remove the screws from the old outlet.

Pull out the outlet and expose the wires that are attached to it.
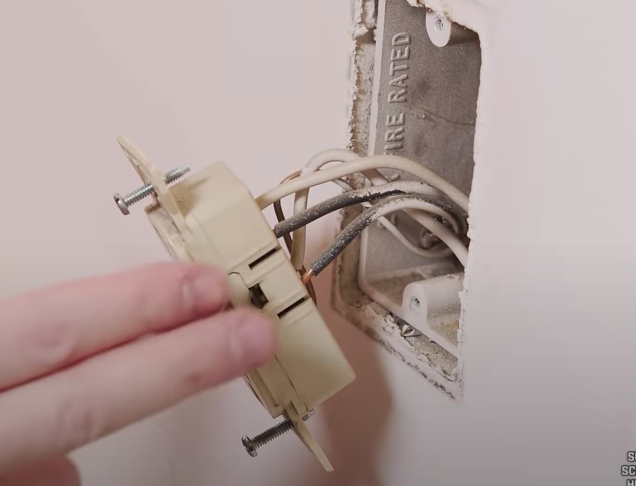
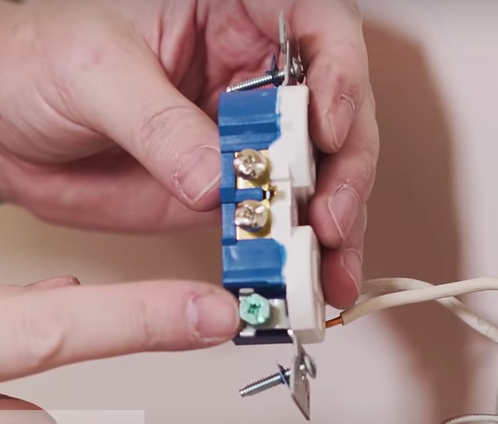
There are two sets of wires: 2 black wires, 2 white wires, as well as a ground wire. The ground wire is usually connected to a green screw. In this picture, the screw isn’t green (this house is pretty old), but a green screw is standard. The ground wire is typically bare without sheathing.
The black wires are your line/load wires, and the white wires are your neutrals.
3- Remove Wires from the Old Outlet
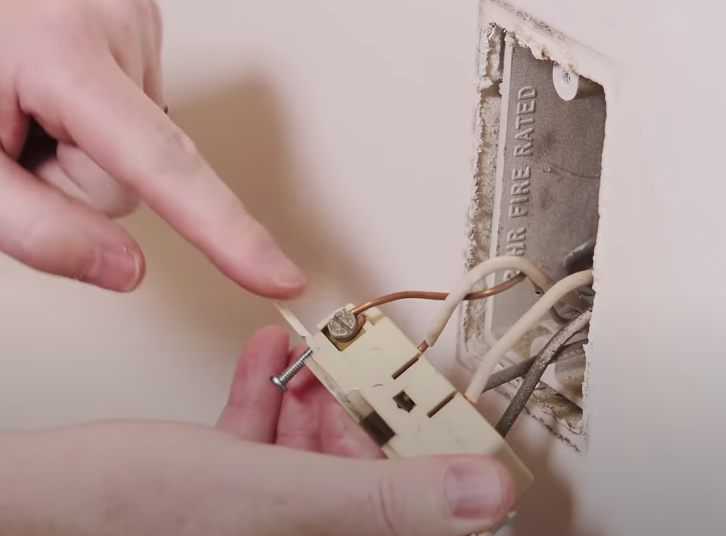
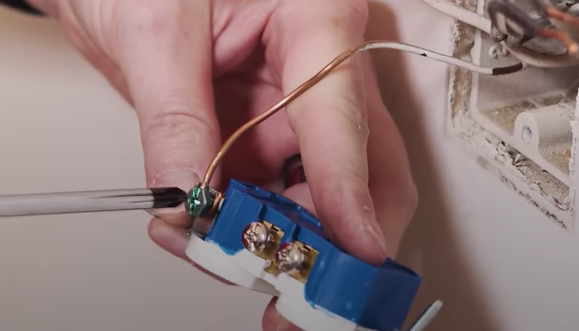
Every outlet will have a different release mechanism. In this case, the outlet has a release slot, so we had to push a flathead screwdriver in the slot to release the wires. In newer models, the wires are hooked onto screws, which you can just loosen to disconnect the wires.
Once the black and white wires are disconnected, loosen the ground wire from the screw. Notice the wire is in a hook shape around the screw- pull the hook apart and the wire should come right off.

Black to Brass, White to Silver, Ground to Green
A couple of tactics to remember which wires connect where: Black wires always connect to the brass screws: They both start with B, so remember Black/Brass.
The white wires connect to the silver screws. White and silver look similar, so remember White/Silver. The ground wire connects to the green screw; they both start with G, so remember Ground/Green.
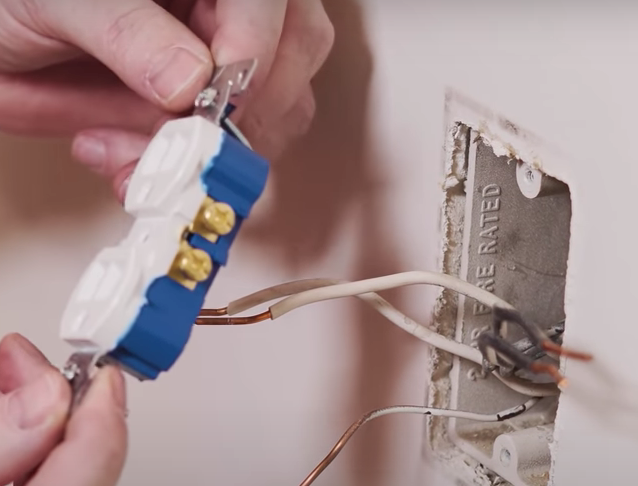
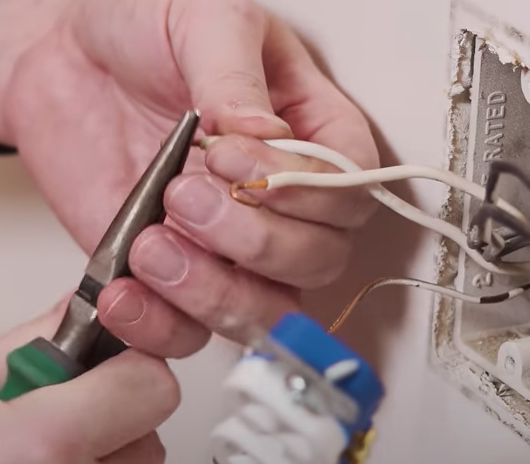
It’s time to install the new outlet. Starting with the ground wire, connect the wires onto their corresponding screws. Using needle nosed pliers, make a hook shape with the wires to fit around the screws, and tighten the screws.
It doesn’t matter which white wire is on which silver screw, and the same for the black/brass wires and screws. As long as brass is on black and white is on silver, the outlet will work.
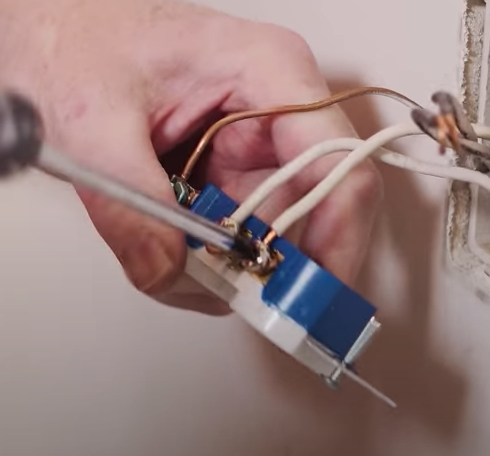
At this point, once the wires are all connected, the outlet is fully functional if you were to turn the power back on. Before you do that, though, it’s a good idea to wrap the screws in electrical tape. This isn’t required, but it helps us feel a little safer.

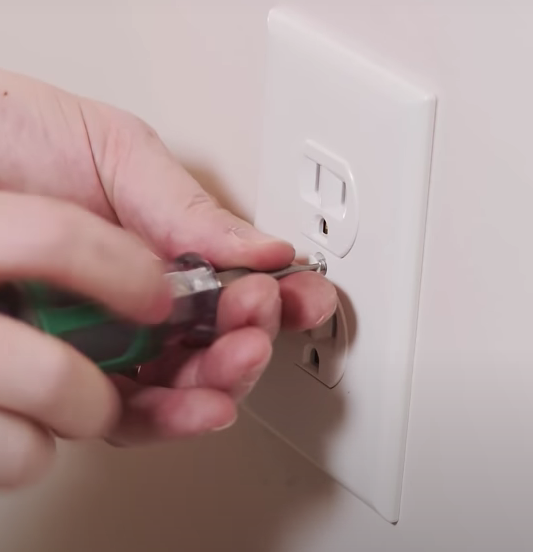
Putting Everything Back into Place
Push the wires back into the box, screw the outlet back into place, as well as the faceplate. Turn the power back on, and you’re done!
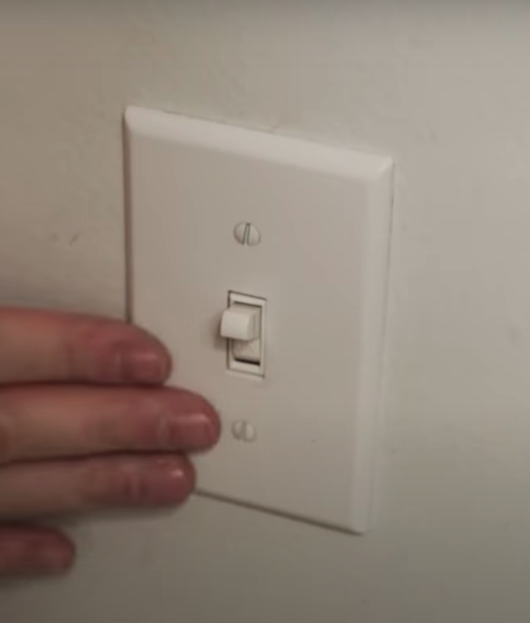
Light Switches
The process for light switches is basically the same. Turn the power off to the switch and remove the face plate. You’ll notice a couple of things: 1) There are only black or load/line wires connected to the switch.

The switch works by completing a connection between the wires when the switch is turned on, and turning it off removes that connection.
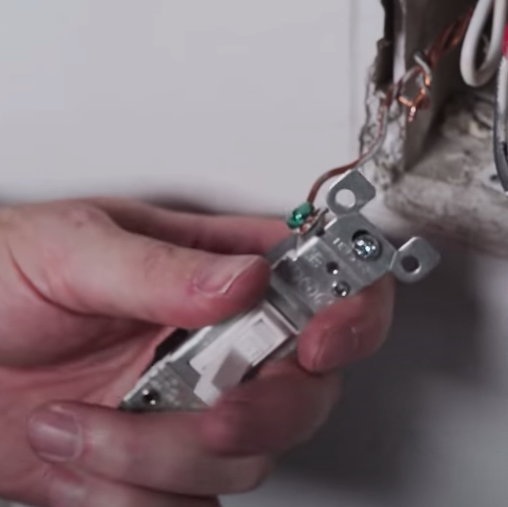
2) There will also be a ground wire either connected to the switch, or inside the box. In our case, the switch is old and the ground wires were not connected to the switch. We will connect a ground wire to the new switch, however. In our switch, the 3 ground wires were twisted together, so we just untwisted one of them, attached it to the ground screw on the new switch. We kept the other 2 grounds twisted together (we snipped them first) and capped them off.
Make sure you’ve got the light switch in the correct position (so when you turn the switch on, it’s up, and when you turn it off it’s down). Connect the ground wire to the green screw on the switch, and tighten the screw.
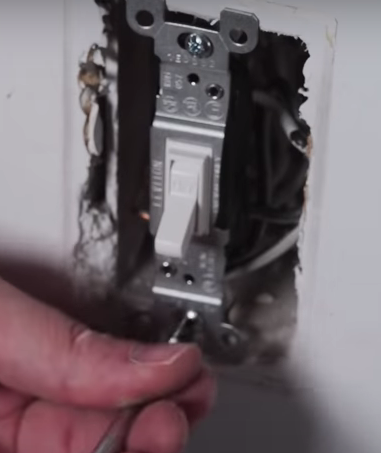
Next, connect the black wires to the brass screws on the switch. Again, it doesn’t matter which wire connects with which screw. Like before, we wrapped this in electrical tape before pushing everything back into the box.
Attach the new switch with screws, attach the face plate, turn the power on, and you’re done! Piece of cake!
GFCI Outlets
GFCI outlets are typically found in bathrooms and kitchens, or rooms where there may be some moisture.
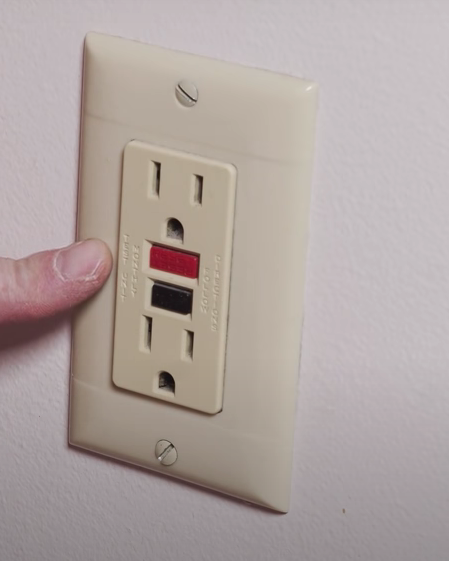
The process is the same as the typical outlet we showed above.
- Turn power off
- Remove the face plate
- Remove the old outlet from the wall
- Disconnect the ground, neutrals, and line/load (black) wires from old outlet
- Connect the ground, neutrals, and line/load (black) wires to new outlet
- Push everything back into the box
- Attach new outlet to the box with screws, and attach the faceplate

Replacing the old outlets and light switches with new ones makes a big difference in updating the look of the home. It’s worth the effort, and hopefully you learned something as well!