

Learn how to build a riser, wired with power, so you can add stadium seating to your home theater!
This project includes 3 main steps:
- Building a box
- Carpet and insulation
- Wiring the outlet and plug
To start, you’ll need to get some measurements. In our case, we have two rows of three. You’ll need to get the width and the depth, as well as the height of what you need your riser to be. It needs to be high enough that you can see over the tops of the front row seats.

Test this out in real life by having some people sit in the front row, with you in the back sitting on a stack of books, and see what you can see with those front seats at differing reclining levels.

Then get the measurement of how the stack of books needs to be in order for you to always be able to see over that front row.

As far as construction of the box goes, you’ll need 2×8, 2×10, or whatever the dimension is that matches the height of what you want it to be. Bear in mind that lumber dimensions are usually about 1/2″ shorter than what they’re named; so a 2×8 is actually a 1 1/2 x 7 1/2. You’ll need to take that into consideration for any math for adding up your sides and ends.
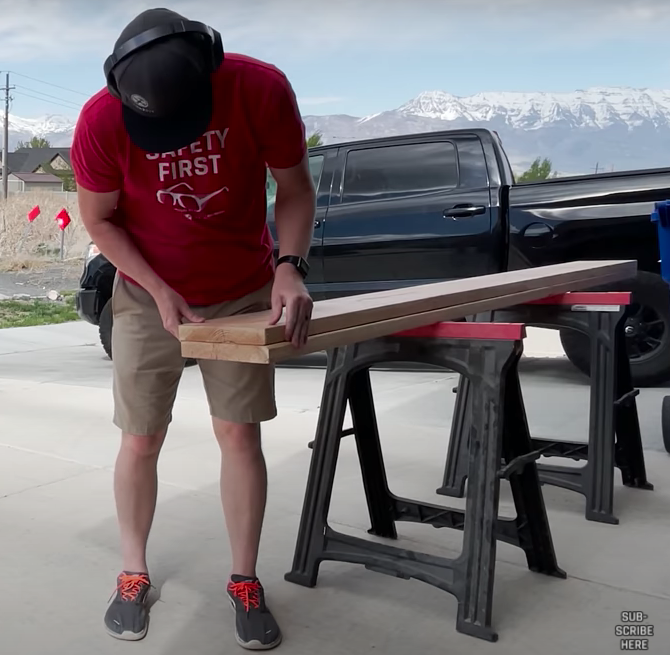
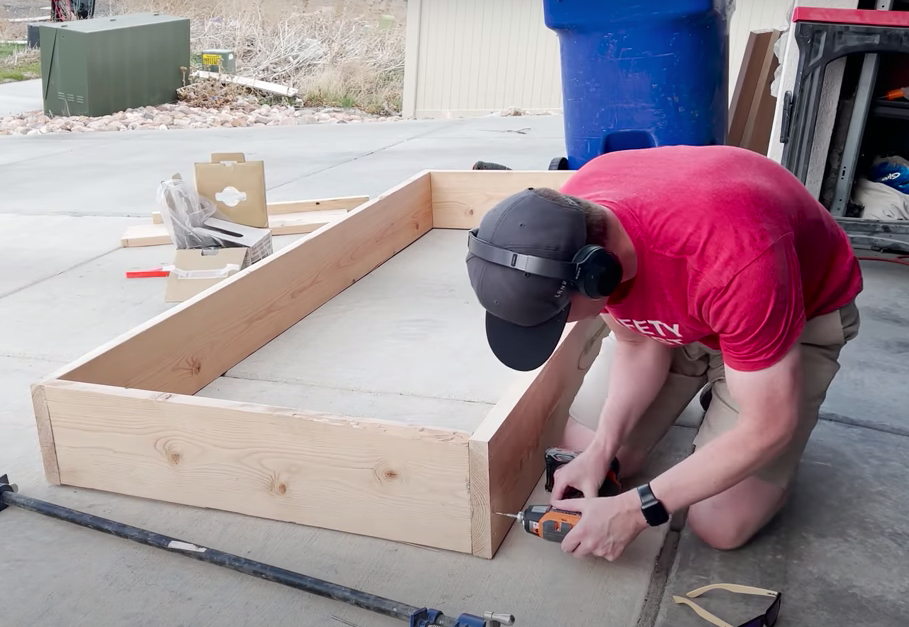
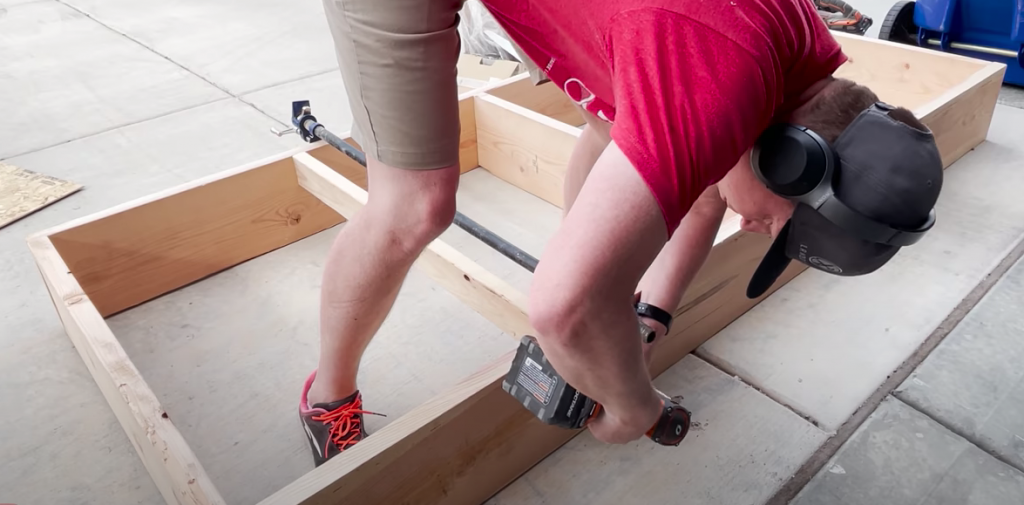
After cutting my 2x10s to length for the front and the back, I made sure to cut the sides, minus the 3 inches that the front and back would take up. After cutting the two sides, I had just enough leftover to serve as a brace for the middle of the box.
I used some 3″ decking screws because I had extras lying around and didn’t want to go out and buy anything new, which worked out great. I drove 4 of those into each of the ends of the sides, as well as the middle brace.
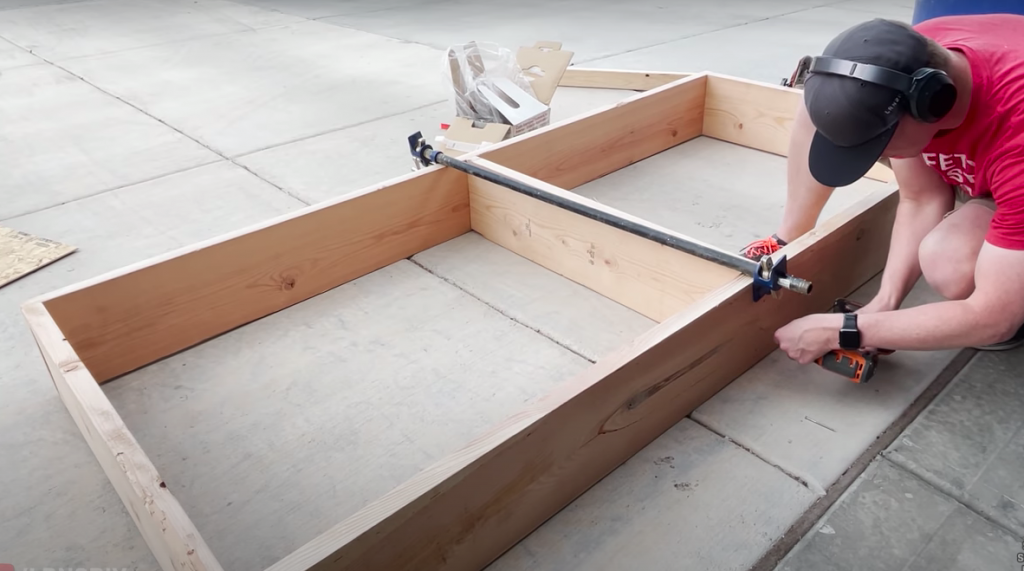
I highly recommend that you braces every couple of feet, if not more. I cut some 2×4’s to length, and used those as braces in between the middle brace and the sides. This adds a lot of stability to the flooring that we’ll put on top.
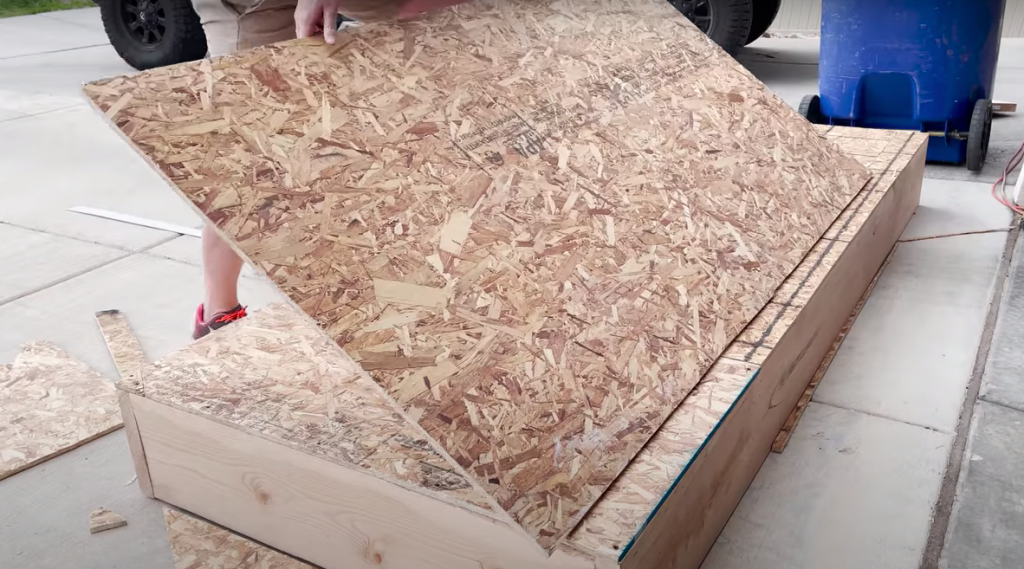
I had several sheets of OSB lying around, and I wanted to build as much of this as I could with what I already had on hand.
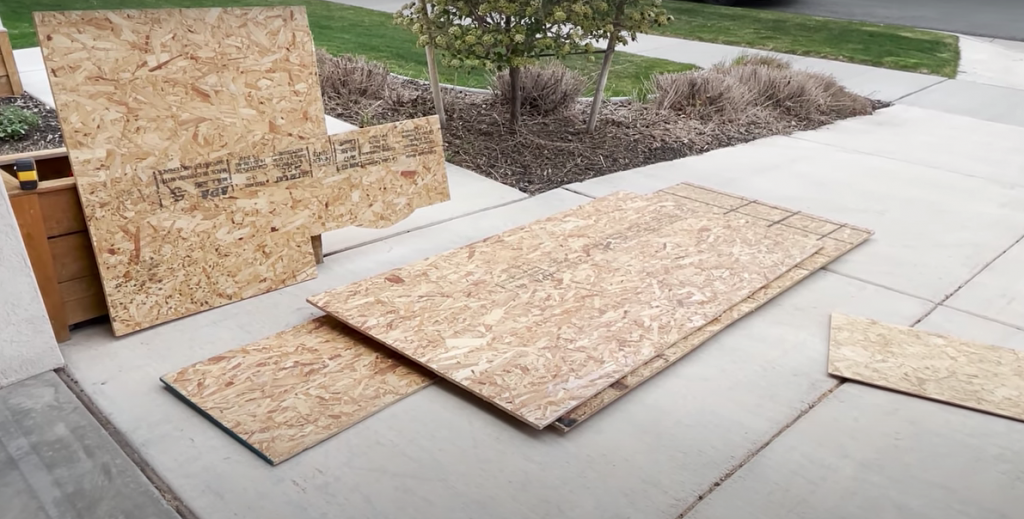
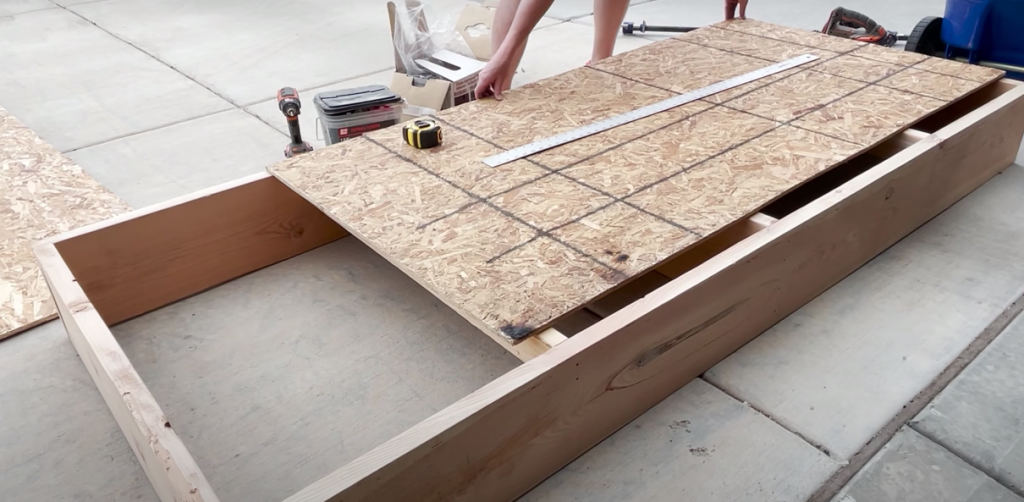
If you’re buying 4×8 sheets of OSB, it will make the job a little easier and you’ll know that most of your cuts will be pretty straight from the manufacturer. Because my scraps were not cut at 90 degrees most of the time, I let them overhang a little bit and trimmed them up afterward. I basically puzzle-pieced this together the best I could (because I’m cheap).
I also made sure to fasten this down with multiple screws to get it as sturdy as possible.
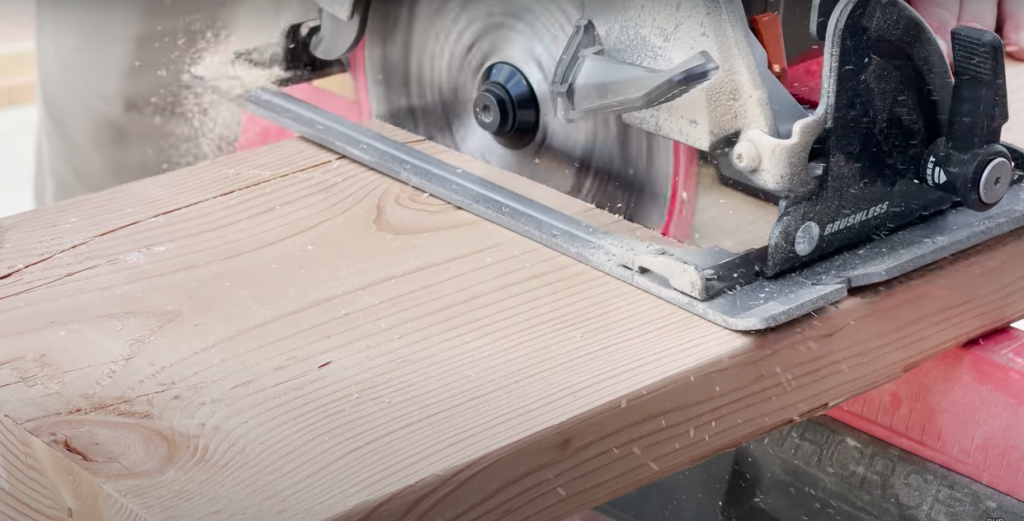
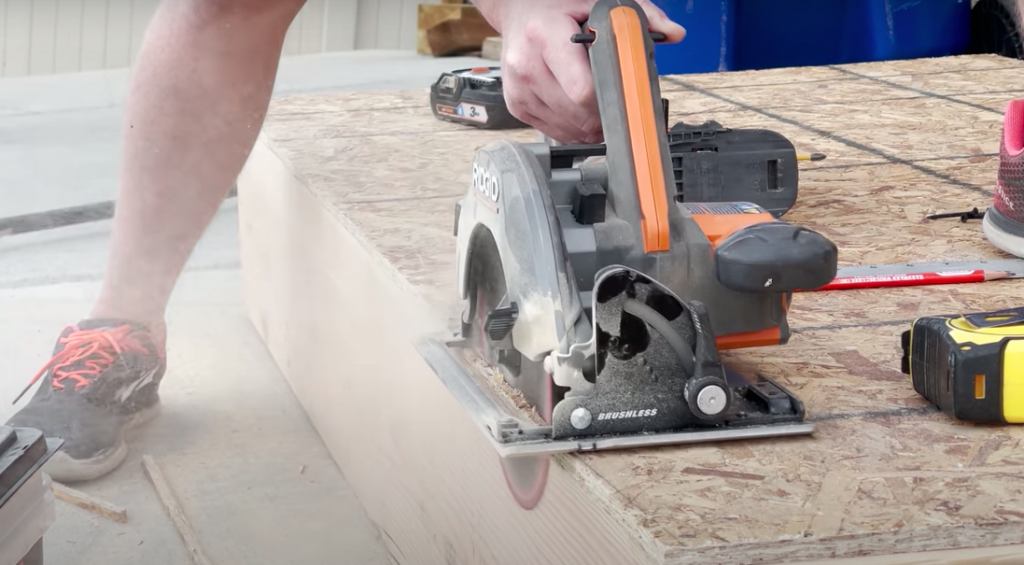
I set my circular saw to its max depth cut and rode the blade along to get a nice flush cut of the OSB pieces along the edges of the box.
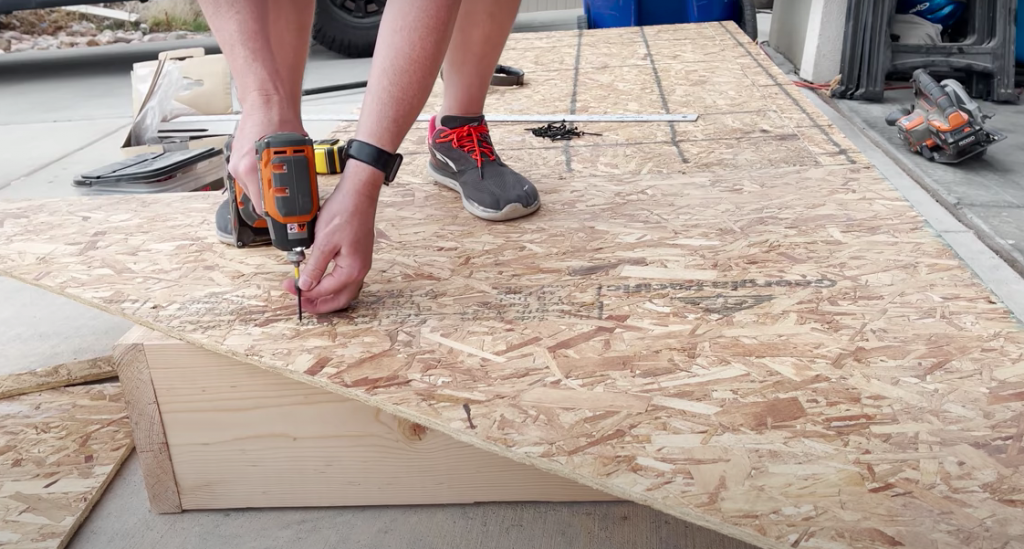
After finishing off the first layer, I went back and did a second layer, making sure that I did not put any of the joints in the same location.
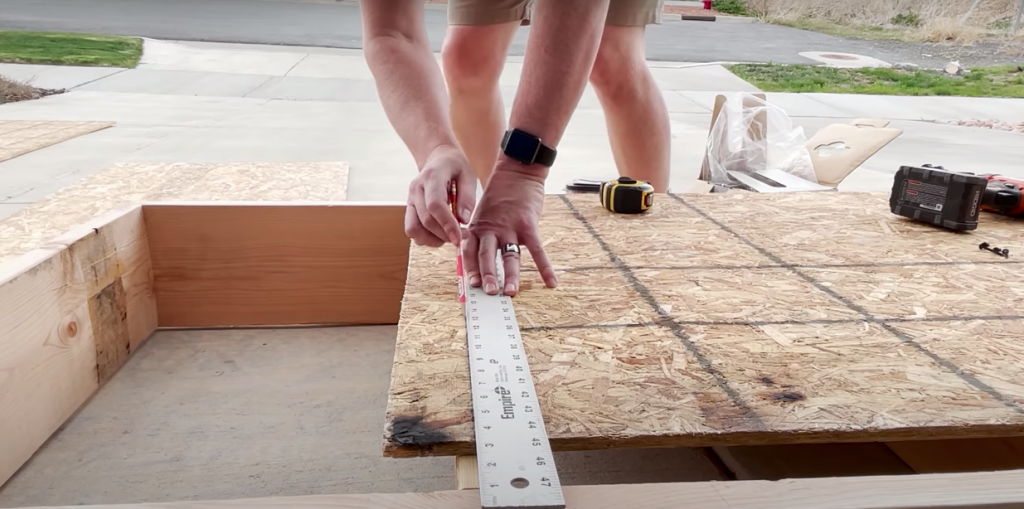
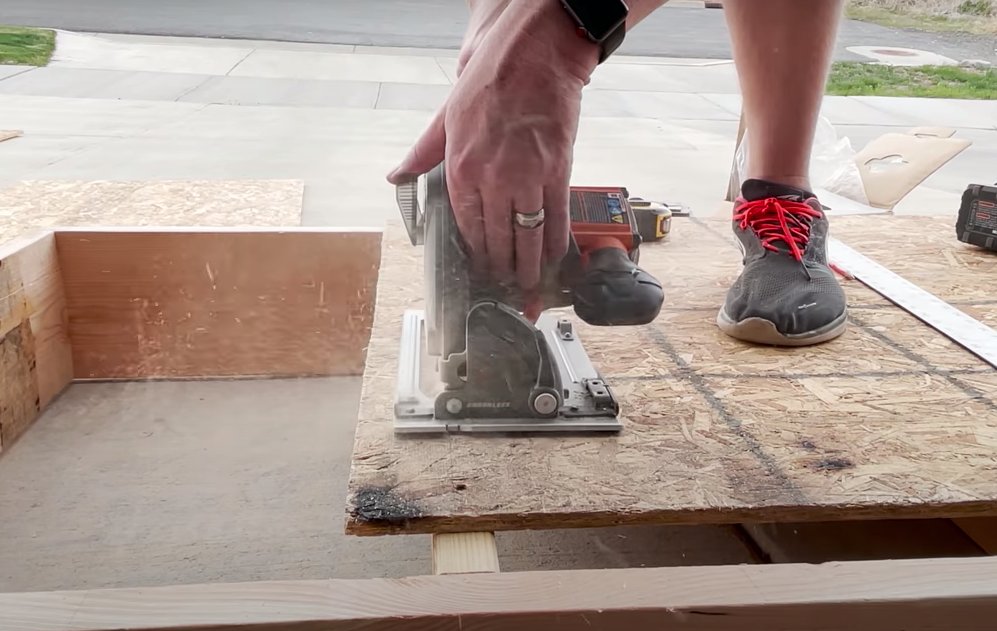
If you’re going to have to end a piece in the middle somewhere, make sure to end it over a stud. What I did was mark the center of the stud, I set my circular saw blade to 1/2″ depth, and then rode along and cut that off right in the middle. That way, I could butt my new piece right up on that stud as well.
This ensures that all of your flooring is supported by 2x material on all sides. Use screws to fasten it in.
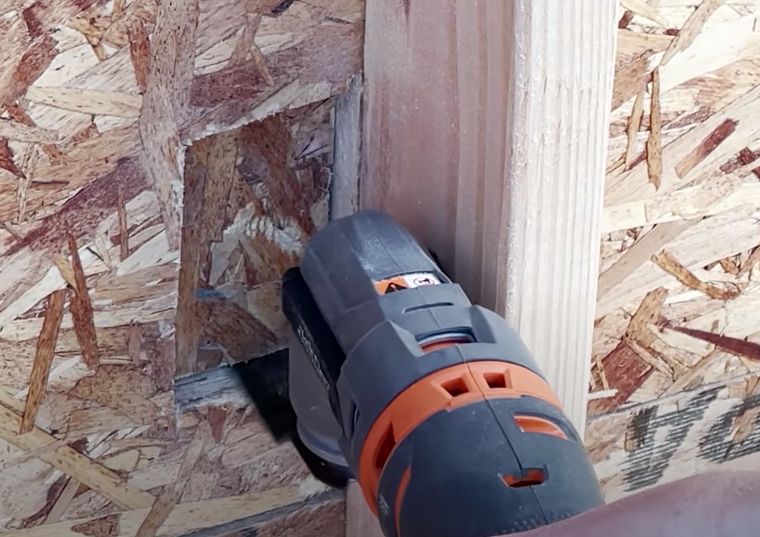
The next step is to get ready for some electrical. In my case, I just wanted one outlet- be sure to pay special attention to where you place the outlet. I made the mistake of putting mine a couple of inches too far forward. If I had put it any father forward, then the framing of my chairs would have covered it up completely. It’s a good idea to make sure to see exactly where that needs to go before cutting your hole.
I used an oscillating multi-tool right through, once I knew where the box needed to go. You can also just use a drill, and drill a hole and cut it out with a jigsaw. You can even do this with a circular saw.
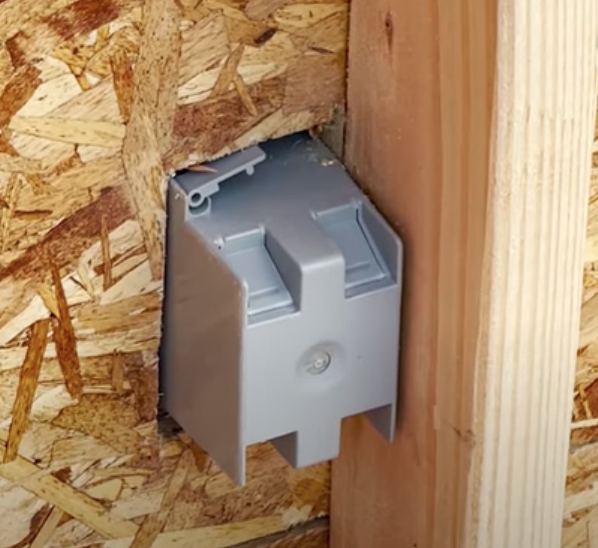
There are a couple of types of electrical boxes you can choose from. You can use an existing work box, which is what I used here, which gives me the option to have these little wings/flaps that pull out, and those pull tight against the flooring material.
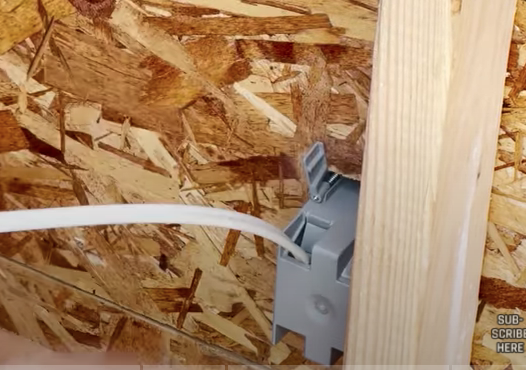
With the electrical box in place, I was able to take about 10 feet of some 14-2 Romex cable and run one end of it into the electrical box, and then drill a hole in the side of the riser and run the rest of it out that way.
With the box built and the electrical started, we’re ready for step two, which is carpet.
We were able to buy a carpet remnant at the same carpet store that we have carpeted our house with. We opted not to put padding under the carpet.
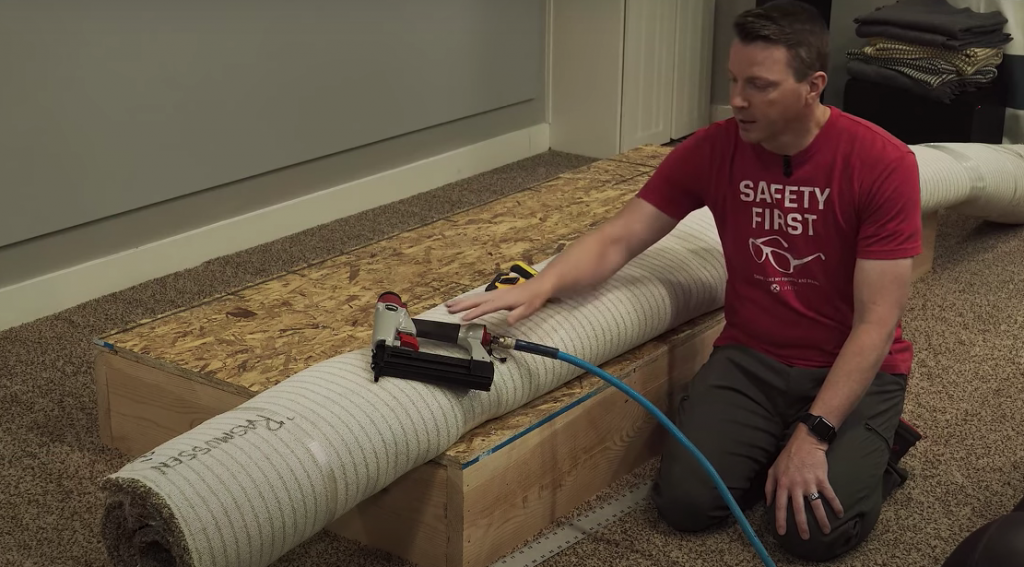
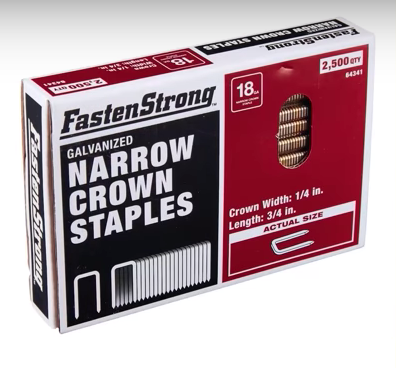
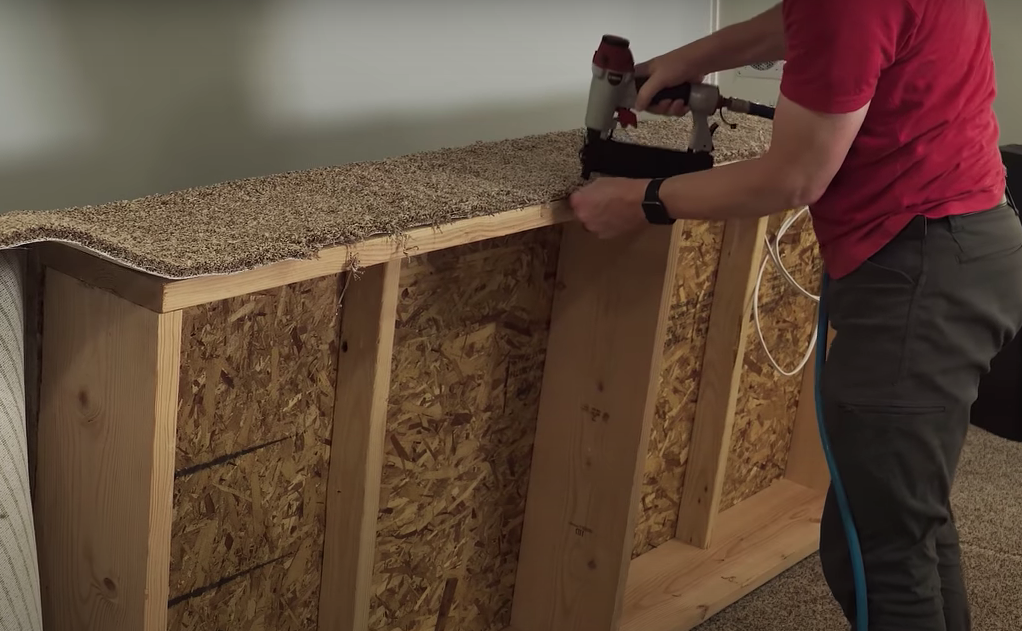
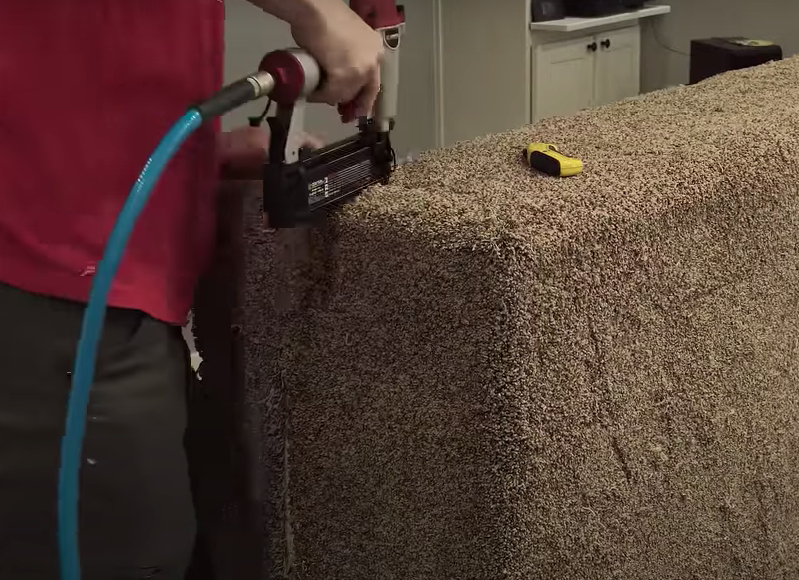
We also got a cheap Harbor Freight staple gun and a cheap hot dog compressor from Harbor Freight, running at about 80 PSI. I ran 1/4″ staples that are 3/4″ deep. These are sufficient, especially where we put so many in to hold the carpet.
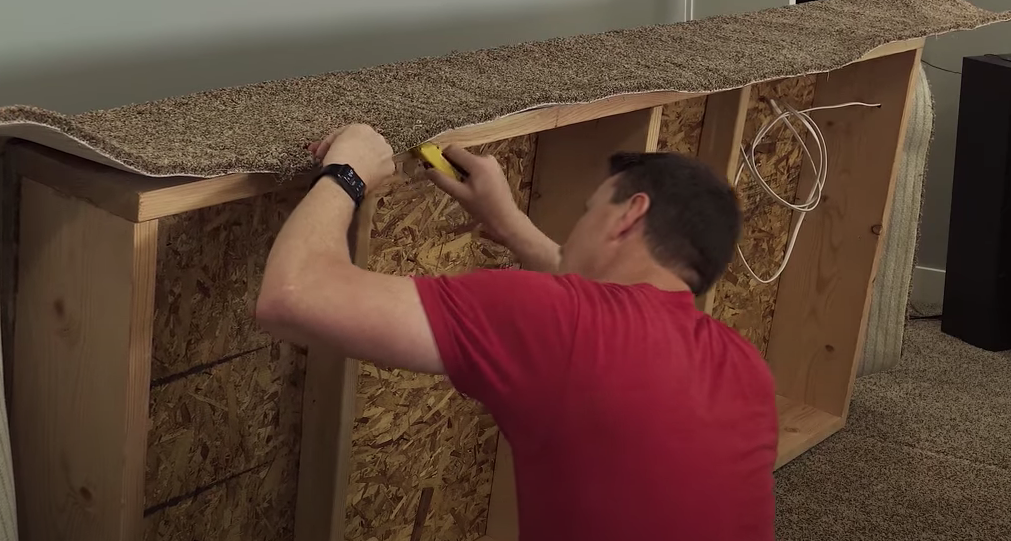
Cut the carpet to size.
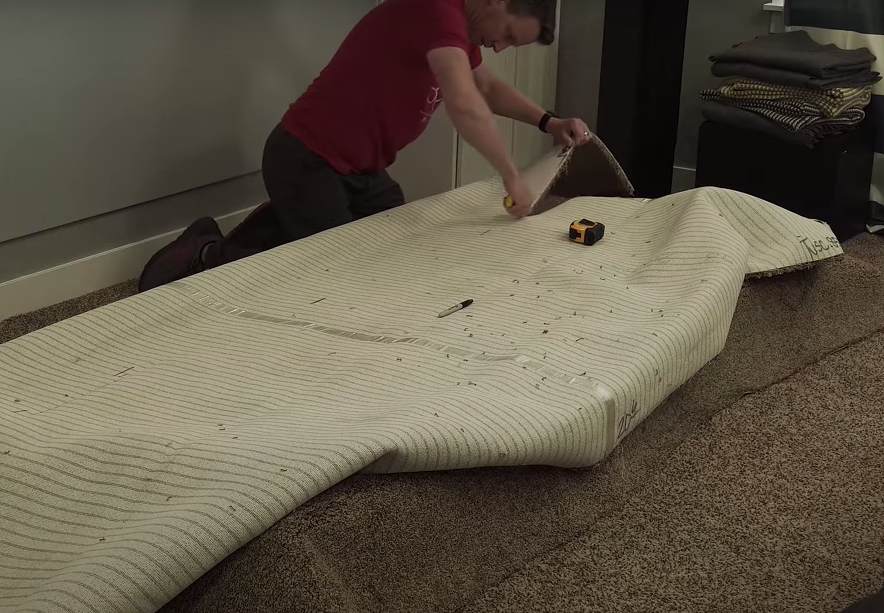
Once your carpet is cut to size, make sure you cut a space out for your outlet if you have one.
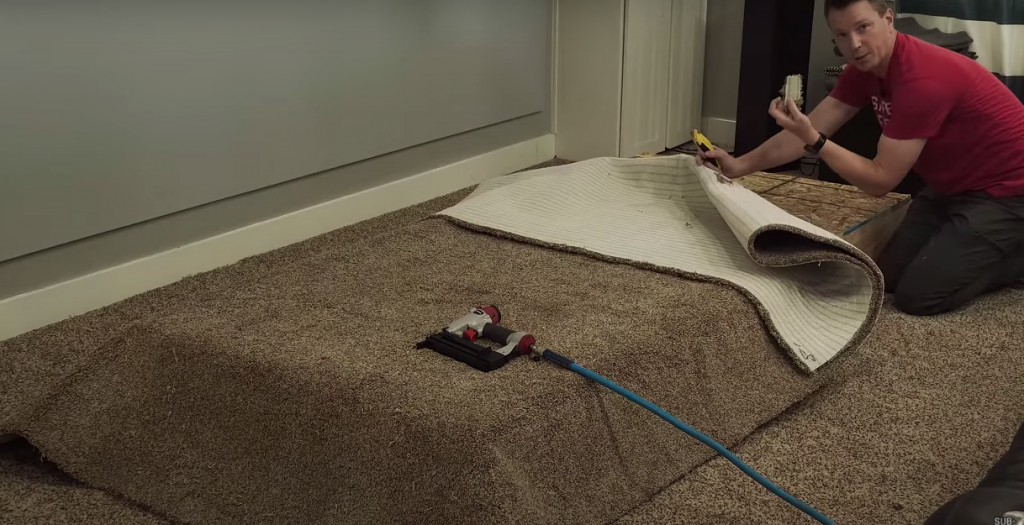
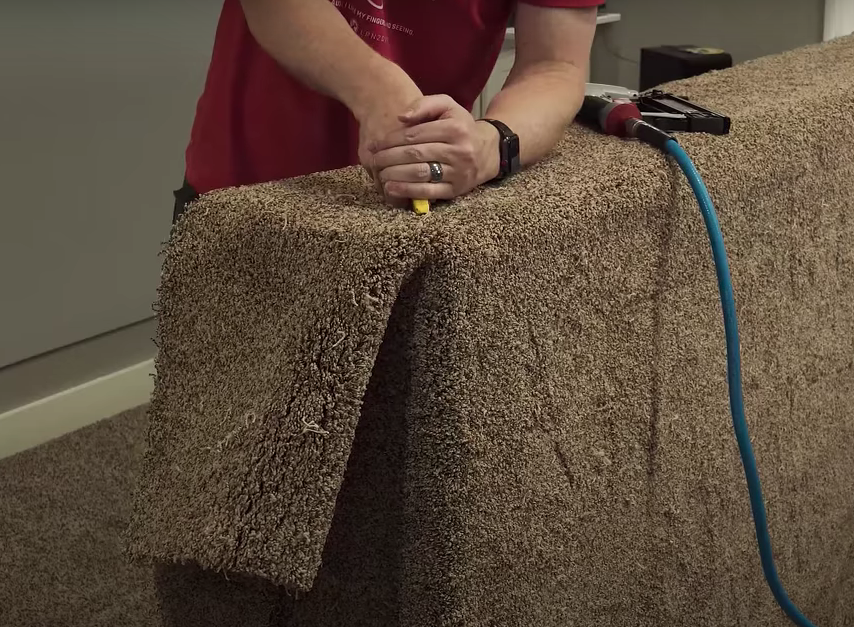
If you don’t have a carpet puller or knee kick, you’ll want to make sure you pull the carpet nice and taut throughout- when you have one side or corner stapled, make sure to pull tight on the opposite end prior to fastening.
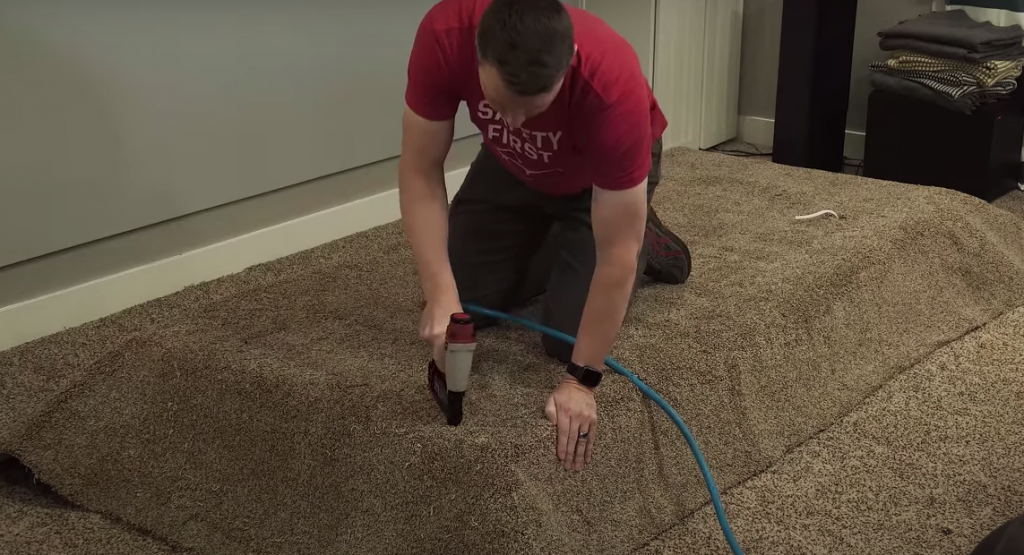
For the corners, pull down as tight as you can, and staple as low to the ground as you can.
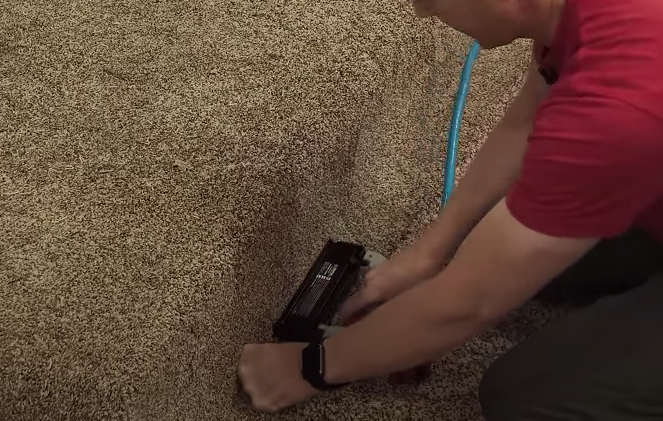
Trim off any excess from the bottom, and staple the edges into place.
Now that the carpet is stapled onto the box, it’s time to cut the corners. Cut a 45 degree angle from the corner of the box and the straighten it down toward the bottom of the platform.
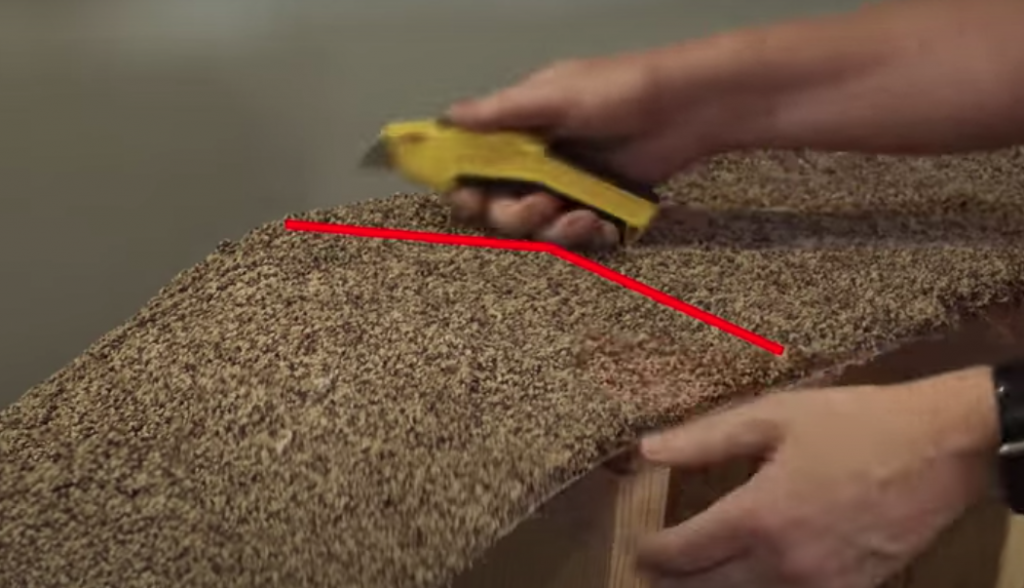
Once that line is cut and stapled, take the side, cut it to fit the angle, and wrap it up and over to fit in the 45 and the line, and butt them up to fit against each other so you can’t see the seam.

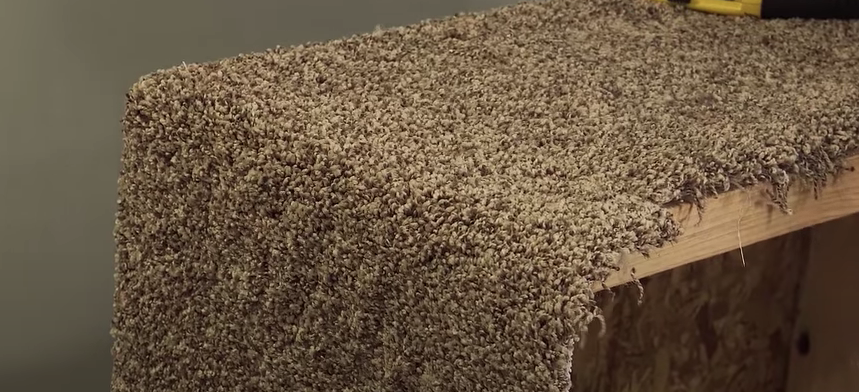
Do each corner the same way.
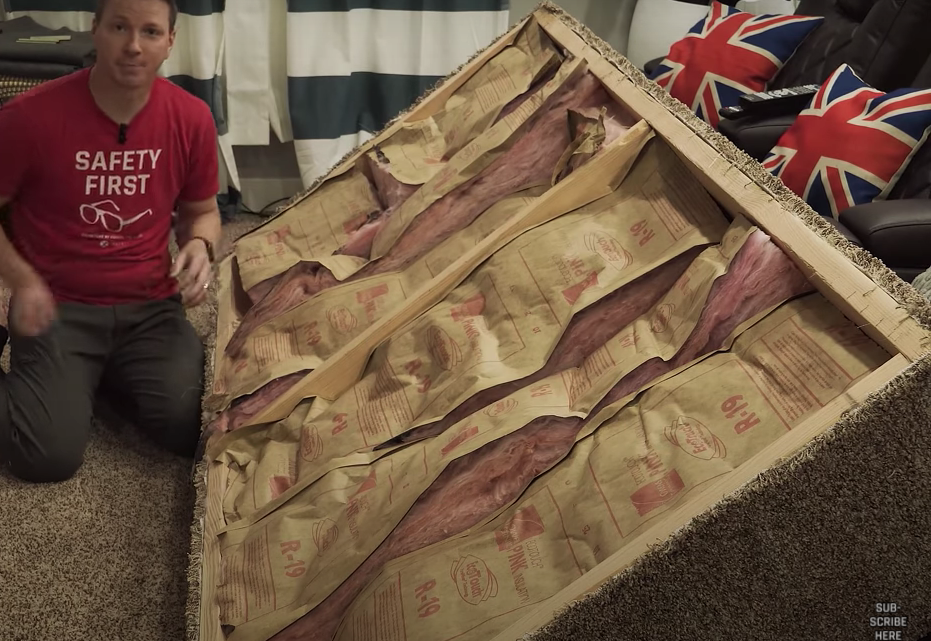
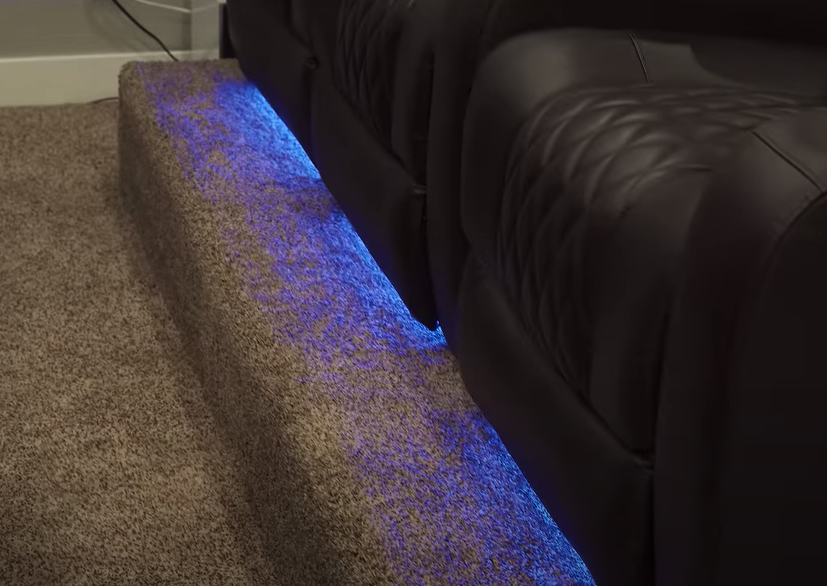
You will most likely want to insulate the inside of the box, to keep any resonance at bay. We had some extra insulation from when we finished our basement, which came in handy.
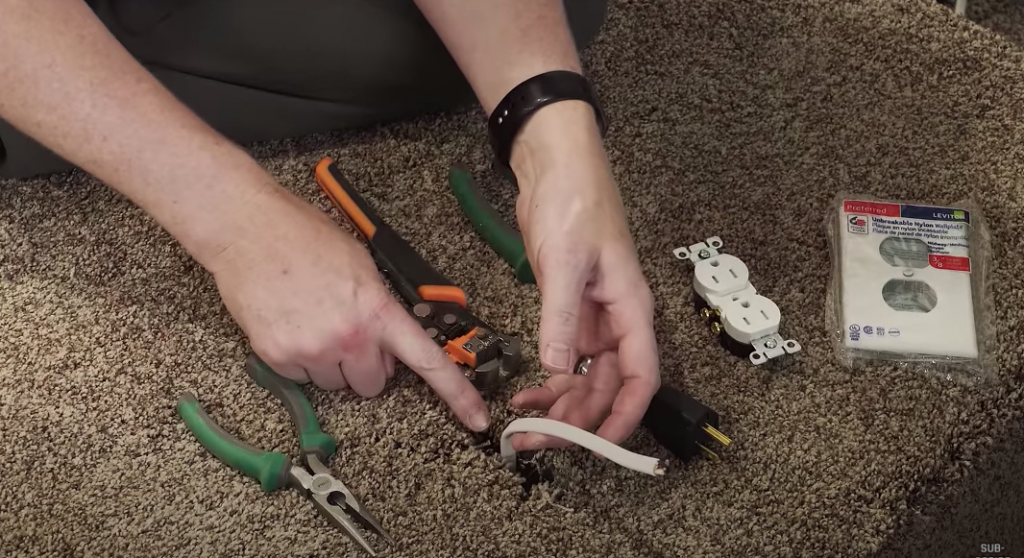
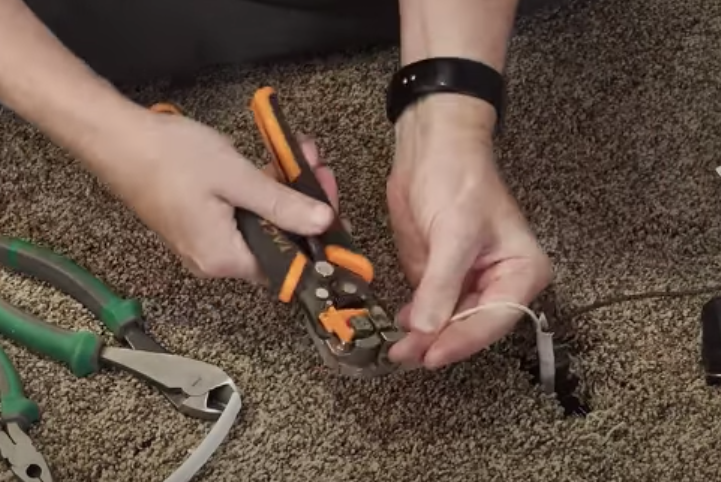
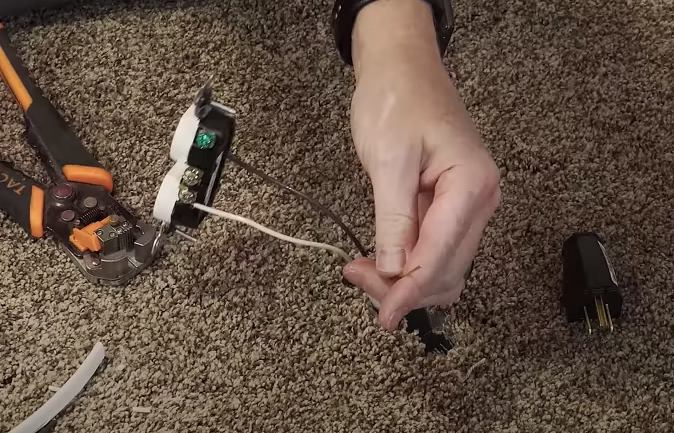
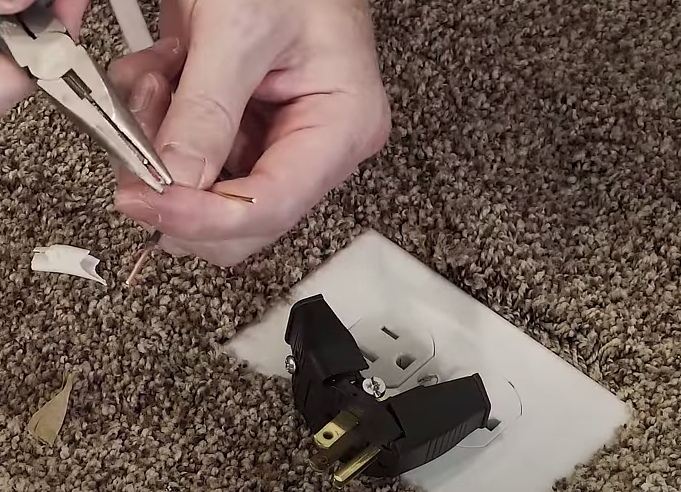
Once you’ve got your riser in its final place in the room, it’s time to wire up the outlet. The first thing to do is strip the sheathing from the wires.
Then strip the neutral, load, and ground wires.
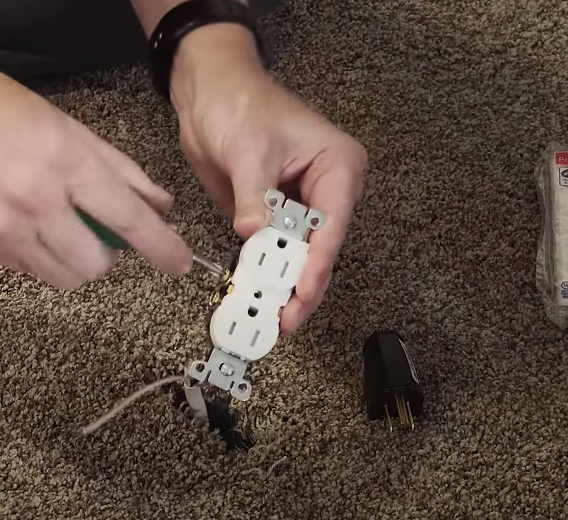
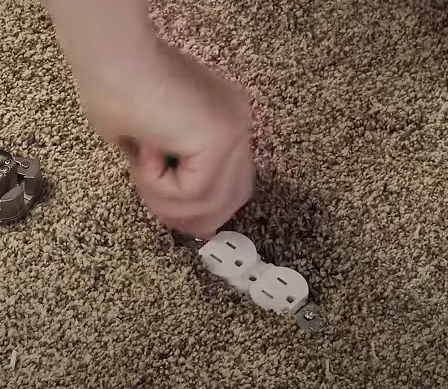
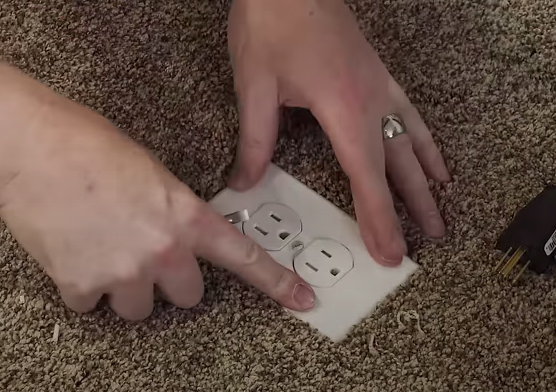
With all three exposed, black goes to brass, white goes on silver, and ground to green. Make a hook with the wires to attach to the screws on the outlet, and they should tighten down easily. Once wired up, put the outlet into place.
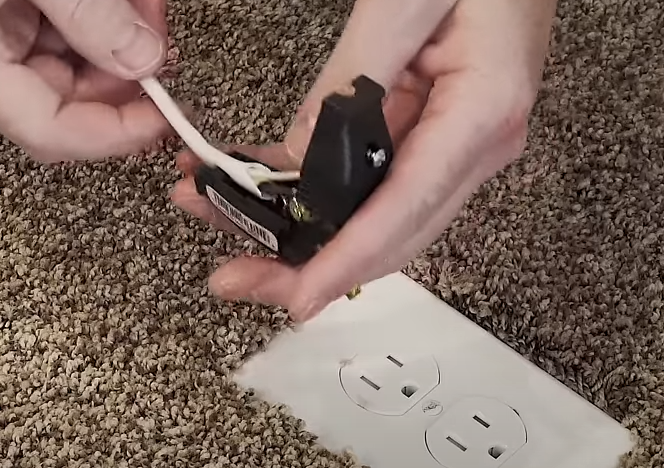
On the other end you’ll do almost the same thing. I purchased a simple plug, and on the inside we have a brass screw, a silver screw, and a ground screw, just like on the outlet itself. We’re going to do the exact same thing we just did with the wires: black to brass, white to silver, ground to green.
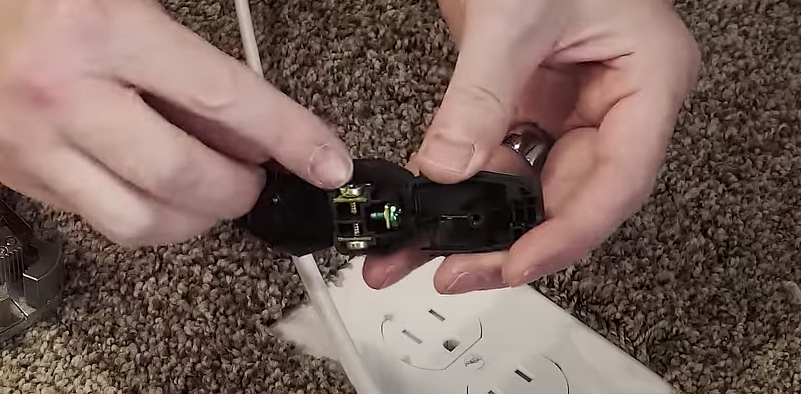
Close up the plug- you may have to move the wires out of the way of the screw that closes it up.

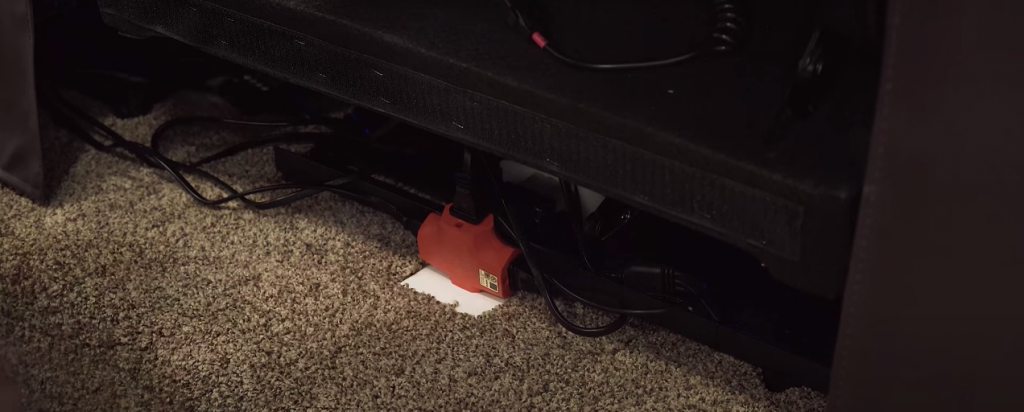
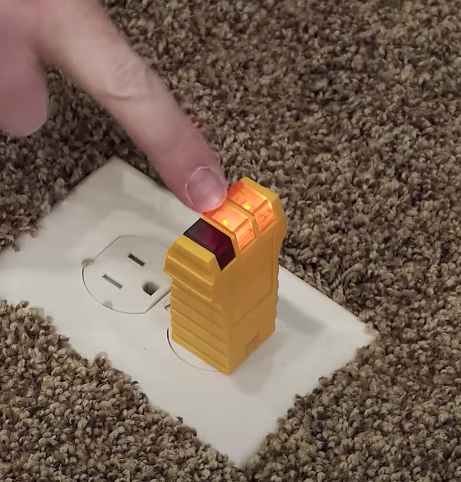
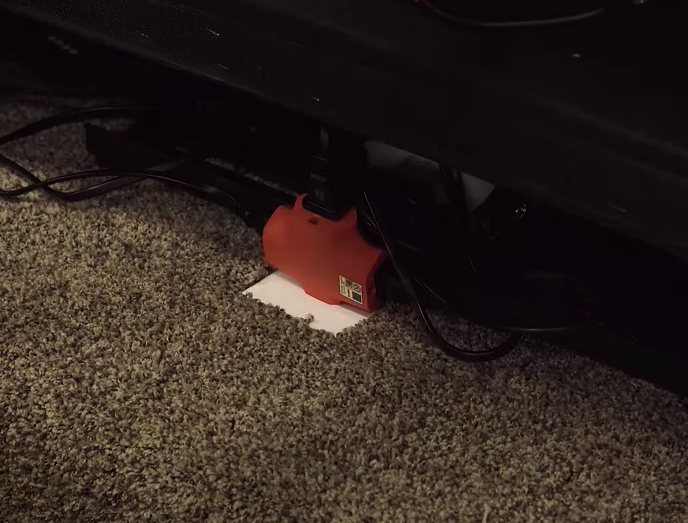
With the plug end plugged in, you can test the outlet with an outlet tester. When the two orange lights are on and the red one is not, that means you have full connectivity and are ready to go.
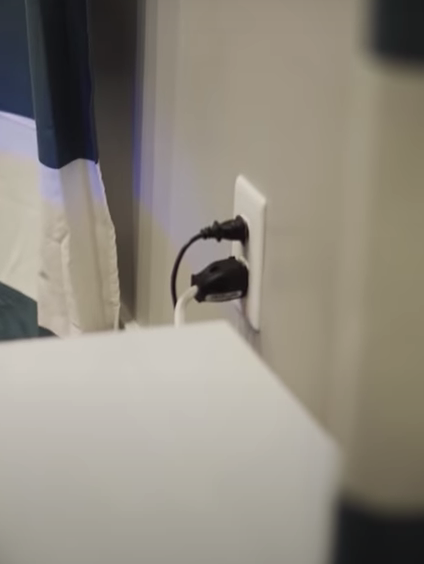
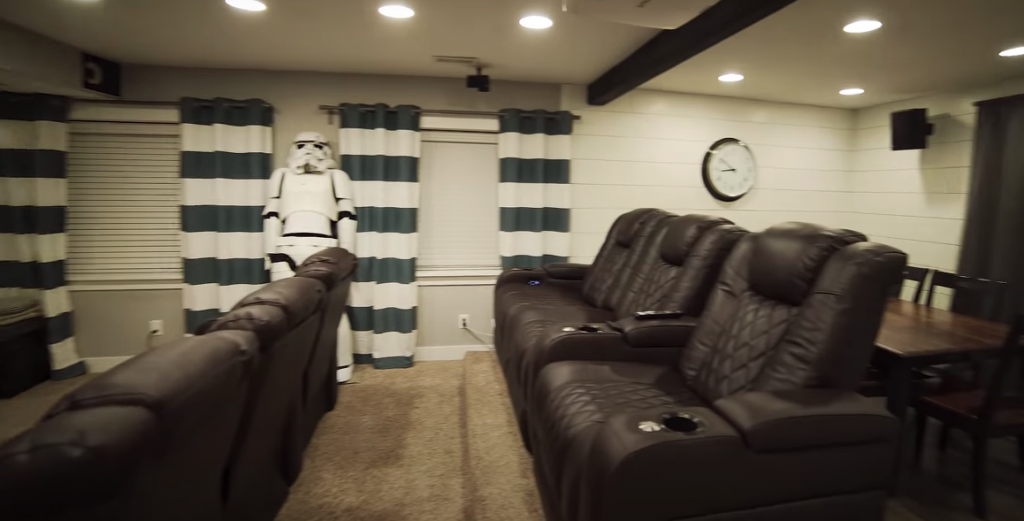
Get your seats in place, plugged in, and enjoy a movie night!
Watch the video here!
📦 PRODUCTS IN THIS POST/VIDEO 📦
• Pneumatic Stapler (Paid Amazon Link): https://geni.us/aasm
• 1/4-inch Crown by 3/4-inch Leg Electro Galvanized Staples (900 per box) (Paid Amazon Link): https://geni.us/jCsa • Folding Carpet Knife (Paid Amazon Link): https://geni.us/DgvAP
• Ridgid Cordless Drill & Driver Combo (Paid Home Depot Link): homedepot.sjv.io/m7g2a • Ridgid Cordless Multi-Tool (Paid Home Depot Link): homedepot.sjv.io/jvWO6
• Ridgid Cordless Brushless Circular Saw (Paid Home Depot Link): homedepot.sjv.io/5Vb73
• Electricians Tool Set (Paid Home Depot Link): homedepot.sjv.io/WWd6A • Self Adjusting Wire Strippers (Paid Amazon Link): https://geni.us/LxGd4
• Swanson Speed Square (Paid Amazon Link): https://geni.us/a1wYQL
• Fire Extinguisher, for your smoking hot staple gun (Paid Amazon Link): https://geni.us/MbQZzW6
• Home Theater Seating: https://us.valenciatheaterseating.com?sca_ref=811323.JzeSOIMMYw (Paid aff. link)
Links above are affiliate links, which means you pay the same price as always but we make a small commission, which helps out our channel – so thanks!