
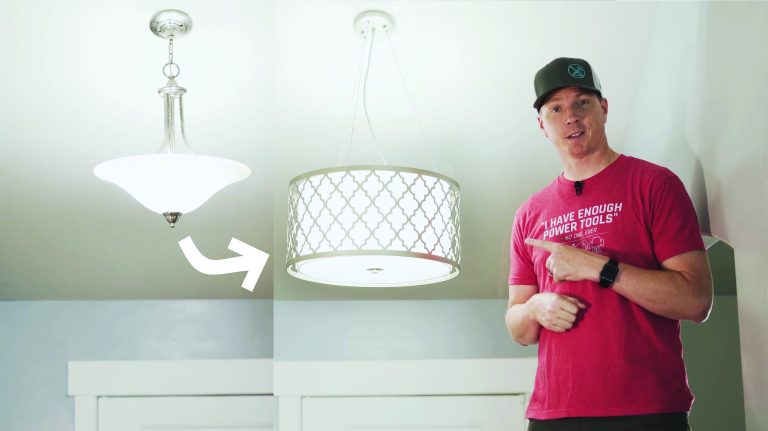
Replacing your indoor light fixture might seem like a daunting task but it may be a lot simpler than you think. I’ll be replacing my old light fixture with this new Modern Farmhouse Drum Chandelier. This requires very little as far as tools so lets jump right into it.
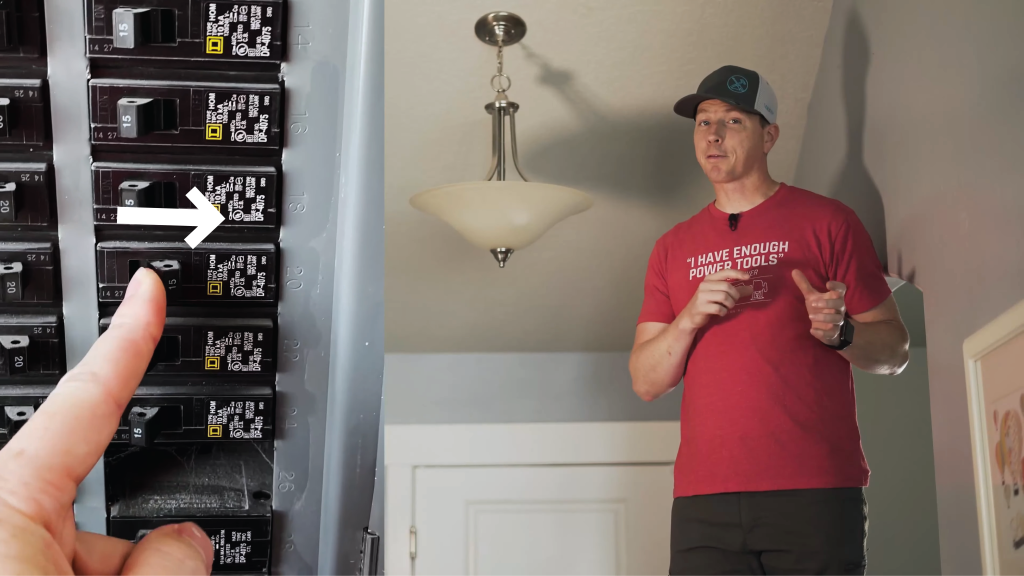
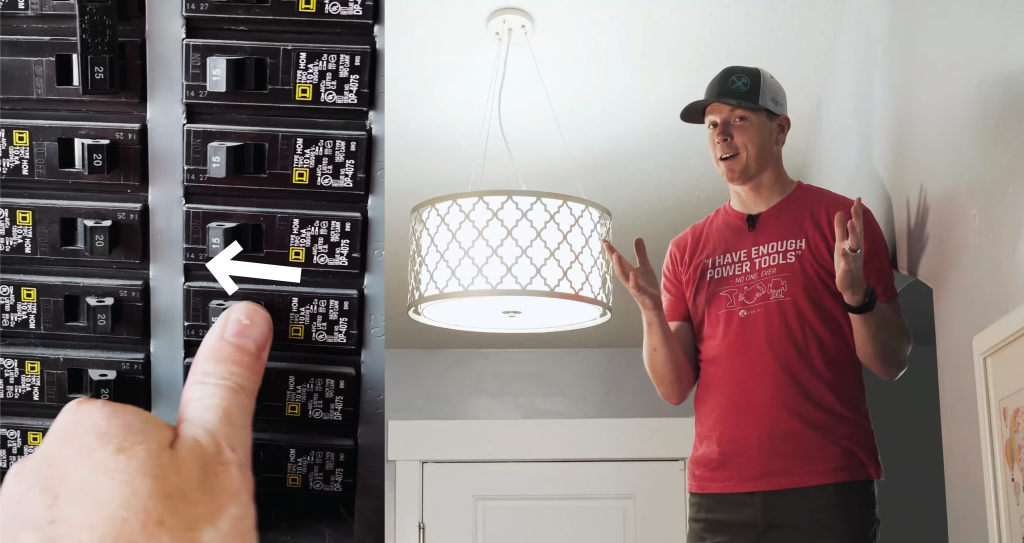
The first thing we need to do is get ourselves safe. To do this leave your lights on and then go to your circuit breaker box and switch off the appropriate circuit breaker. The light should lose power and turn off. If you come back and the light is still on you may have switched off the wrong circuit breaker.
When you’re sure that the power is off, you can start by unscrewing the decorative caps that hold the cover plate in place.
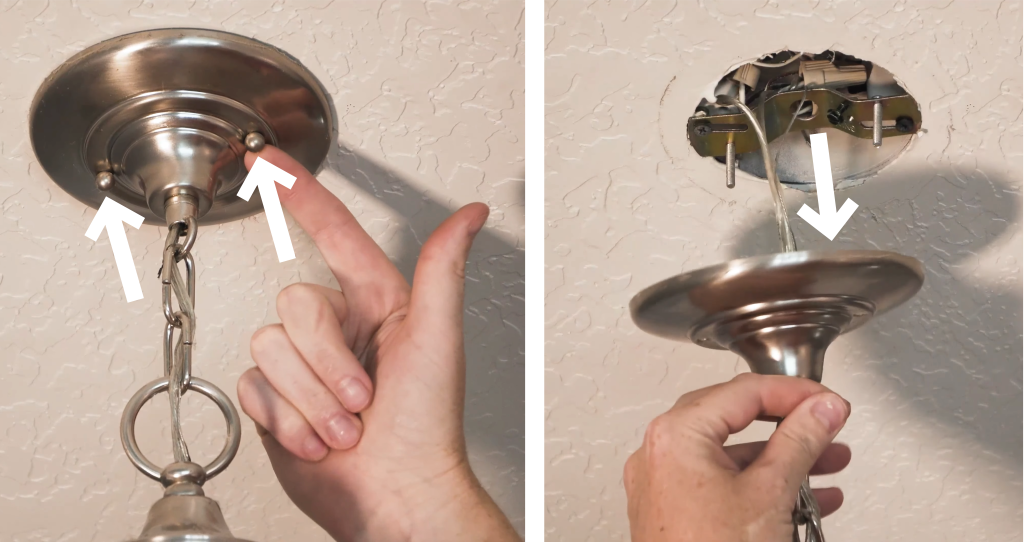
Once the cover plate is out of the way, you can pull out the three wire caps from the junction box. Always support the light fixture in order to avoid stress or strain on the wires. Typically, one of the wires will look different from the other two wires. This wire is the one that holds most of the weight of the light fixture.
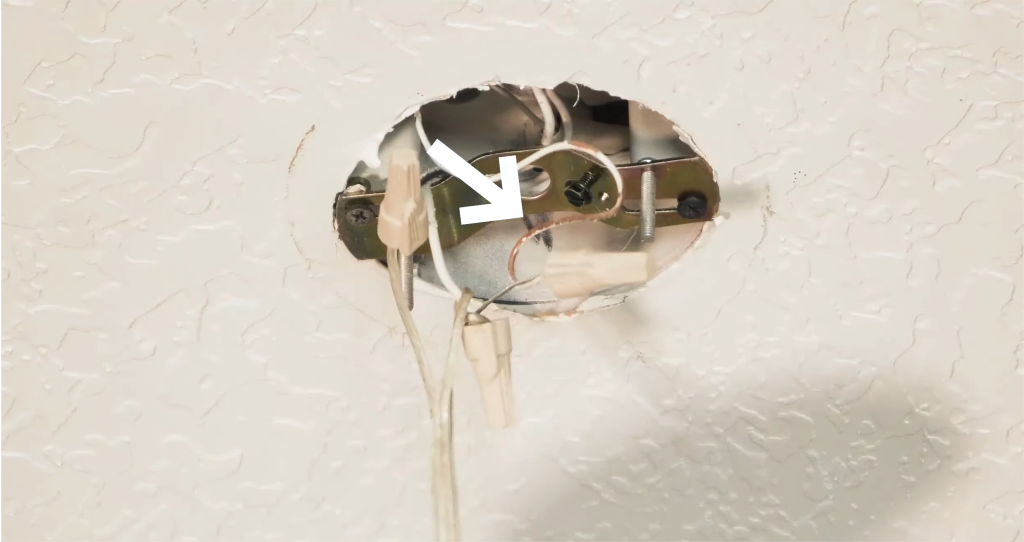
Untwist all three of the wire caps from each other and the whole thing should come free.
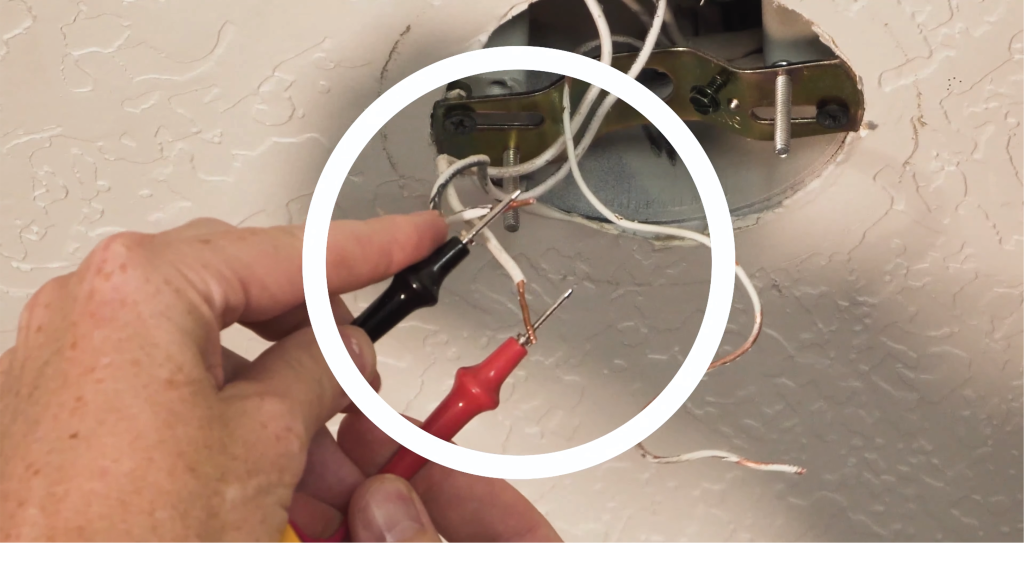
For added safety, you should test the wires with a voltage meter or a circuit tester to make sure that no power is going to the wires. These voltage meters are really handy and really inexpensive too. You can find the ones that I used here.
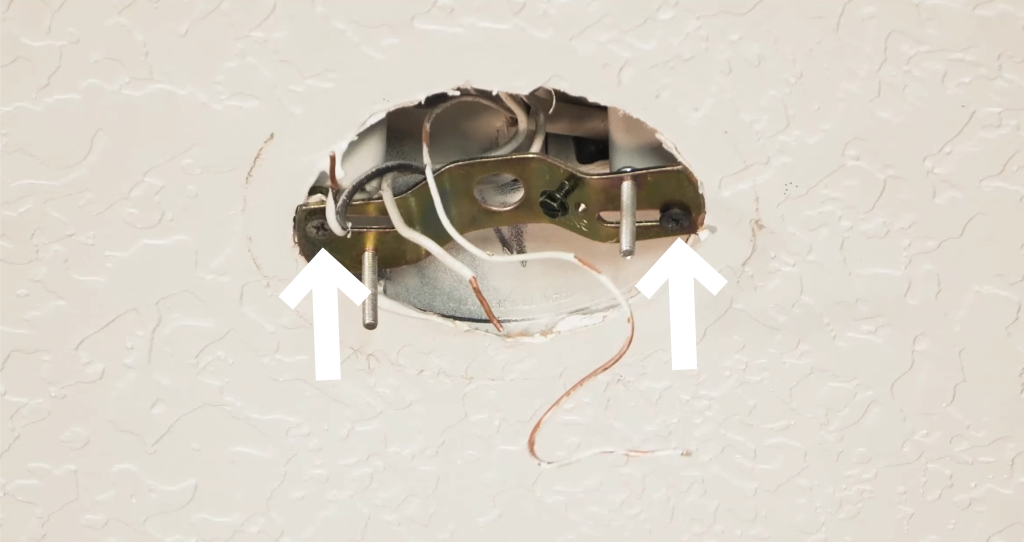
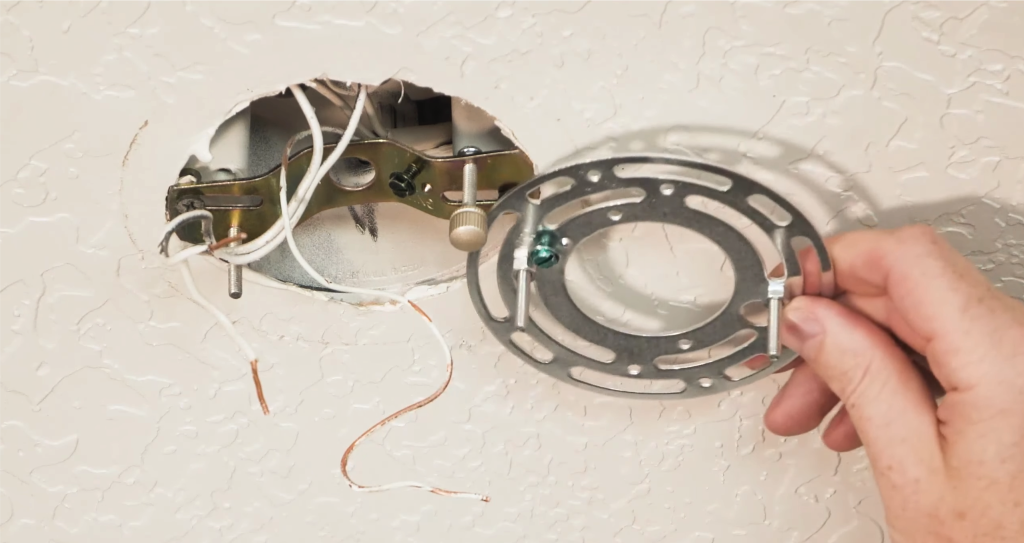
Once you’ve made sure that there is no power, you can remove these screws an to remove the supporting plate and replace it with the one that came with your new light fixture. Luckily for me, the plate for my new light fixture just so happens to be compatible with the old plate do I didn’t have to replace mine.
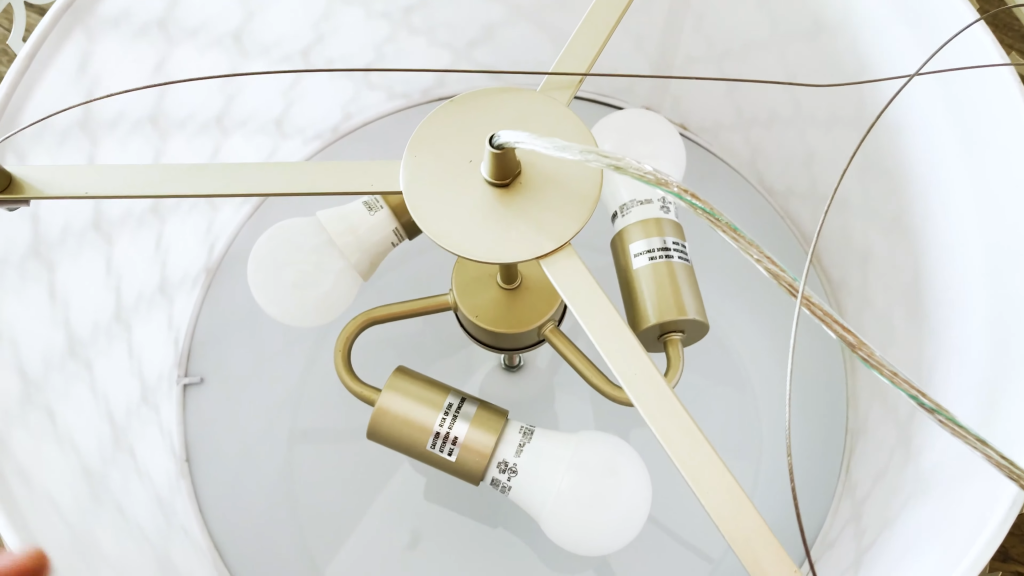
QUICK TIP: Its easiest to put your bulbs in while the fixture is on the ground and not mounted. That way you wouldn’t have to worry about trying to put those bulbs in while its mounted to the ceiling.
The first thing you want to do with the new fixture is to fasten the strain relief cable. This cable is usually separate from the other wires and is fastened to the cover plate. There’s a couple of ways that you can do this. Most of the time you’ll have a ground screw on the back plate which will work perfectly for fastening the cable on to.
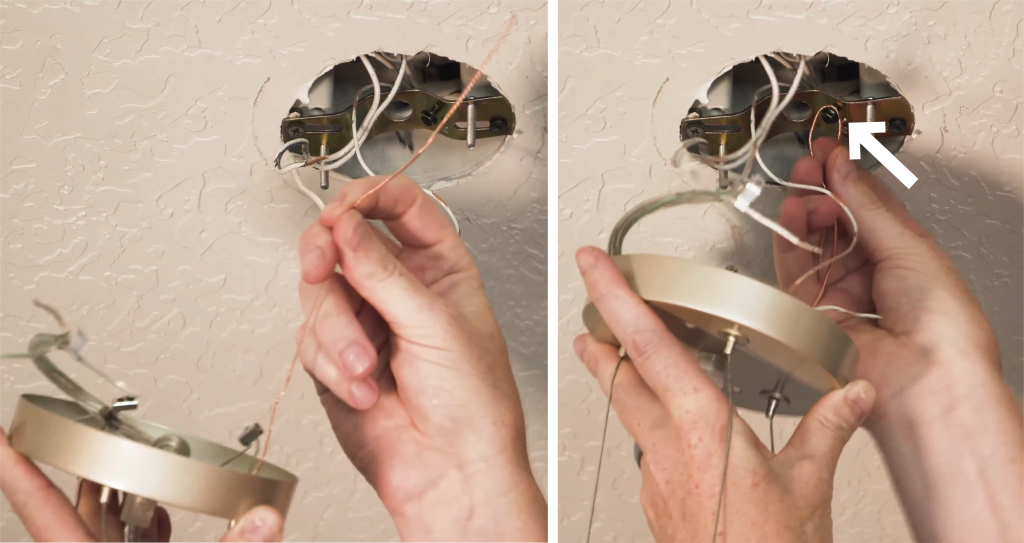
The strain relief cable is there as a safety measure so that even if all the wiring comes undone and the caps come off the fixture won’t completely fall off.
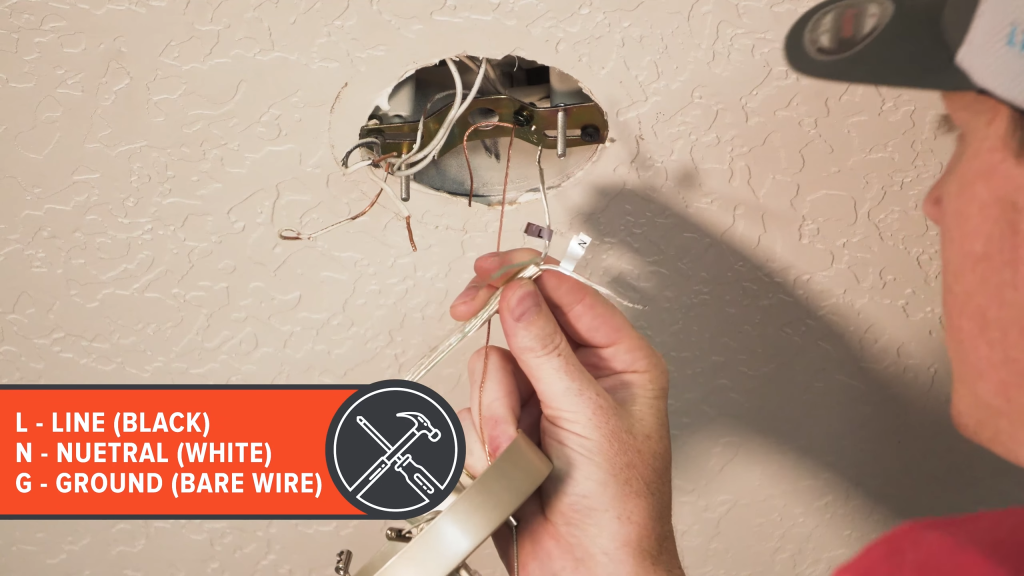
Next step is to connect the wires that power the fixture. With the fixture that I have they’ve labeled everything, we’ve got L for Line, N for Neutral, and there’s a green indicator on the other wire for Ground. For the wires coming from the junction box, the LINE will always be BLACK, NEURTAL will be WHITE, and the GROUND will be BARE WIRE. It’s important that you do not get these mixed up or else you might misconnect the ground wire, which could start a fire.
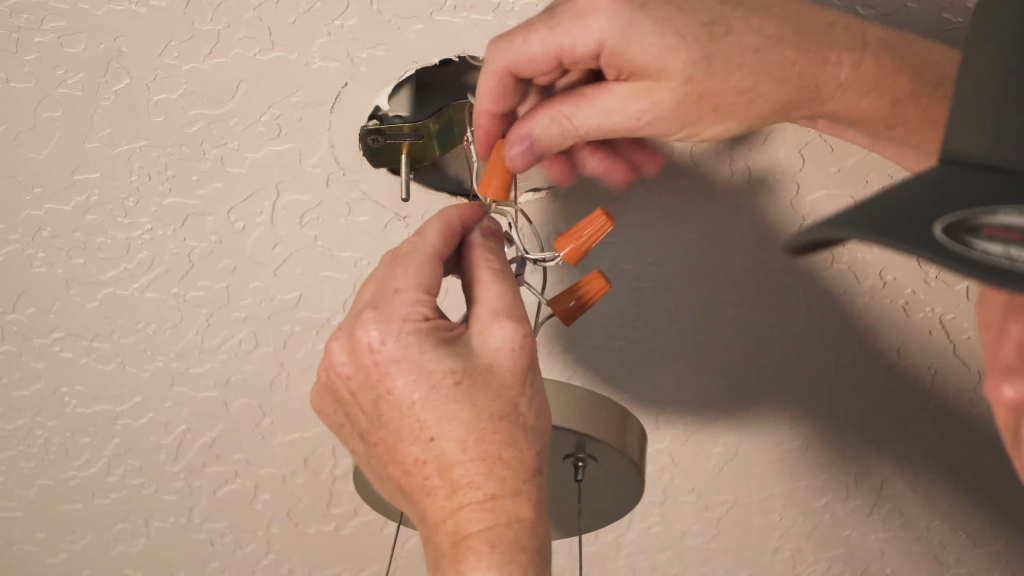
Fasten the wires with the wire nuts that came with your fixture. Give the cables a light tug to make sure that they don’t pop free once you put them back in the junction box. Once secure, stuff them back in while making sure that no exposed wires are touching the other wires.
Align the holes to the screws and push up the cover plate. Hold it in place and screw on the new decorative caps.
QUICK TIP: Check from all angles and make sure that all the cables are tucked behind the cover plate before you screw on the cap.

This particular Inlight Chandelier is designed with three cables to mount everything and its a one-way push. So to adjust the height I just needed to push up the cables and they will stay in place.
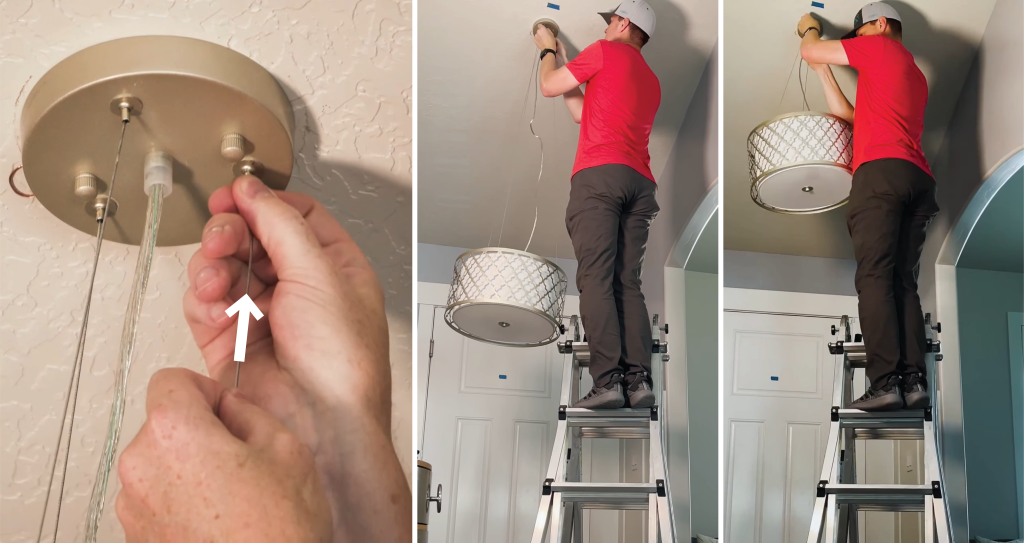
With that, we can turn on the circuit breaker again and TADA! Everything is looking good and this thing is all set!
Congratulations you have now conquered indoor light fixtures!
You can follow along with the video here!
PRODUCTS USED IN THIS TUTORIAL:
- Inlight Modern Chandelier Light Fixture, Farmhouse 3-Light Drum Chandelier:
• Voltage Tester:
• Multimeter:
• Electrician Tool Kit (Everyone should have one of these!):