Installing insulation yourself is not a difficult task. It doesn’t take too long and, contrary to what some believe, is not typically a super-itchy experience. The last couple of times I did this it was easier than I expected and definitely worth doing myself. You don’t need much at all by way of tools, either.
Tools Needed
Here’s what you’ll need:
- A quality mask to prevent breathing in particles
- Eye protection
- Gloves and full skin protection
- Utility Knife and several blades
- Measuring Tape
- A staple gun (if you’re using faced insulation)
That’s it! Pretty simple as far as tools go.
What is “R” Value and what do I need?
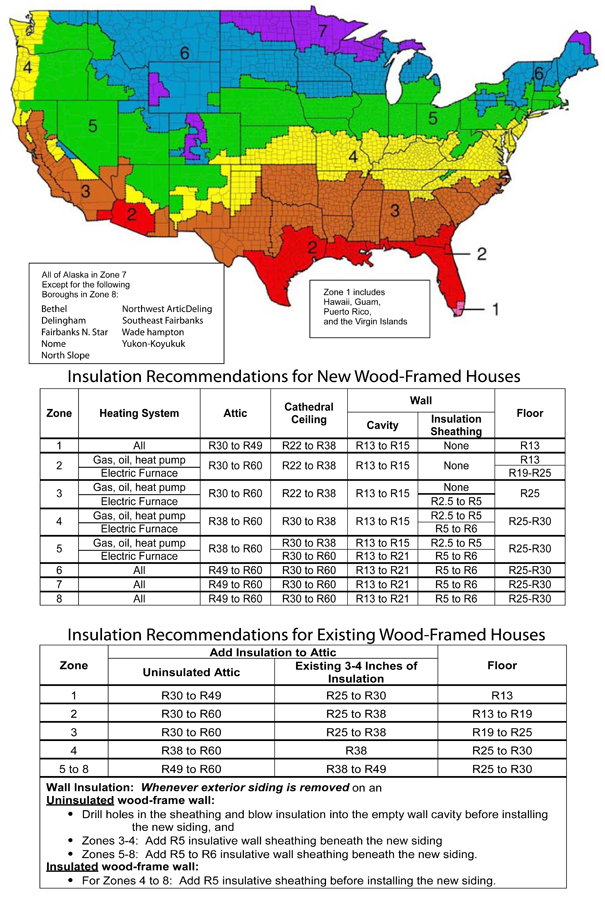
The “R” in R-Value stands for resistance. R-Value is a measure of how well a material can resist the transfer of heat. Heat transfer is a two way street. When it’s hot outside, your insulation resists letting heat in. When it’s cold outside it resists letting your warm air out. In the United States, there are different requirements based on where you live and what type of insulation you’re doing. Here’s a chart to help you determine what you need. If you live outside the United States, be sure to check what you’ll need for your area.

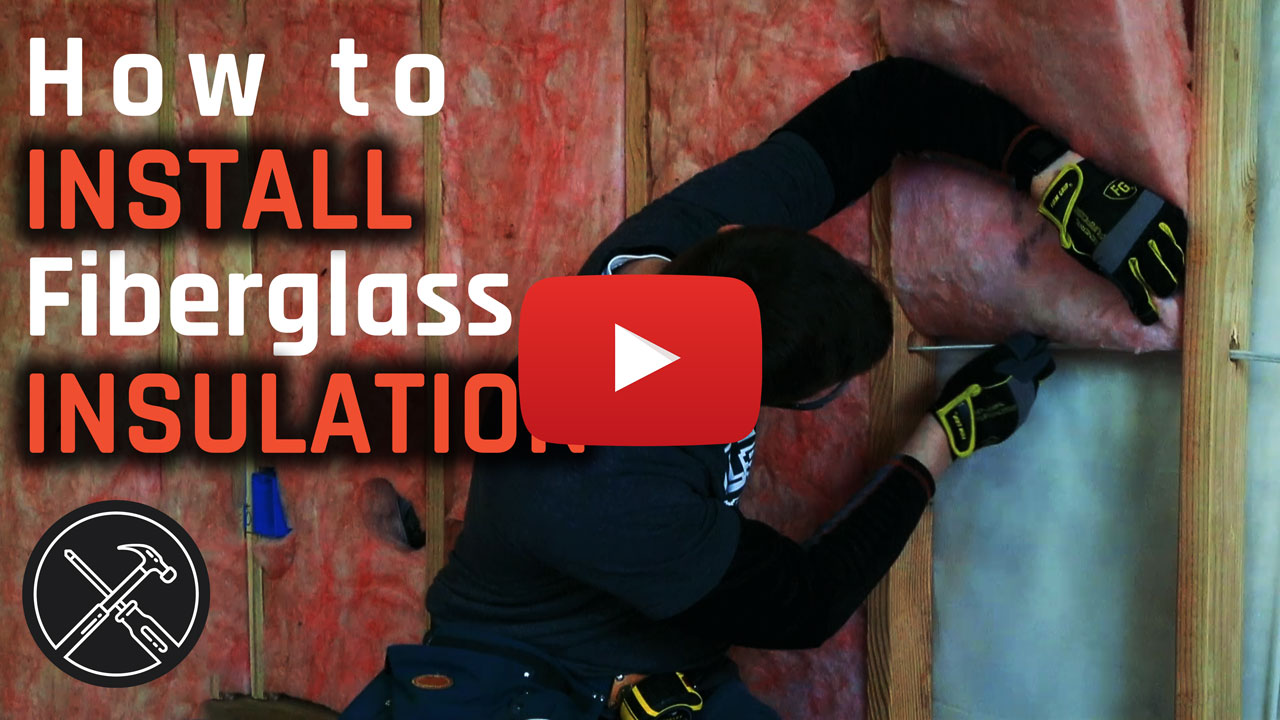
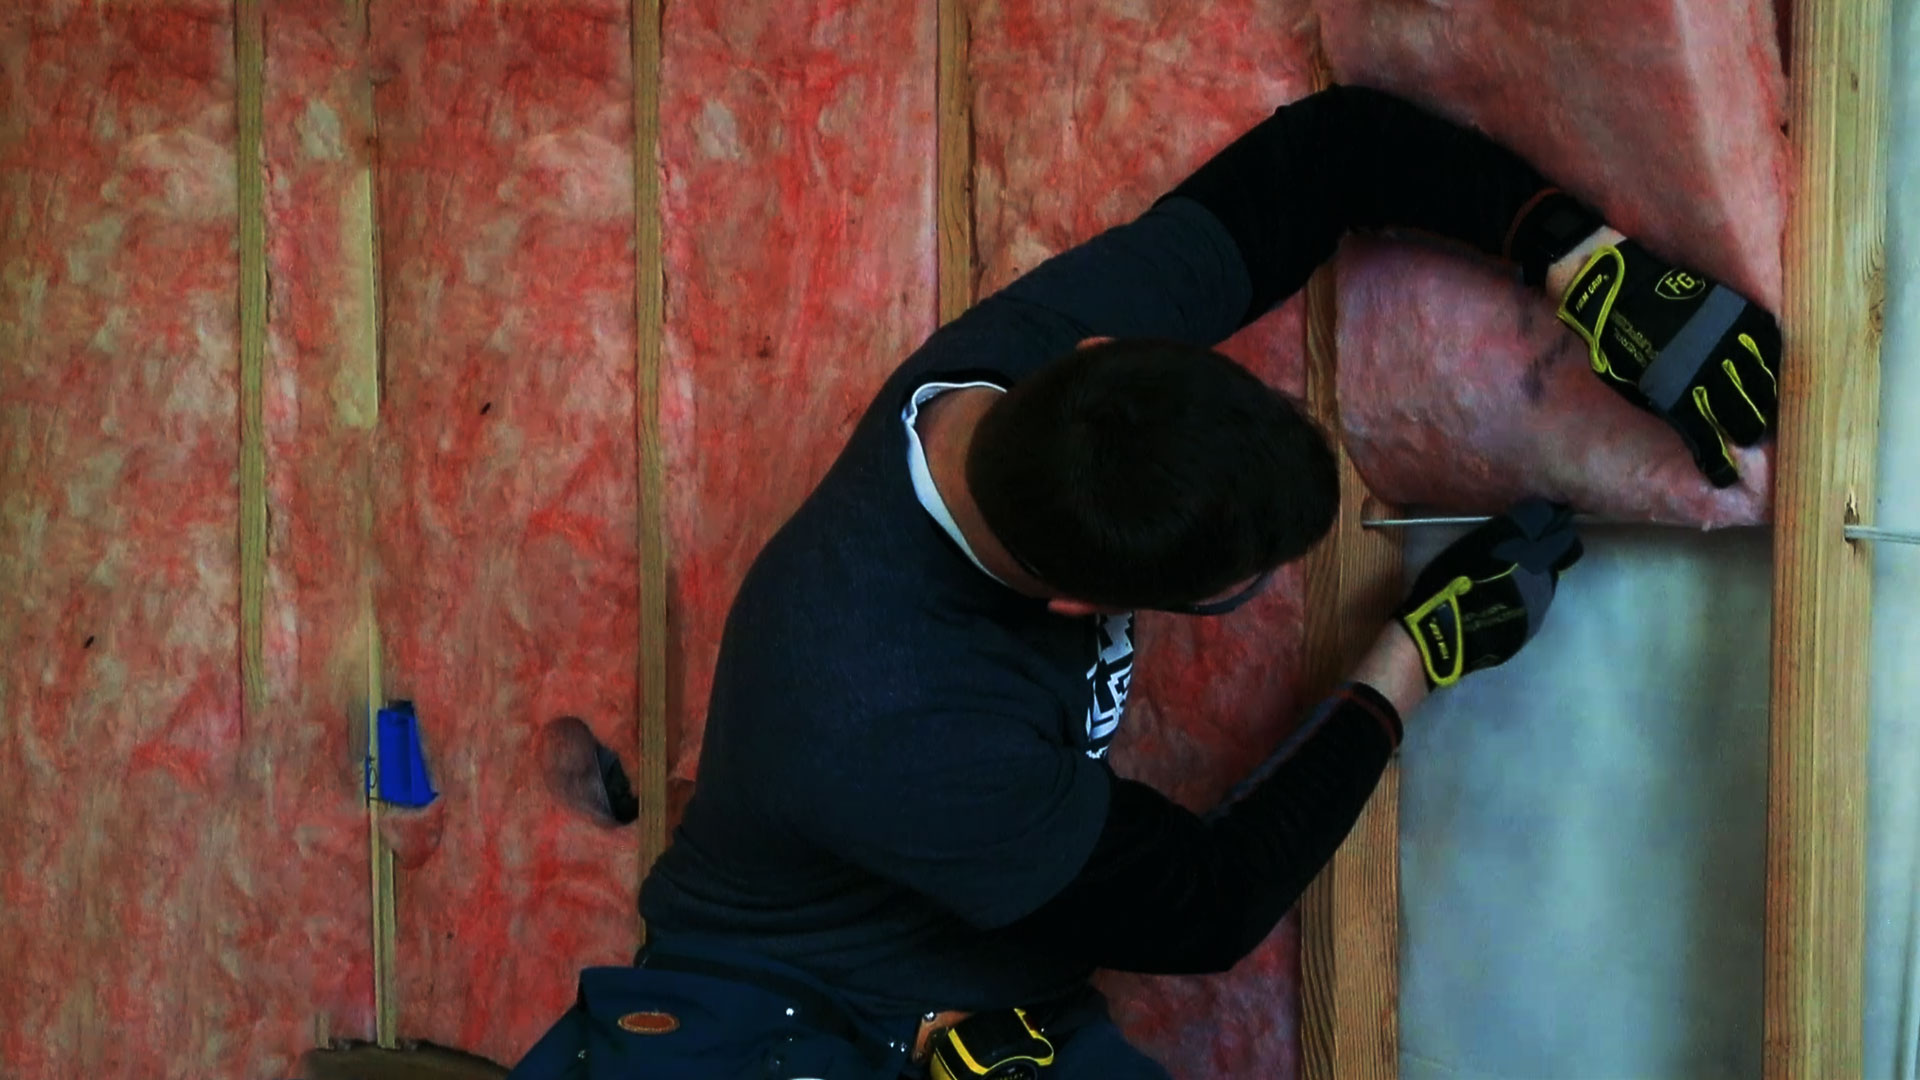
As far as how to actually install the insulation, please check out this video with step by step instructions for both faced and unfaced insulation.


