
A lot has happened on the shop in the last several weeks. If you haven’t already taken a look at the progress, be sure to check out the framing, the siding, trim and roofing and broken rib and the electrical work as well. Let’s take a look at the latest.
I’m mostly going to use the pictures below to walk you through the different phases that I’ve been working on but in a nutshell: I
- Moved all of my shop equipment into the shop
- Insulated the shop completely
- Built the folding staircase that conceals itself into the ceiling with the help of an electric winch
- Hung sheetrock on the walls and ceiling
- Moved all my stuff back out (because I love doing things twice)
- Epoxied the floor
- Hired a friend to mud and tape
- Painted
- Installed all of the outlets and light fixtures
- Built an outfeed table for the table saw (not shown here)
- Built a basic start to the mitre saw station
- Moved everything back into the shop (refer to number 5 about doing things twice)
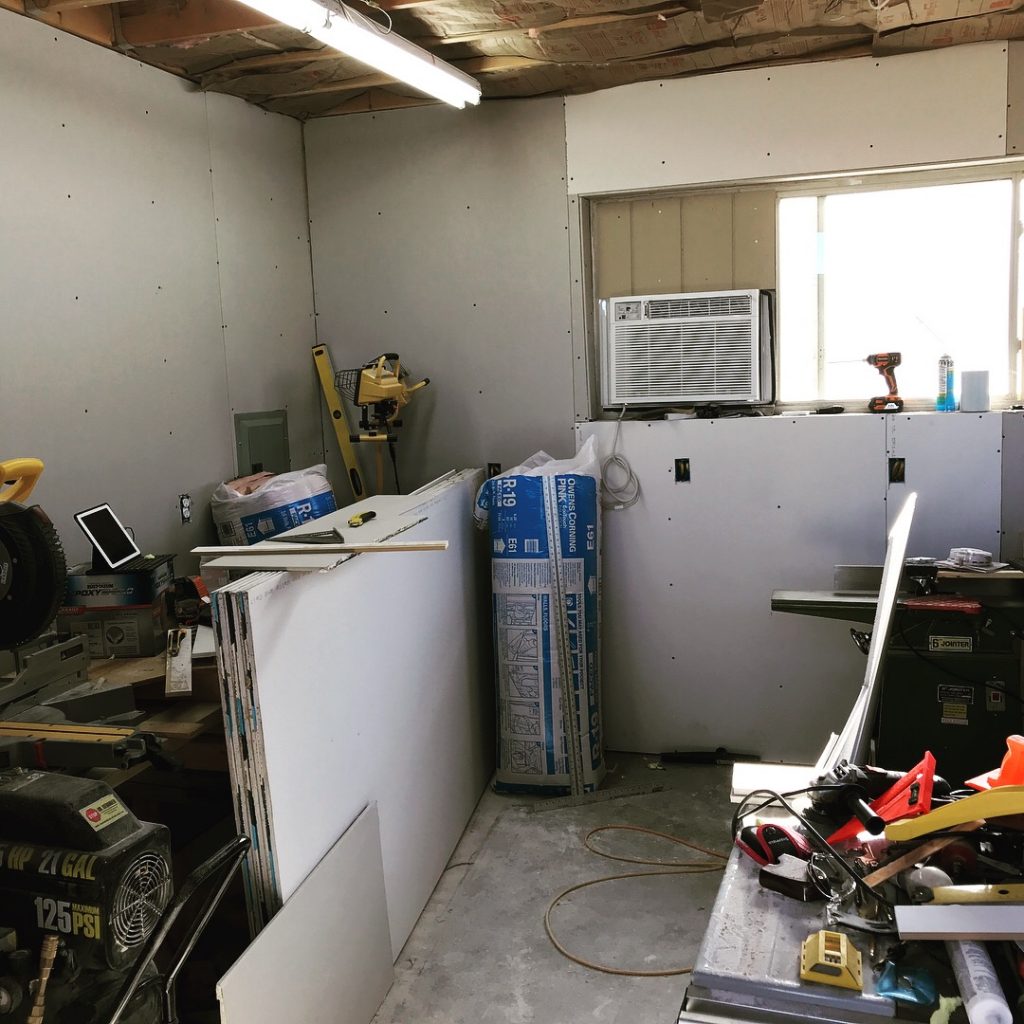
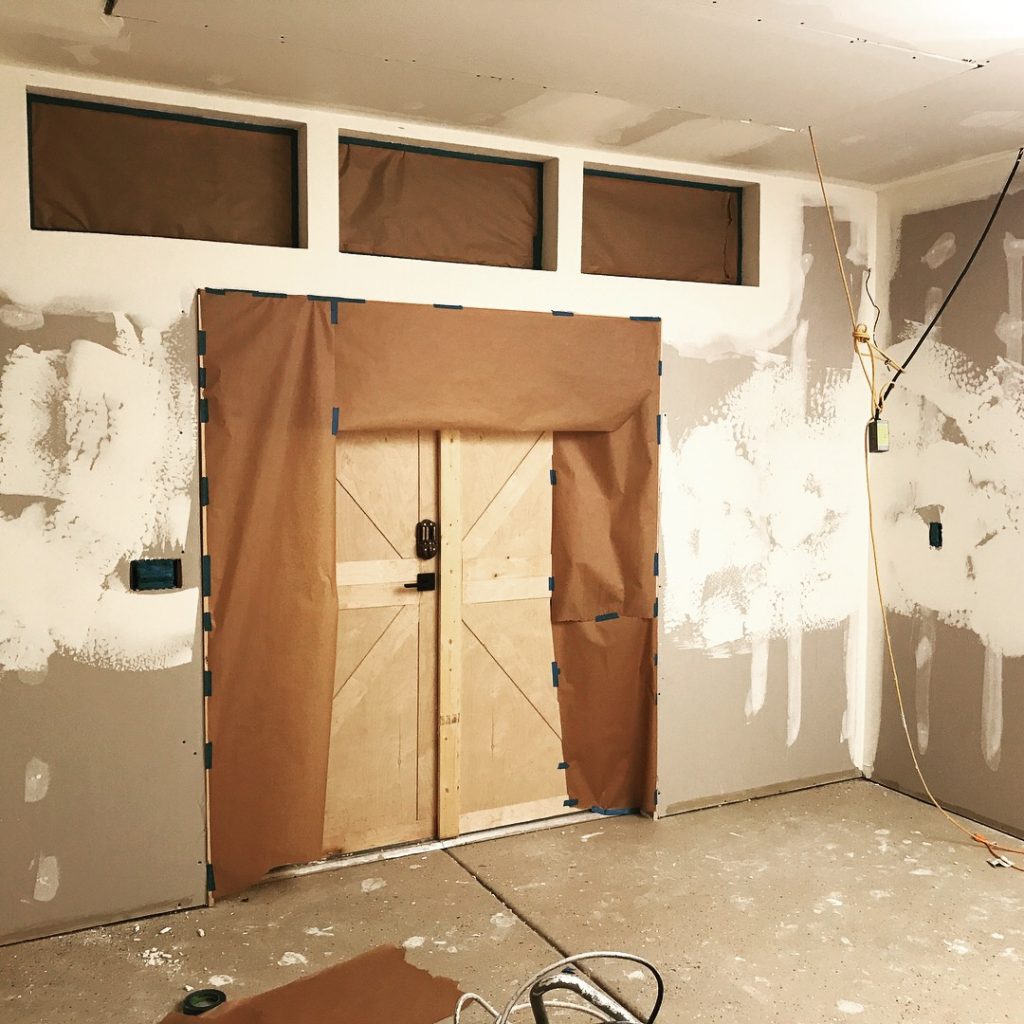
This is the shop with the walls insulated and sheetrocked, but without having finished any of the ceiling. Very crowded and messy.
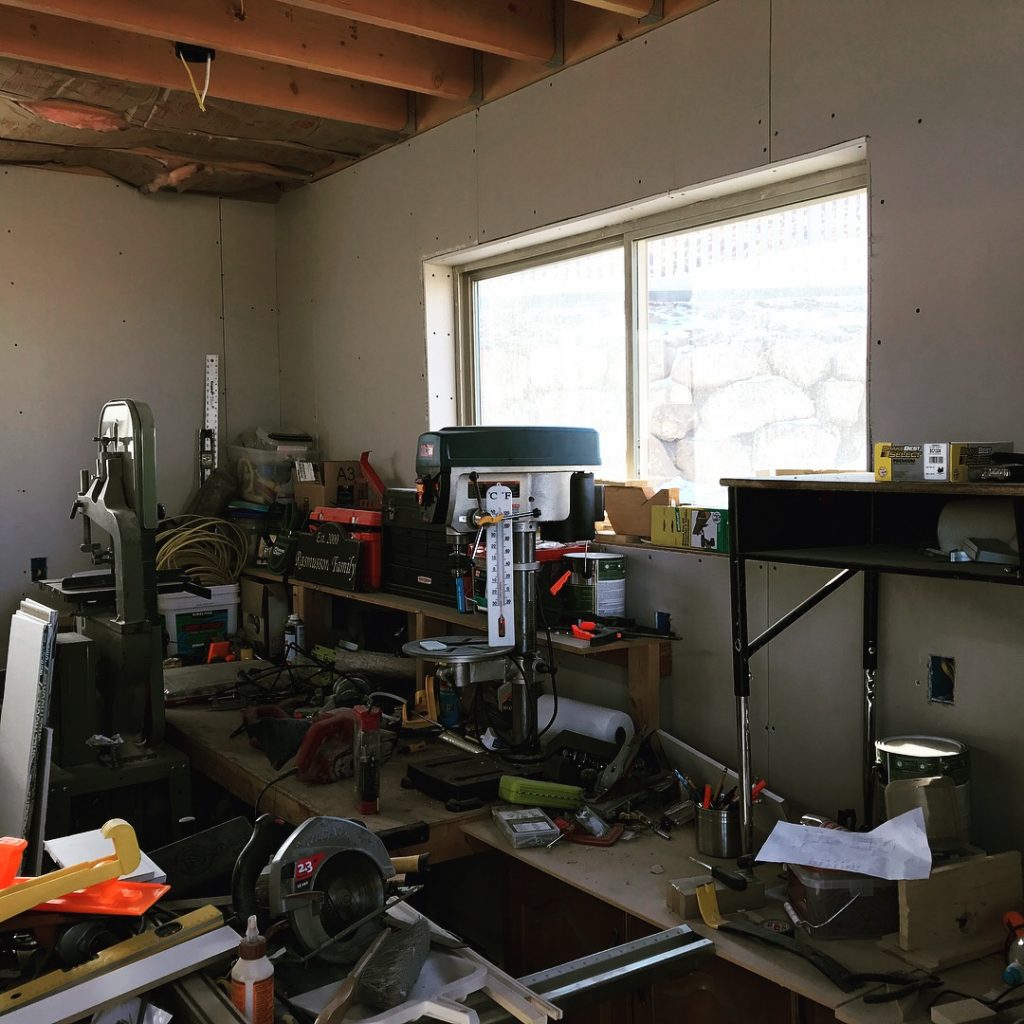
All my junk and no place to really put it. All of the surfaces in here are the hodge podge collection I had built up along the way. None of it was really planned so much as inherited.

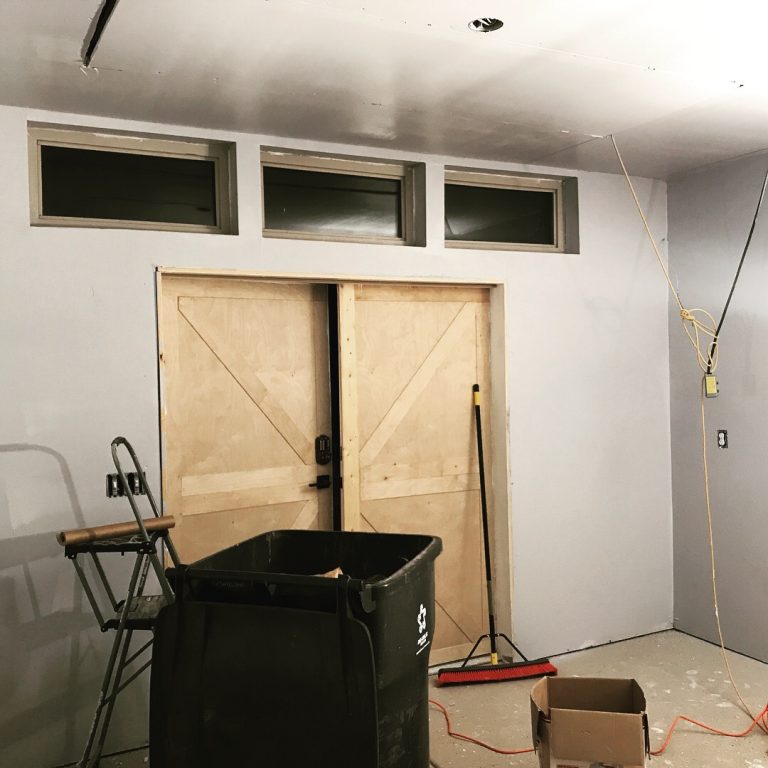
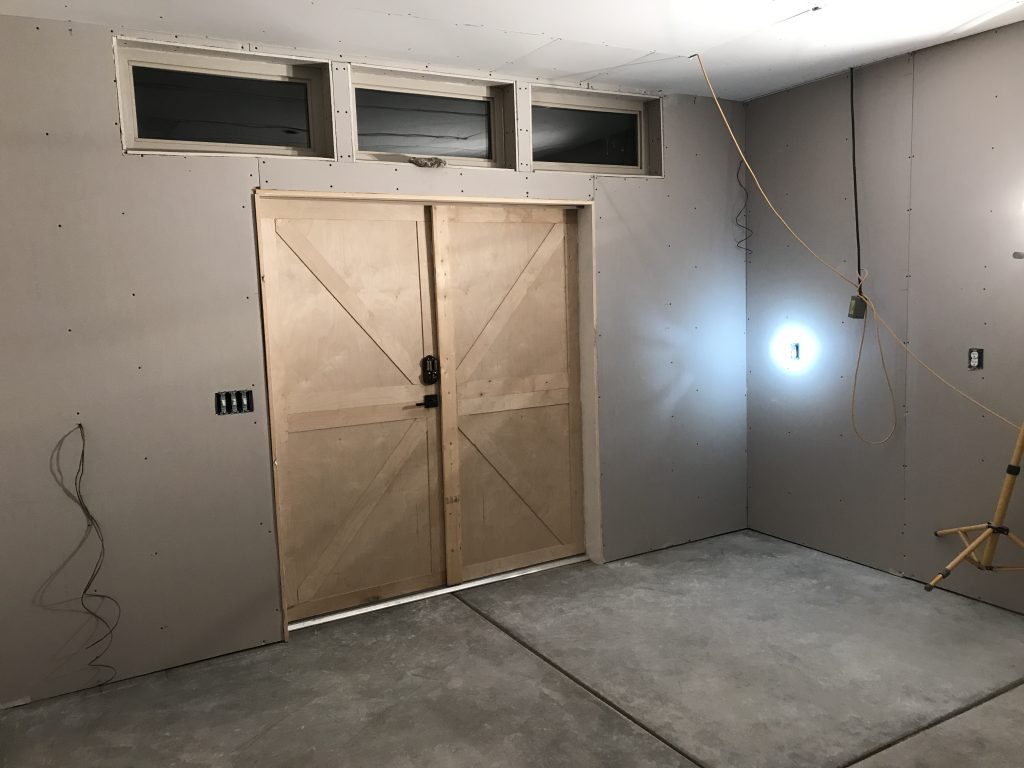
I love my windows above the doors.
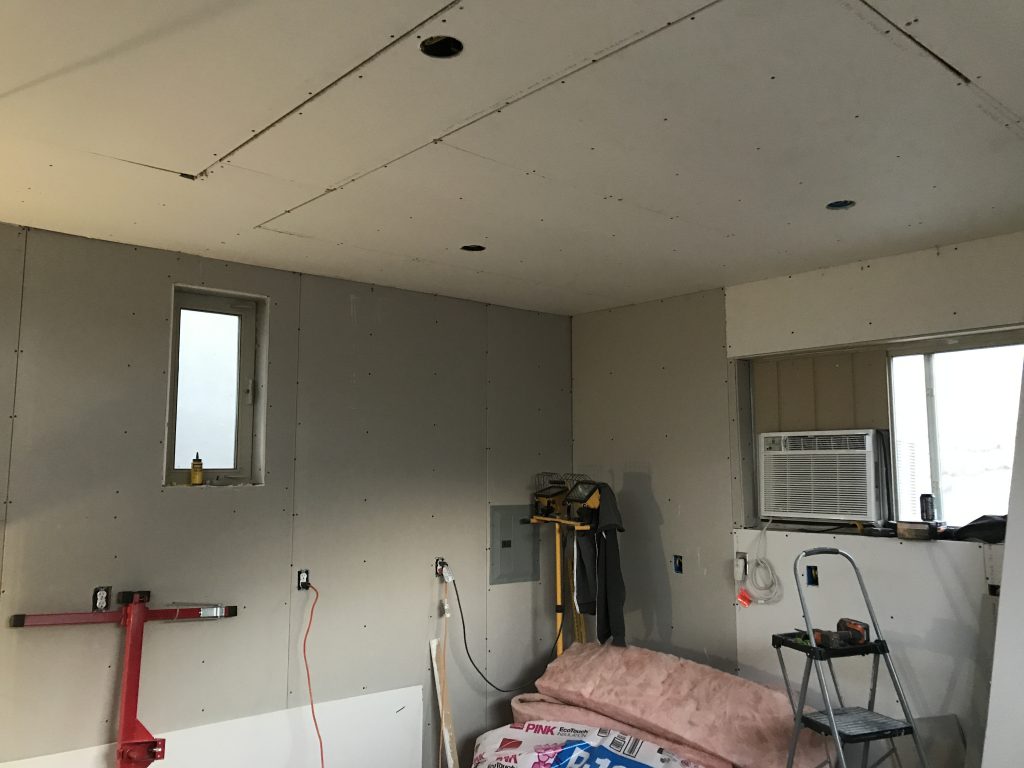
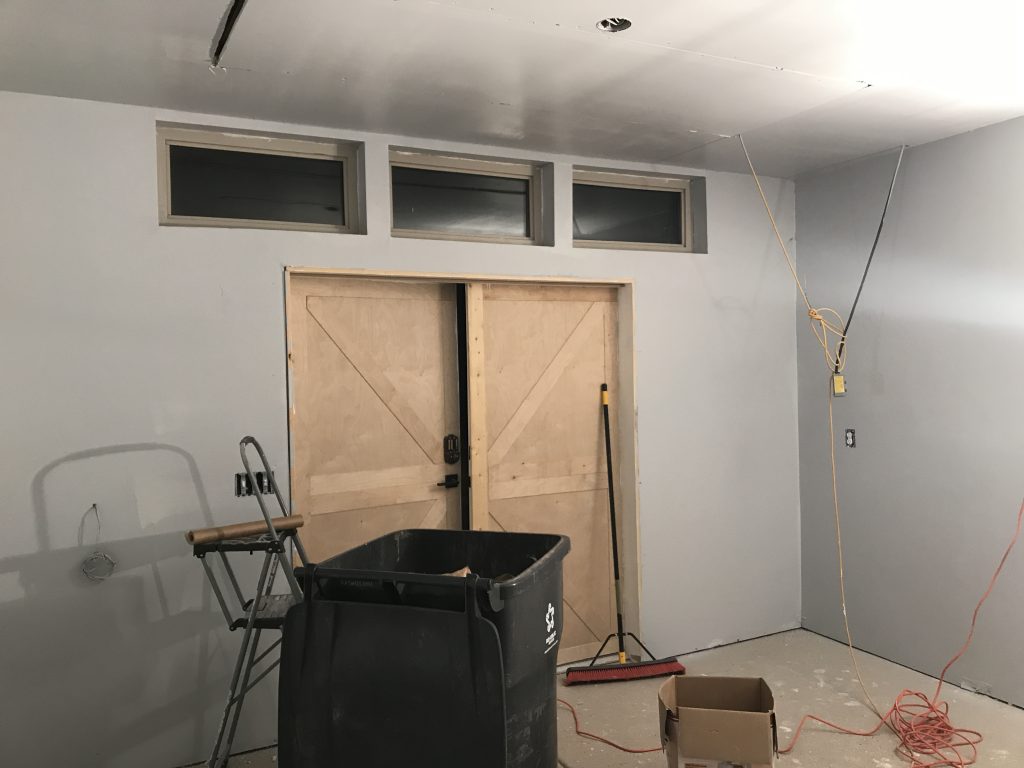
I finally cleared most things out and got the ceiling all the way insulated and sheetrocked.
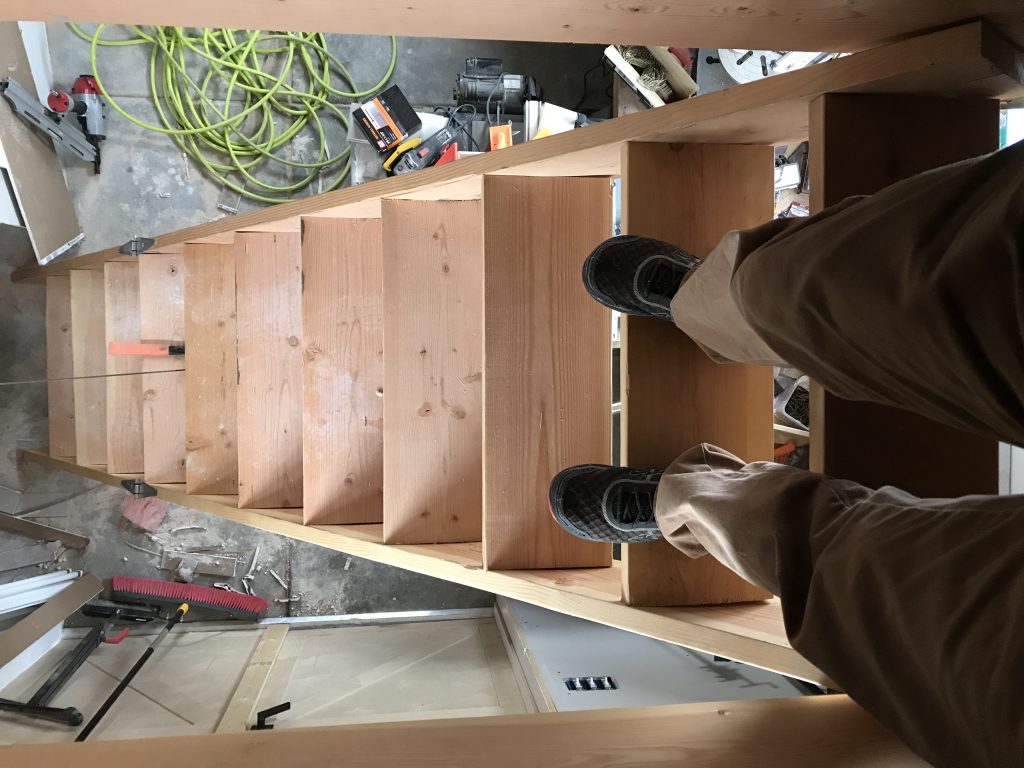
These are the stairs I built. They’re just a couple of 2x12s as stringers with 2×8 treads. You can see toward the left that there’s a hinge where they fold up and then get pulled up into the loft. The loft/second floor is for lumber storage. Keeps the space on the main floor available for tools.
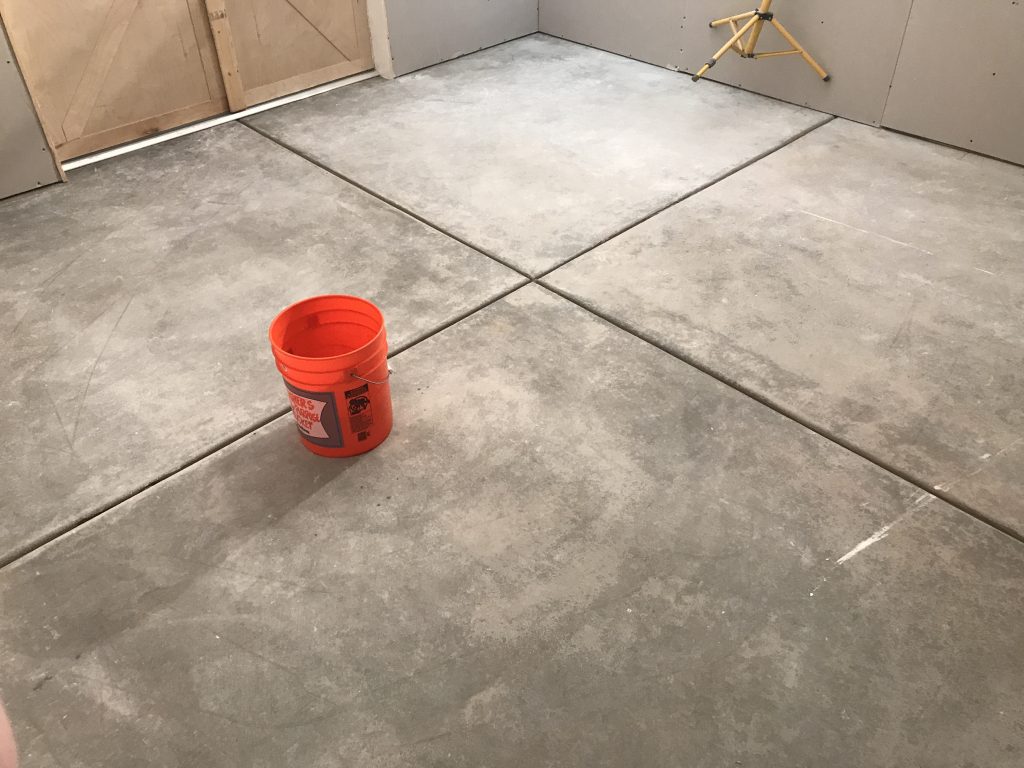
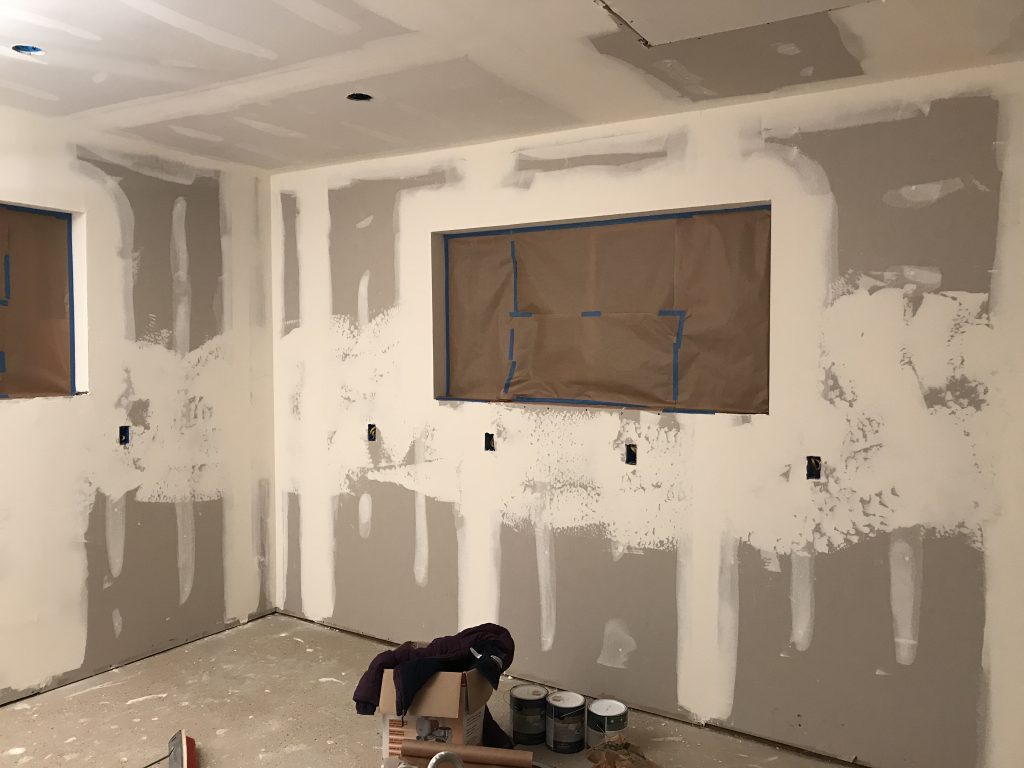
This is just before painting the floor with epoxy. Floor is swept and clean and walls are ready for mud and tape.
I had never epoxied a floor before and it was actually less fun than I anticipated. I thought I’d kind of dump all of the paint on the floor and squeegee it around and that’d be that. It’s really a lot of prep with acid wash, scrubbing, drying, then using a paint roller to apply the paint, then throwing the sparkly specs around and trying to keep them evenly distributed. All in all it came out well but I did get some grass mixed in and still have those big cracks to deal with.
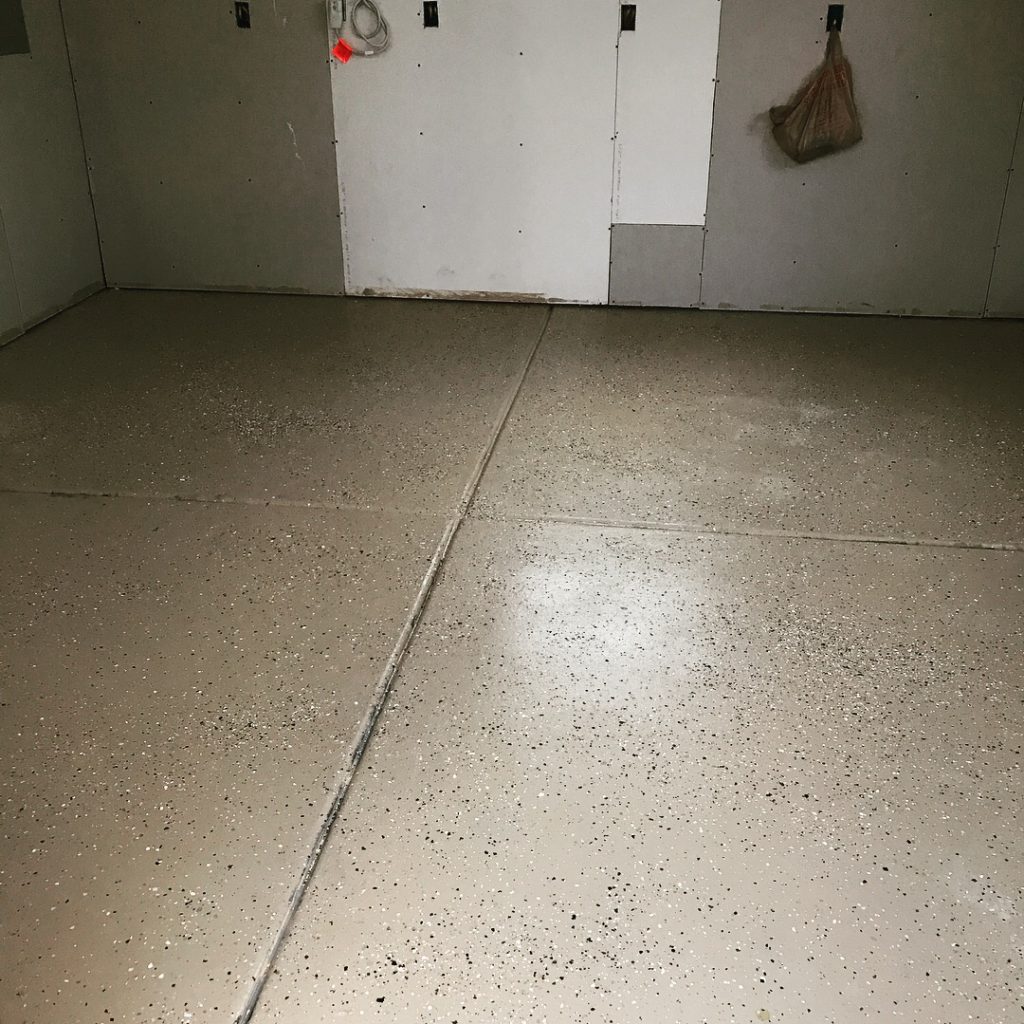
Here’s how it turned out.

Next up was my buddy Mitch mudding and taping. I asked him just to texture a band around the middle since I plan to have benches and shelves on the lower and uppers sections respectively.
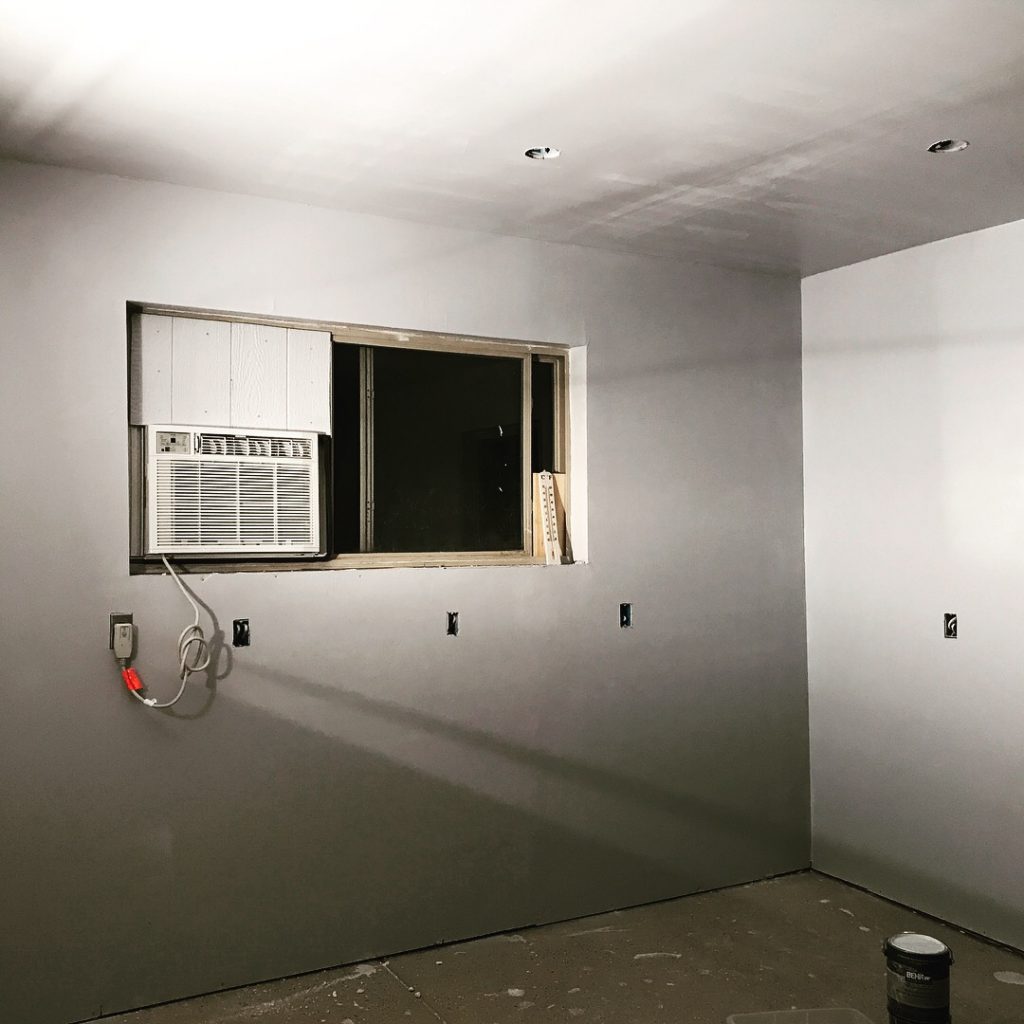
I decided to use my paint sprayer to paint. So quick and easy once you’ve done the prep. I used Behr Ultra Premium (like we almost always do) and was able to do one thick coat that covered the drywall and left a nice finish. Very impressive stuff. 2 Gallons was the perfect amount.
Before…
After.

We went with a warm, light grey. I love how it looks and I think it’ll be a good color for keeping the place bright and making it look good while filming in the shop.
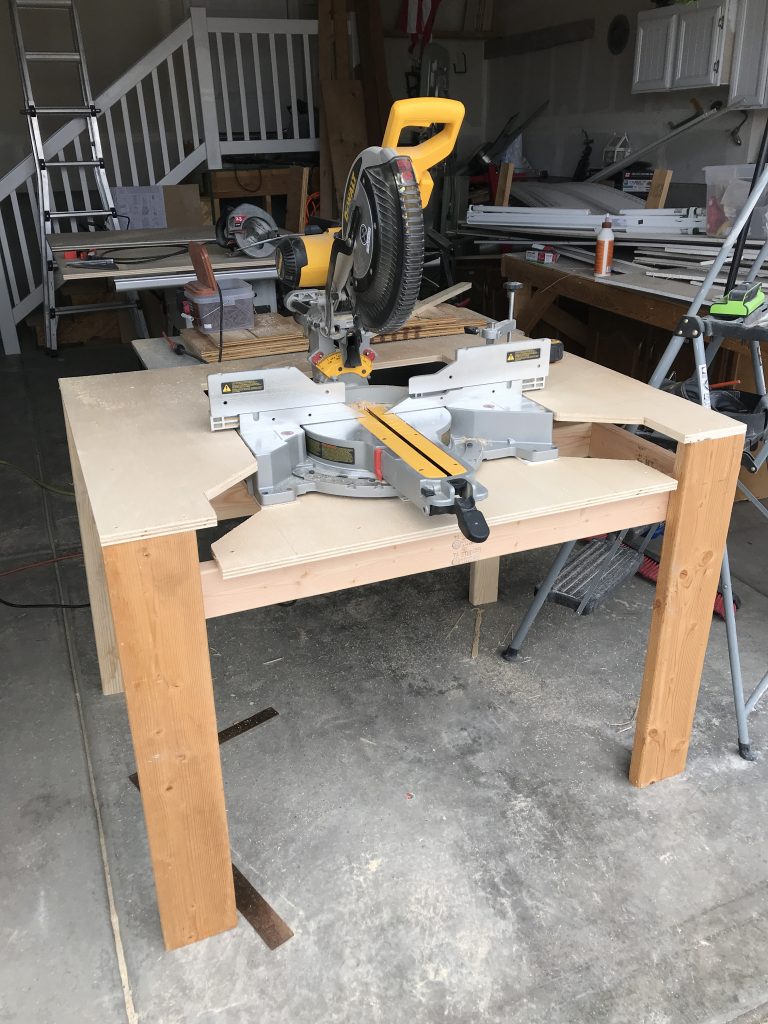
Lastly I started to build some furniture. This is the humble beginning of my mitre saw station. Plans for this include adding extension arms to both sides, a hood for dust collection, cabinets underneath and putting the whole thing on retractable wheels for mobility. That way if I have to cut a long board that hangs off the left, I can move the saw to the right to make room, and vice versa.
OK! That’s the update for now. Tonight I finished installing the 4 overhead 8′ lights, each of which contain four 4′ daylight fluorescent bulbs, so the place looks great on the inside, but it kind of looks like a baseball stadium from the outside. Definitely need to get me some blinds.
I’ve got a project I need to get to for a video sponsor so I’m really hoping to get things further along this weekend so I can start on that. We’ll see how it goes.
Until the next update,
– Nils