Changing your furnace filter is quick and easy. This post will teach you everything you never knew you needed to know about it. Think of the conversation starters you’ll have from now on!
Where is the Filter, Anyway?
First thing to do is make sure your furnace is turned off. Most furnaces will have a switch next to it that you just turn off. You can also use your thermostat to turn the heat off, or if all else fails, you can switch the power off from your circuit breaker.
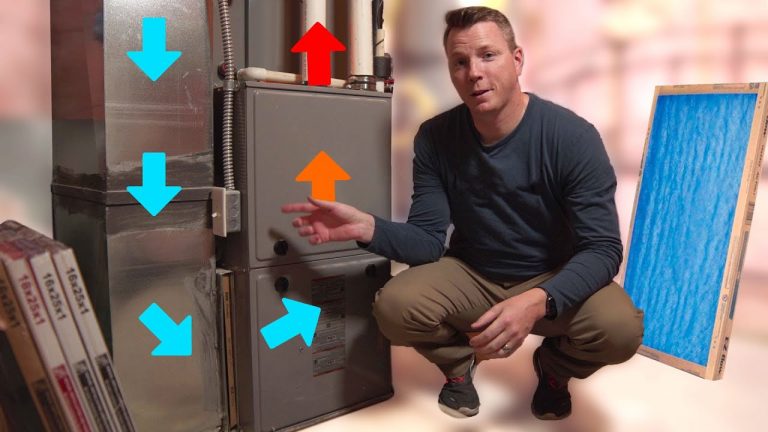
Next step is to locate the filter itself. This is usually in between your plenum and the blower (the furnace itself). In some cases, it may be behind an air return in another part of the house. If that’s the case for you, you would unlatch the return and the filter is inside.
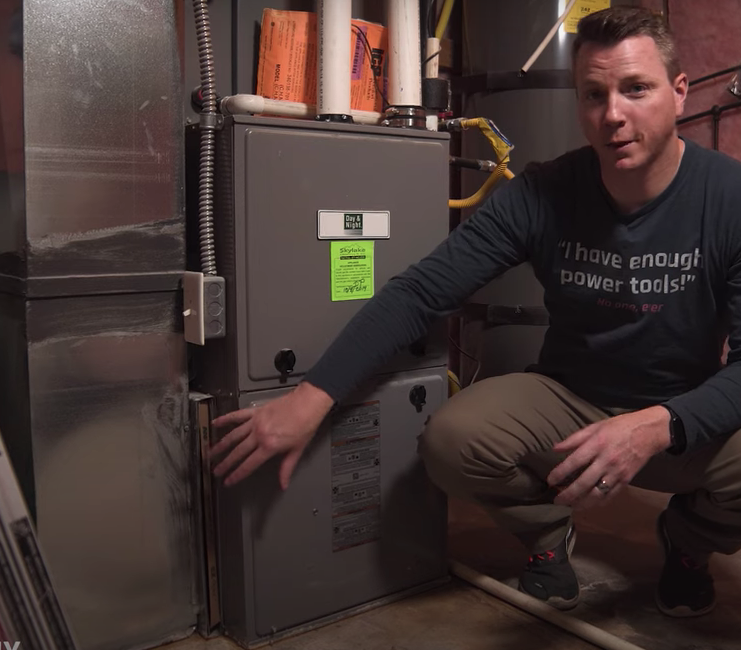
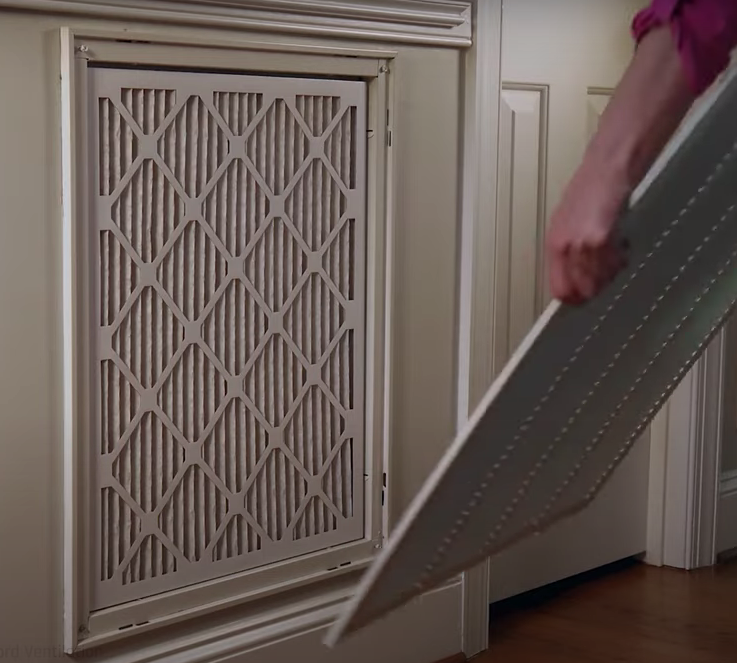
Once the filter is located, it’s important to know which direction it goes in. There is an air flow arrow on the filter itself indicating which direction is needs to be- it’s always in the direction of the furnace. Make sure the arrow is pointing toward the furnace. Another way to make sure is to look for the netting on one side of the filter. That side always goes closest to the furnace- its job is to make sure the filter doesn’t collapse into the blower as the air pushes through it.
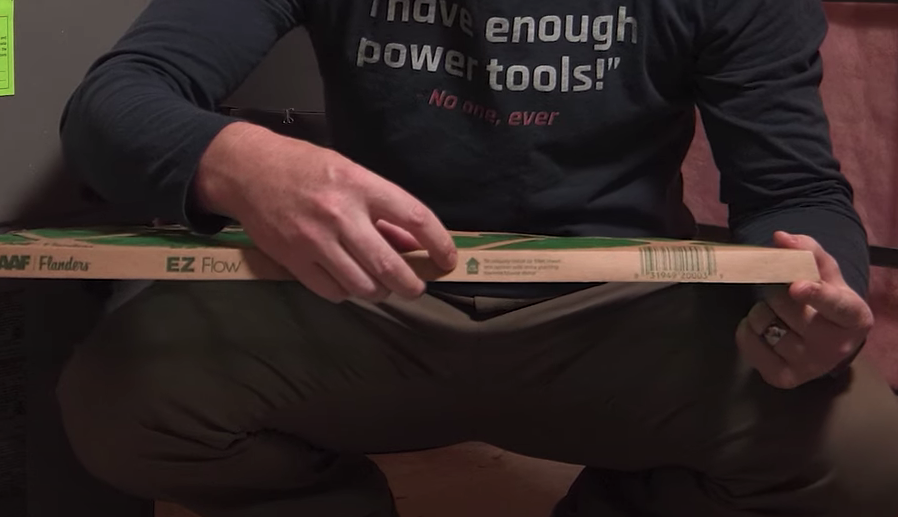
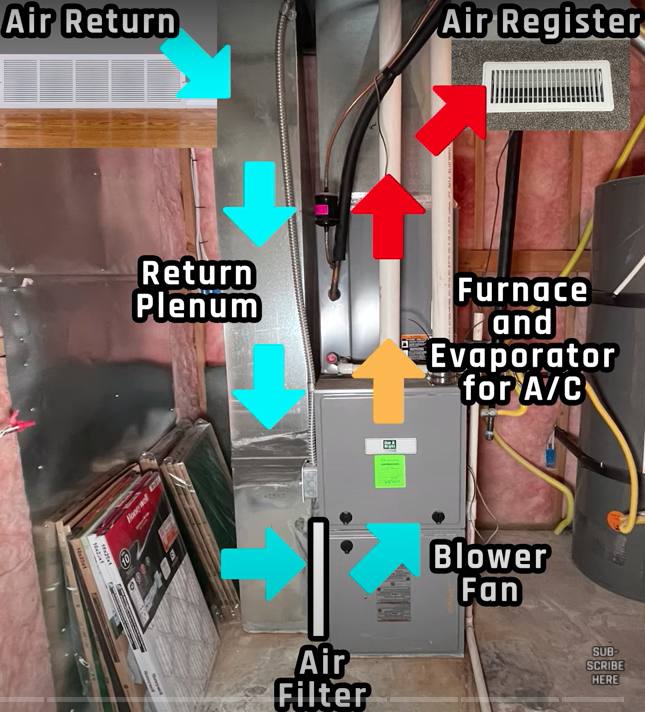
An easy way to remember which direction your filter goes is to draw an arrow on the plenum with a Sharpie.
Which Filter to Choose?
Most furnace technicians will recommend that you use a mid-to-low grade filter. The lower grade filters allow more air flow through to your vents, where the higher grade filters, while better for allergens, don’t allow for as much air flow. If you have allergies to pollens or pets, etc., a higher rated filter may be the way to go, but just be aware that the air flow will not be as strong. Using the lower grade filters will help warm air flow better in the winter, and cold air flow better in the summer. Depending on your circumstances, it may be a good idea to use those when the outside temperatures are more extreme.
Filters are rated by the MERV rating or the FPR rating. In both cases, the higher the number, the higher rated the filter is. The high-rated filters say they are good for up to 90 days. The lowest rated filters need to be changed every 3-4 weeks. It’s a good idea to check your filters, regardless of rating, once or twice a month to see if they’re getting clogged and need to be changed sooner than the packaging says they do.
To save money and time, buy your filters in bulk. This makes it so much easier to swap out the filter when you need to, without having to make a trip to the store. It’s also cheaper this way, which we’re all about.
Filter Size
Having the right size filter is imperative. Make a note on your plenum with a Sharpie as to which size filter your furnace needs so you never forget and get the wrong one.
Write the Date on the Filter
A helpful tip: Write the date that you change the filter on the filter, so you aren’t left guessing if it’s time to change it again.
Once you’ve replaced the filter, be sure to turn the power back on. Now you’re ready to school all your friends with your filter knowledge. Enjoy. 🙂
Product links:
Here are some links for the products you’ll need. These are affiliate links, which means you pay the same price, but we get a small commission. This helps us to keep creating helpful content, so thank you!
Basic MERV 8 Air Filters ($3.91/each USD): https://geni.us/y5xDRx
Amazon’s Air Filters (Specify size in search): https://geni.us/fwOW
Fiberglass Air Filters from Home Depot ($1.11/each USD): https://homedepot.sjv.io/QZro9
Washable Air Filter ($24 USD): https://homedepot.sjv.io/jx3kb
Bonus: Whole House Air Freshener ($5-8 USD): https://geni.us/tAyLDn
