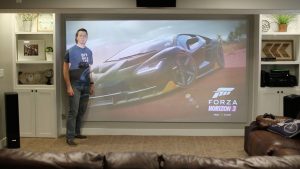
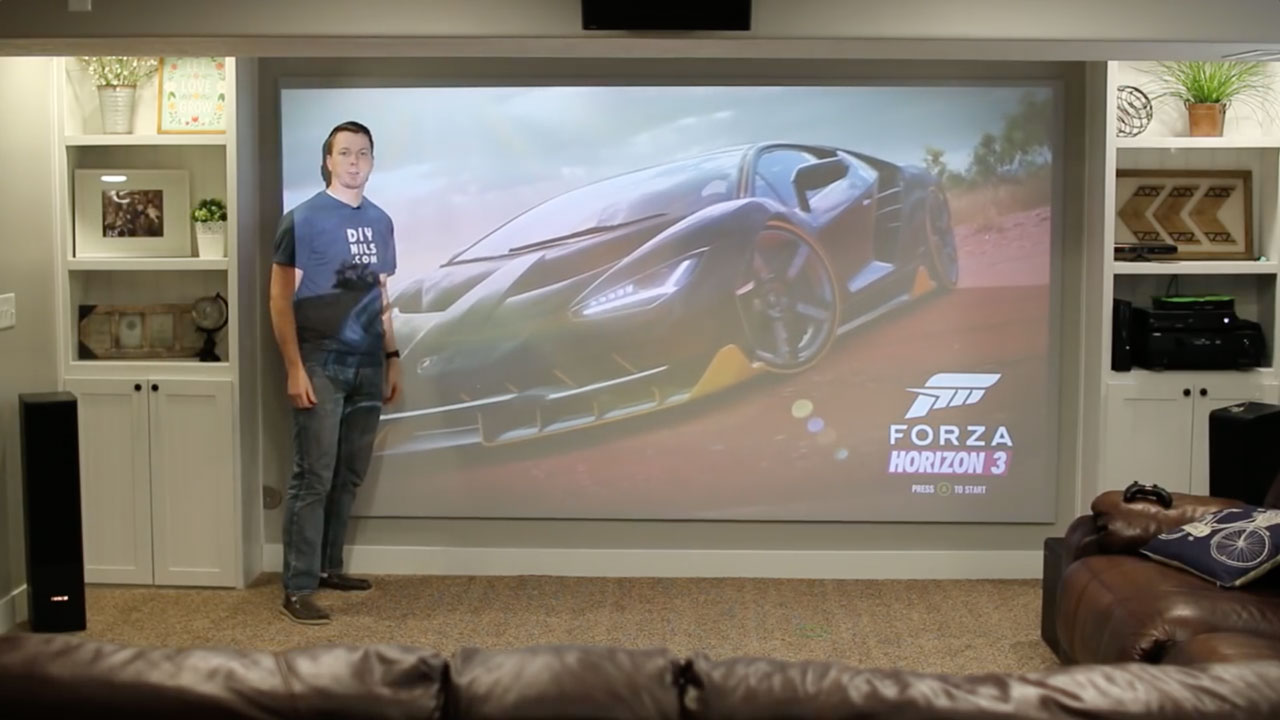
 After finishing my basement recently, we were ready to put the projector up and a screen for a little theater area. I started researching projector screens and all of the screens I saw were either smaller than what I wanted or super expensive. My projector could handle an image just over twelve feet diagonally. The total measurement was 147” so I needed a pretty big screen and wanted one with a good material.
I called a friend of mine who I had worked with in the past who runs a very successful home theater installation business. I explained to him that I needed a large screen and that I was hoping to get a motorized screen so that when I turned the projector on, the screen came down on its own. He quickly talked me out of the motorized version explaining that I’d get a lot more bang for the buck using a mounted screen and also telling me about the expense of replacing parts on a motorized screen down the road, which made sense. He then told me about using a grey material rather than white, which I had never seen. This guy knows his stuff so I took his advice and got some material on Amazon called Carl’s FlexiGray and I have to say – he was totally right. All I needed was a frame for it, which I built in a few hours and then mounted on the wall. The results? Pure awesome. The picture looks sharp, the material looks good even when the projector is off and family movie night is a regular occurrence at our house.
For the project in this article, I’m working at my buddy’s house where he’s got a projector all ready to go and he just needs a screen for it. Here are the steps we went through to build the frame with a screen.
Measure
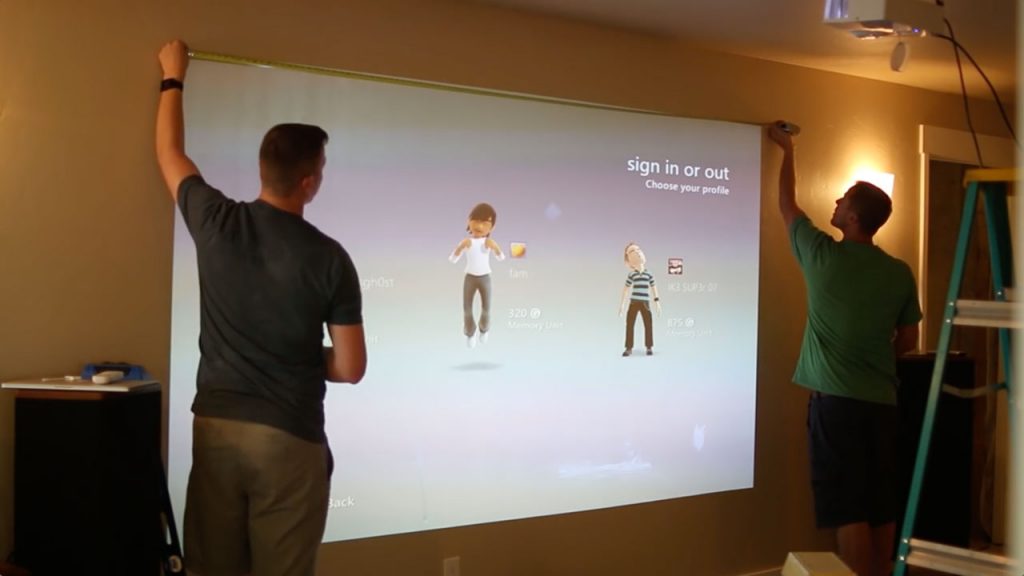
Start out by projecting the full size of the image onto the wall where the screen is going. Make sure everything is plumb and straight so that you get a nice rectangle and then get the horizontal and the vertical measurements.
Cut
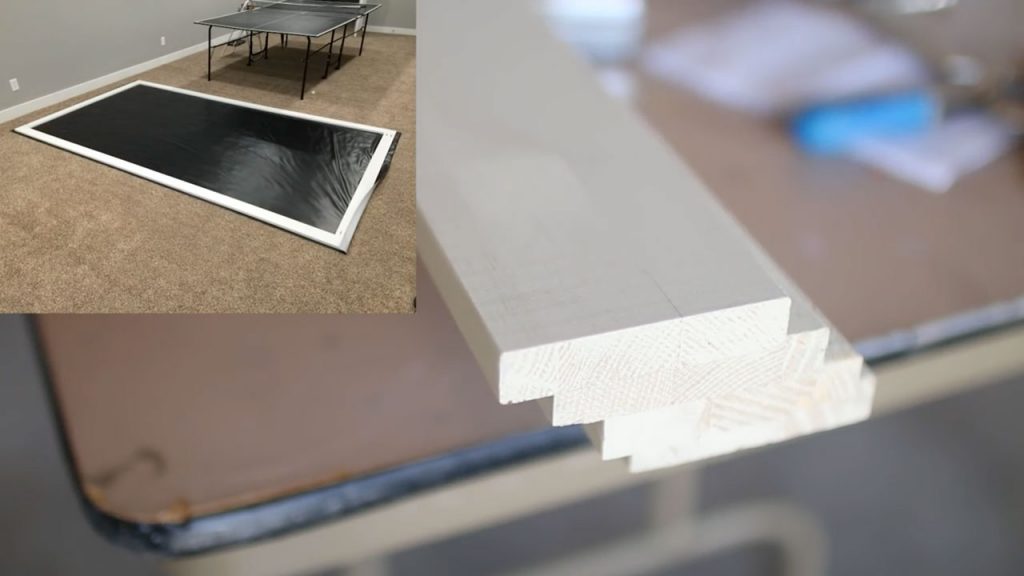
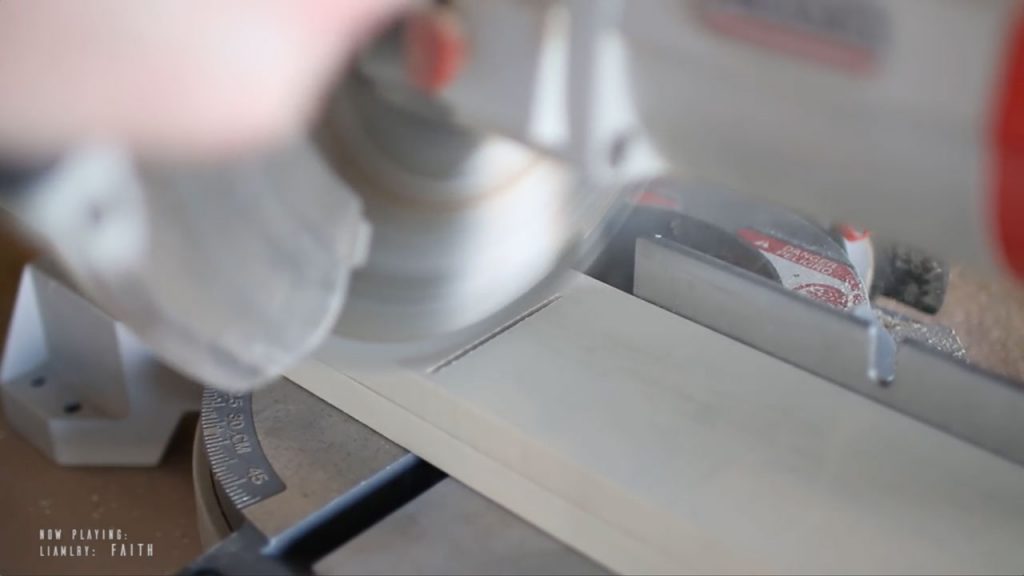
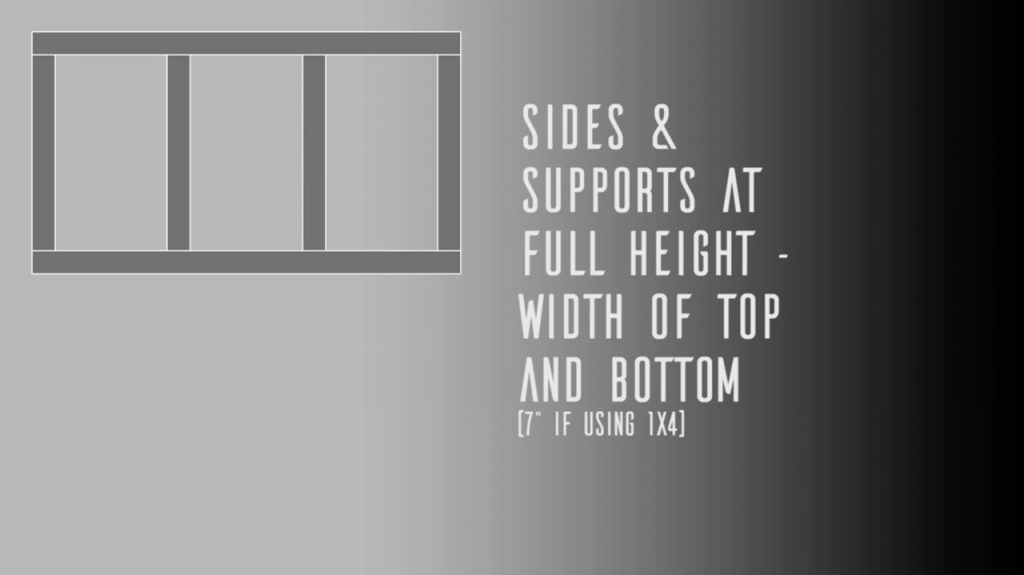
For this project all you really need as far as material are one by fours. They’ll typically come either pre-primed or unfinished but it doesn’t really matter which you get. You can usually pick these up at your local big box hardware store. Here’s how to figure out how much material you’re going to need. You’re going to have a top and bottom rail, each of which will be at the full width. Then your sides and your two supports will be at the full height minus the board width of the top and the bottom, which would be 7 inches if you’re using 1×4 material (1×4 is actually 3 ½” wide). Once you have your measurements, measure out and cut each piece.
Assemble
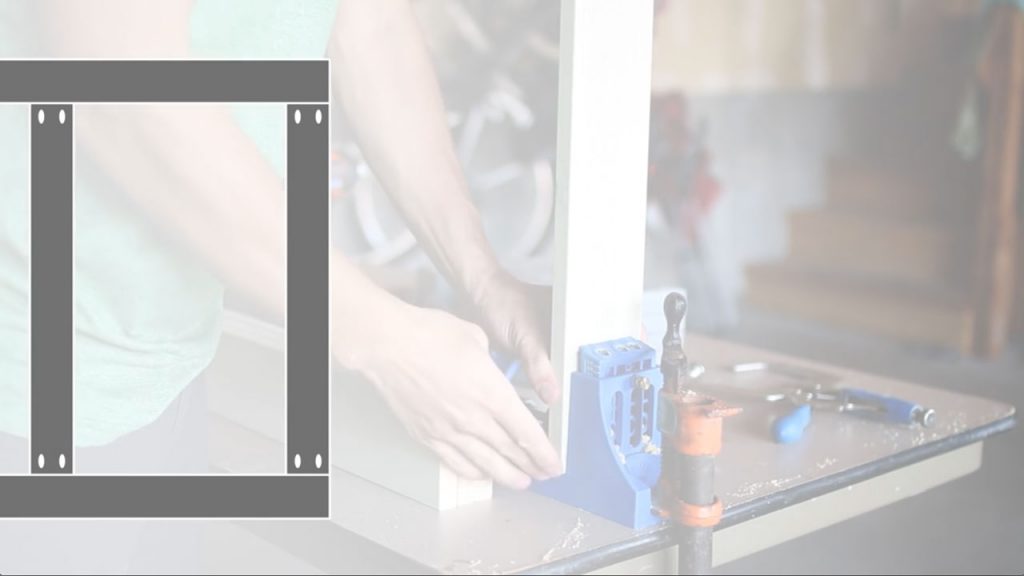
You can use either Pocket Holes or ‘L’ Braces to assemble the frame.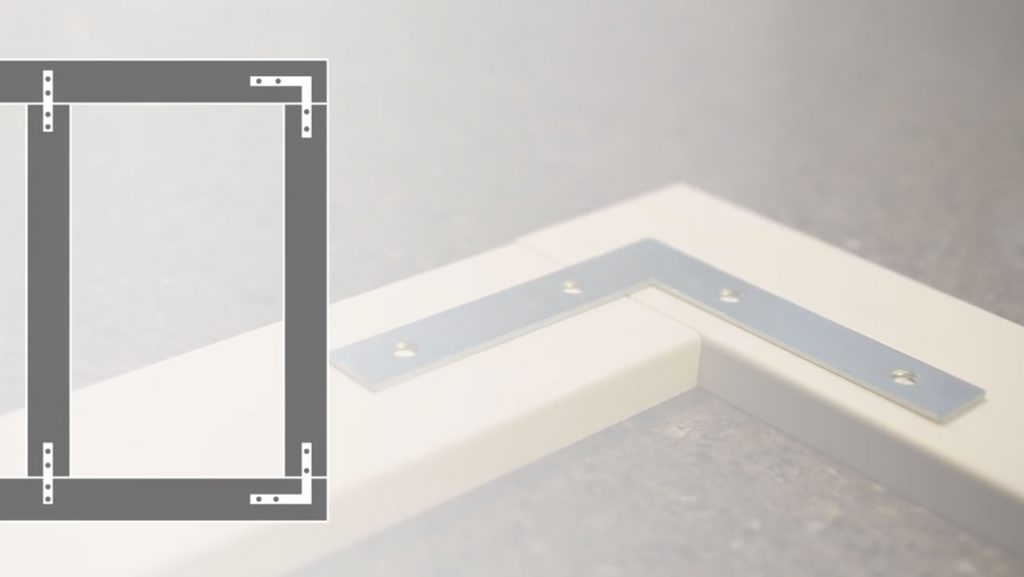
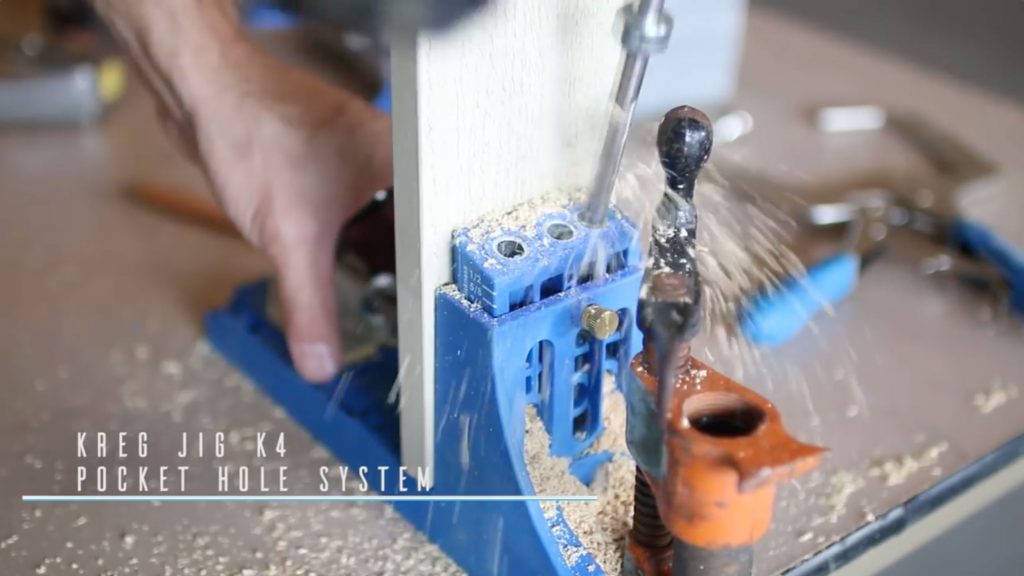
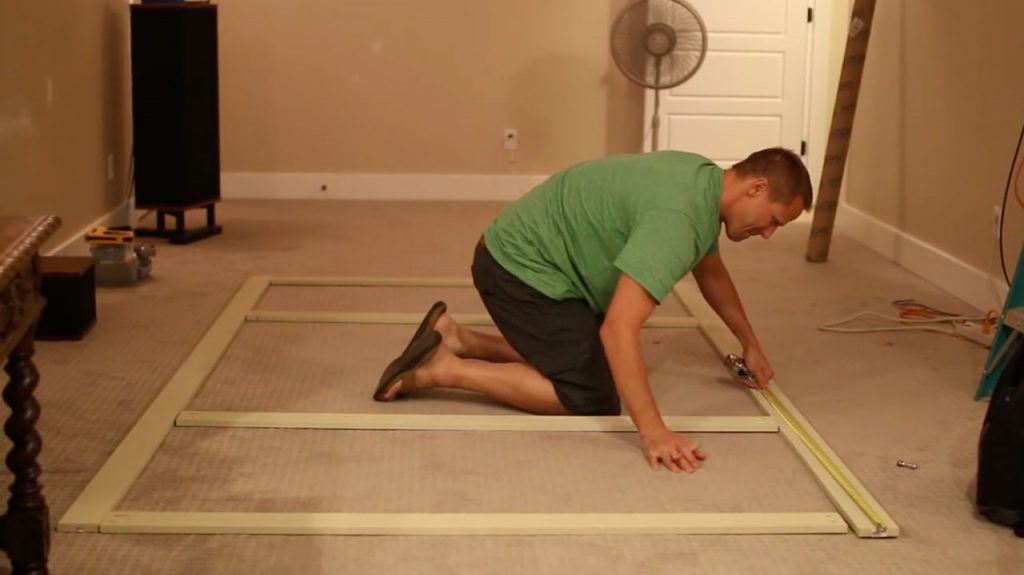
As far as assembly goes, you’ve got several options. The two I want to show here are using corner braces with metal braces and using a pocket hole system, which is what I’m using to build this frame. We’re going to add two pocket holes to each of the ends of the vertical pieces. We don’t need any in the top or bottom rail. Pocket hole systems start at about $40 for the simplest version. The system you see in these images is the K4 Pocket Hole system and that one runs about $95. They have a deluxe version for about $155. You’ll find links for all products below. Next take your boards to the room that you’re going to be mounting the screen in so that you don’t have to carry a fully assembled screen through the doors, which may or may not fit. Lay out each of the pieces on the floor then mark the ⅓ and ⅔ points of your top and bottom rails so that you can put your support rails in place. These don’t have to be super accurate.
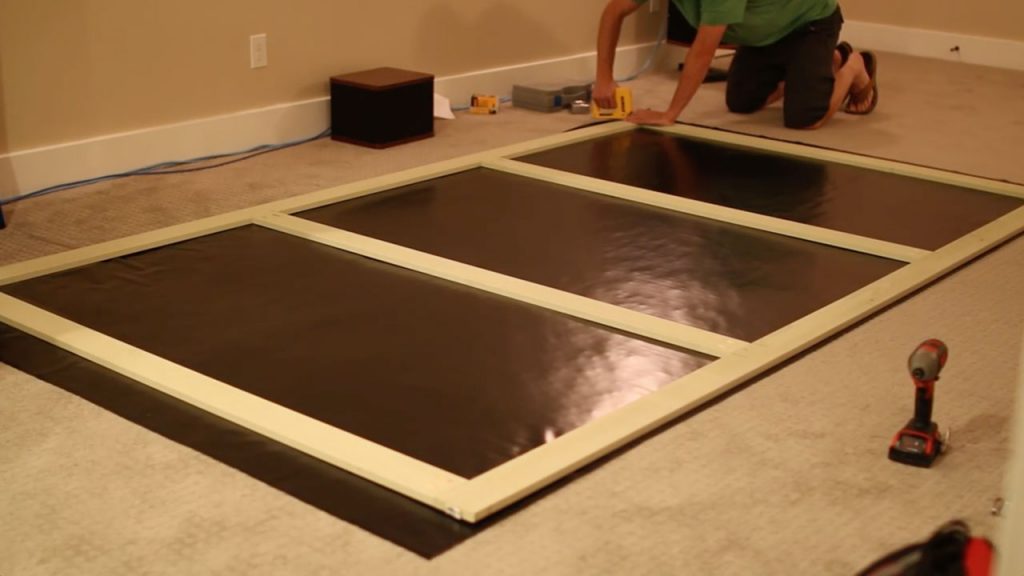
The most important part on this next step is making sure the face is nice and flat. Check to be sure that the pieces you’re lining up are flush with one another so that you don’t end up with a lip where you don’t want it. Here I’m using a Kreg right angle clamp but that’s totally optional. If you’re assembling your frame with braces, make sure you’re using countersink screws and make sure they’re short enough that they don’t pierce through the other side of the material. Once the frame is assembled move it out of the way and lay out your screen material, face down. I’m using Carl’s FlexiGray projector screen material, as I mentioned before. It’s got a nice flexible backing like rubber so that when you stretch the material over the frame it’s actually pretty difficult to end up with any creases or wrinkles in the material. Lay the frame face down on the material for the next step.
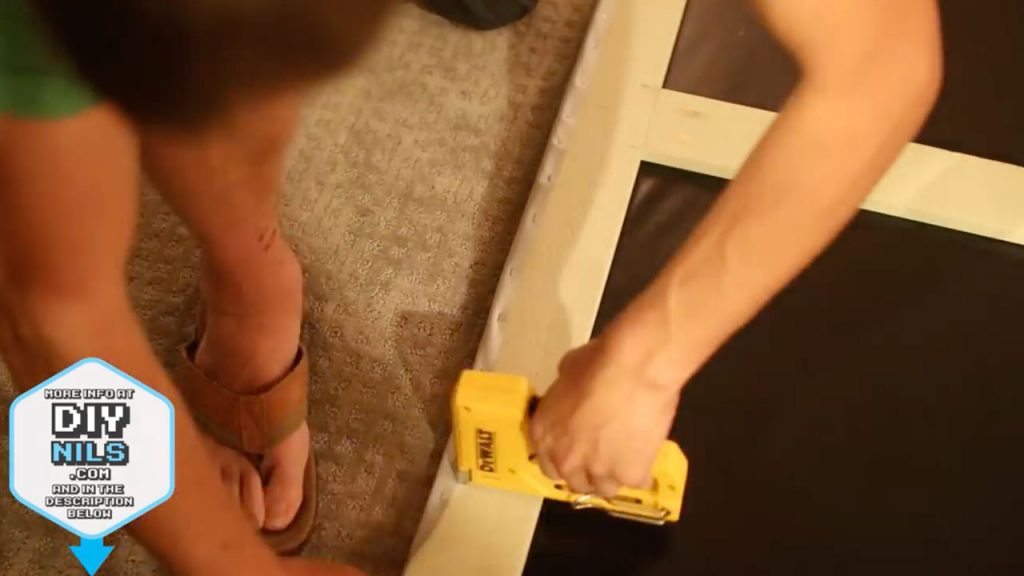
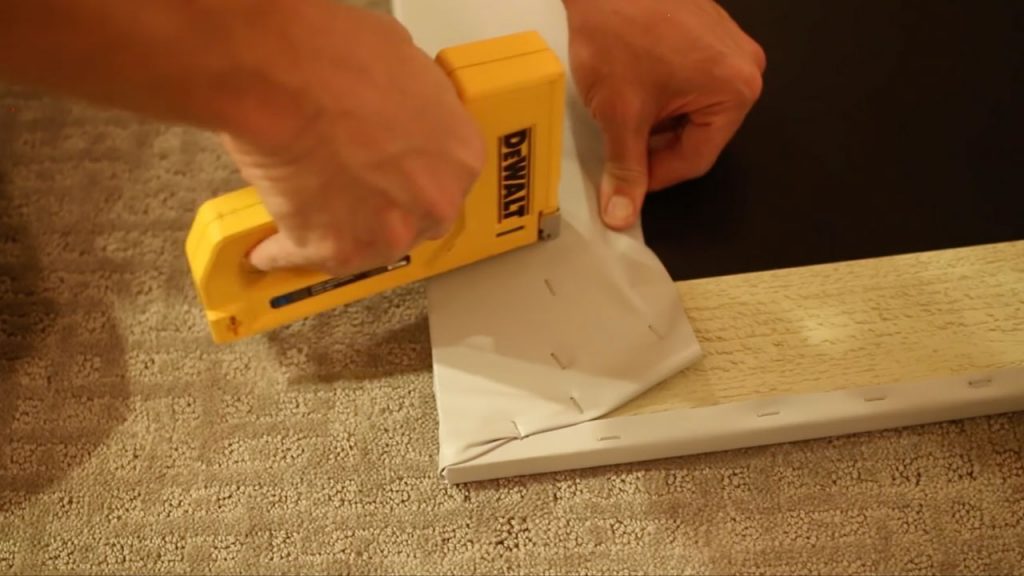
To finish up the screen, use a staple gun to place staples about every 2” or so. I like to use a lot of staples so that I’m not putting a lot of tension on any one spot. There are several schools of thought on where to start and how to proceed on this part but I’ve found that it doesn’t much matter whether you start on the corner or in the middle of one of the sides, so long as you’re aware of how things are going and you make certain to keep the material taut. Choose a starting point and then work your way around the screen. When you get to the corners, just fold the material in on itself and staple it under. That way you don’t end up with any material sticking out on the side of the screen. When you get to the last section, check again to make sure the material is stretched evenly across the screen and you’re good to go.
Mount
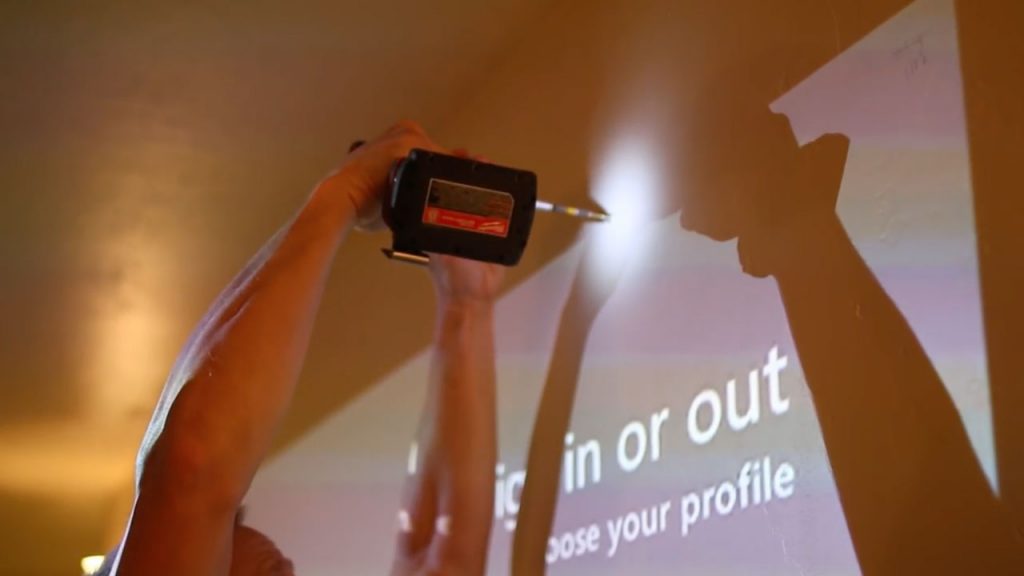
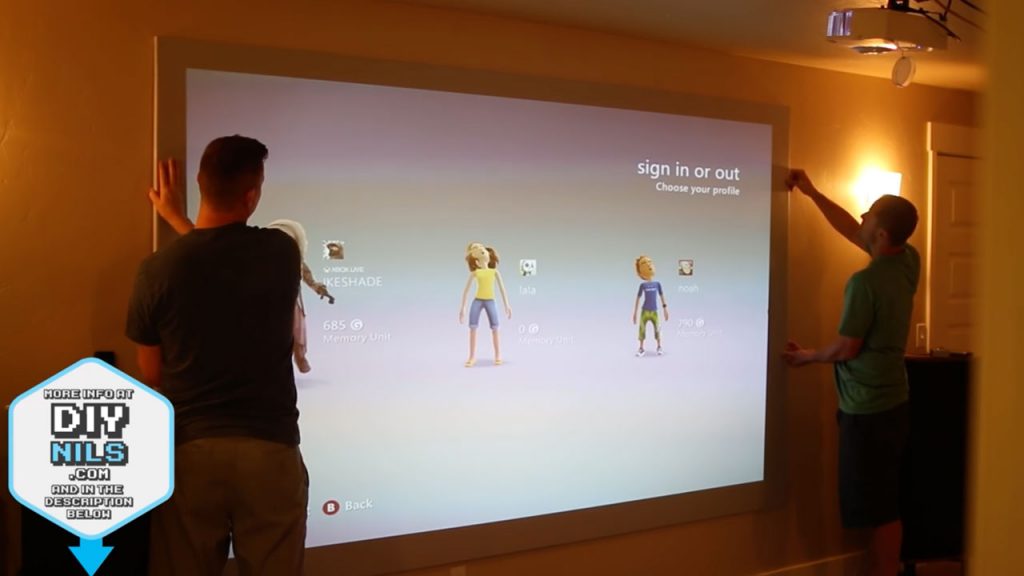
Once you’ve finished assembling the screen it’s time to get ready to hang it. You can make the marks for where the corners of the projector screen ought to go to make sure that the actual image is centered on the screen. Next, use a stud finder to mark where the studs are and drive at least two screws into the top about 3 ½” down from where it needs to go. That way, when you hang the screen, it’ll sit exactly where you want it to be. Leave the screws protruding about a ½” from the wall, which is less than the thickness of the frame. Finally, hang the screen and check out what an awesome picture you’ve got!
I hope you found this info helpful. If you’ve got any tips, tricks or suggestions, leave a comment below. Thanks so much and be sure to check out my YouTube video as well!

Please sign me up for your emails