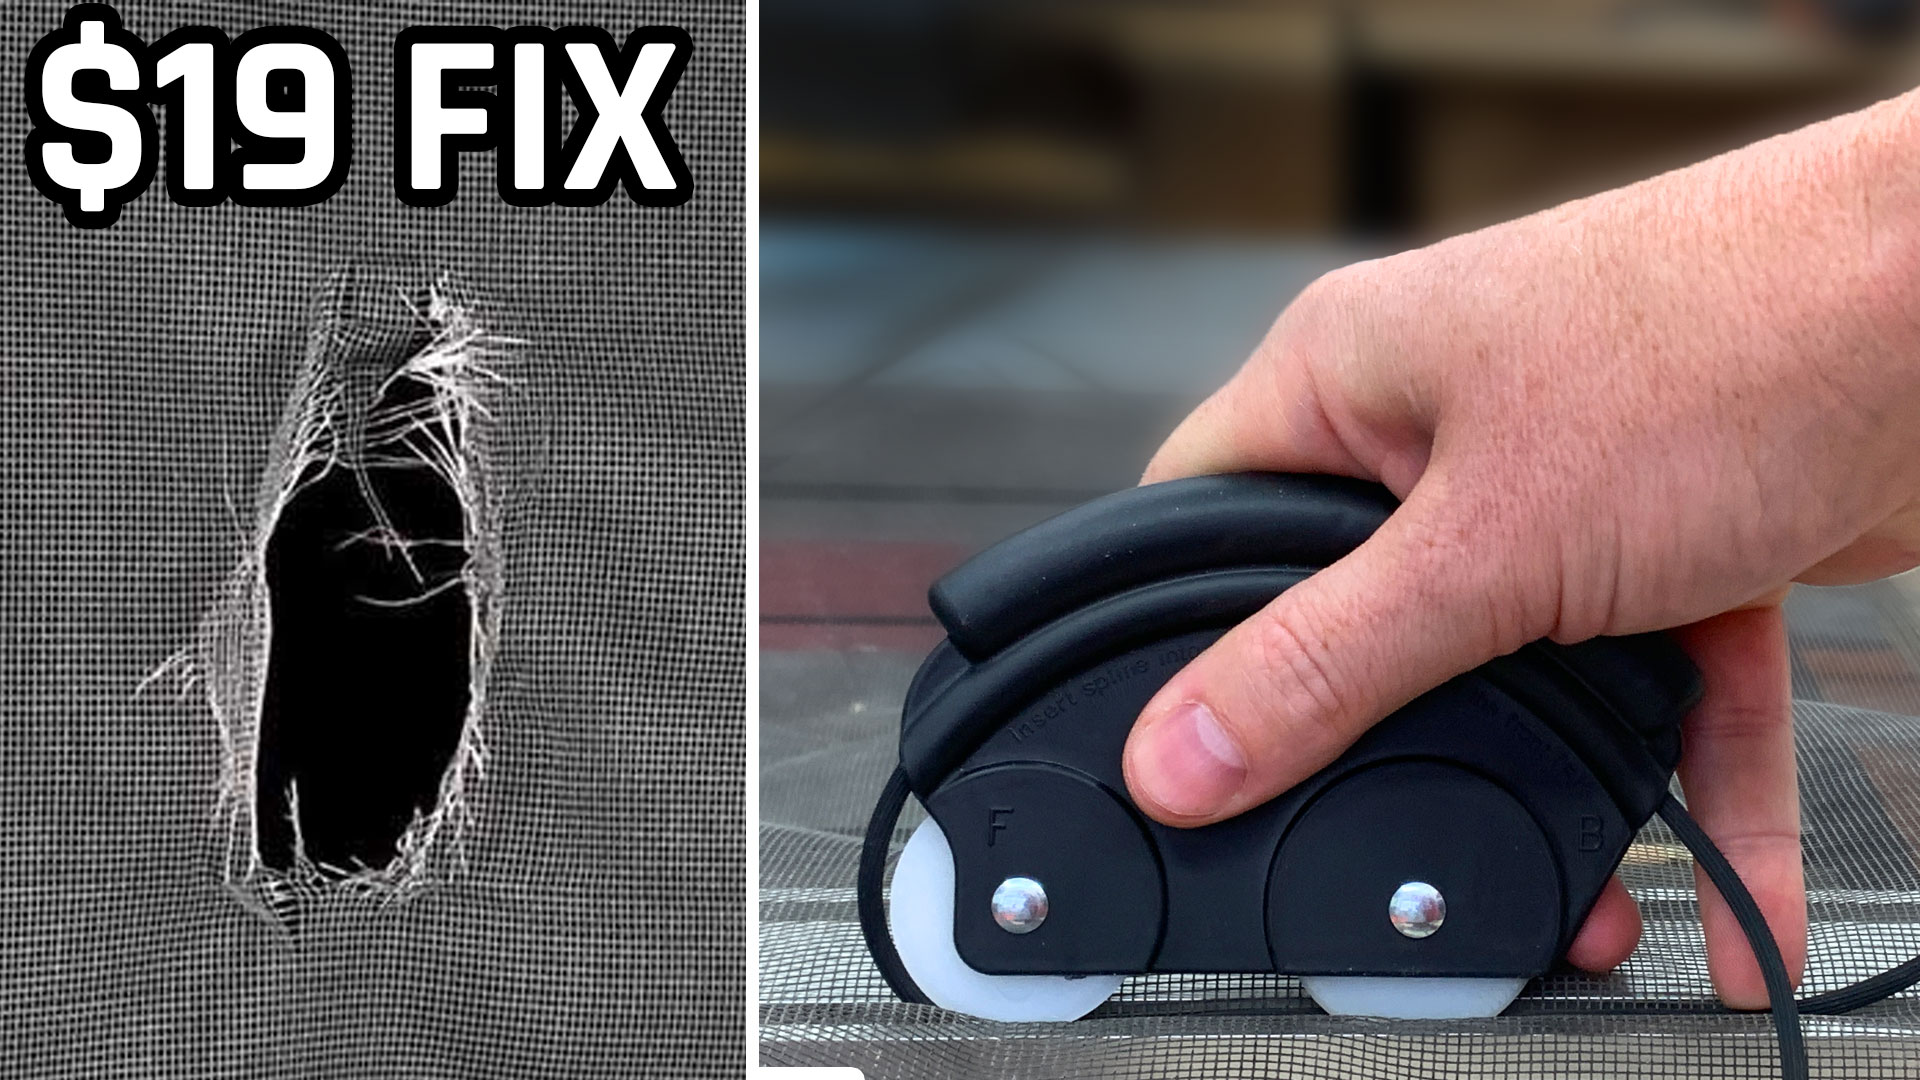
If you have a rip, tear, or hole in your window screen, it’s actually pretty easy and inexpensive to fix it yourself.
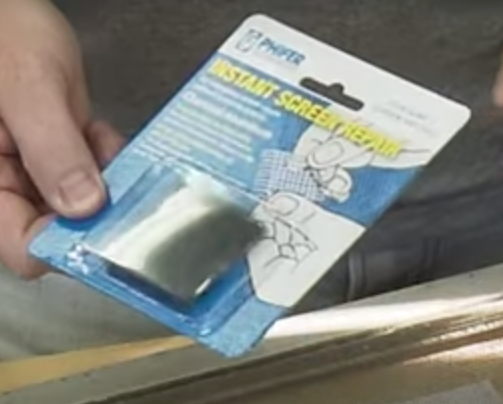
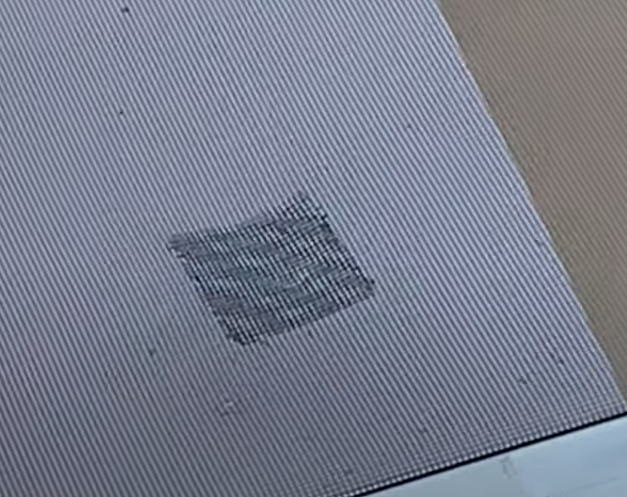
If it’s a small hole, and you don’t care too much about how your screen looks, you can buy a little patch that hooks in around the hole, and prevents bugs from getting in. It’s a super quick and easy fix, and you don’t have to replace the entire screen. You will be able to see the patch, which is the trade-off for how easy it is.
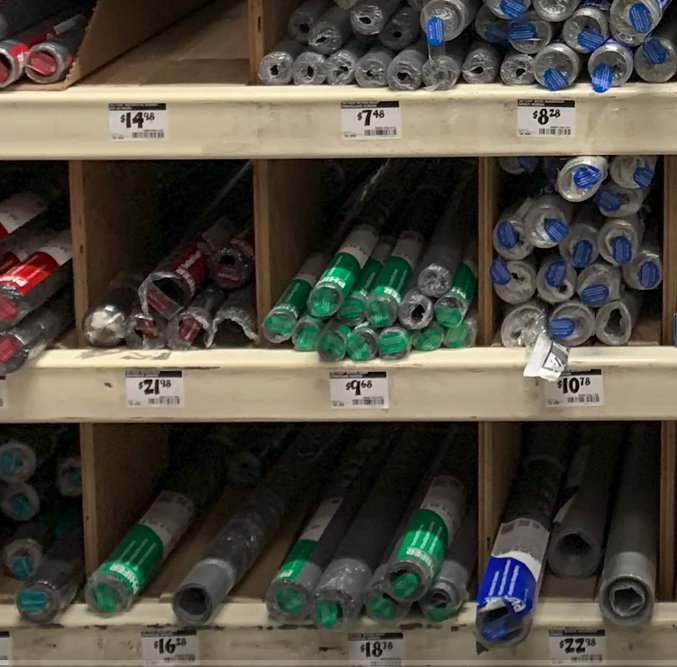
For larger rips or tears, you’ll need to replace the screen itself, but it’s totally doable. You can buy rolls of screen material at the hardware store, which range in prices from about $8-20, depending if you get fiberglass, aluminum, or pet-proof material. Check to see which one your existing screen is made of so you know what to buy.
You’ll also need to purchase window spline which is what holds the screen in place inside the window frame. It comes in different diameters, so you’ll need to make sure you get the right size for your window frame. If possible, take some of your old spline with you to the store so you don’t have to take multiple trips.
It comes in 0.14 (the most common size), 0.125, 0.16 diameters.

You’ll also need a spline roller, which is relatively inexpensive at around $5-$6.00, a blade to cut your excess screen, and a flathead screwdriver to help with the corners.
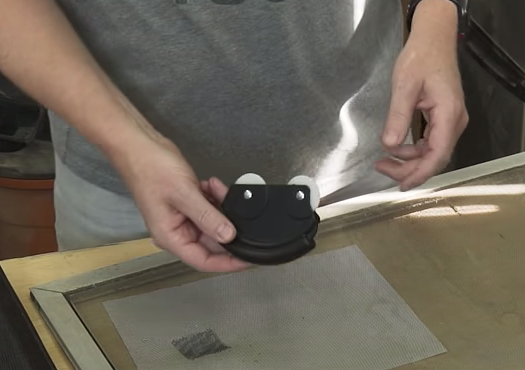
Remove the Spline and Screen Material
Use your screwdriver to pry the spline out of the screen, and from there it should pull out easily.
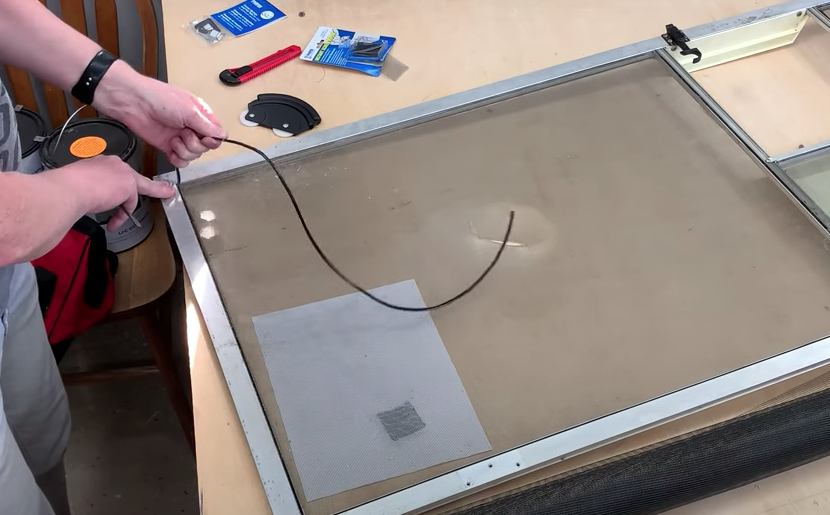
Once, the spline is removed, the screen should come out pretty easily as well. You may need to cut it if it gets stuck. From there, clean up the frame of any residue from the old material.
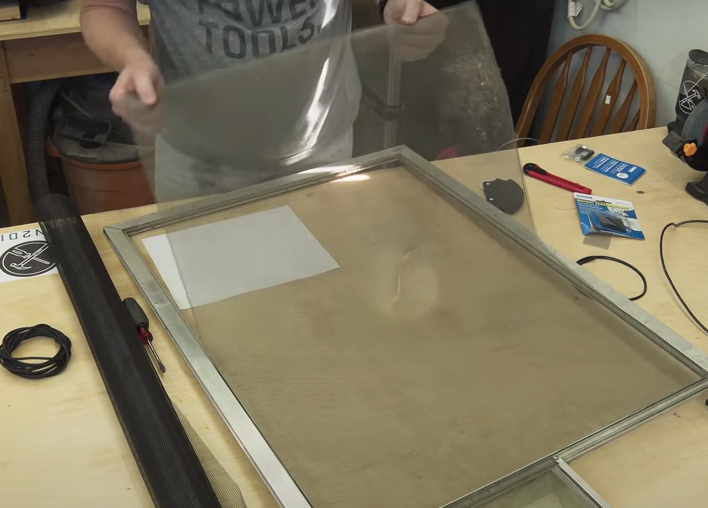
Putting in the New Screen Material
Lay out your new screen material, and if necessary, cut it to size with some scissors. You’ll want to leave a couple of inches of extra material around the diameter of the screen frame so you have plenty to work with.
Thread the new spline (or old spline if you can reuse it) into your spline roller.
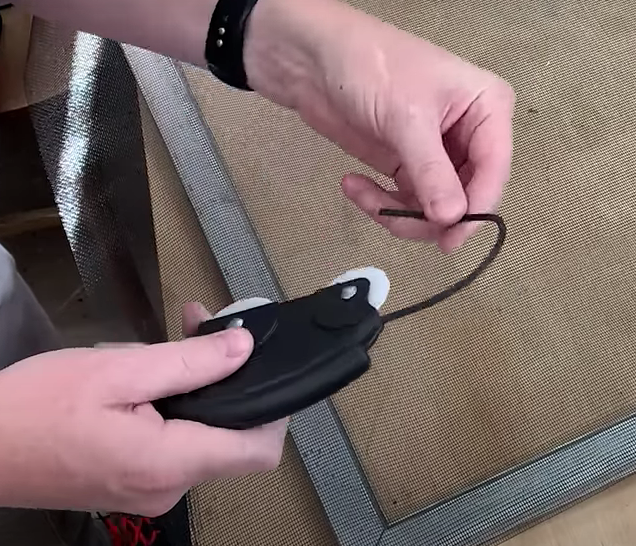
Then use your screwdriver to push the end of the spline into the frame to get going.
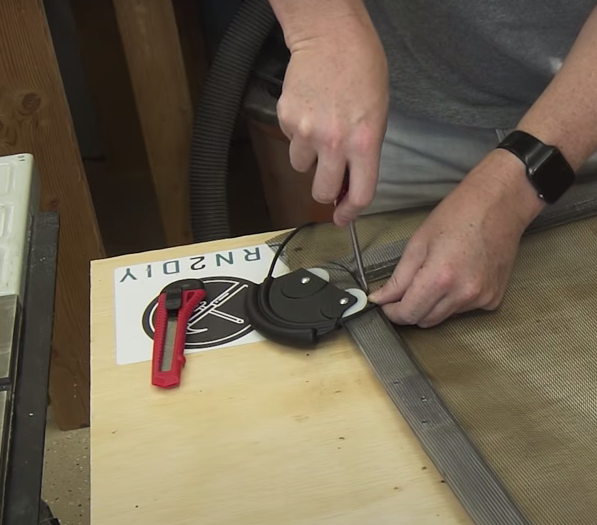
Once you’ve got it started, use the spline roller to push it into the groove around the inside of the frame, which should create a nice seal. When you get to the corners, push the spline in with the screwdriver and continue with the roller.
An optional step: Before you finish off the bottom of the screen, check the pull tabs and springs to make sure they’re in good shape. If they’re not, this is the time that you can replace them. They sit inside the window frame, and then you just use the roller to go over them and finish the job.
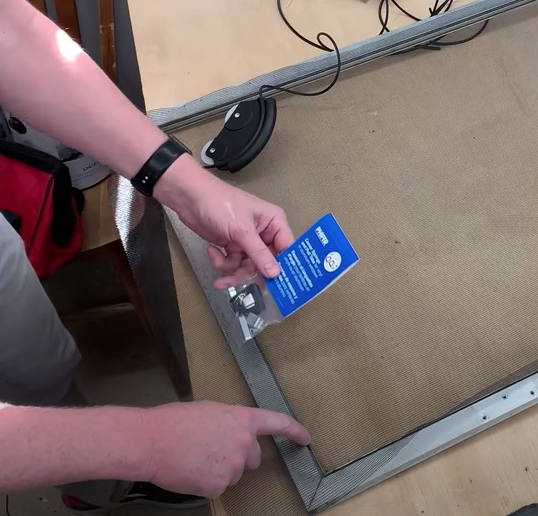
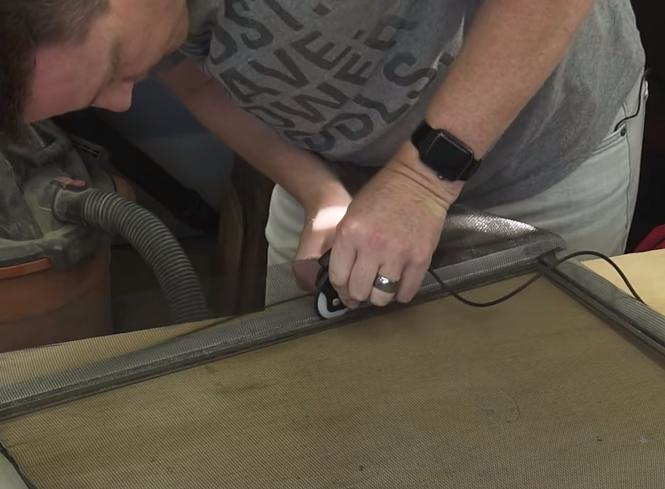
When you get to the end of the screen, use your sharp blade to slice off the spline, and your screwdriver to push it into place.
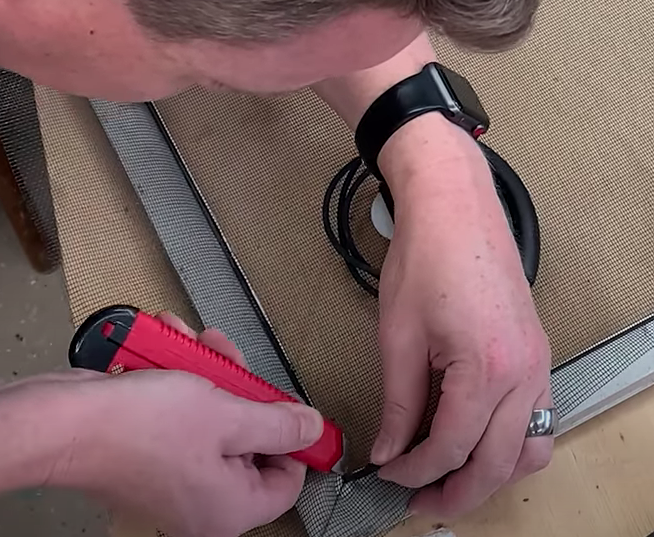
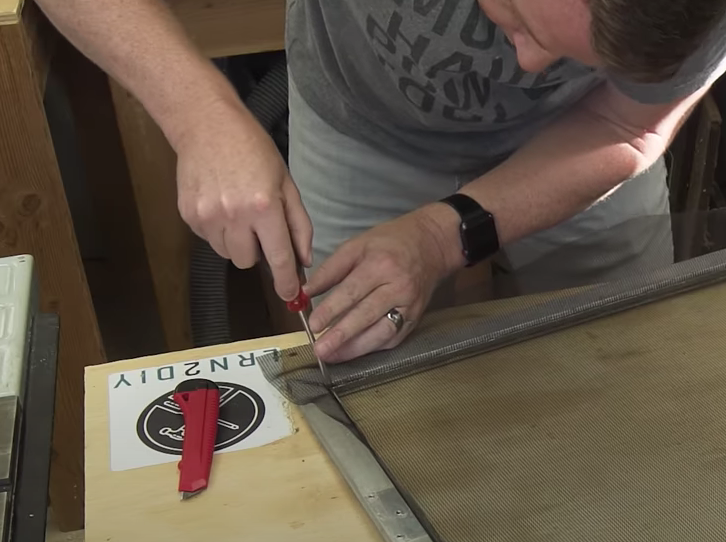
Now it’s time to trim the excess. Run your blade at at 45 degree angle on the outside/backside of the spline to remove the extra screen material from the outside of the window frame.
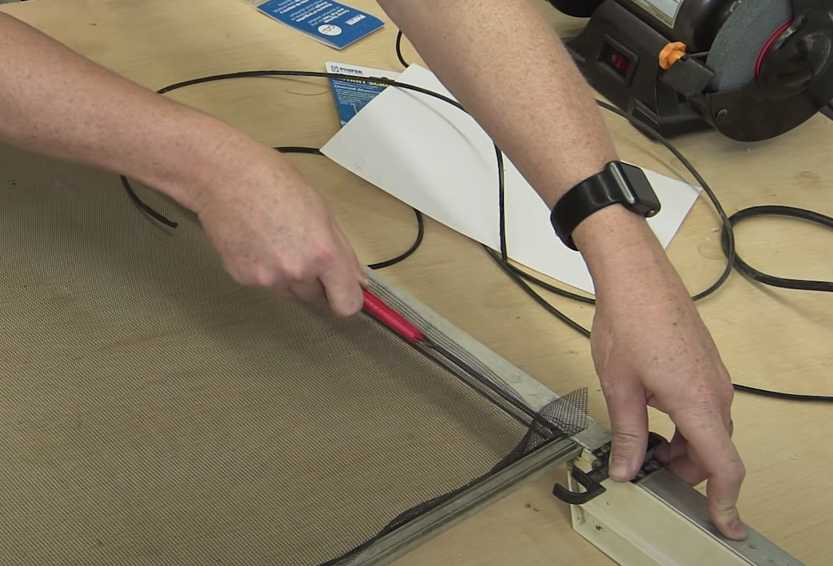

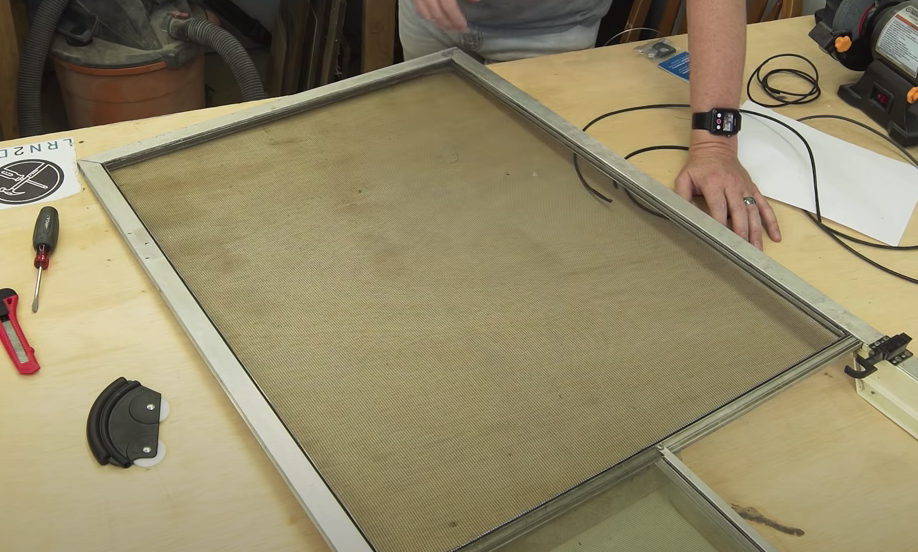
And that’s all there is to it. Your screen should be nice and taut and ready to go!
Let us know if you have any questions in the comments below. Also, check out the video!

