You’ve probably tried caulking before and know that it can be pretty tough to get good results. Caulking is messy, it sticks to your fingers and your clothes and it’s easy to make things look pretty bad. After years of having to caulk everything from tubs to sinks to trim, I’ve finally come across a handful of tips that make all the difference. Let’s dig in.
1 – Choosing the Right Caulk or Sealant for the Job
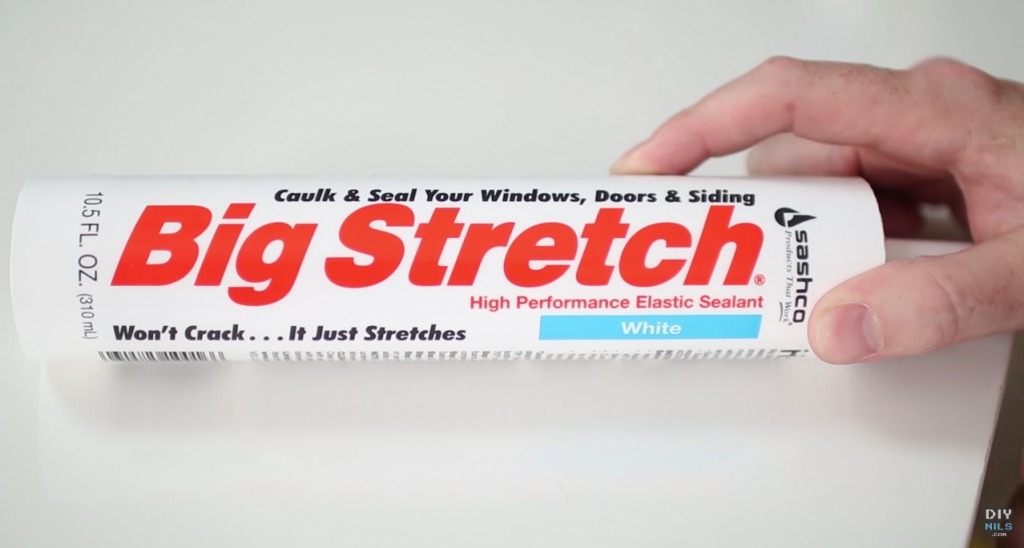
The first thing we need to take a look at is choosing the right caulk or sealant for the job that you’re doing. When you’re at the hardware store, you’ll see dozens and dozens of different types of caulks and sealants. It really comes down to two main categories. The first is latex-based sealants like Big Stretch. Now like it shows here, you can use this to caulk and seal your windows, your doors, or your siding, internal or external; but I love to use it on trim.
Products from this article:
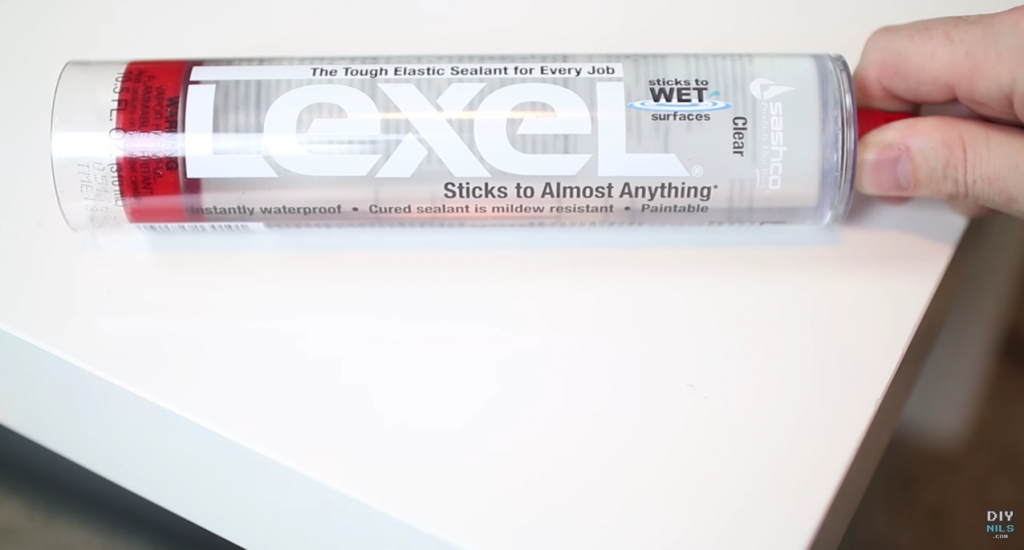
When you’re working around areas that have excessive moisture, you’re going to want to use a silicone or silicone alternative like Lexel. This will keep the mildew and moisture away.
2 – Use a Dripless Caulking Gun
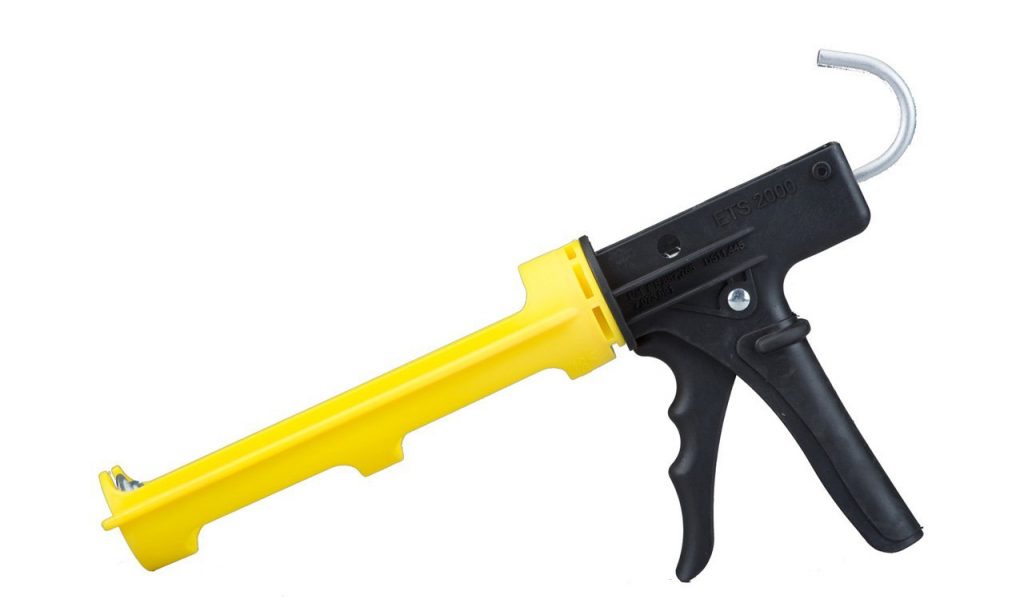
The next tip to get professional results is to get a dripless gun. Here’s why. When you’re using standard gun and you release the handle, the pressure stays on, it continues to squeeze the caulking out of the tube. This doesn’t put you in control, whereas with a dripless gun, when you release the trigger, it backs off just a little bit making it so that material only comes out when you want it to.
3 – Cutting the Tip Correctly
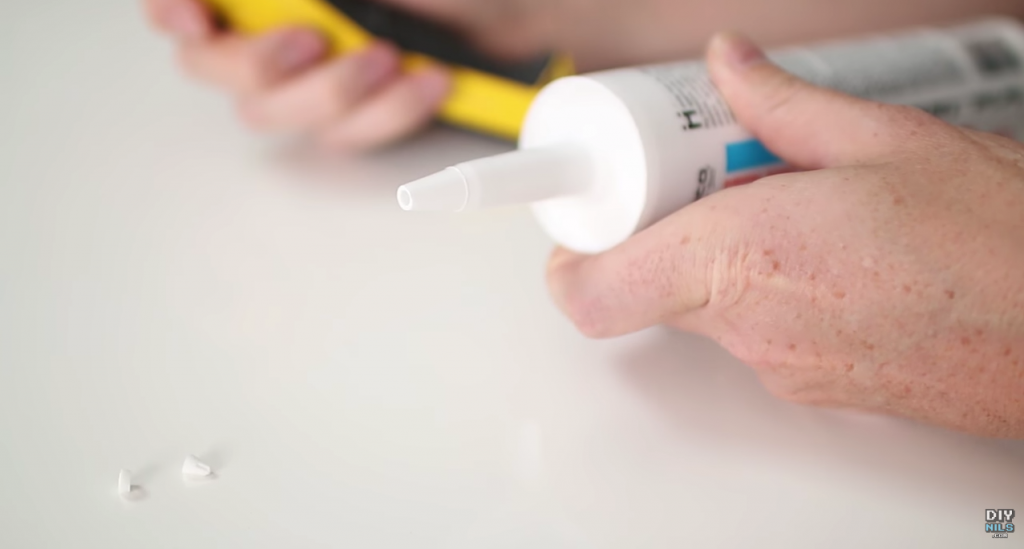
Our next tip is making the right cut for the gap. The size of the cut that you make in the opening of the tube should depend on the width of the gap that you’re trying to seal. I recommend using a utility knife or a sharp blade to get a nice, sharp and smooth tip. If the opening is too small, cut it again. Just about every caulking gun I’ve seen comes with a tip cutter or spout cutter in the handle. You just squeeze the trigger and you can use it to cut off the tip of the caulking tube.
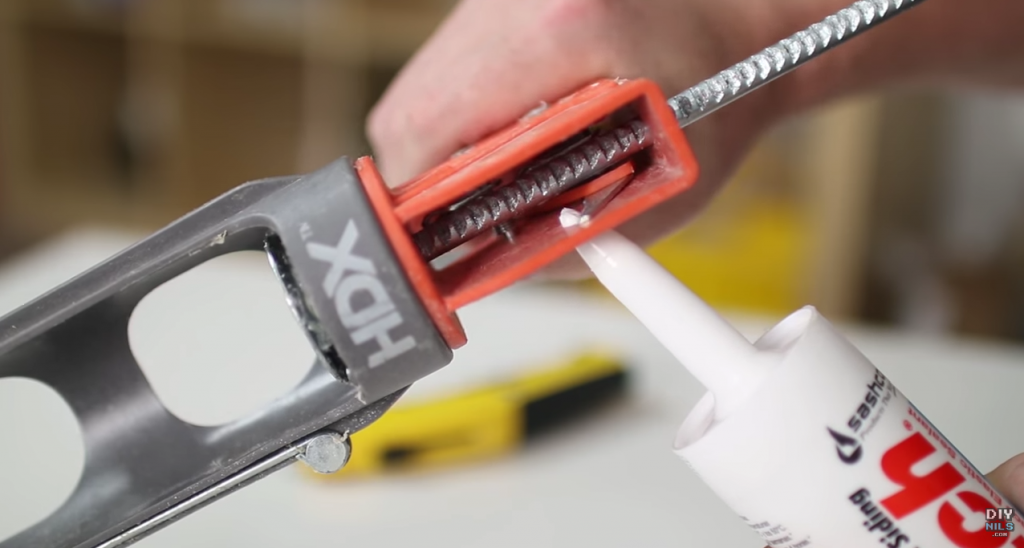
This is convenient, but you’re not going to get as clean or sharp of an edge as you would using a utility knife. One method for cutting the tip that I prefer is to cut the tip at an angle. The reason I like this method because every time you’re doing some caulking, you’re holding the gun at an angle.
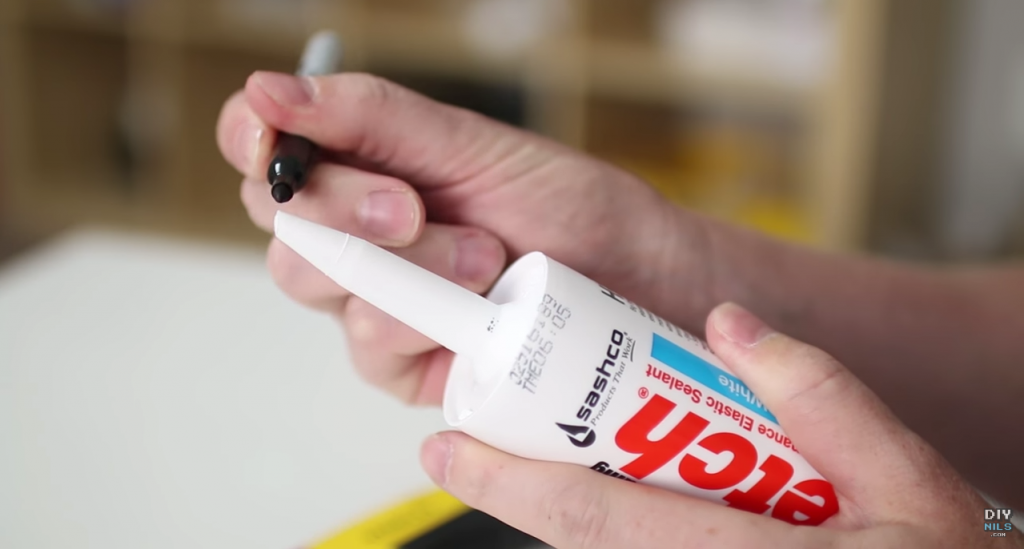
This prevents it from stuttering and helps you get a nice smooth bead. Take a sharpie and mark the top of the angle. You can always see which direction you’re traveling in.
4 – Smooth the Bead With Your Finger
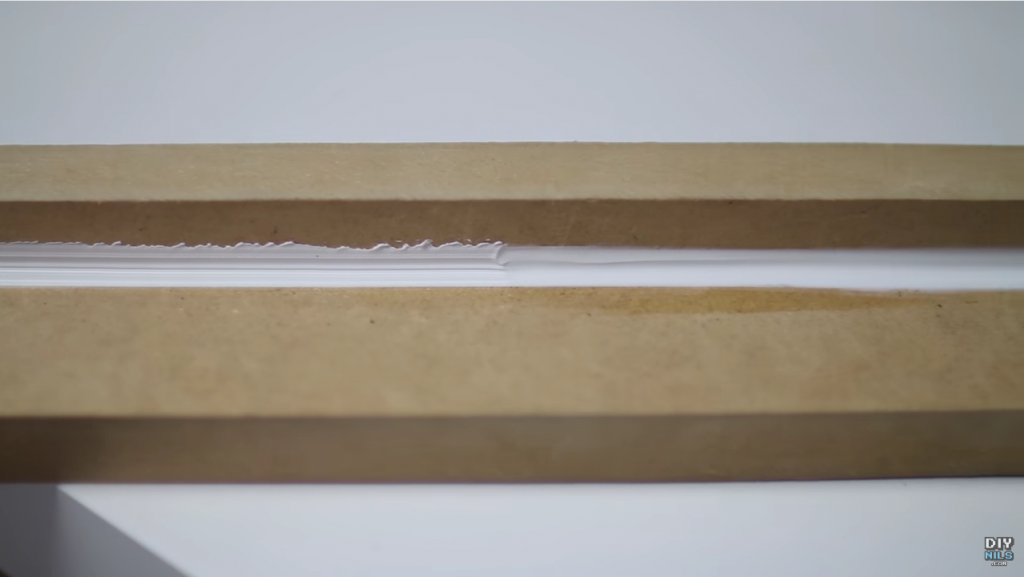
The final tip is to always use your finger to do the smoothing of the bead when you’re caulking. There are lots of different tools available. The problem is they get nicks and cracks in them, and that transfers directly to the work that you’re doing.
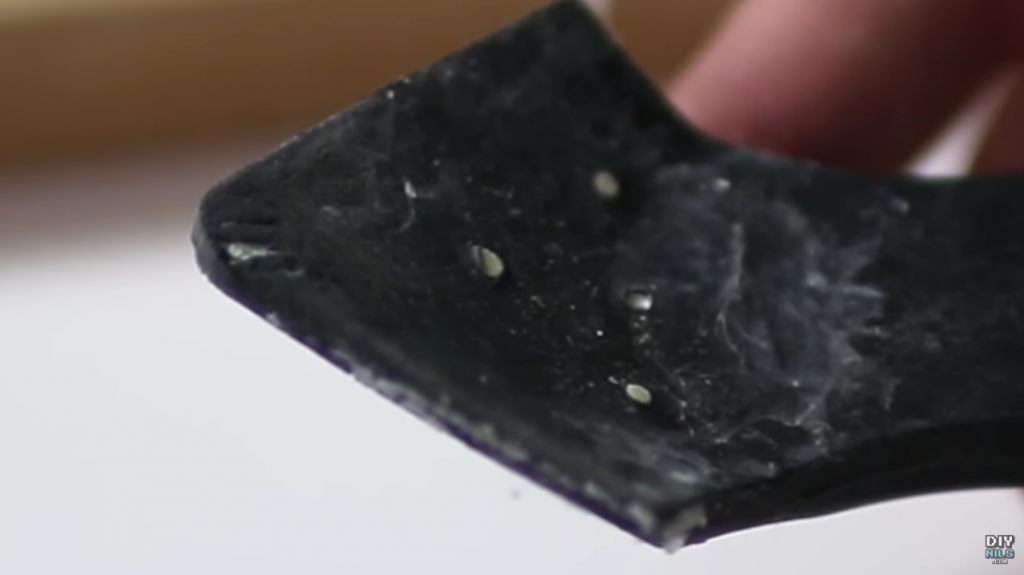
I’ve got a sample that I’ve set up and I run the tool along it, and there’s too much stuff left over, it’s pulling the caulking off, and leaves a jagged edge. If I dip my finger in warm water, and smooth it over the bead, it’s going to leave a nice, smooth result.
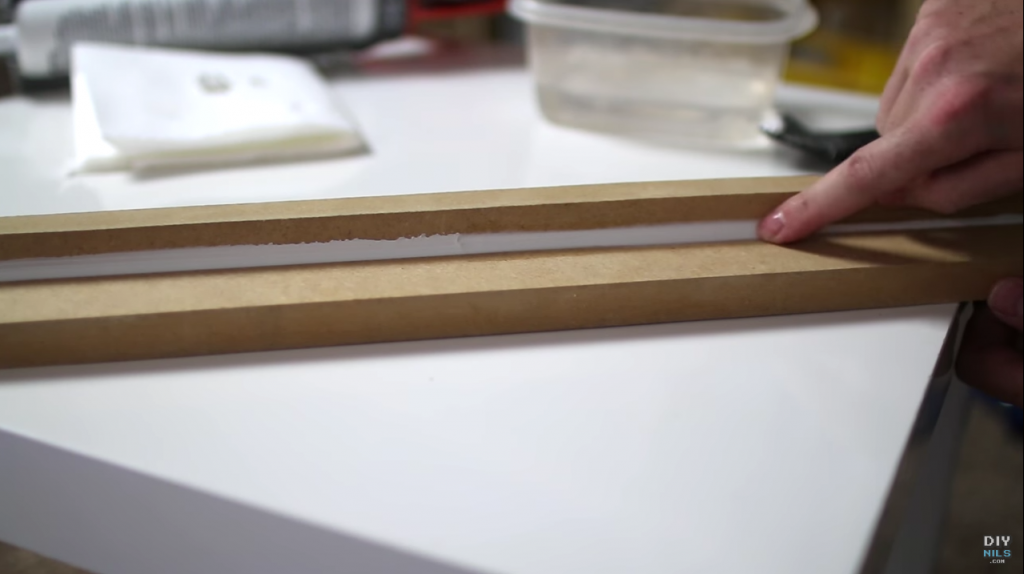
You can really see the difference between using a tool, and using your finger that’s been dipped in water. The goal is to smooth out what’s there- not to remove any excess.
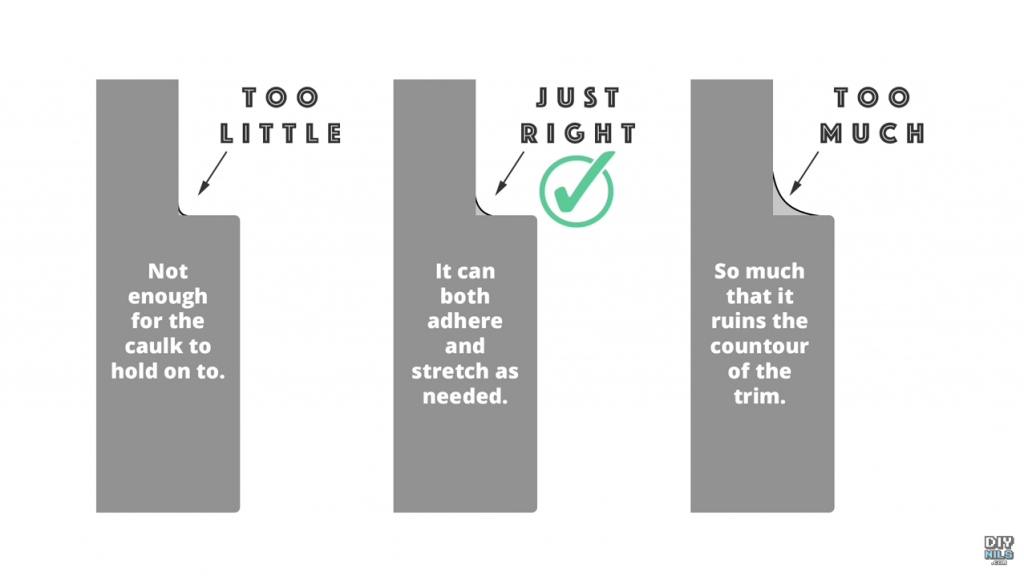
Knowing how much material to use can be difficult. If you use too little, there won’t be enough to fill the gap, and it might pull to one side or the other as things settle. If you use too much, you’re going to ruin the contour of the trim or the two pieces that you’re joining together. Ideally, you want to end up somewhere in the middle, like you see in this diagram.
5 – Use Painters Tape to Get a Perfect Edge When Caulking
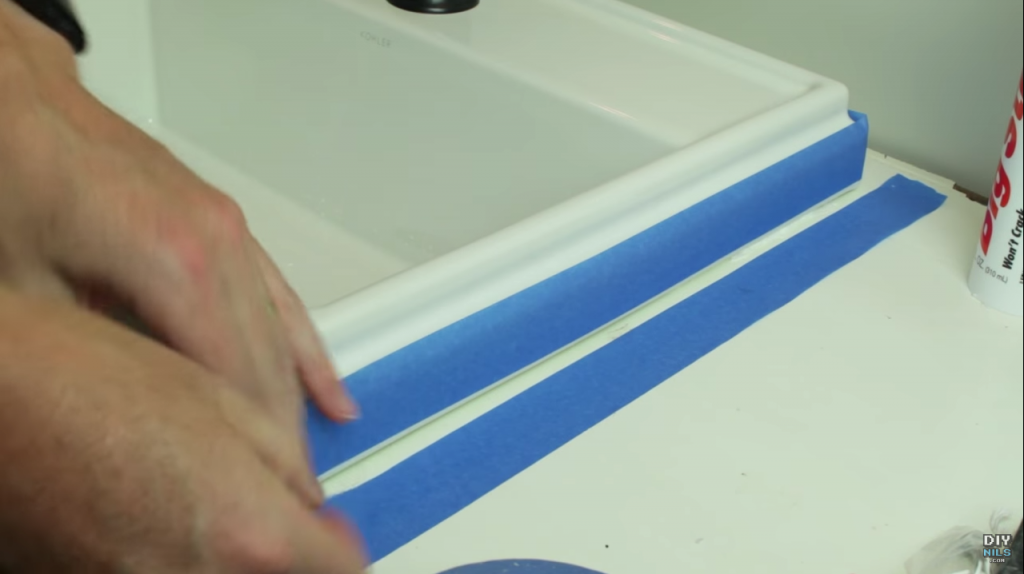
A bonus tip, when you’re using silicone based caulks or sealants, you can use painters tape to get a nice clean line. On this sink application, I’m applying painter’s tape about a quarter inch on the sink and on the counter itself.
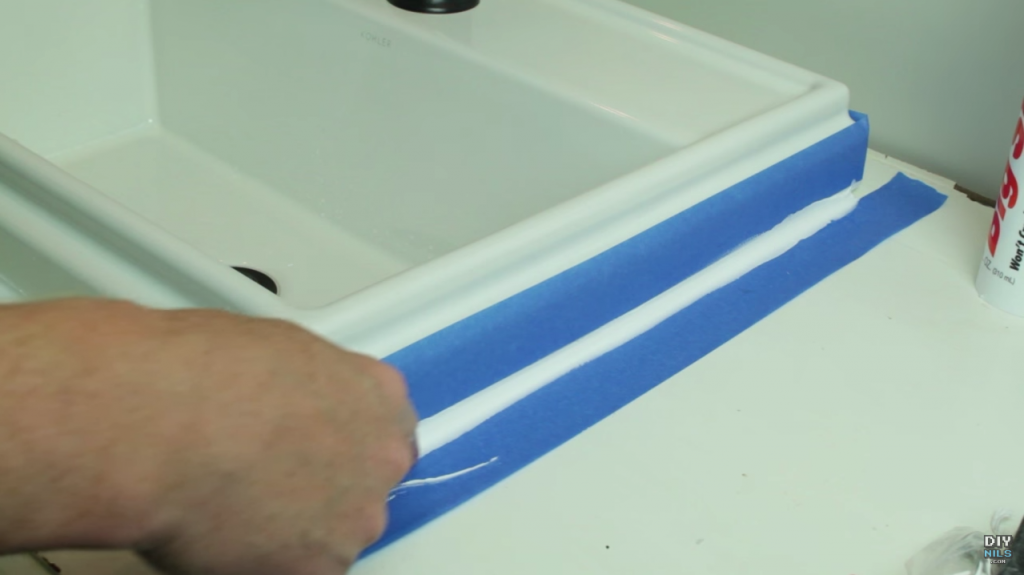
For this particular application, I’m using a pretty thick bead of white Lexel. When using silicone or rubberized caulking, be sure to wet your finger in SOAPY water and run it across while the tape is still on. Silicones and silicone alternatives like Lexel are more tacky than latex-based caulks so the soap in the water helps to get a smooth finish when you drag your finger across it. As soon as I’m done with that, I can remove the tape and run my finger across one more time to smooth it all out.
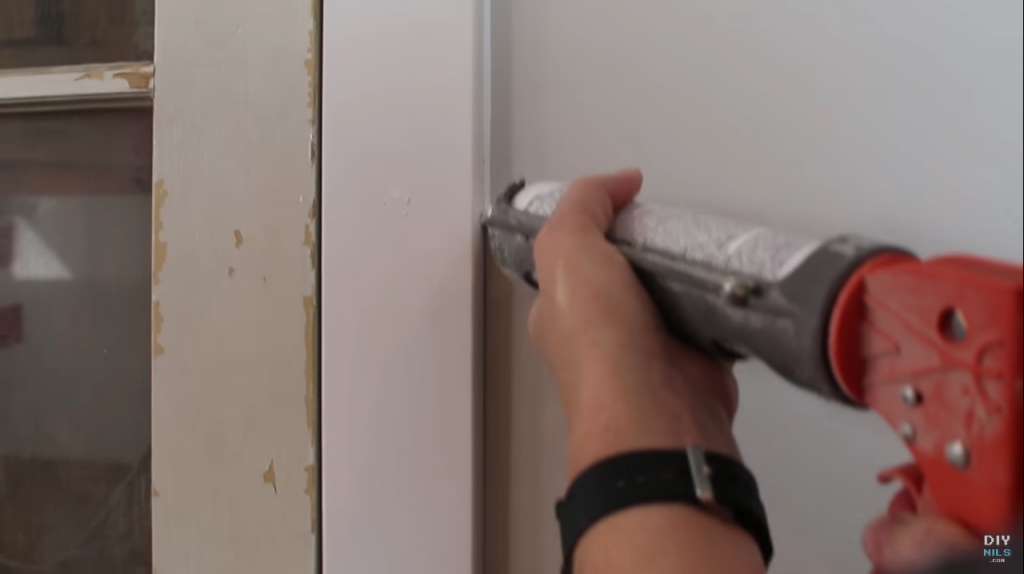
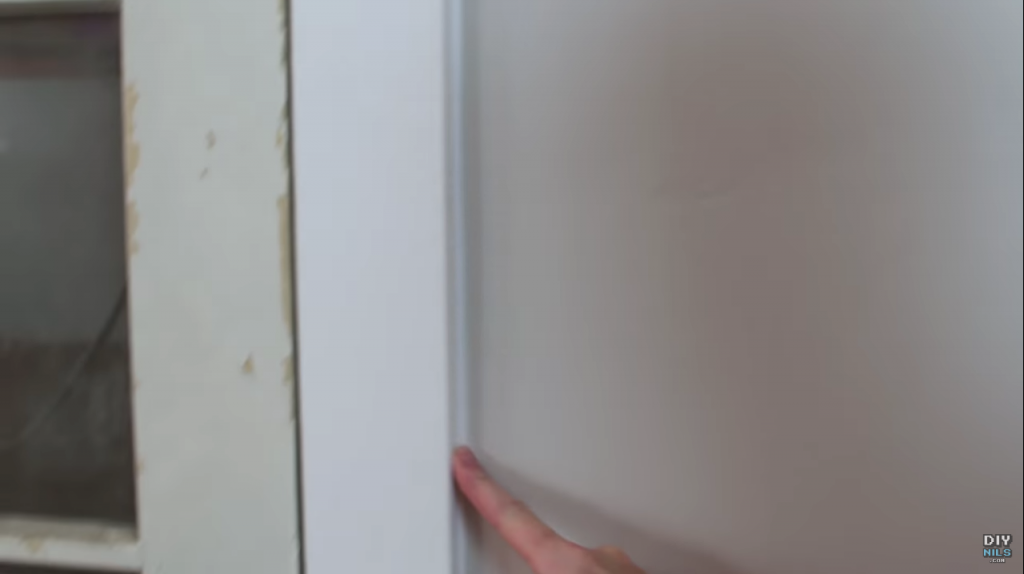
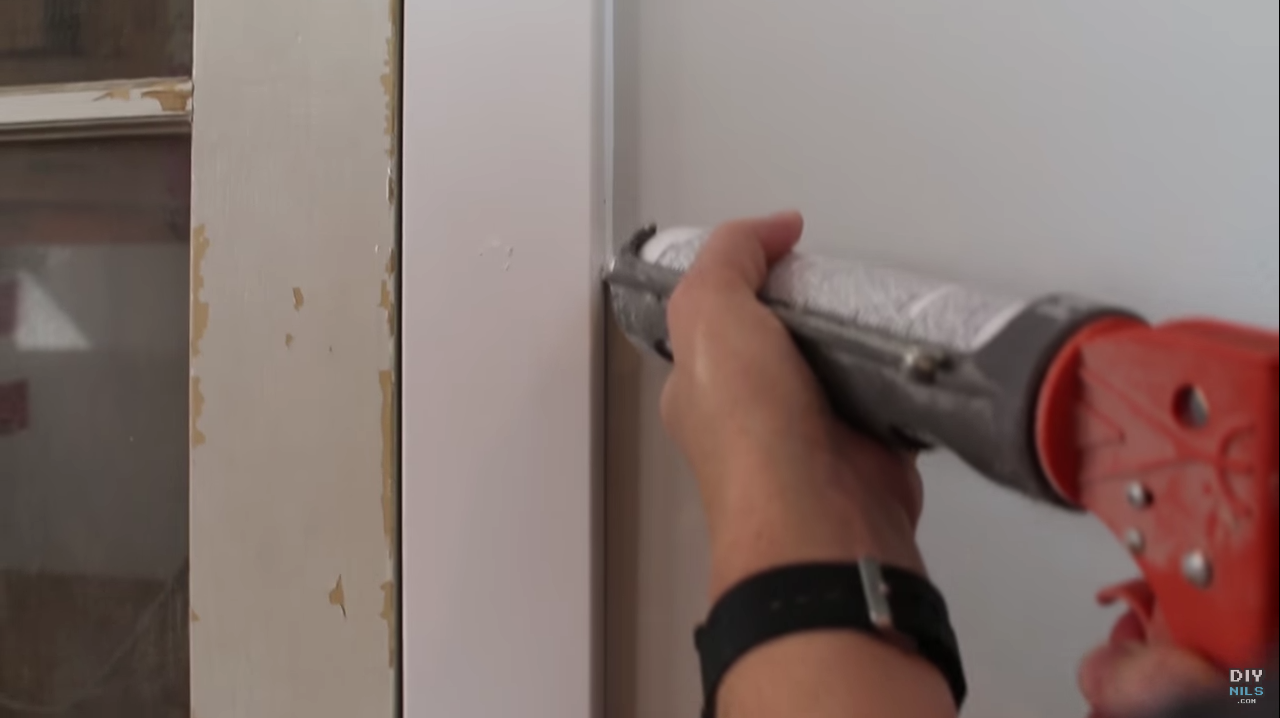
Now that we’ve run through all the steps, let’s put them all together. Start by making the cut on the tip of the tube, then use the needle that’s on the side of the gun to perforate the seal inside. Load the tube into the dripless gun, then turn the notch rod right side up. Give it a few squeezes, until you see some of the material coming out of the tip. I’d recommend trying to not caulk too large of a section at a time – probably about 3 or 4 feet. If we try to do too large of a section at a time, the material can get tacky, making it hard to smooth out. Dip your finger in warm water, and smooth it right out.
That’s it! Hopefully you find these tips helpful and feel a bit less suicidal next time you have to do some caulking. It’s really not too bad and can be super gratifying when you see it come out nicely. I highly encourage you to check out my video on YouTube that shows the entire process. Do you have any tips for caulking? Leave a comment and share so we can all learn a thing or two.
Products from this article:



Hi, Thank you for this awesome article.
I’ ve a query here. If I want to use caulk on a wet place, which one would be the best?