If you haven’t already, check out Part 1 Here!
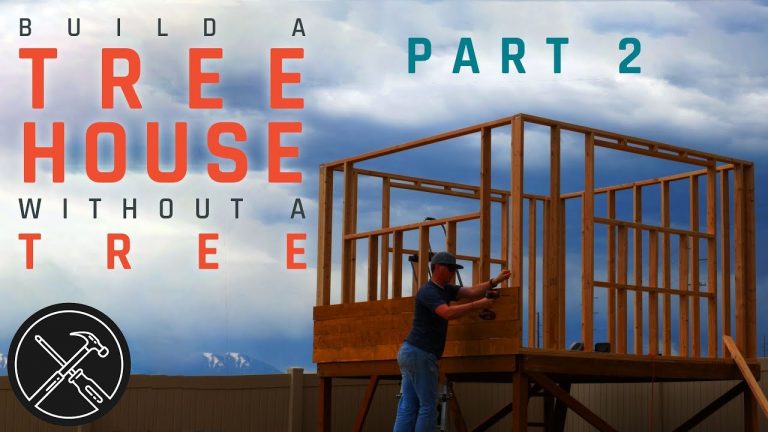
You’re ready to move on to the next phase of the treehouse/clubhouse- framing, siding, and in this case, a trap door.
Framing
If you’re new to framing, here is a quick link to all of our framing videos. The basic gist is you want to mark your centers on the top plate and bottom plate at 16″ on center. You’ll typically use a framing nailer to assemble the pieces. We didn’t have access to one at the time, so we used an impact driver and some 3″ deck screws.
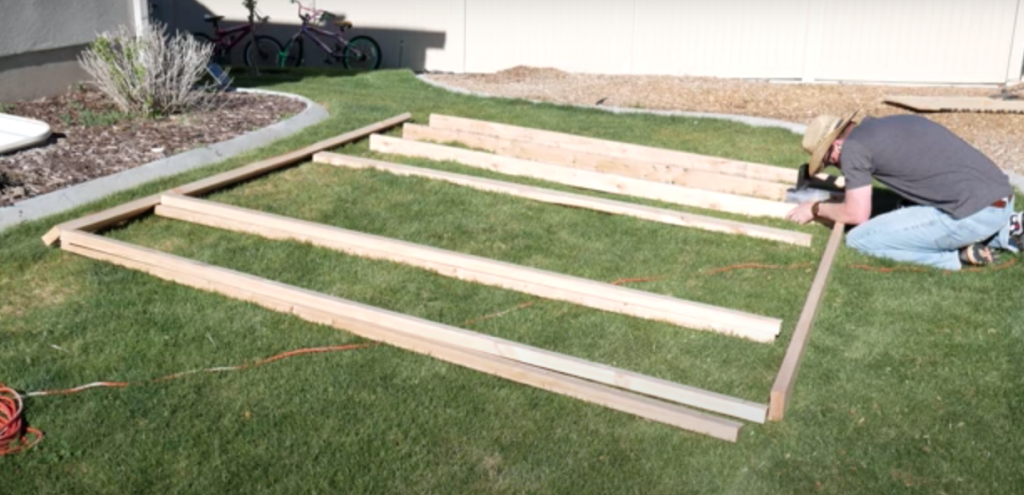
Start off by assembling the full length studs that go by the window (if you have a window). Then get the window put together, as well as the cripple studs that go above and below the window.
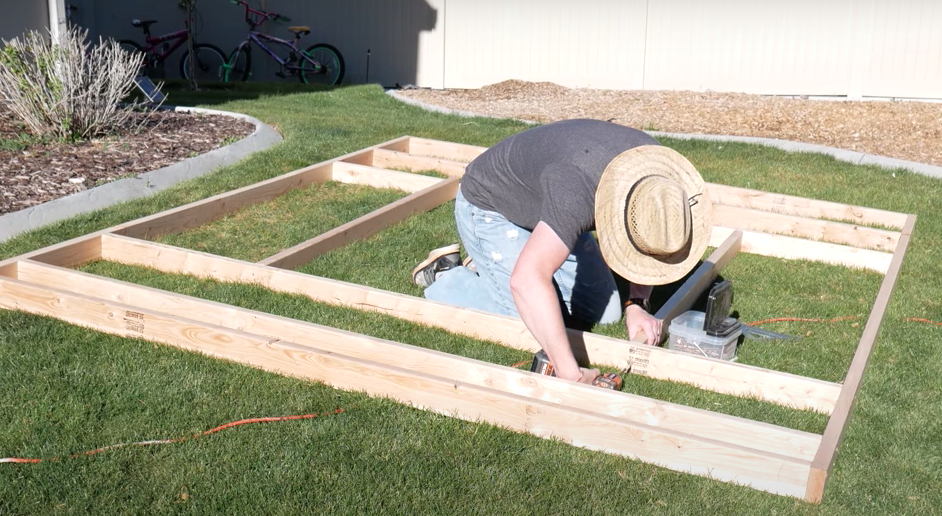
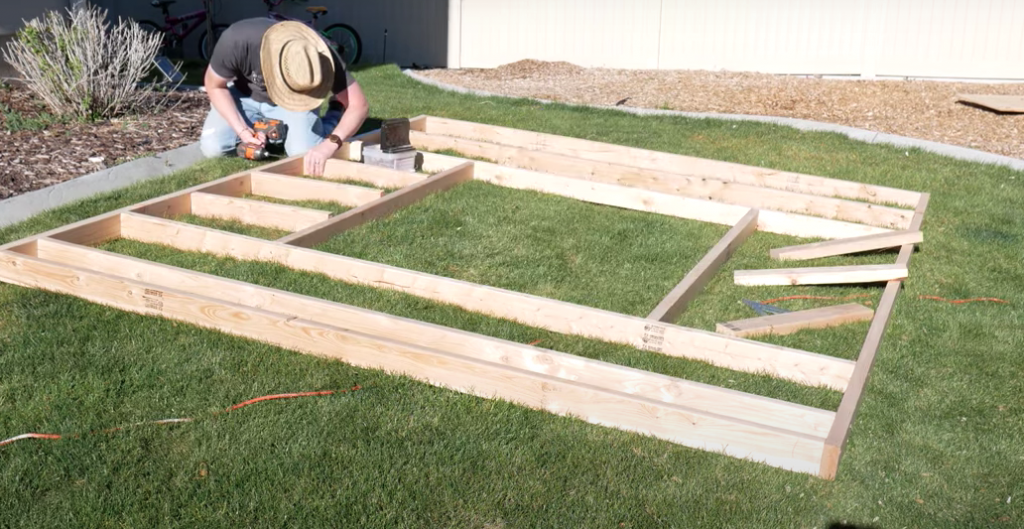
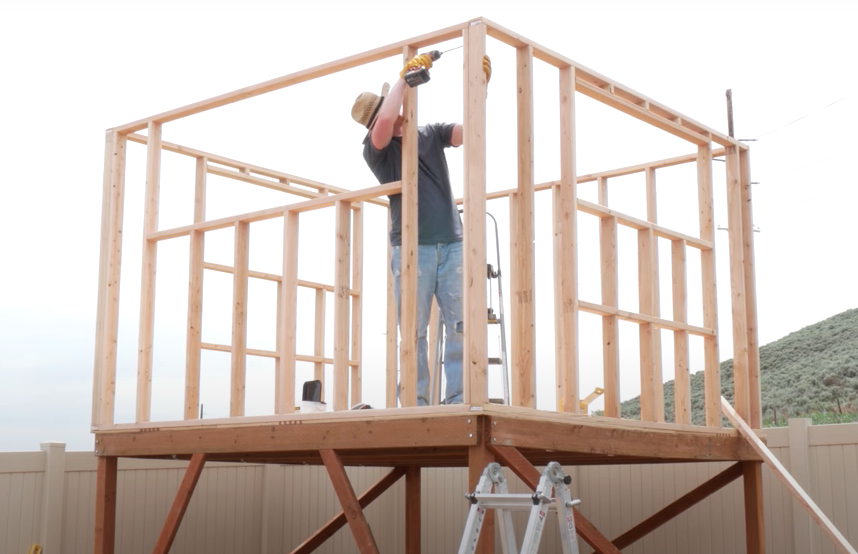
Once it’s all assembled, move it to the deck of the clubhouse. After standing it up, check around the outside edges to make sure everything is lined up exactly where it should be. This first wall tends to be the most important since all your other walls are going to be connected to it.
Once you’ve got it in place, drive a couple of screws into the deck, ideally reaching the studs underneath, and then you can use a 2×4 to fasten the top of it to part of the wall.
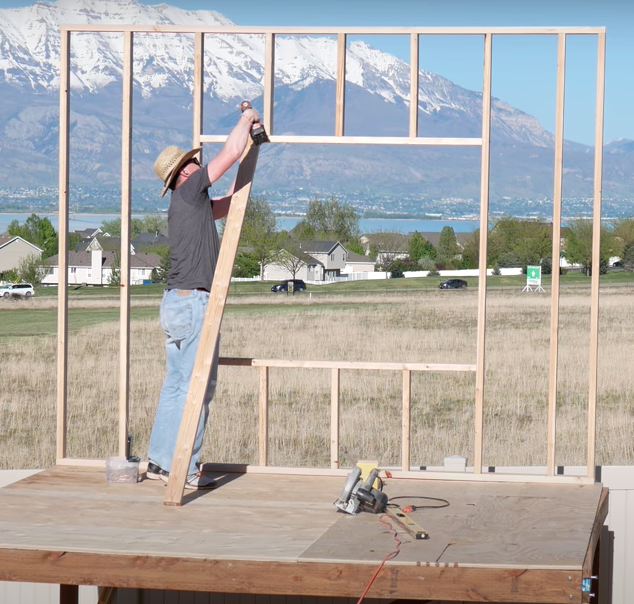
Use a level to make sure everything is plumb before fastening the bottom of the 2×4 to the deck.
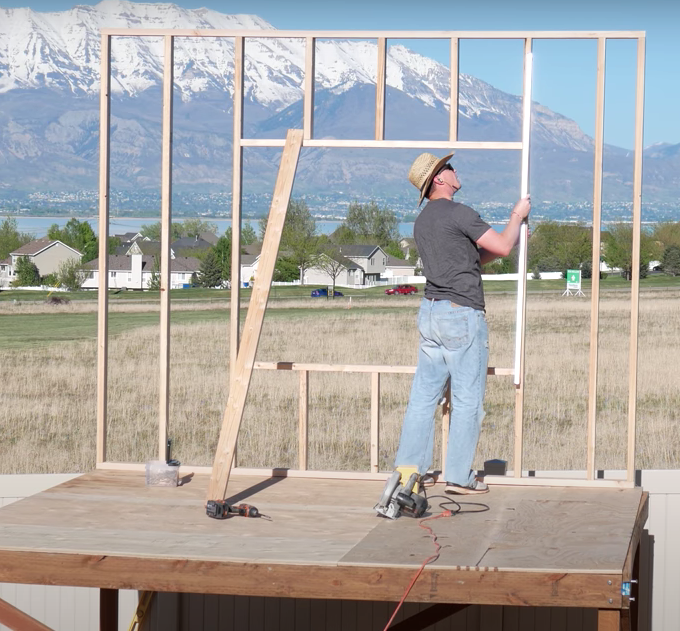
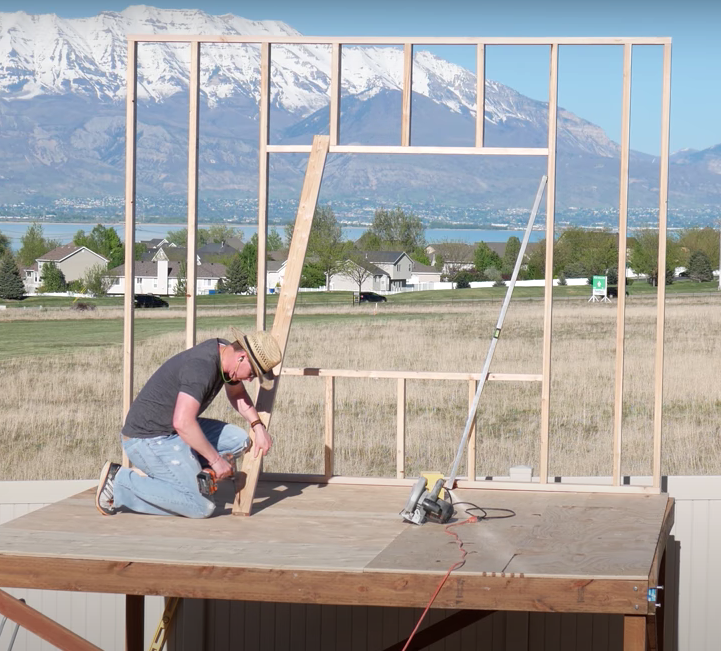
This should hold it securely in place in case you get a gust of wind or anything like that. Once that’s in place, you can drive the rest of the screws through the floor.
The next wall will go in the same way, just copy the same format.
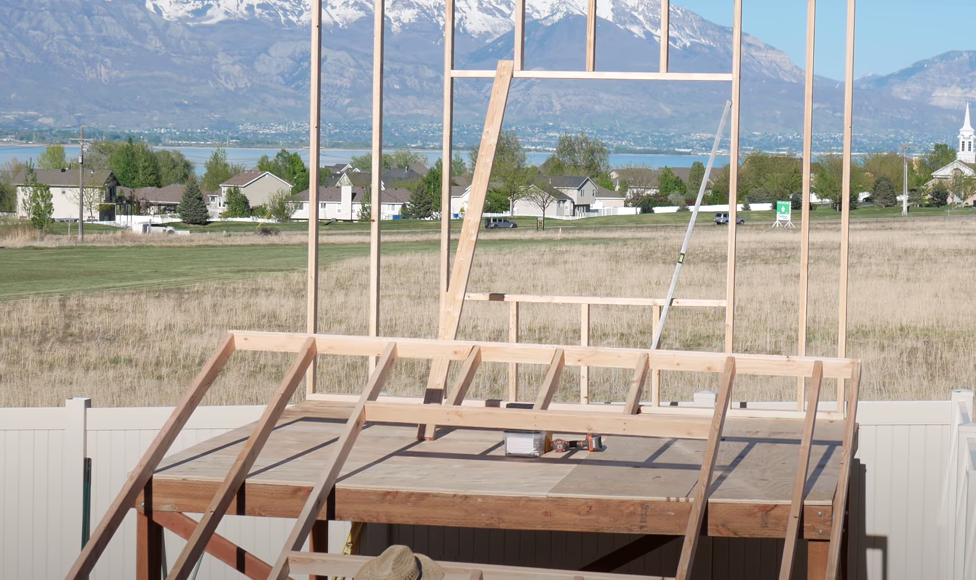
Once your first two walls are installed, it’s a good idea to get measurements for the walls facing the other direction. This way you won’t have fitting issues once you’ve got the walls built and you’re reading to install them. Get the measurements top to bottom to make sure the walls end up how they need to be.
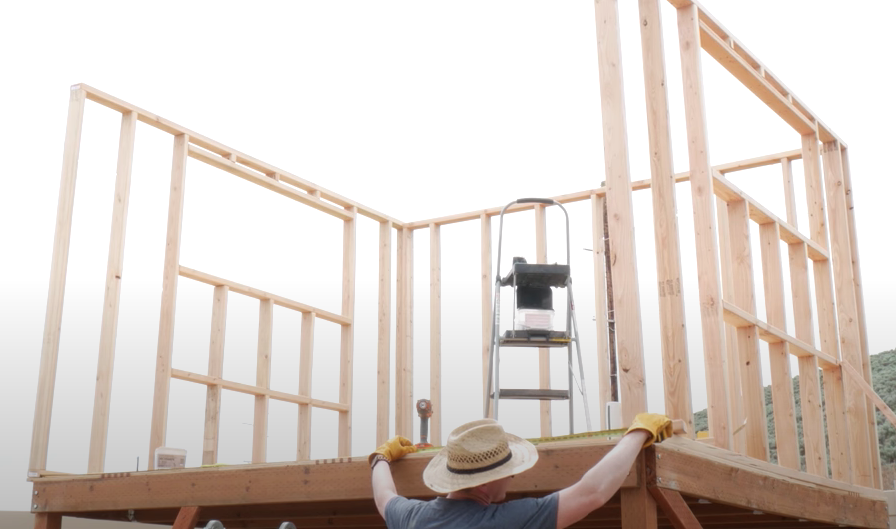
When you’ve got the 4th wall up, you’ll want to fasten the exterior walls to one another by driving a screw every 12 inches or so along height of the studs.
Trap Door
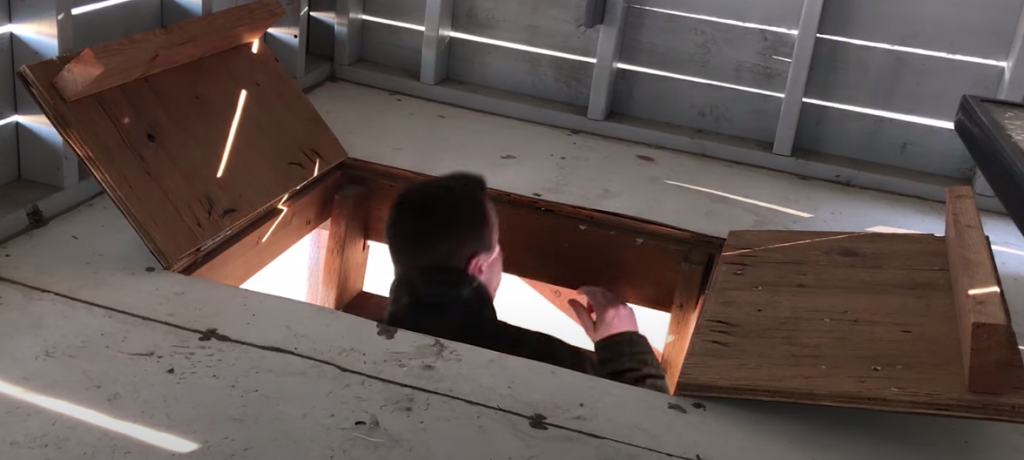
Our trap door has a width of 30″, height of 24″. The reason for this is the left and right joints fall over studs. Use a circular saw set to the same depth as the plywood to cut it out.
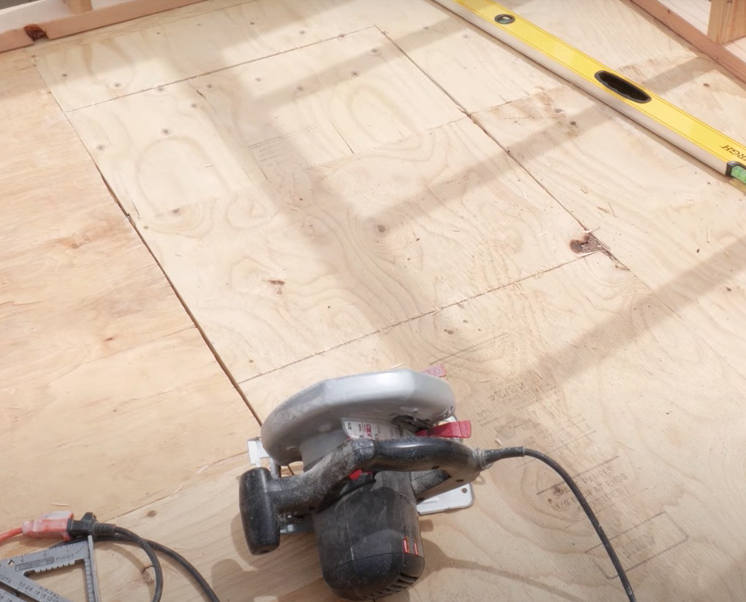
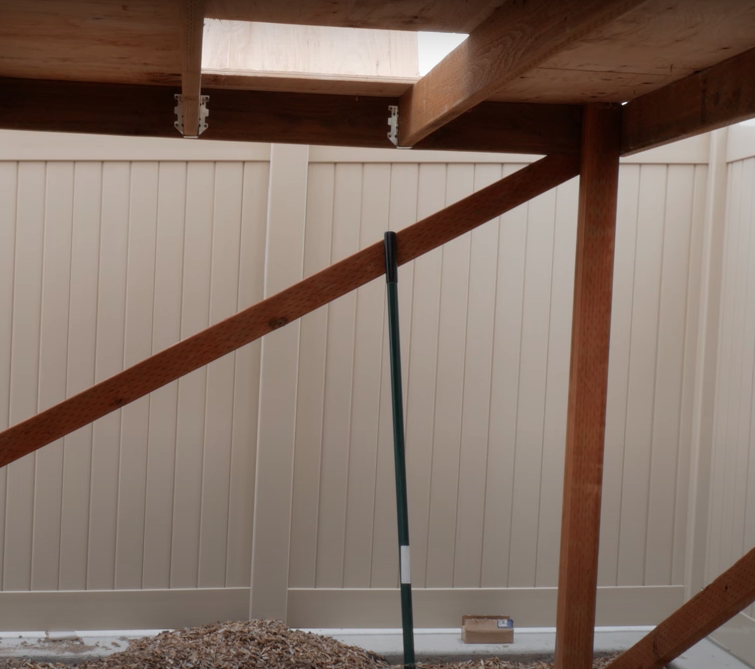
Time for the ladder so we can get up and down: We used pressure treated 2×6’s, brought them over to the cut out opening, marked where the lines would be level and sit properly against the opening, and cut them out with a reciprocating saw.
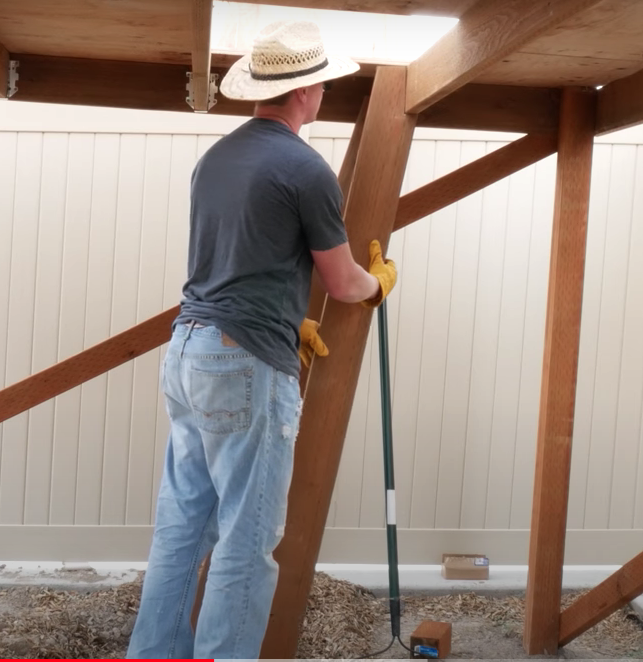
Once they’re lined up and snug against the studs, fasten using 3 deck screws on each.
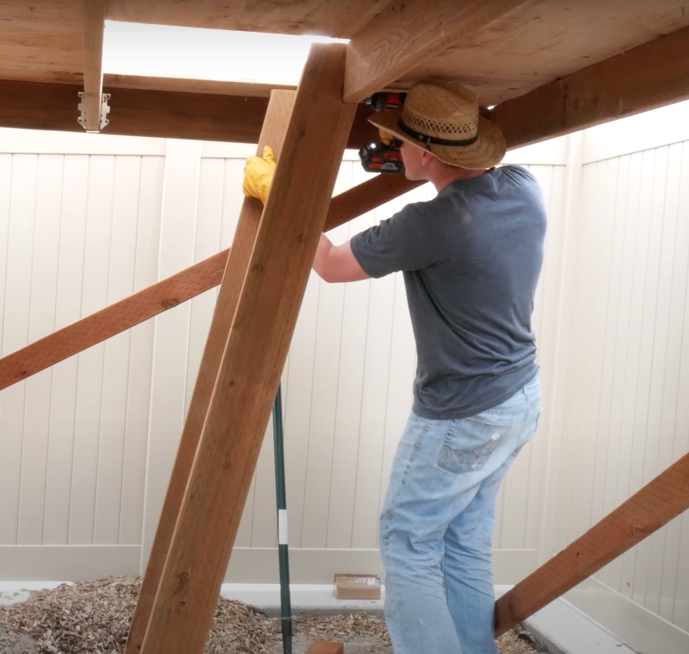
For the rungs of the ladder, make equal marks along the ladder on both sides, cut the rungs (using 2×6’s) to width, and drove 3 screws into each of the 2×6’s all the way up.
At this point, we had a lip for the trap doors to sit on on two of the sides, but we wanted to make sure we had at least 3 of the sides covered. Added these 2×4’s, which made a nice platform for the doors to sit on.
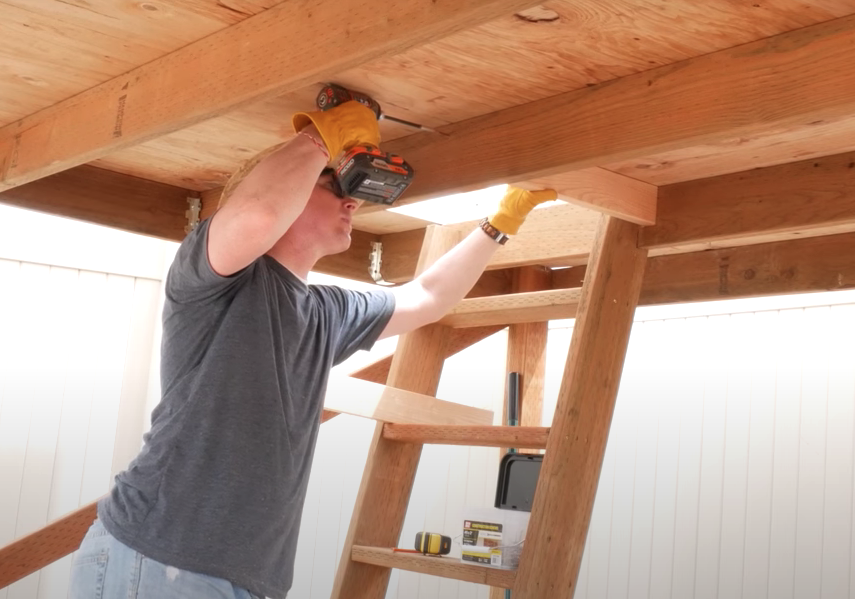
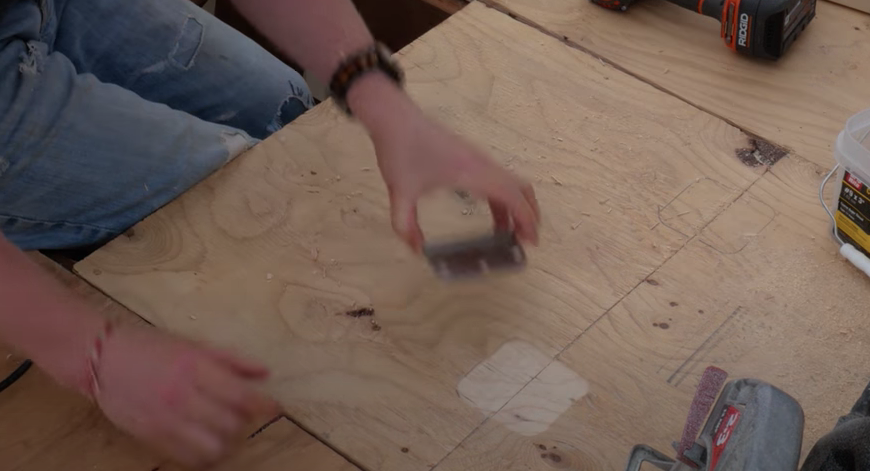
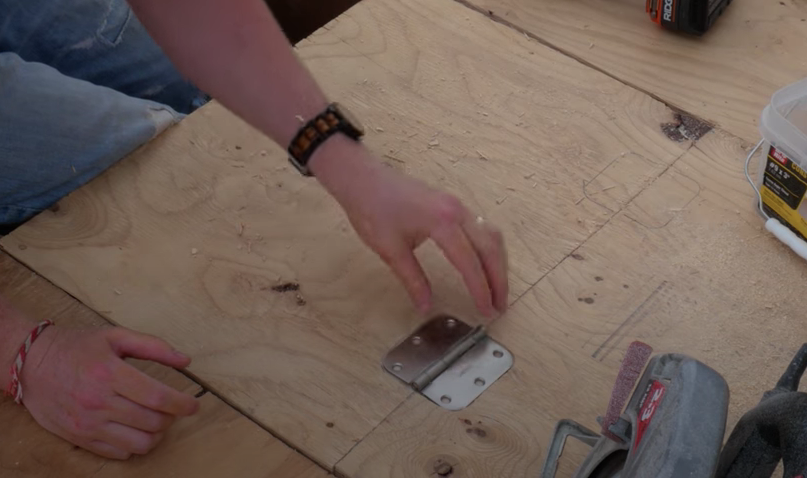
To install the trap doors, we used interior door hinges, since this area is inside the clubhouse. Traced them in place, used a finish trim router to rout out about an 1/8″ so they would sit flush with the floor. Secured them with the supplied 3/4″ screws.
Later on, I installed some 2×4’s onto the doors themselves to take some pressure off of the plywood and onto the 2×4’s.
Siding
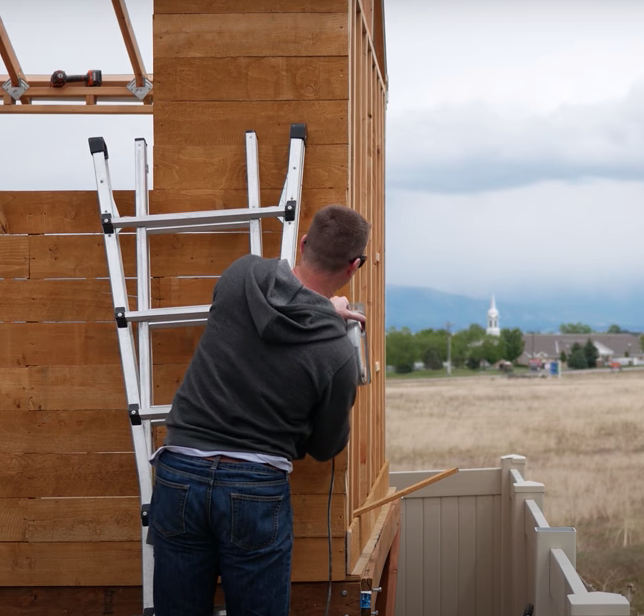
For the siding, we decided to use cedar fence pickets. These came in 5 1/2″ width and around 6 feet tall. They do come dog-eared, so you need to cut those off.
There are a few things to consider when doing the siding:
You always want to stagger your joints. We found we could go about 3 or 4 rows high and then just repeat that same pattern. That way the measurements were the same every time, so we could cut those pieces out quicker and get the siding done pretty fast.
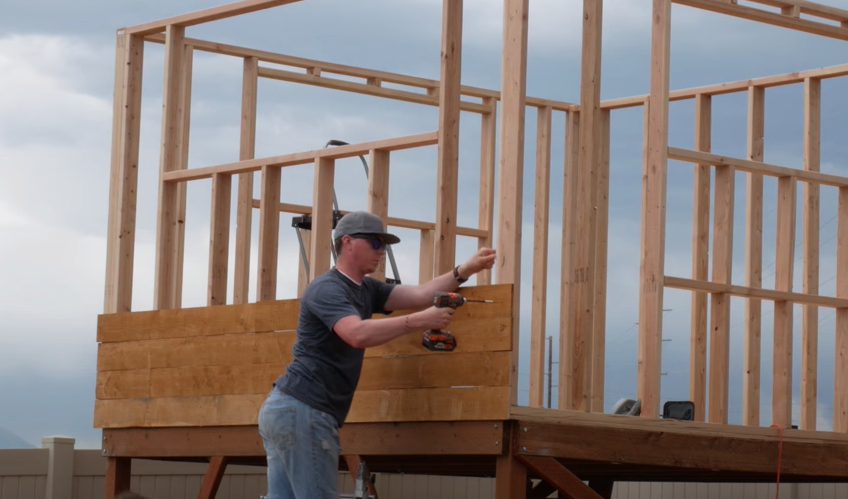
Another thing is that the cedar fence pickets are going to be pretty wet when you buy them. As they dry, they will shrink, leaving gaps between them after they’re installed as siding. You can leave them out first and let them dry if you don’t want any gaps. We’re okay with some gaps, as it lets a breeze come through the clubhouse, which feels nice on hot days.
Used a skillsaw and jigsaw to clean up any excess on the corners and around the windows. We put trim around these areas, so this was important.
We decided to build some shutters to go on the windows, measuring the full width of the windows, then laid them out in rows so it would match the rest of the siding.
Used some pickets that were 2 deep and perpendicular to fasten it all together with some outdoor rated screws.
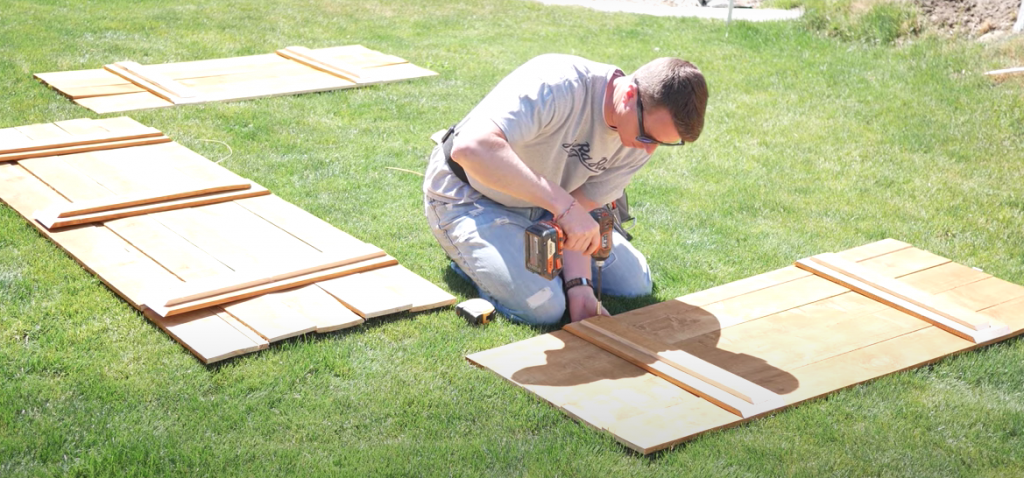
After we had the trim in place, we used some exterior hinges to put these on the clubhouse.
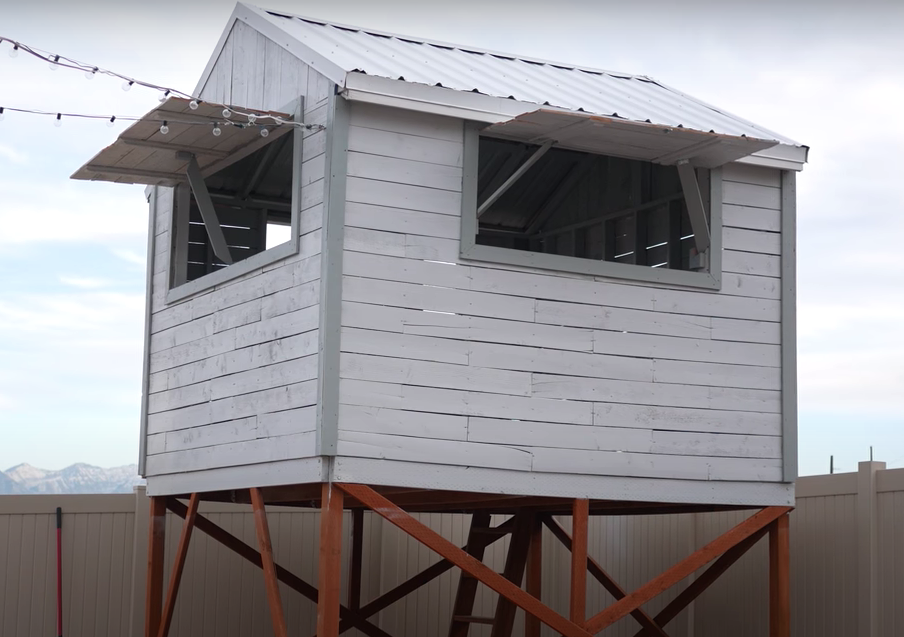
We made some props with some hinges and 1×4’s so we can open and close the shutters.
That’s it for part 2- next we’ll go over framing the roofing structure, the sheet metal process for the roof, plus paint and trim. Part 3 is here!
If you’d like to watch the video instructions, click here!

This is exactly what I have been looking for! My kids have been begging for an elevated fort (except with a deck). Thank you so much for making these instructions, fellow Utahn.
You’re very welcome. How fun for your kids (and you :)). Best of luck with the project!