
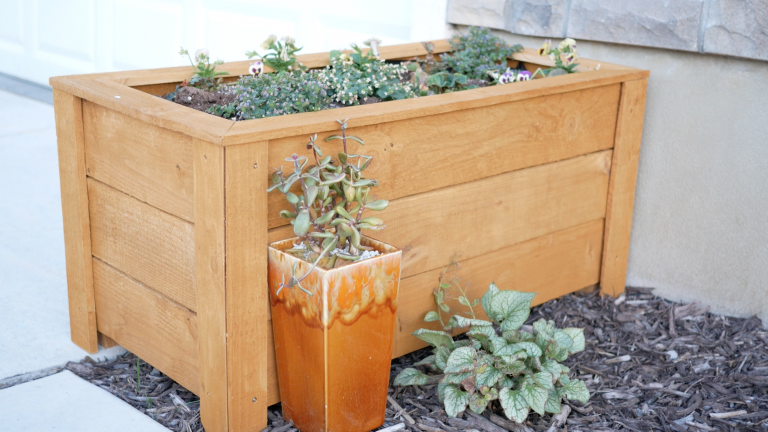
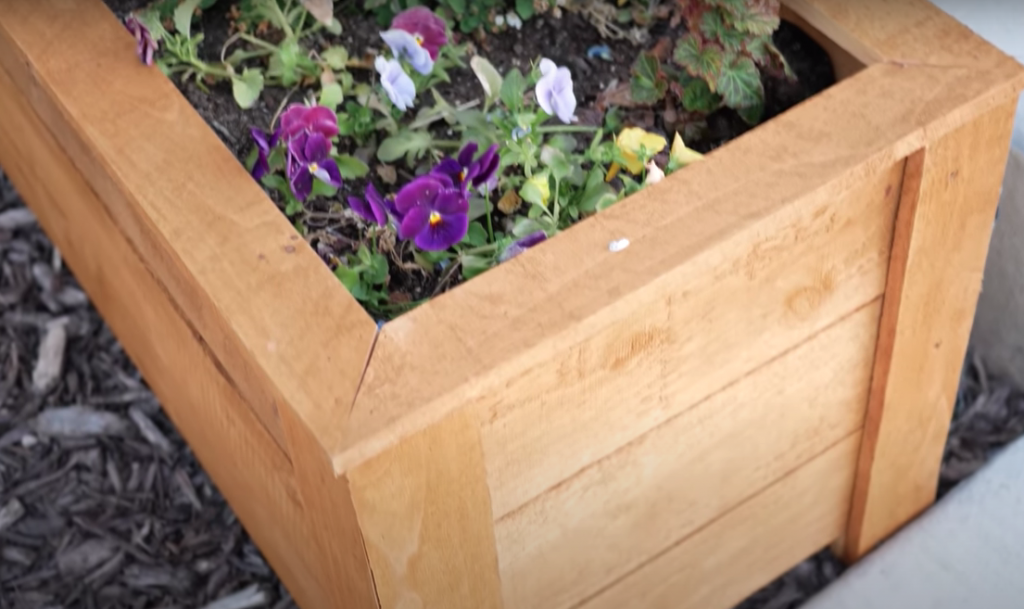
It’s easy to make these cute DIY planter boxes. They add charm and dimension to a walkway, porch, or patio.
Here are some fun tips and projects to improve your yard and home. Click on the links to get all of the info.
How to Never Put up Christmas Lights Again & Still Have Christmas Lights
Simple Ways to Make Your Yard Bee Friendly
Healthy Lifestyle: Tips for Growing Your Own Fruit
GET THE PLANS!
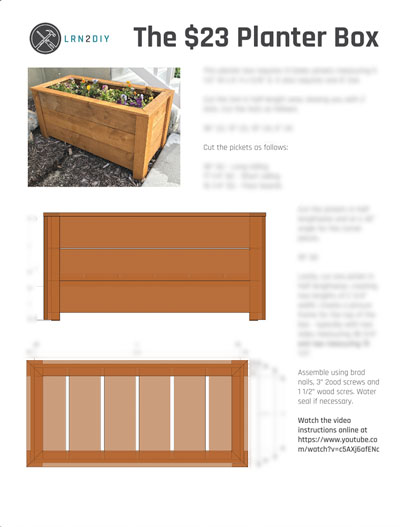
Download the plans for this DIY Planter Box here! https://lrn2diy-shop.fourthwall.com/products/23-dollar-planter-box-plans
Each box consists of 9 cedar fence pickets and one 2 x 4. You’ll also need 1- 1/4″ screws, 3″ screws, an optional brad nailer, and 18 gauge brads, as well as a saw.
For the dimensions we used, download the free plans at the end of the post!
Build a Frame
The first step in building a DIY planter box is to build a small frame like this.
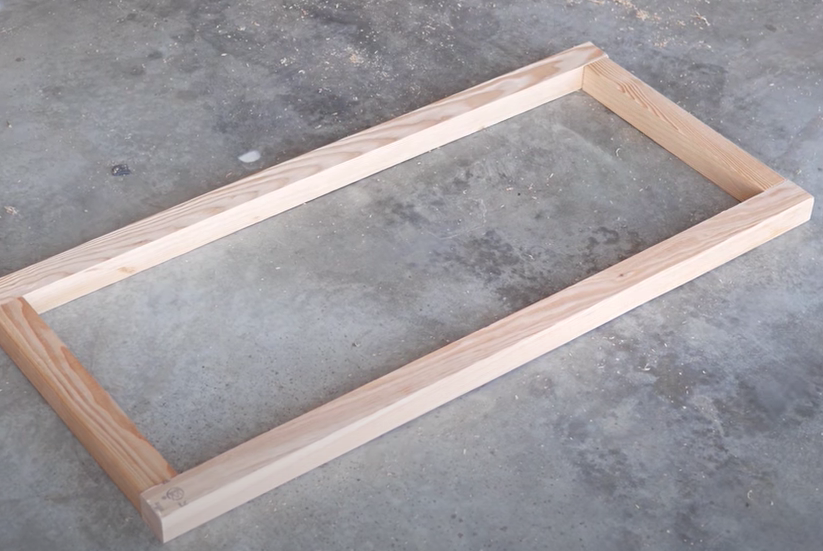
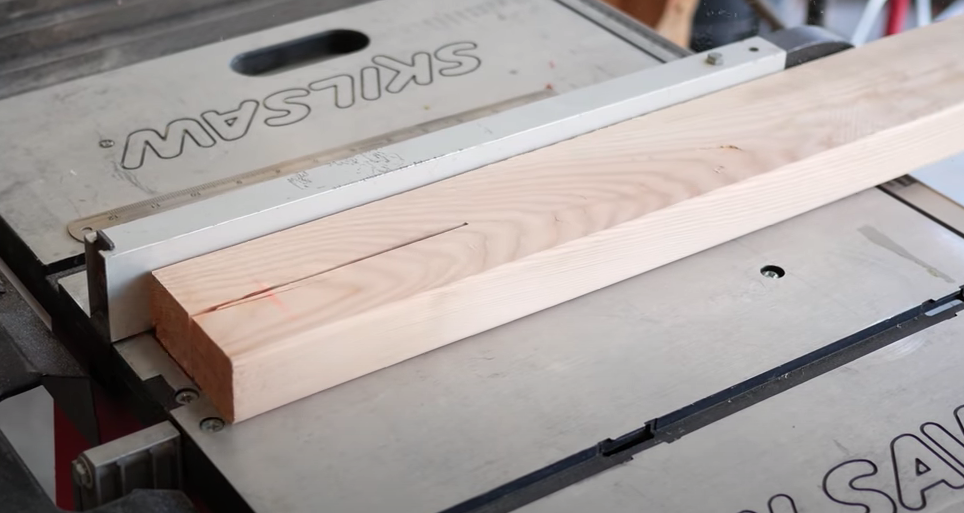
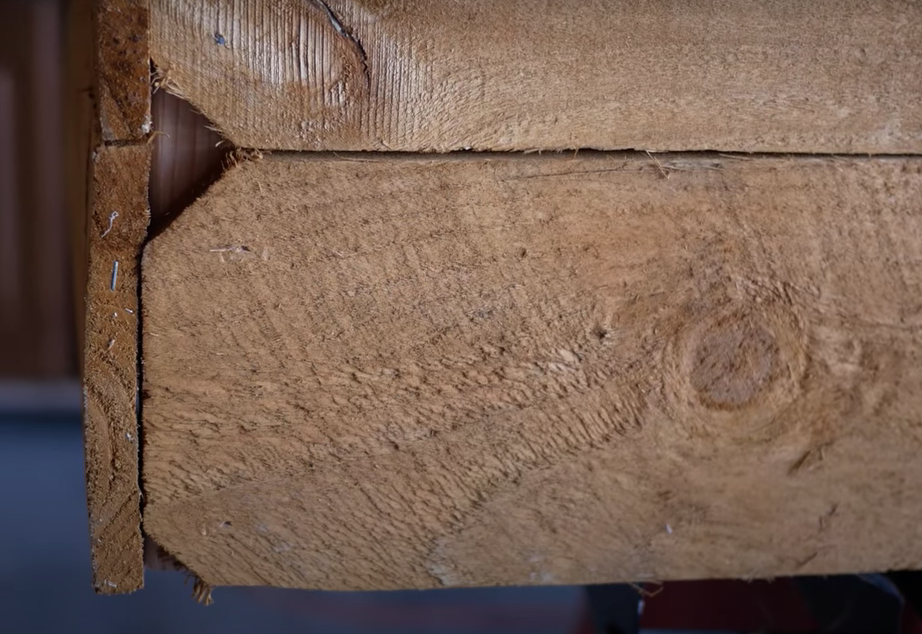
Rip a 2×4 in half lengthwise.
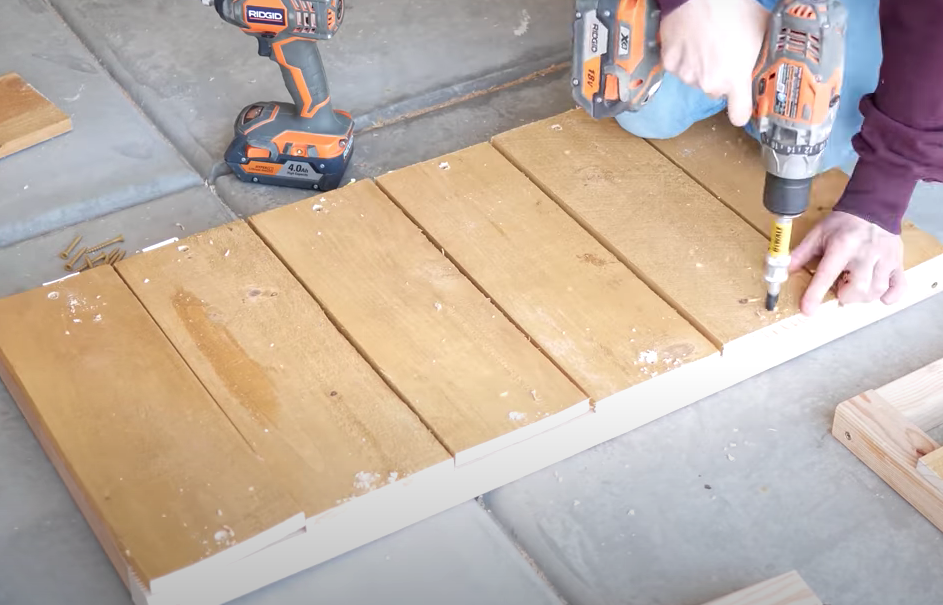
Cut the boards to length, pre-drill the holes, and use 3″ wood screws to fasten the pieces together.

Once your frame is put together, it’s time to put 6 “floorboards” on it. Cut the pickets to size, predrill, and screw in these six pieces to the frame you’ve created.
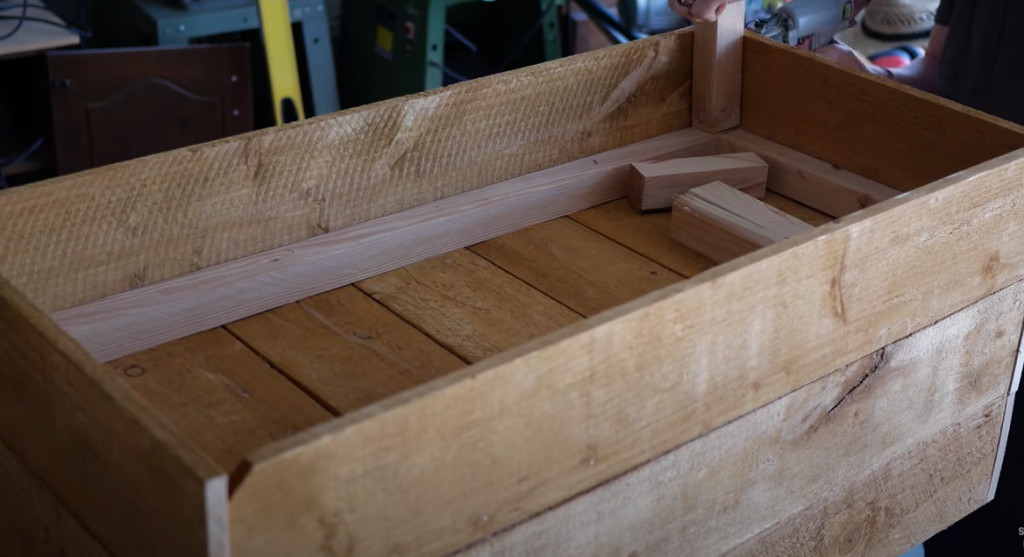
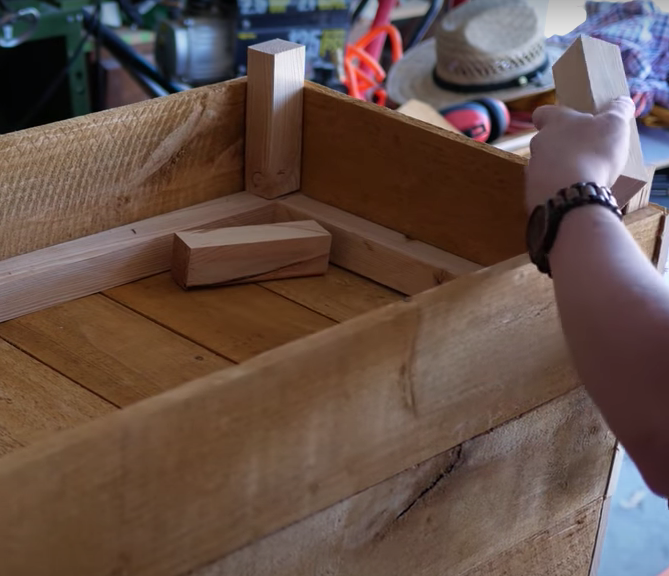
Inner Frame
Next up you’ll make an inner frame. This is 4 pieces of wood that we’ll use to put the siding onto.
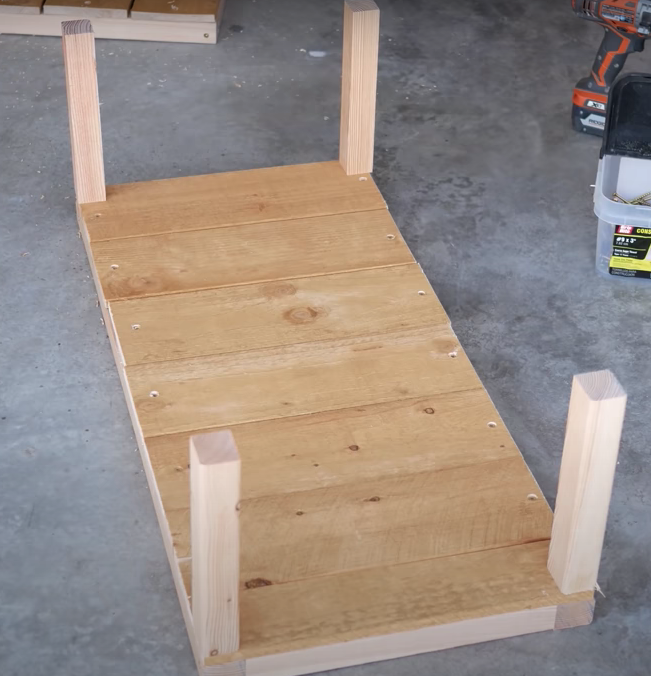
Cut these out with the chop saw or circular saw, then pre-drill and use 3″ wood screws to fasten them in from the bottom.
Siding
Cut the pickets to length according to the dimensions of your box. You’ll want six longer pieces and six shorter pieces; 3 per side of the box.
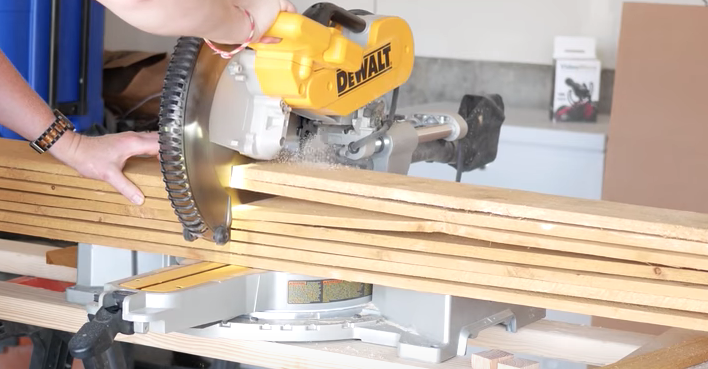
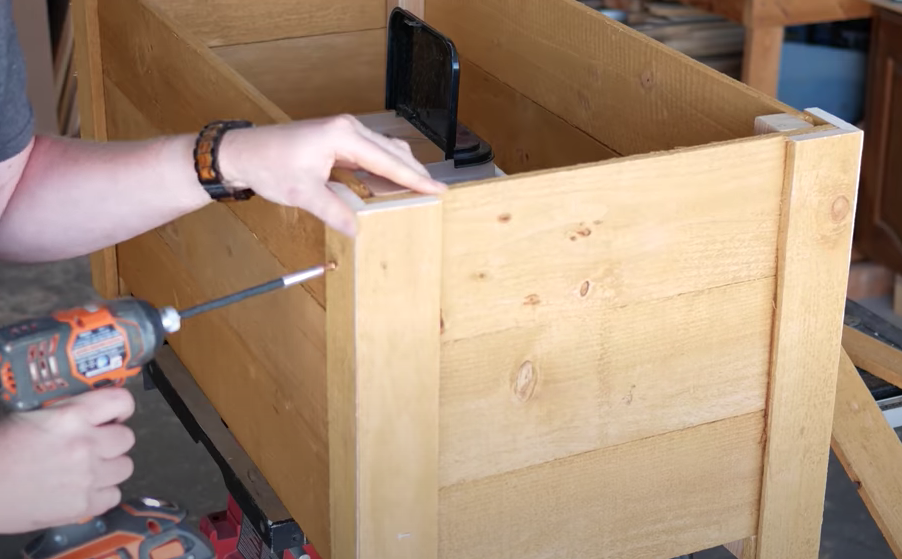
Use a brad nailer to attach the pickets to the frame of your box. You can also use screws if you need to. You’re going to have some dog ears in the corner, but that’s fine since they’ll be covered by the corner pieces.
Put the feet on next. Just cut those to size as per the plans, and use a brad nailer or small screws for now. You’ll fasten those more once you put the corner pieces on.
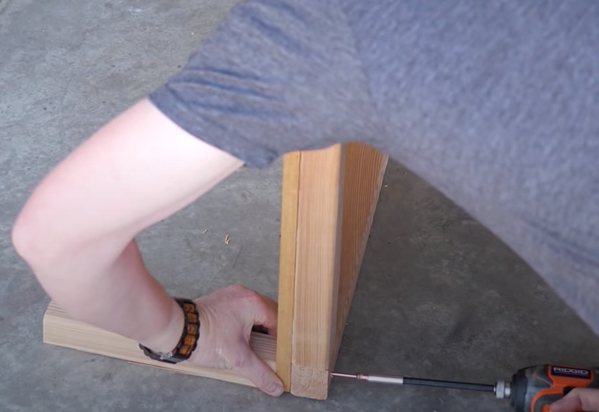
Corner Trim
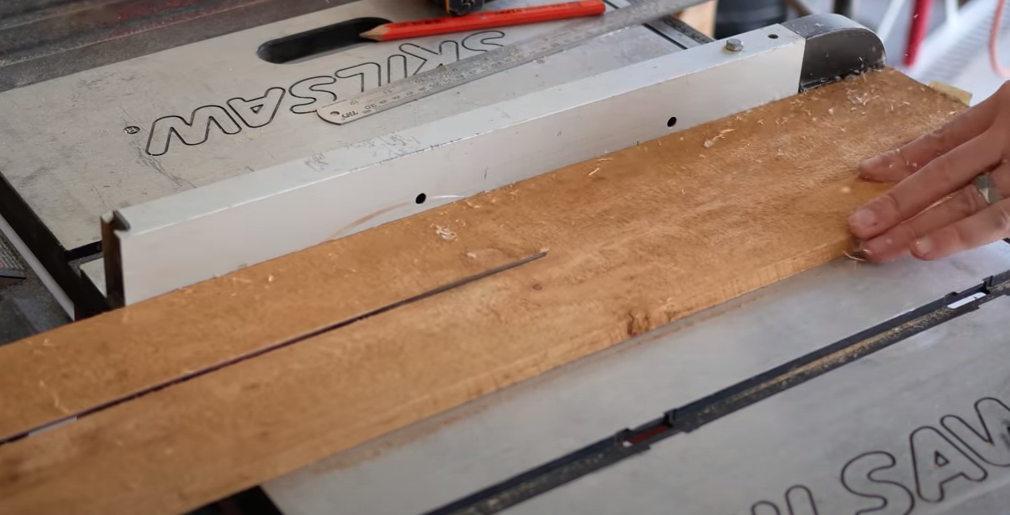
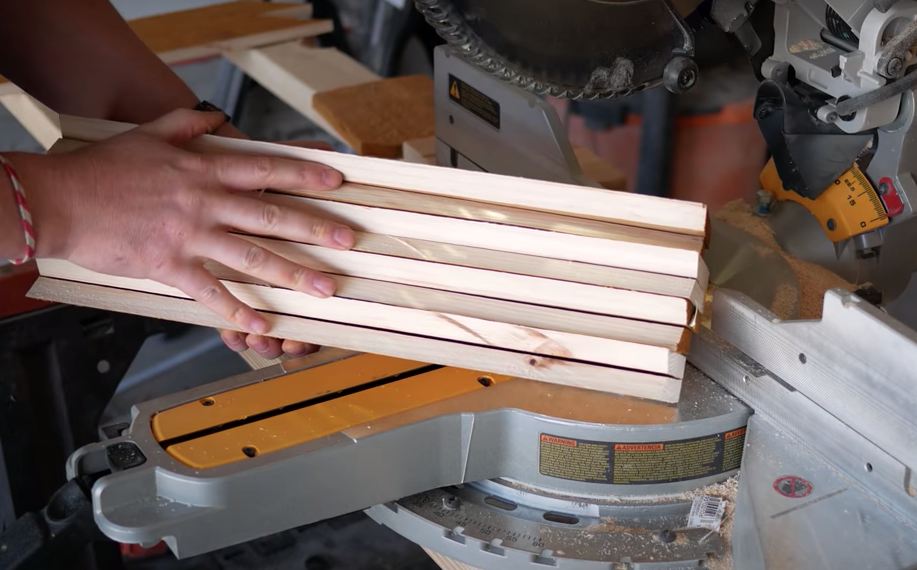
Set the table saw to 2 1/8″, and put the blade at a 45-degree angle. Rip a picket down the middle, which will give you two pieces that are roughly the same size.
Cut those into quarters, and they become the corner pieces.
Use 1 1/2″ or 2″ screws to fasten these. You’ll want to use 2 or more screws in these.
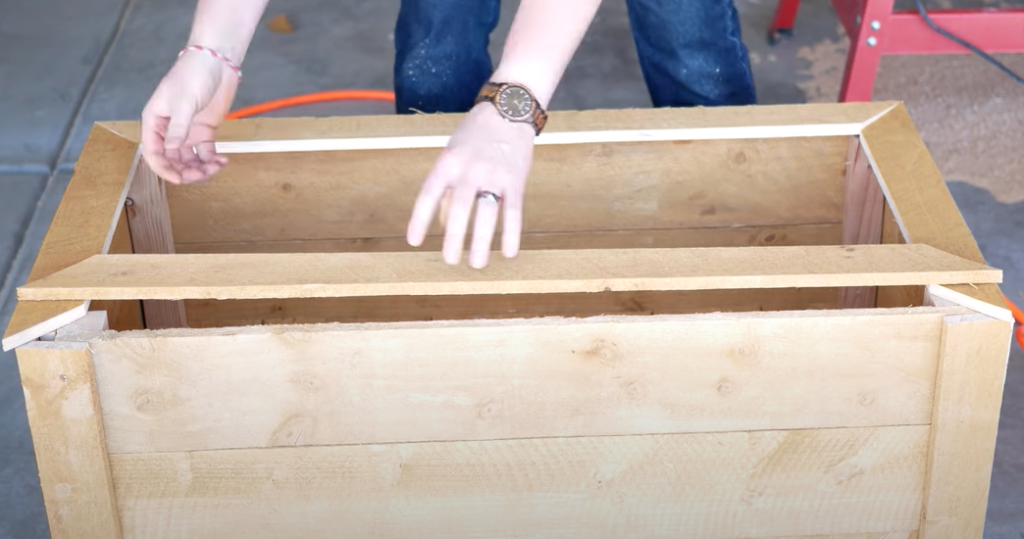
Top Frame for DIY Planter Box
Rip a picket in half on the table saw, then get the width and length measurements for the top of the box; make sure to get the outside measurements since they’re the longest.
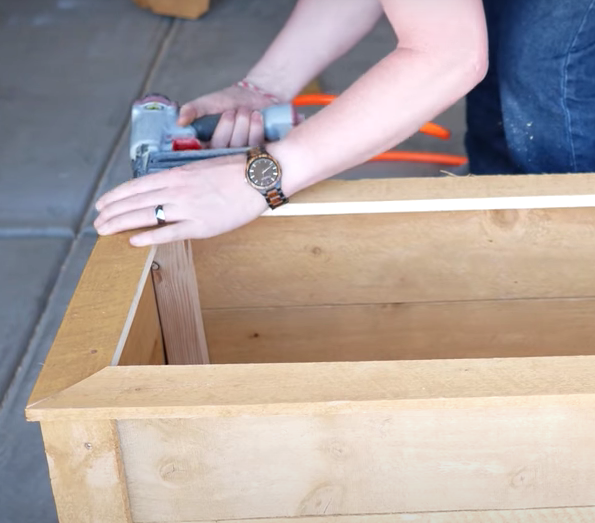
Cut them at a 45-degree angle so you can create a big picture frame.

Position them on top of the box to make sure the top frame covers up the top of the planter box, and fasten into place.
Once the box is assembled, it’s a good idea to put some water sealer on it to help protect it from the elements. Cedar is weather resistant, but the color will change over time to a grey color. If you want to preserve the color, you’ll need to treat it every year or more with the water sealer.
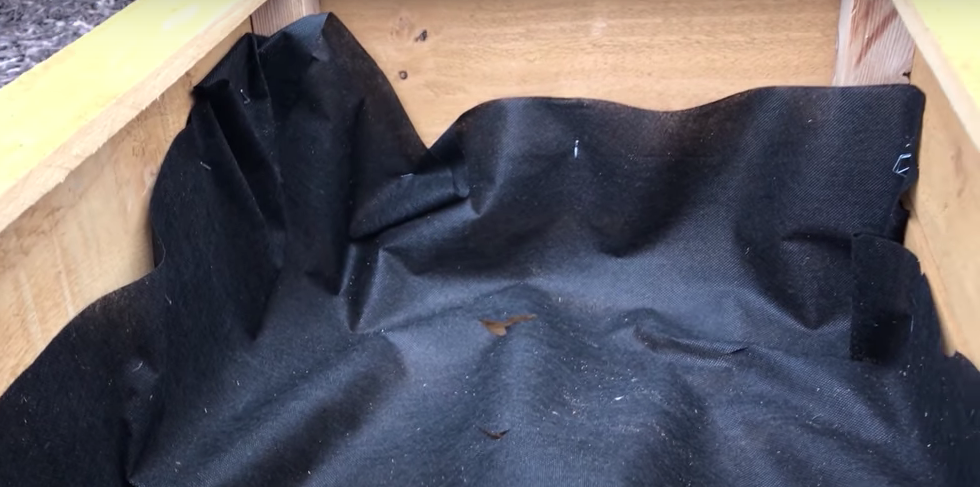
We put a weed barrier in ours to help the dirt stay in, but we cut holes in the bottom of the barrier to allow for better water drainage.
Fill it up with soil, and plant away! Congratulations on your new DIY planter box!
CLICK HERE TO GET THE PLANS FOR THIS PLANTER BOX!
Check out the full video for the $23 DIY Planter Box.
Are you tight on space in your home? Click HERE to see amazing and Unique Ways to Transform Your Home Garage
Don’t throw out the idea of purchasing an older home. I have a post on Common Fixable Problems with Older Homes. Click HERE to learn more.
2 thoughts on “$23 DIY Planter Box”