

When we were looking for a new house a few years back, we really hoped to find one with a good amount of space and a three car garage, so that we could park both cars in the garage and then have some room for me to do woodworking and my many projects. We ended up buying our current home, which we love for a hundred reasons, but it didn’t have a three car garage. Katrina, knowing that I really wanted a work space, allowed me to pour a concrete pad for a wood shop as a sort of down payment on a future shop. Well, now that we have put the yard in, finished the basement and we’re finally getting a rock wall to replace our massive, weed-infested hill, it’s time to start on the shop. I got started a couple of weeks ago and it’s going well so far.
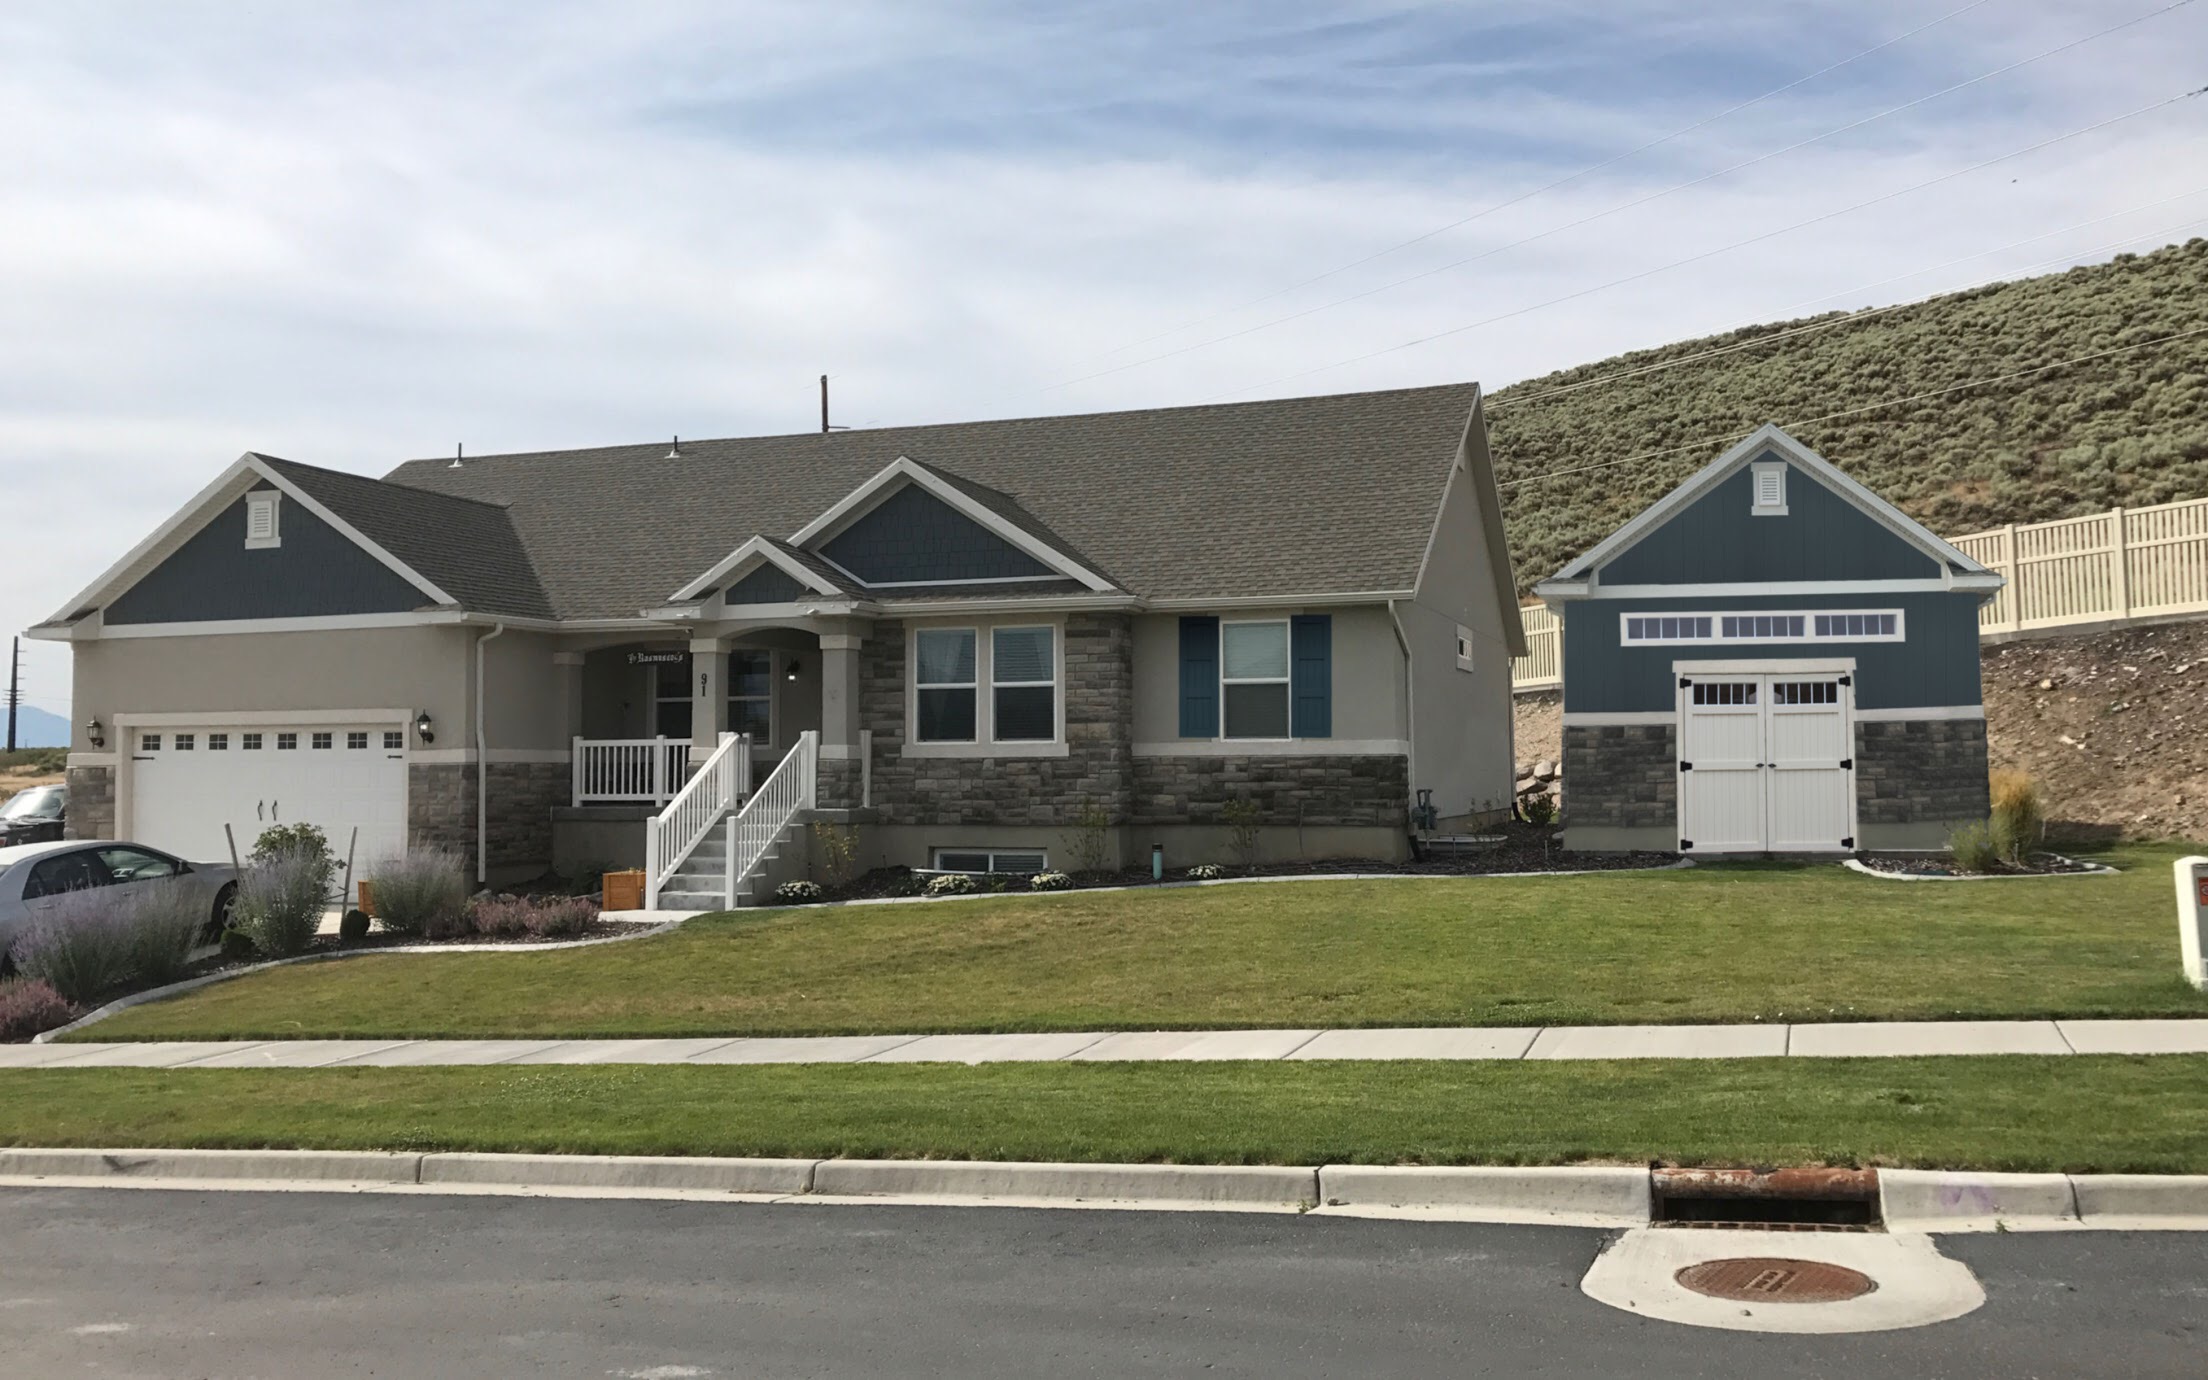
To begin, I designed the shop in Google Sketchup, which allows me to get a feel for size, color, space in relation to the house, etc. After that, I mocked it up in Photoshop using our existing garage as a starting point and then bringing in some color and texture to make it fairly realistic. The second image below is my Photoshop job of what the shop may look like, though we’re definitely not 100% decided as of yet on colors, textures, etc. The size and shape are pretty accurate, though.
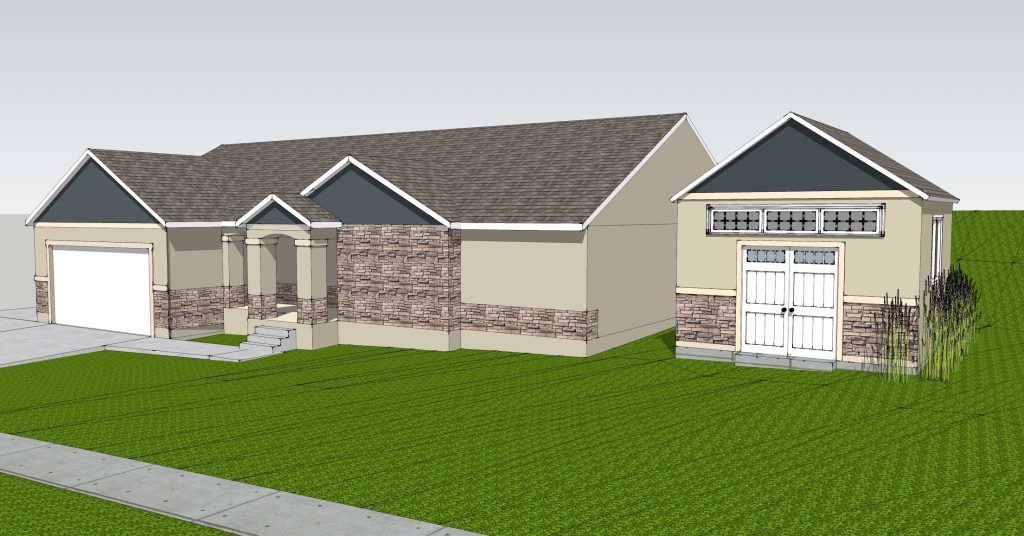
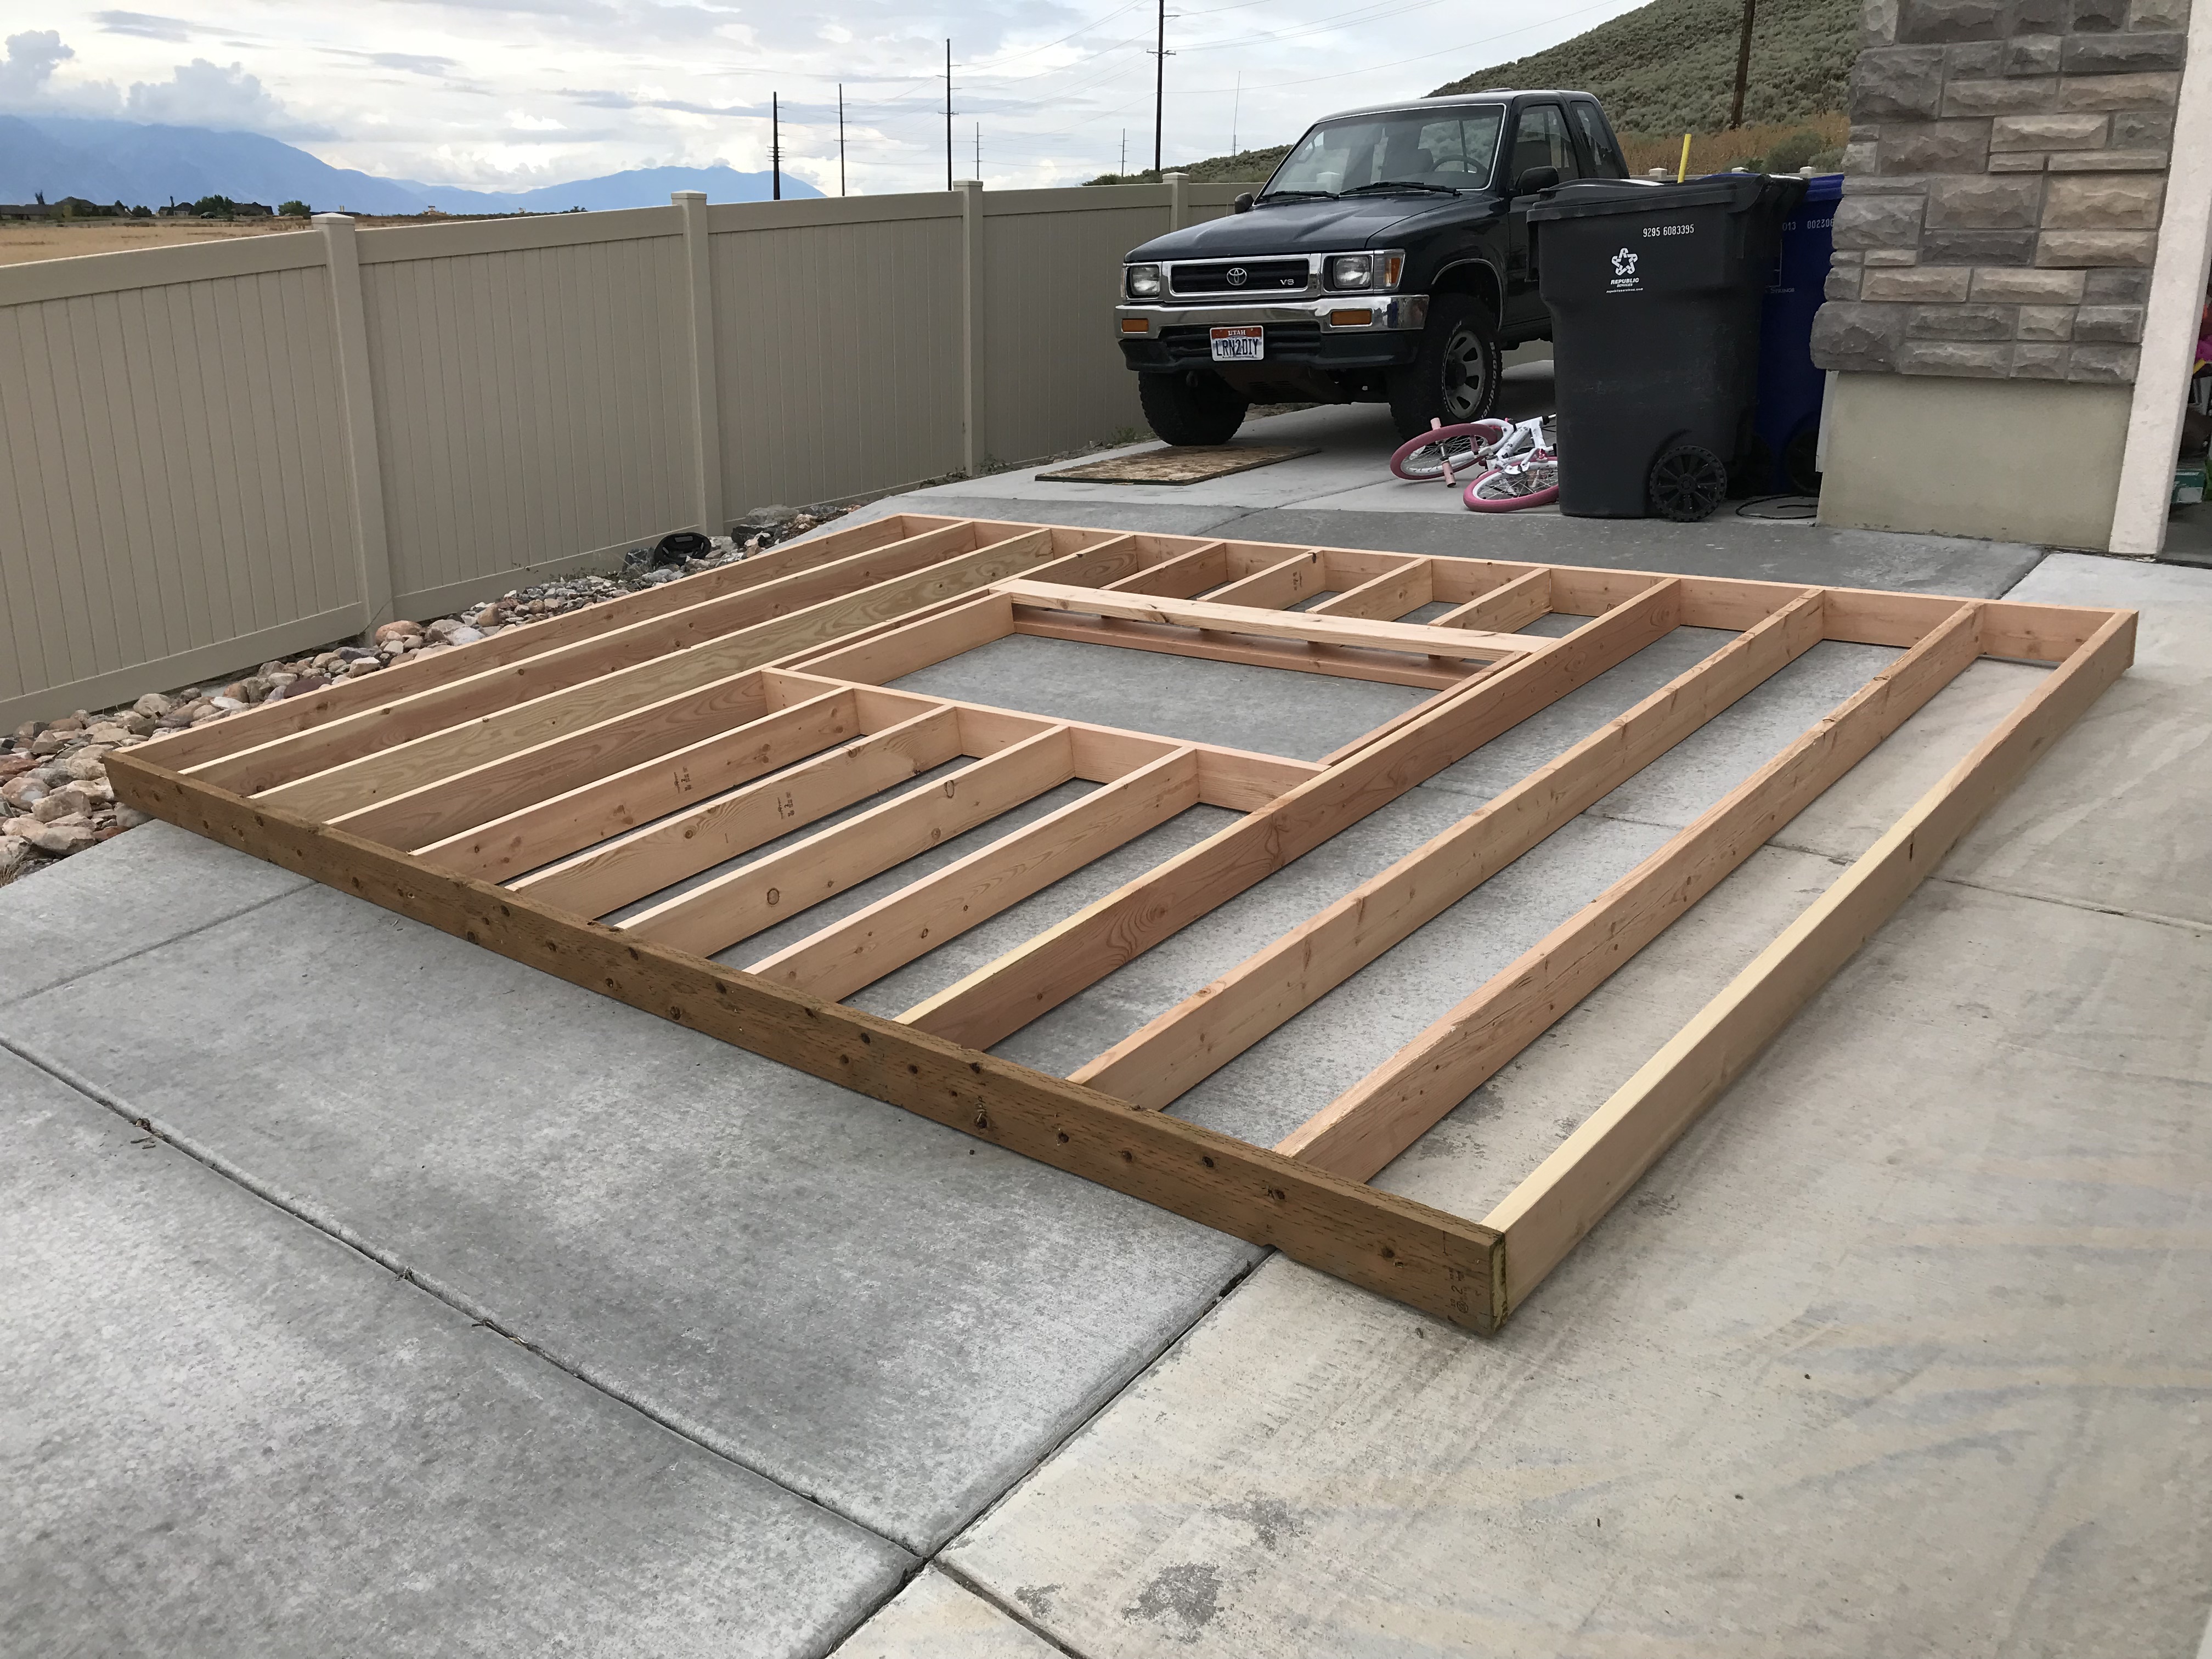
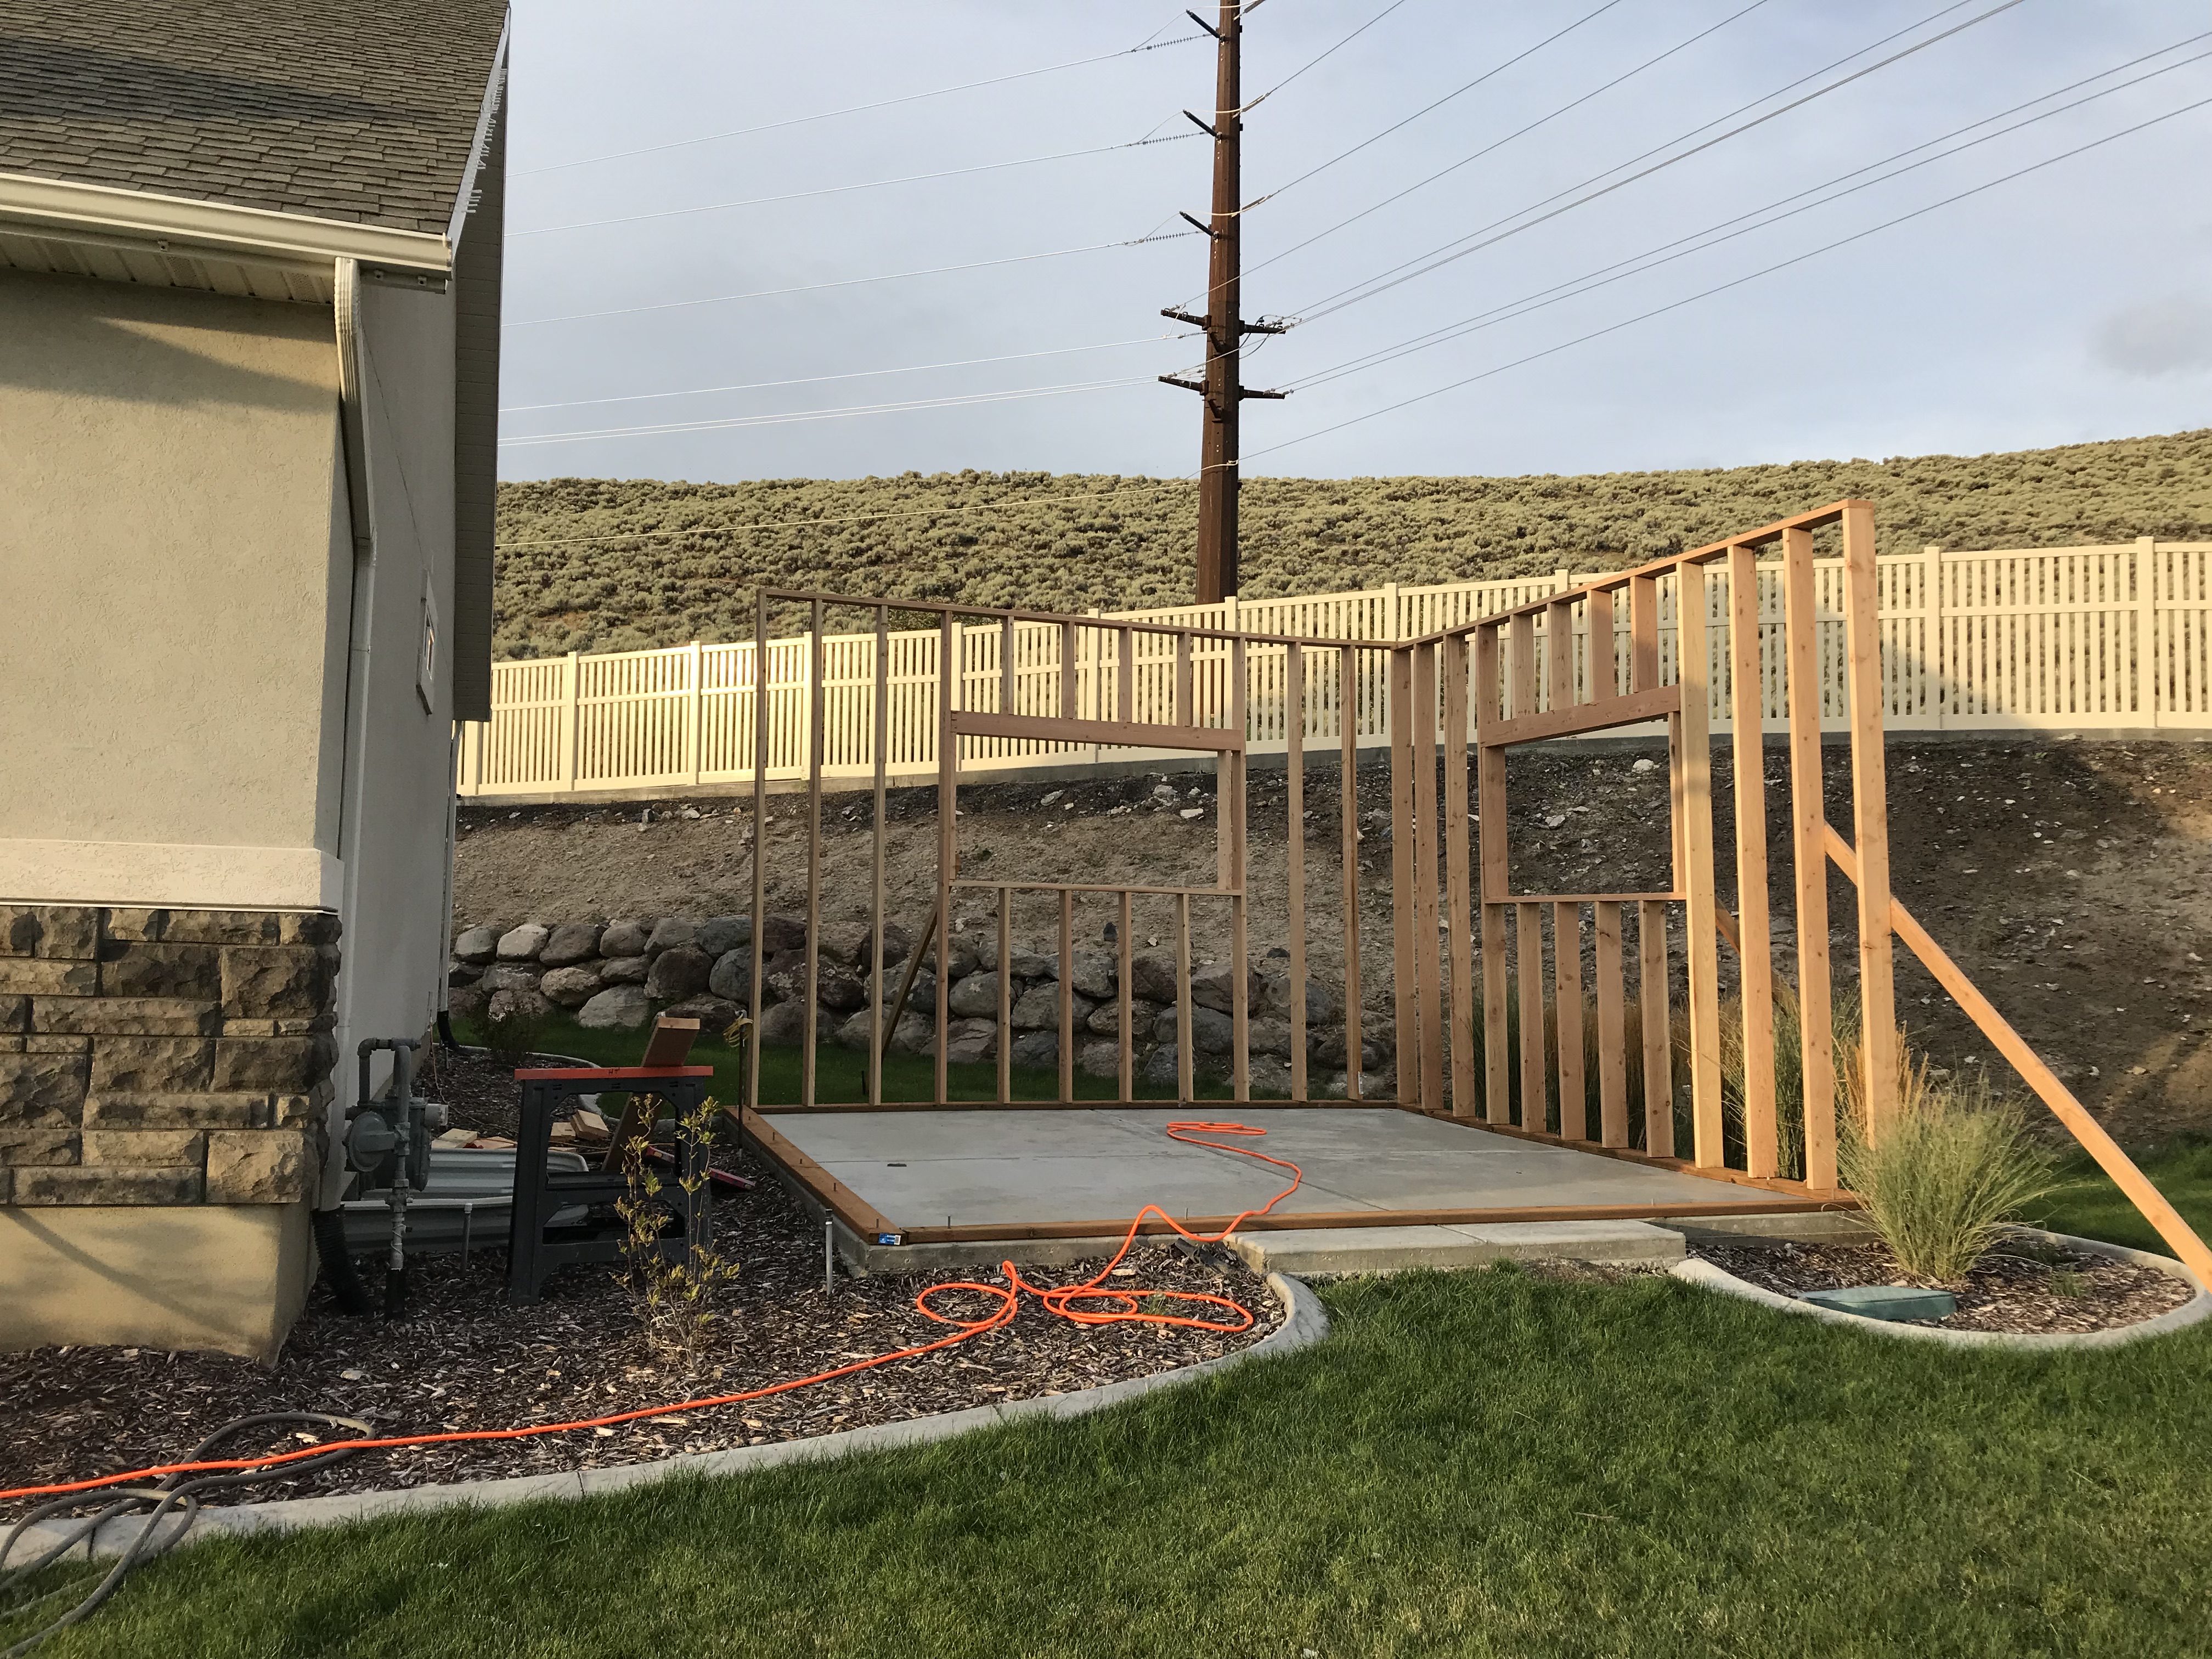
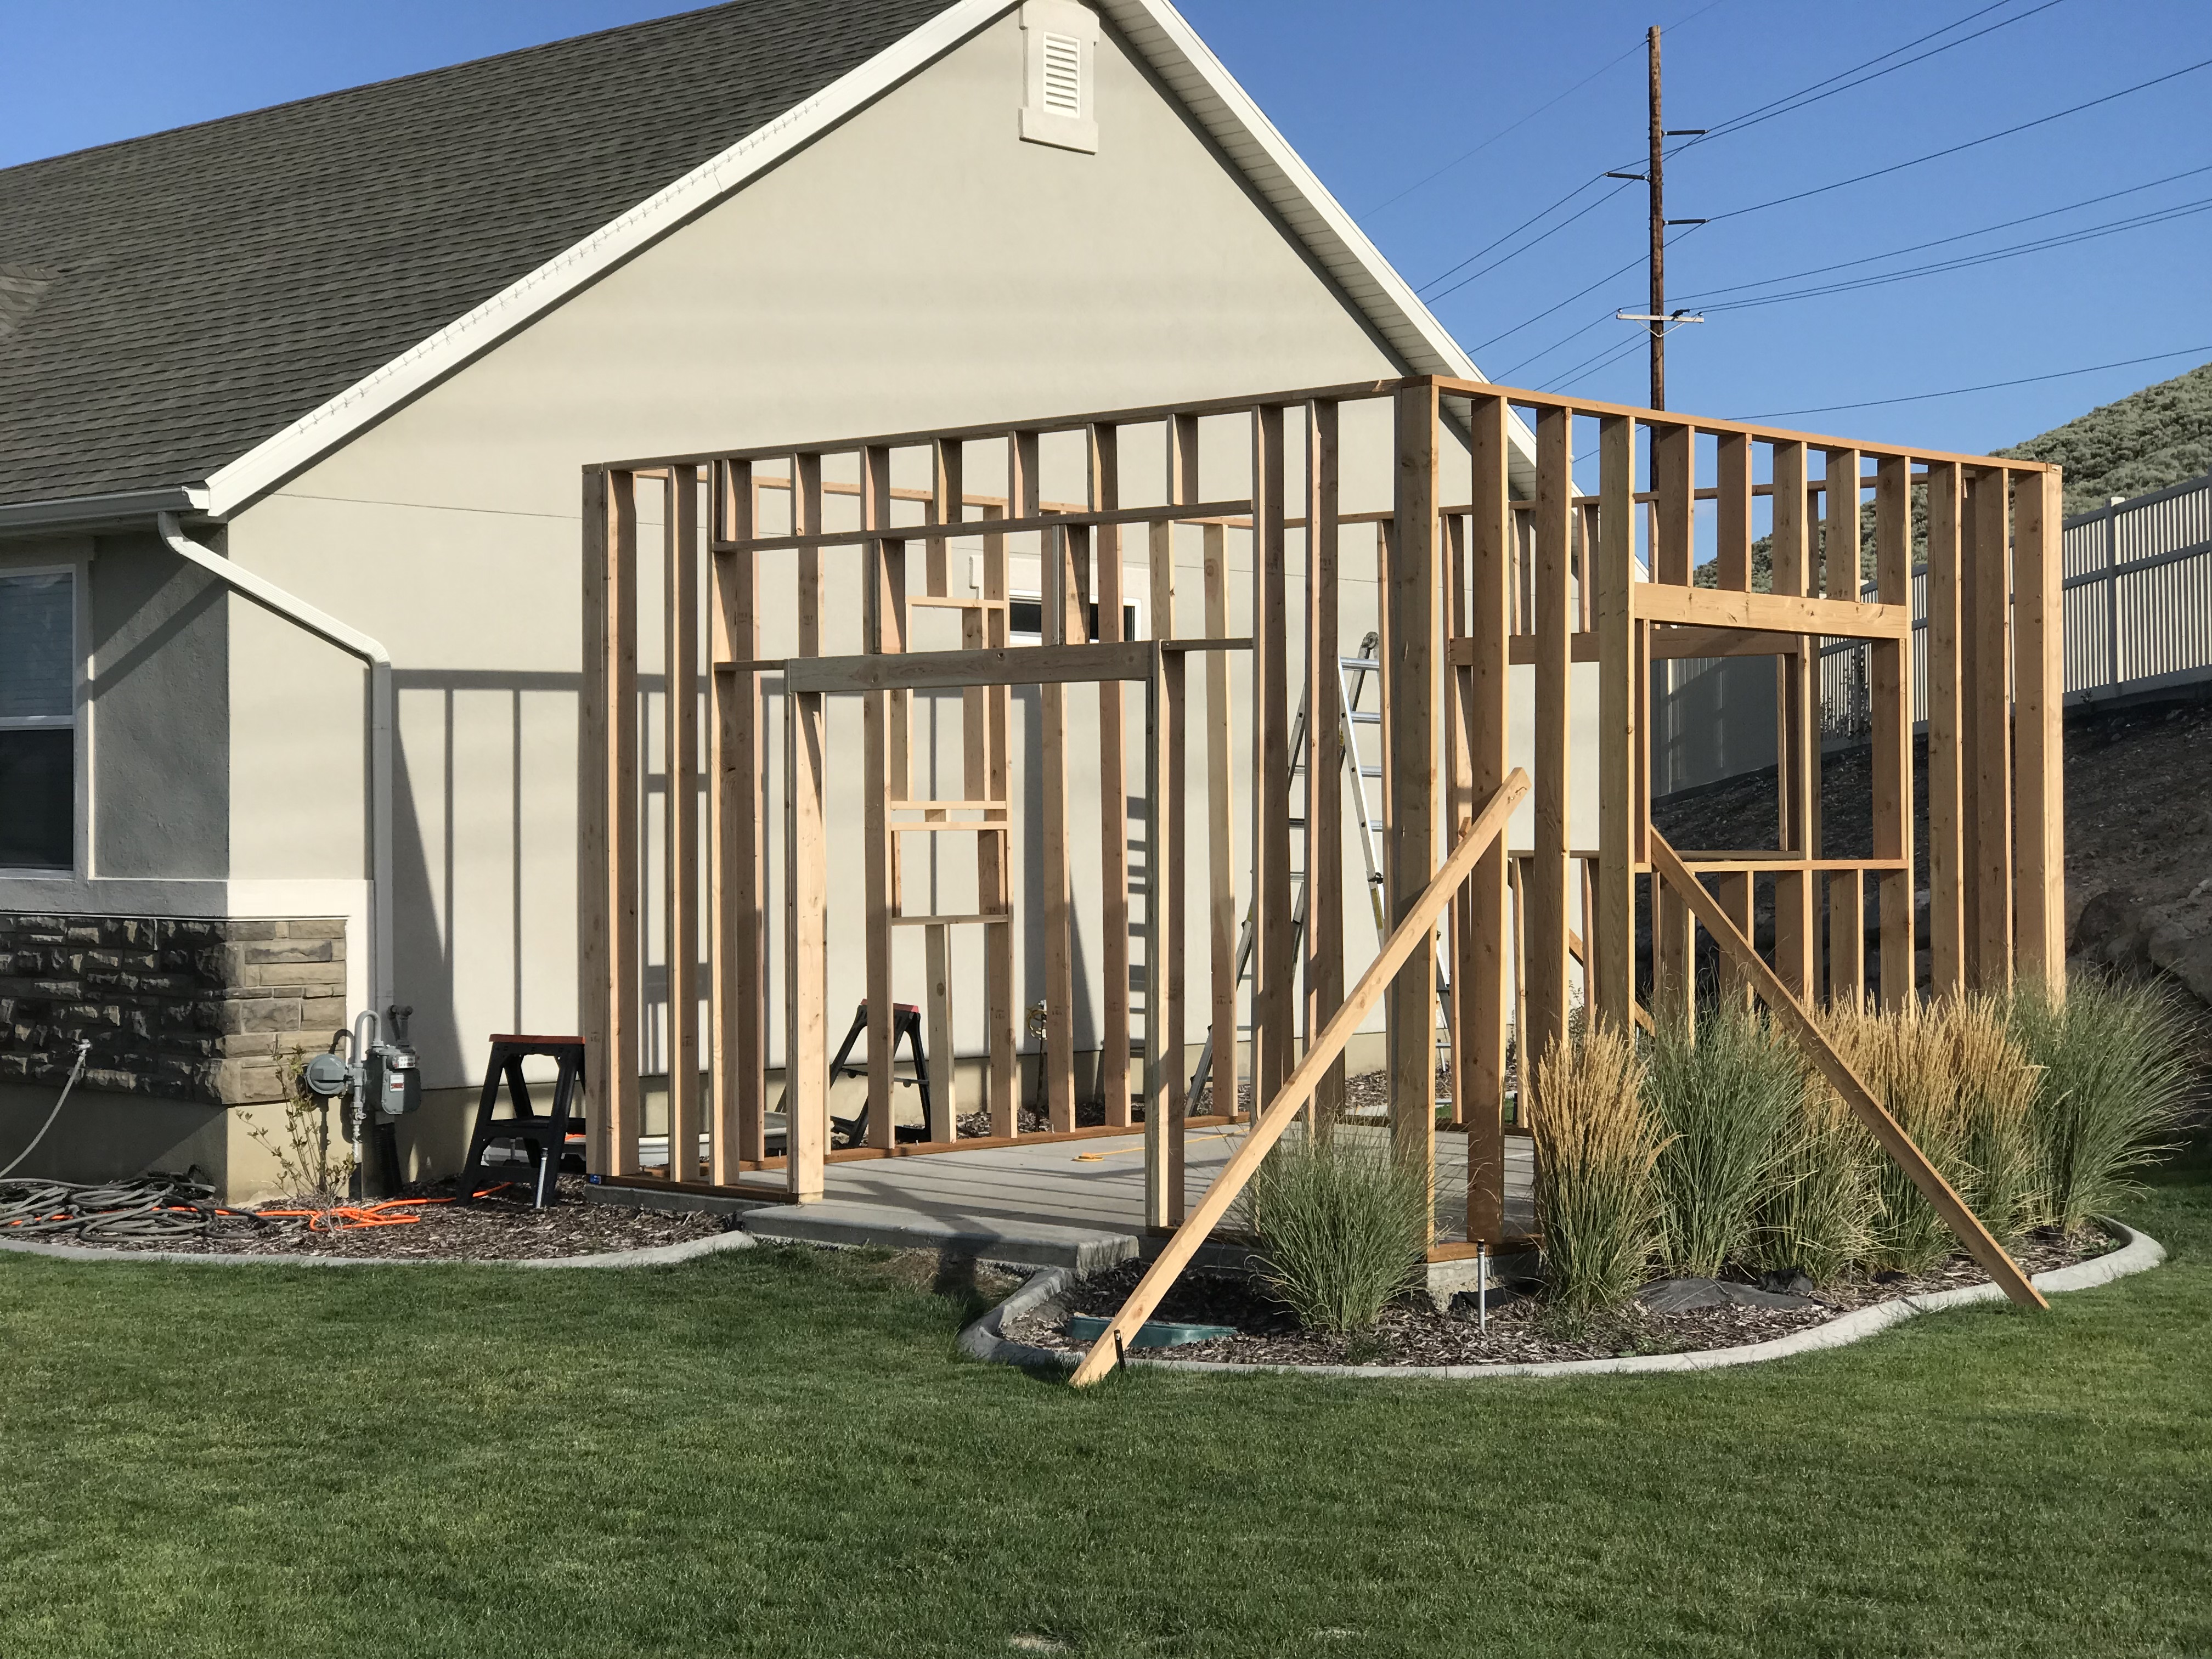
I decided to do 2×6 framing instead of 2×4 since I’ll be insulating it and adding a heating and A/C unit. The shop is 15′ x 15′, so it’s not a big shop, but I’m excited about it. I decided to do 9′ ceilings, with a loft for wood storage. I’m putting several windows in it, including a row of windows above the door, a 3’x5′ window on two of the walls and a smaller window on the fourth wall. Let there be light. The best part about that is that I bought all of the windows already, including several extra, for a grand total of $100 from a person in our area. Thanks, local online classifieds! They’re all used double pane, insulated windows and most of them are either sliders or crank-openers. I’m looking forward to putting those in. It’s amazing what you can get for cheap when someone is remodeling their home.
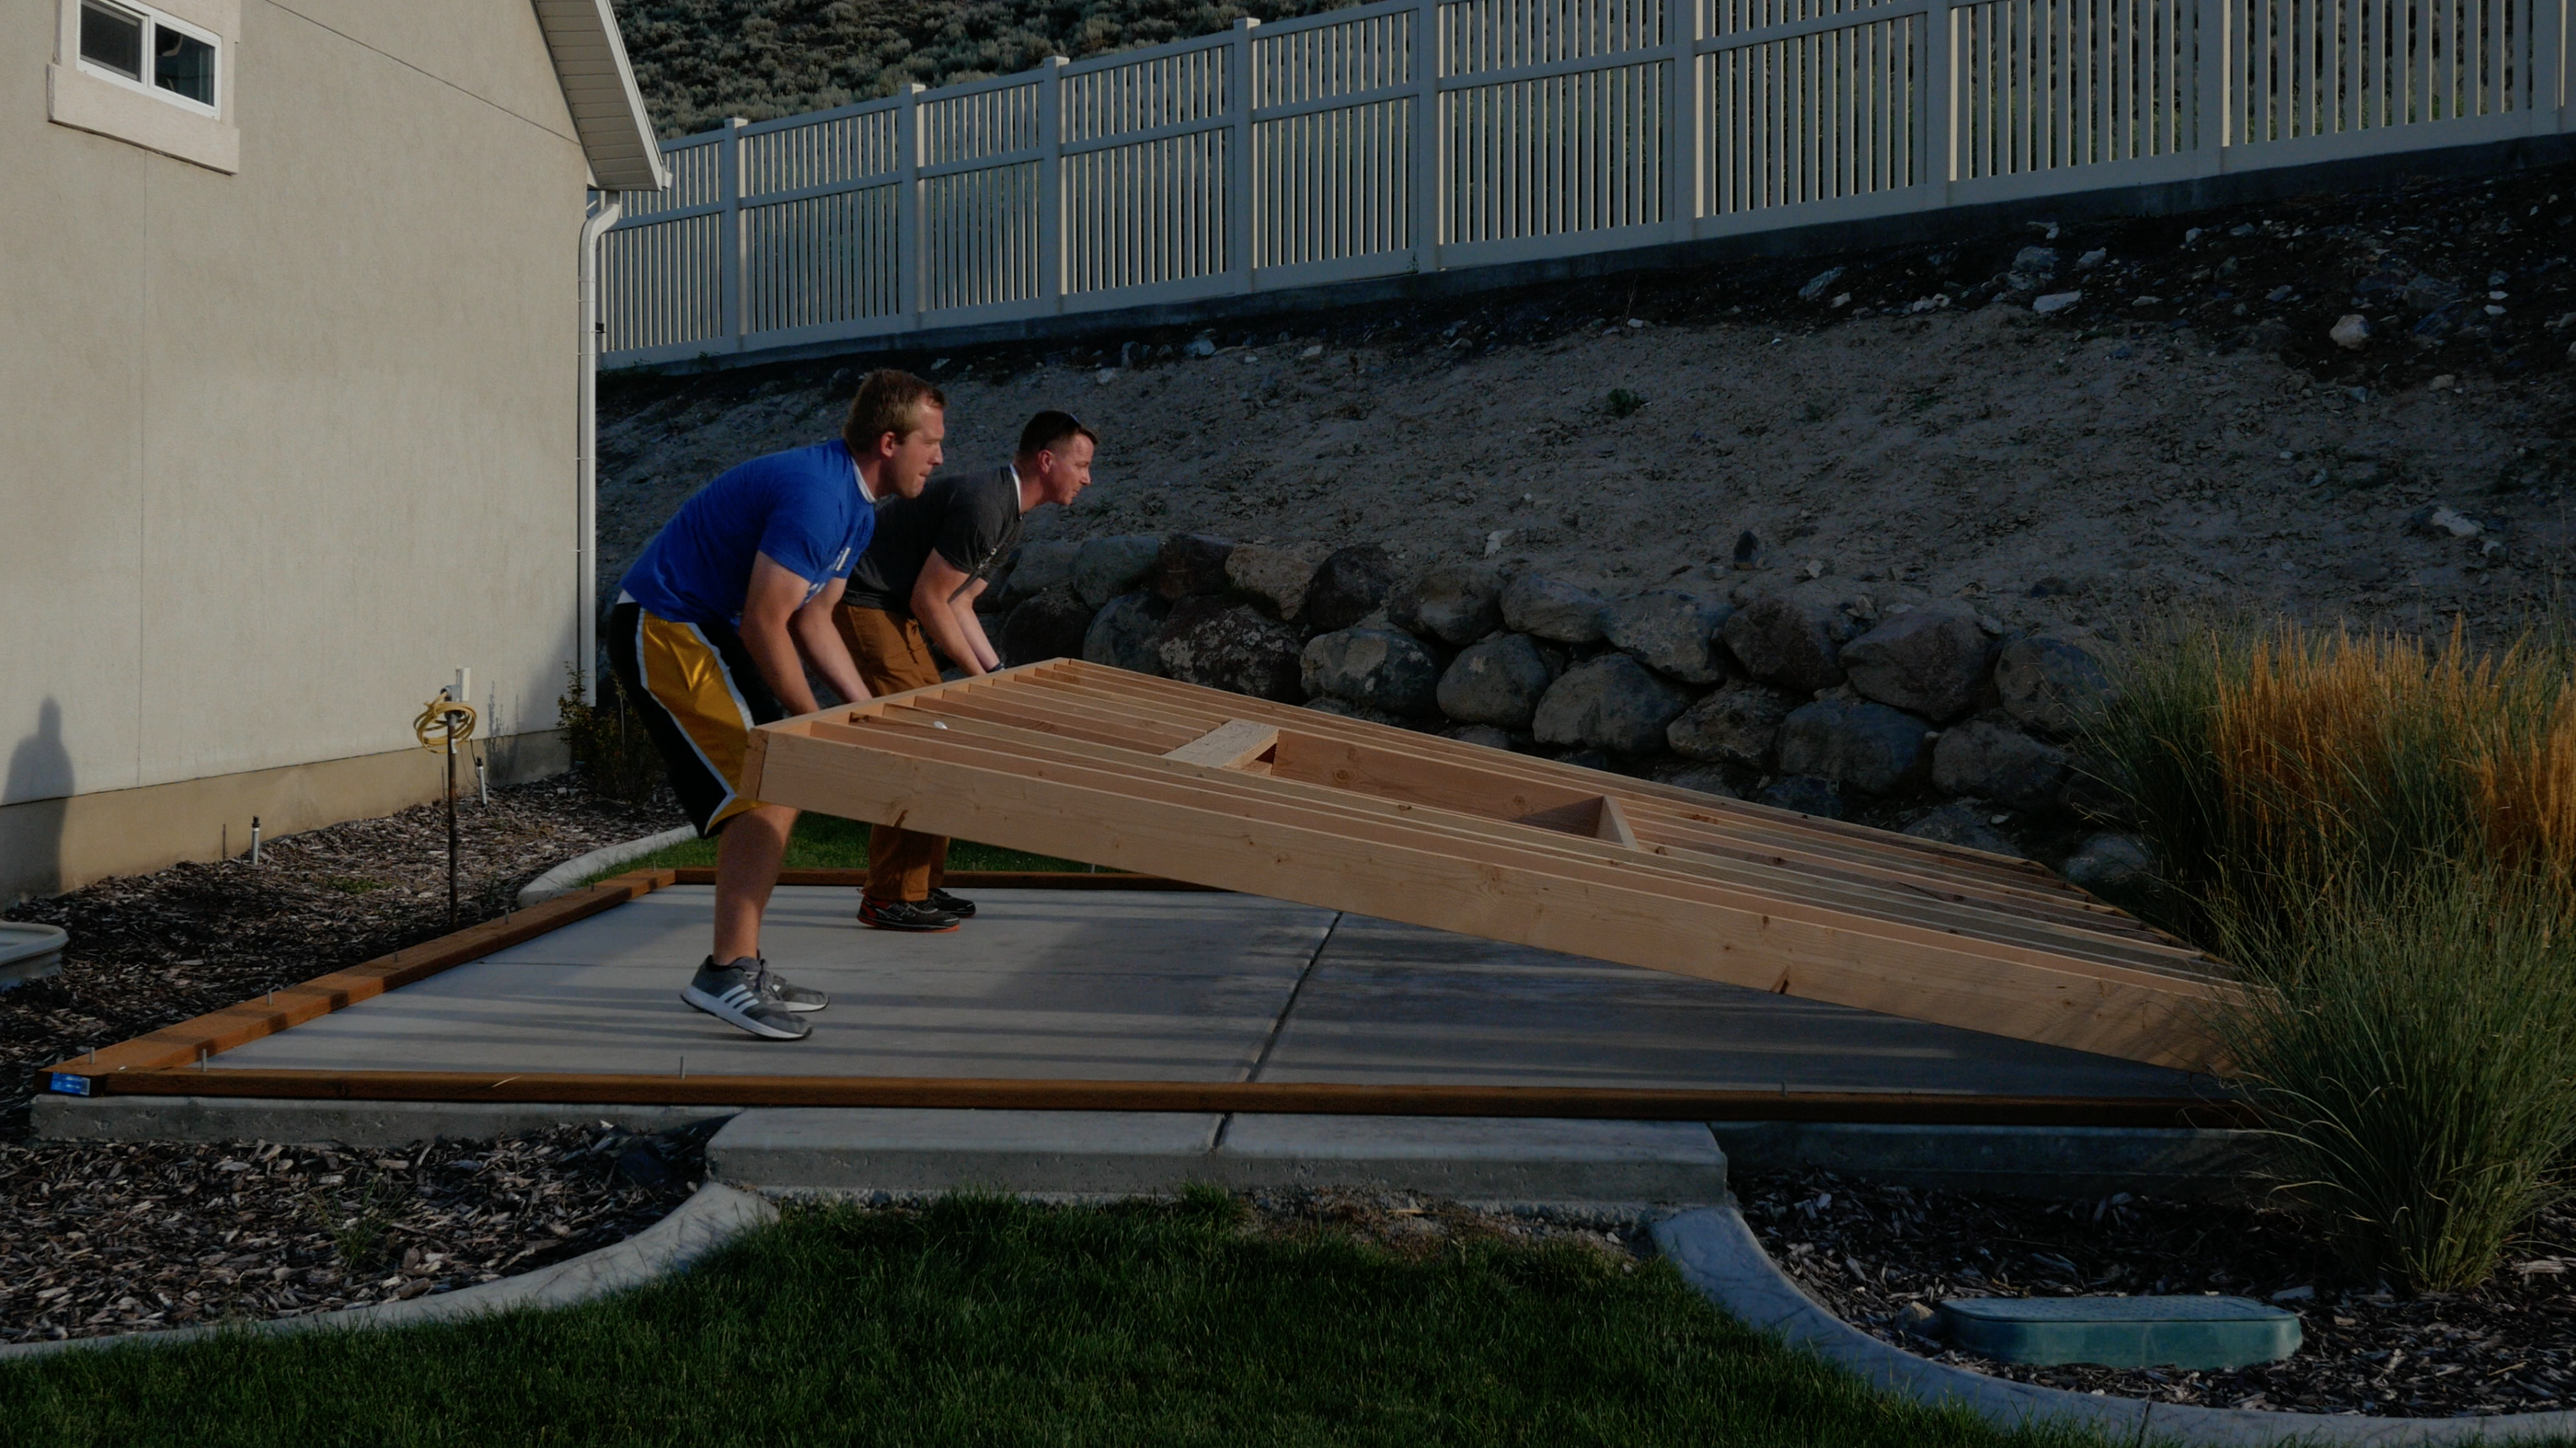
I bought a framing nailer (should have done that years ago) and have been building the walls one at a time and then getting some help from neighbors to stand them up and put them on the lag bolts in the concrete then tight them down. I have to say – 15′ x 10′ walls made out of 2x6s are extremely heavy. Definitely not a one-person job. My poor wife had her feet under one of the walls when it fell into place so she’s got quite a pair of bruises on her feet but luckily it looks worse than it is.

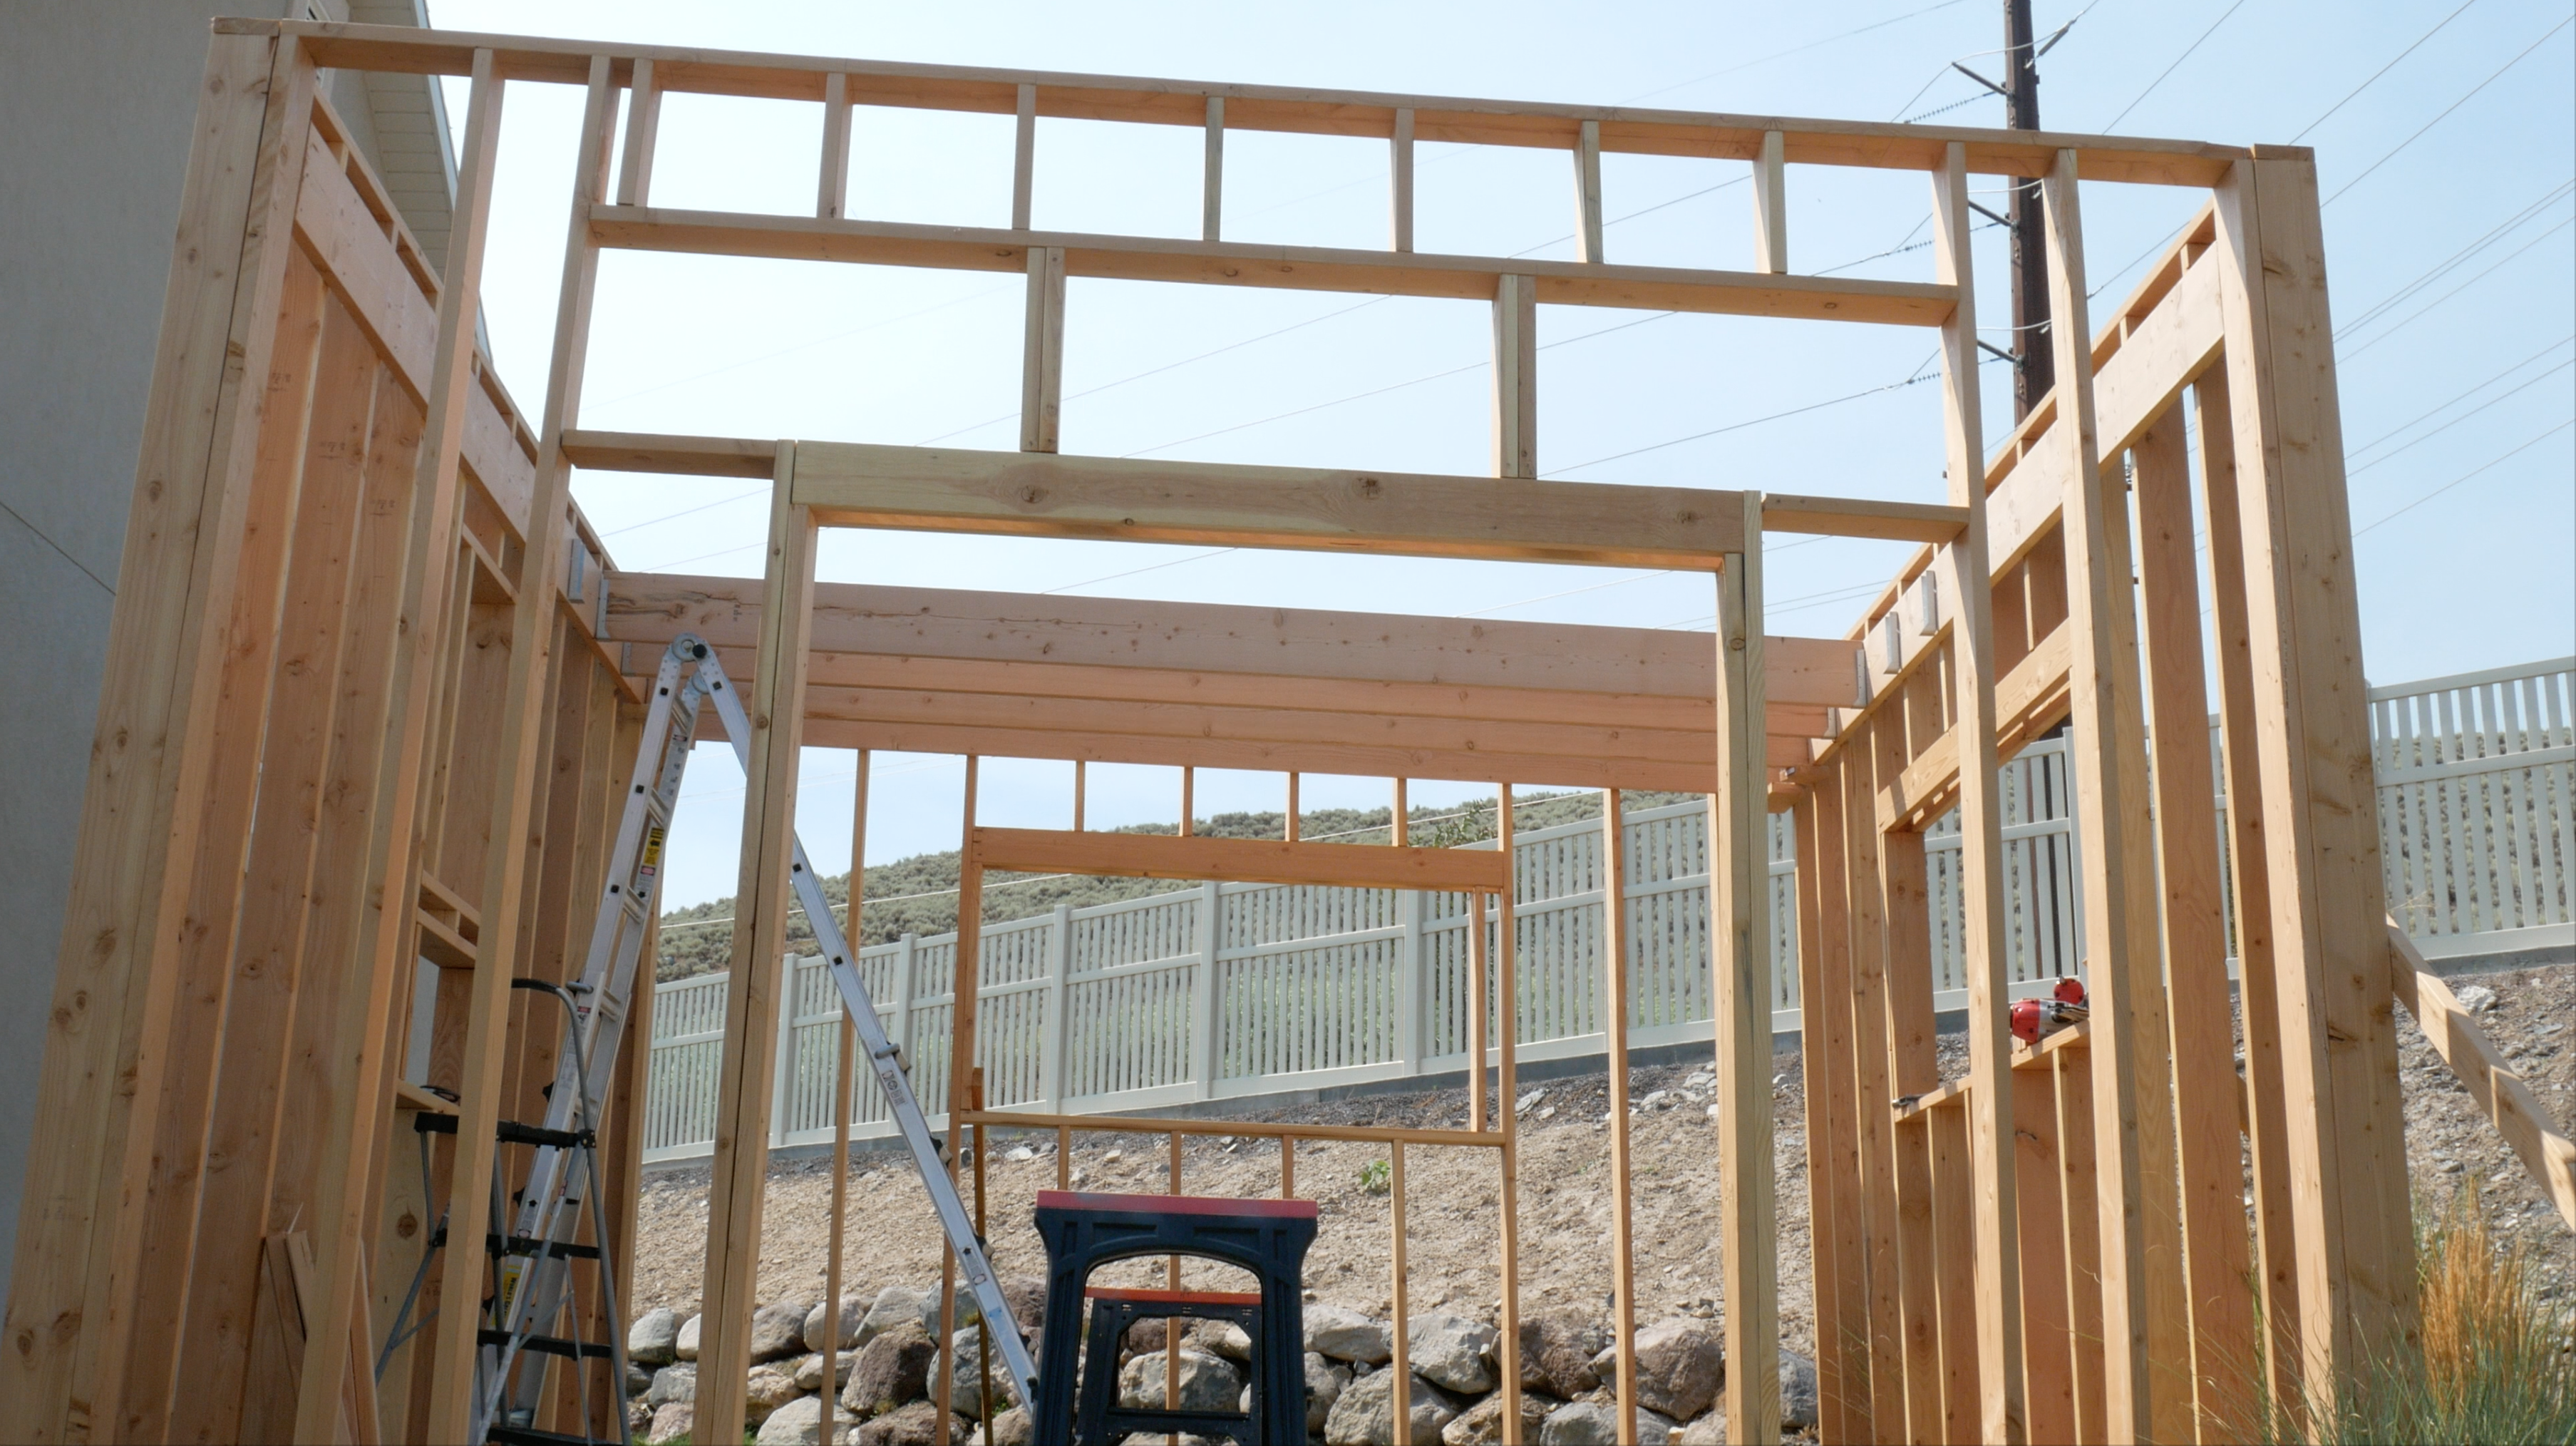
With the four walls up, I started on the ceiling / loft floor. I used 2x10s and mounting brackets and it’s quite sturdy. Those 15′ long 2x10s are some heavy suckers. I finished putting those up and then, with Katrina’s help, put the 3/4″ OSB up for flooring. That made it way easier to work on the roof trusses (stick framing) without having to use a ladder to do it all.
For the roof cuts, I used a great little truss calculator to get the angles, distances and other cuts, which was super helpful. Me no do math good, so that was kinda fantastic. It gives you the angles, the birdsmouth cuts, the distances where to cut them and everything.
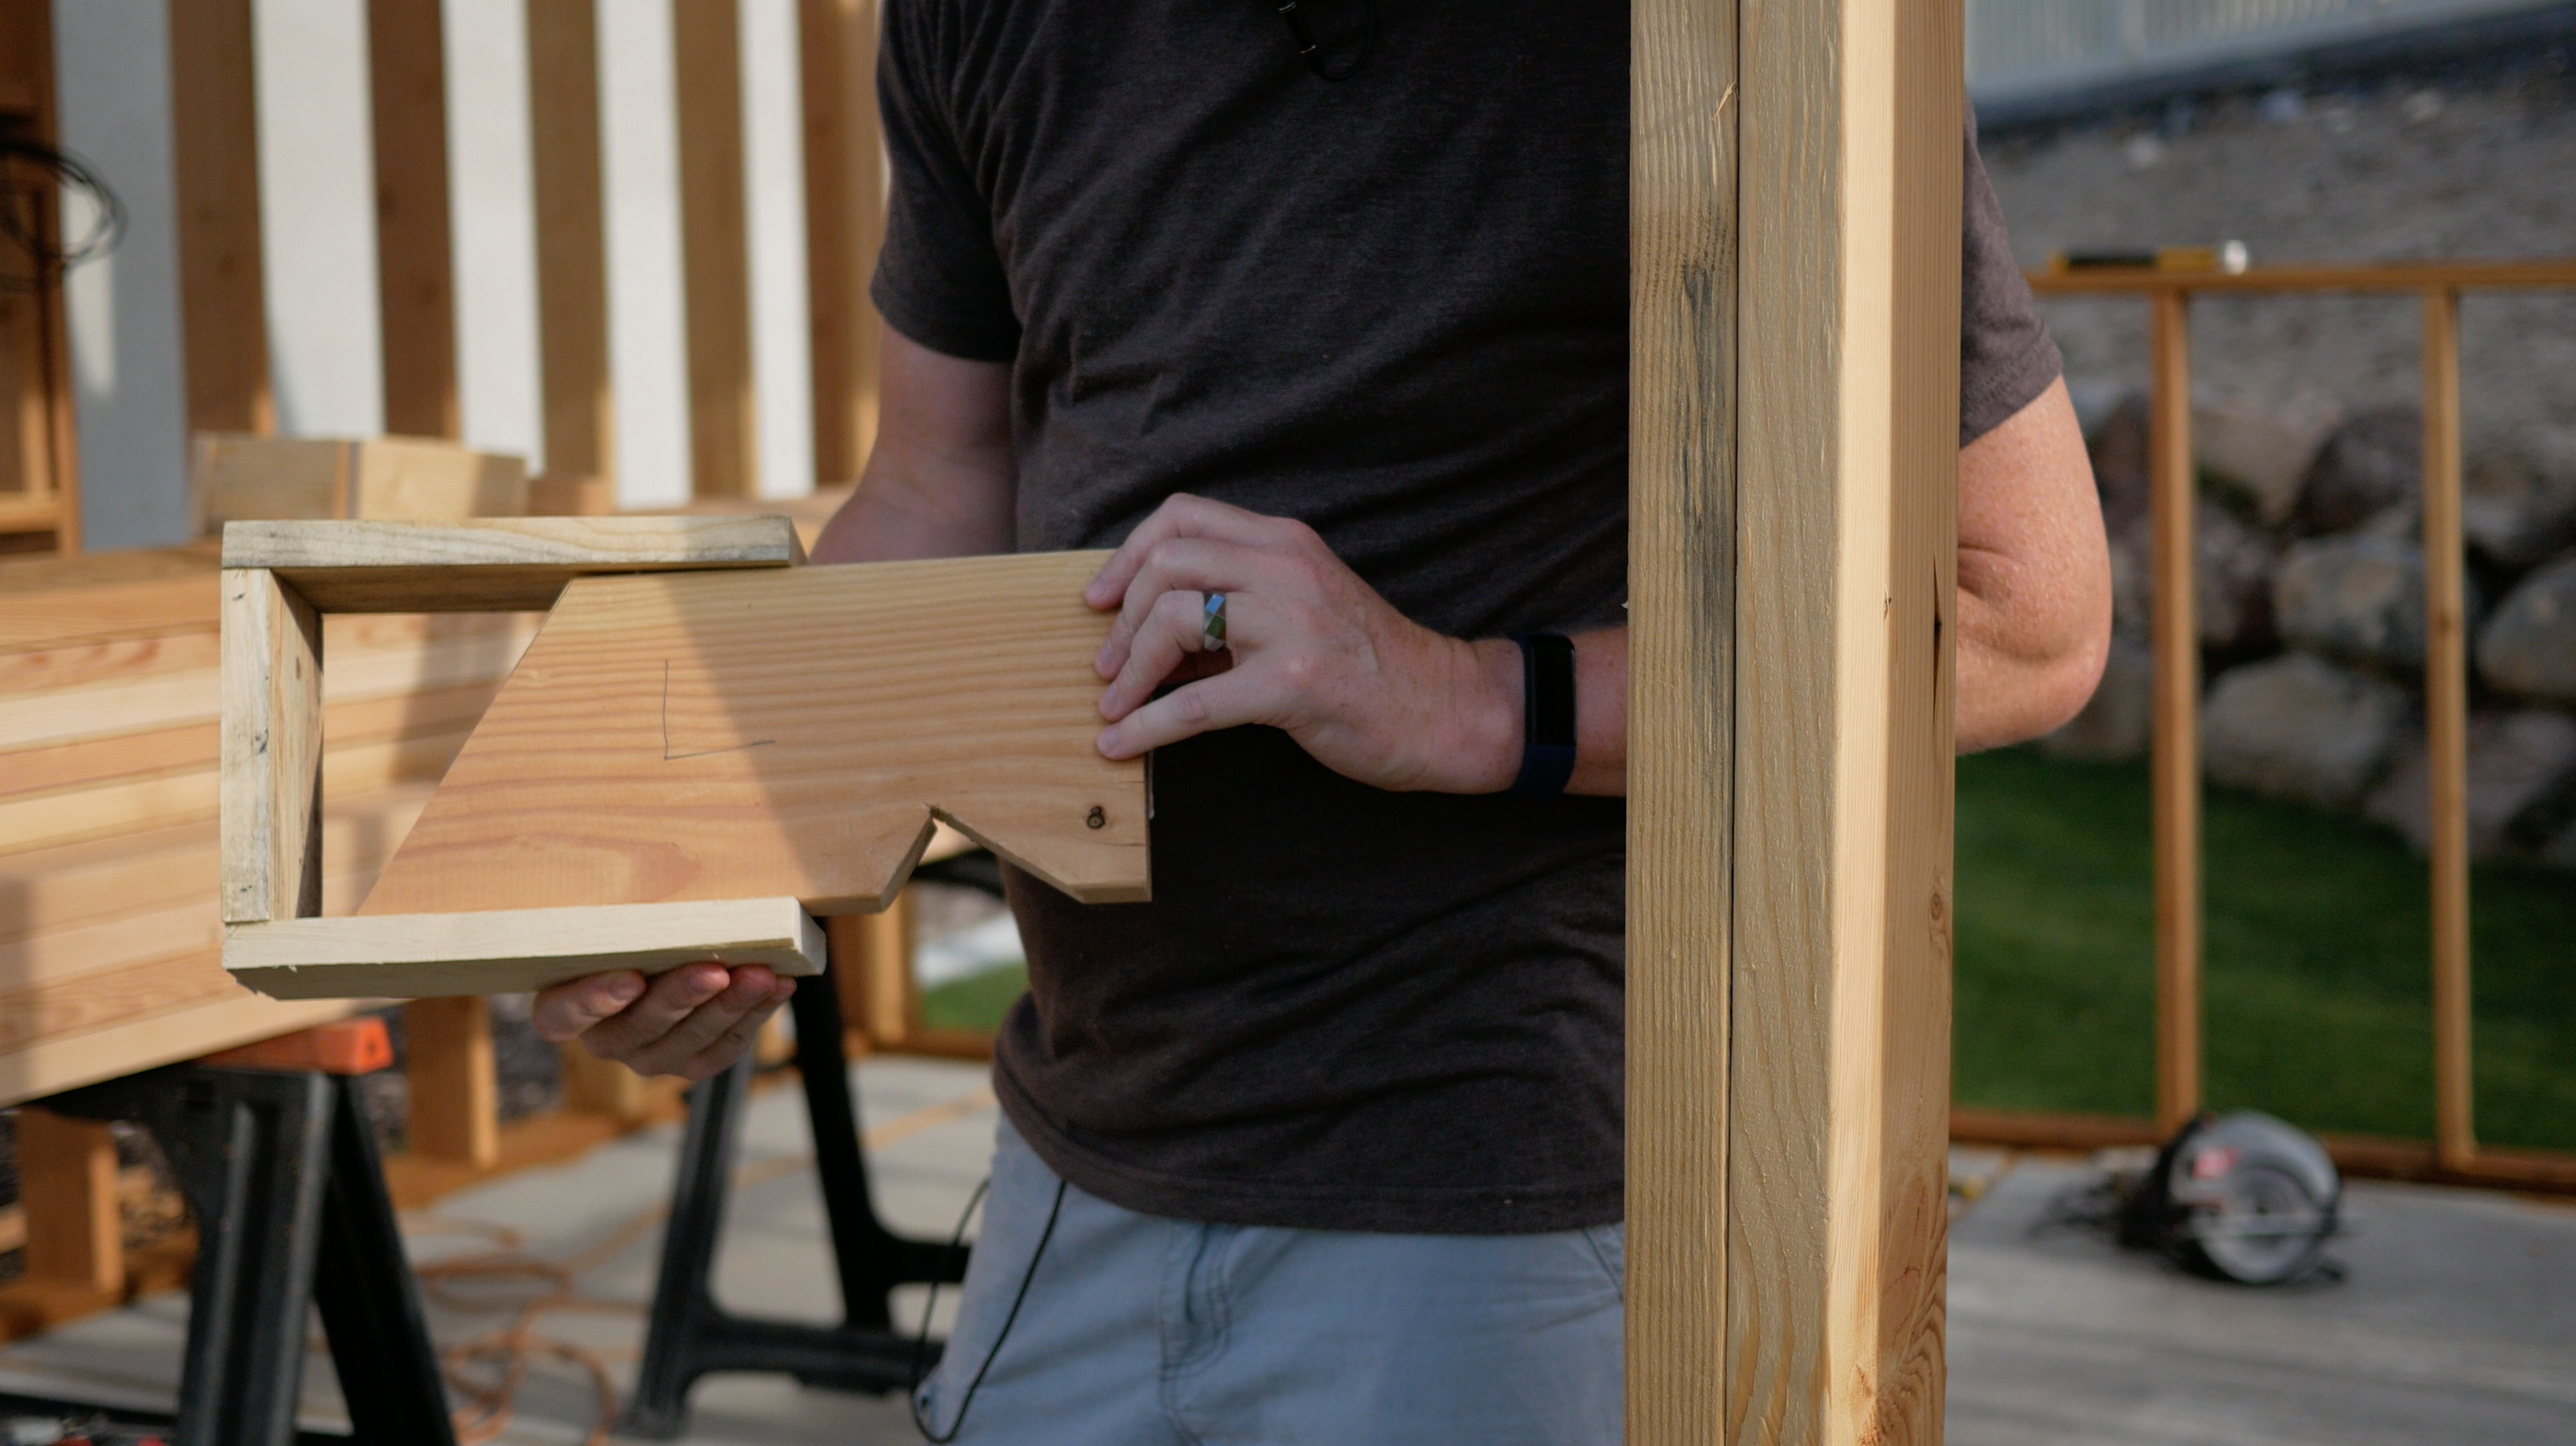
One thing that helped a lot on cutting the rafters was to create a template to make the marks faster. I created these small templates to slide onto each end of the 2x6s to make it really easy to mark every board in a hurry. It took me about 11 minutes to mark 24 boards, which is great. The templates took about 20 minutes to make.
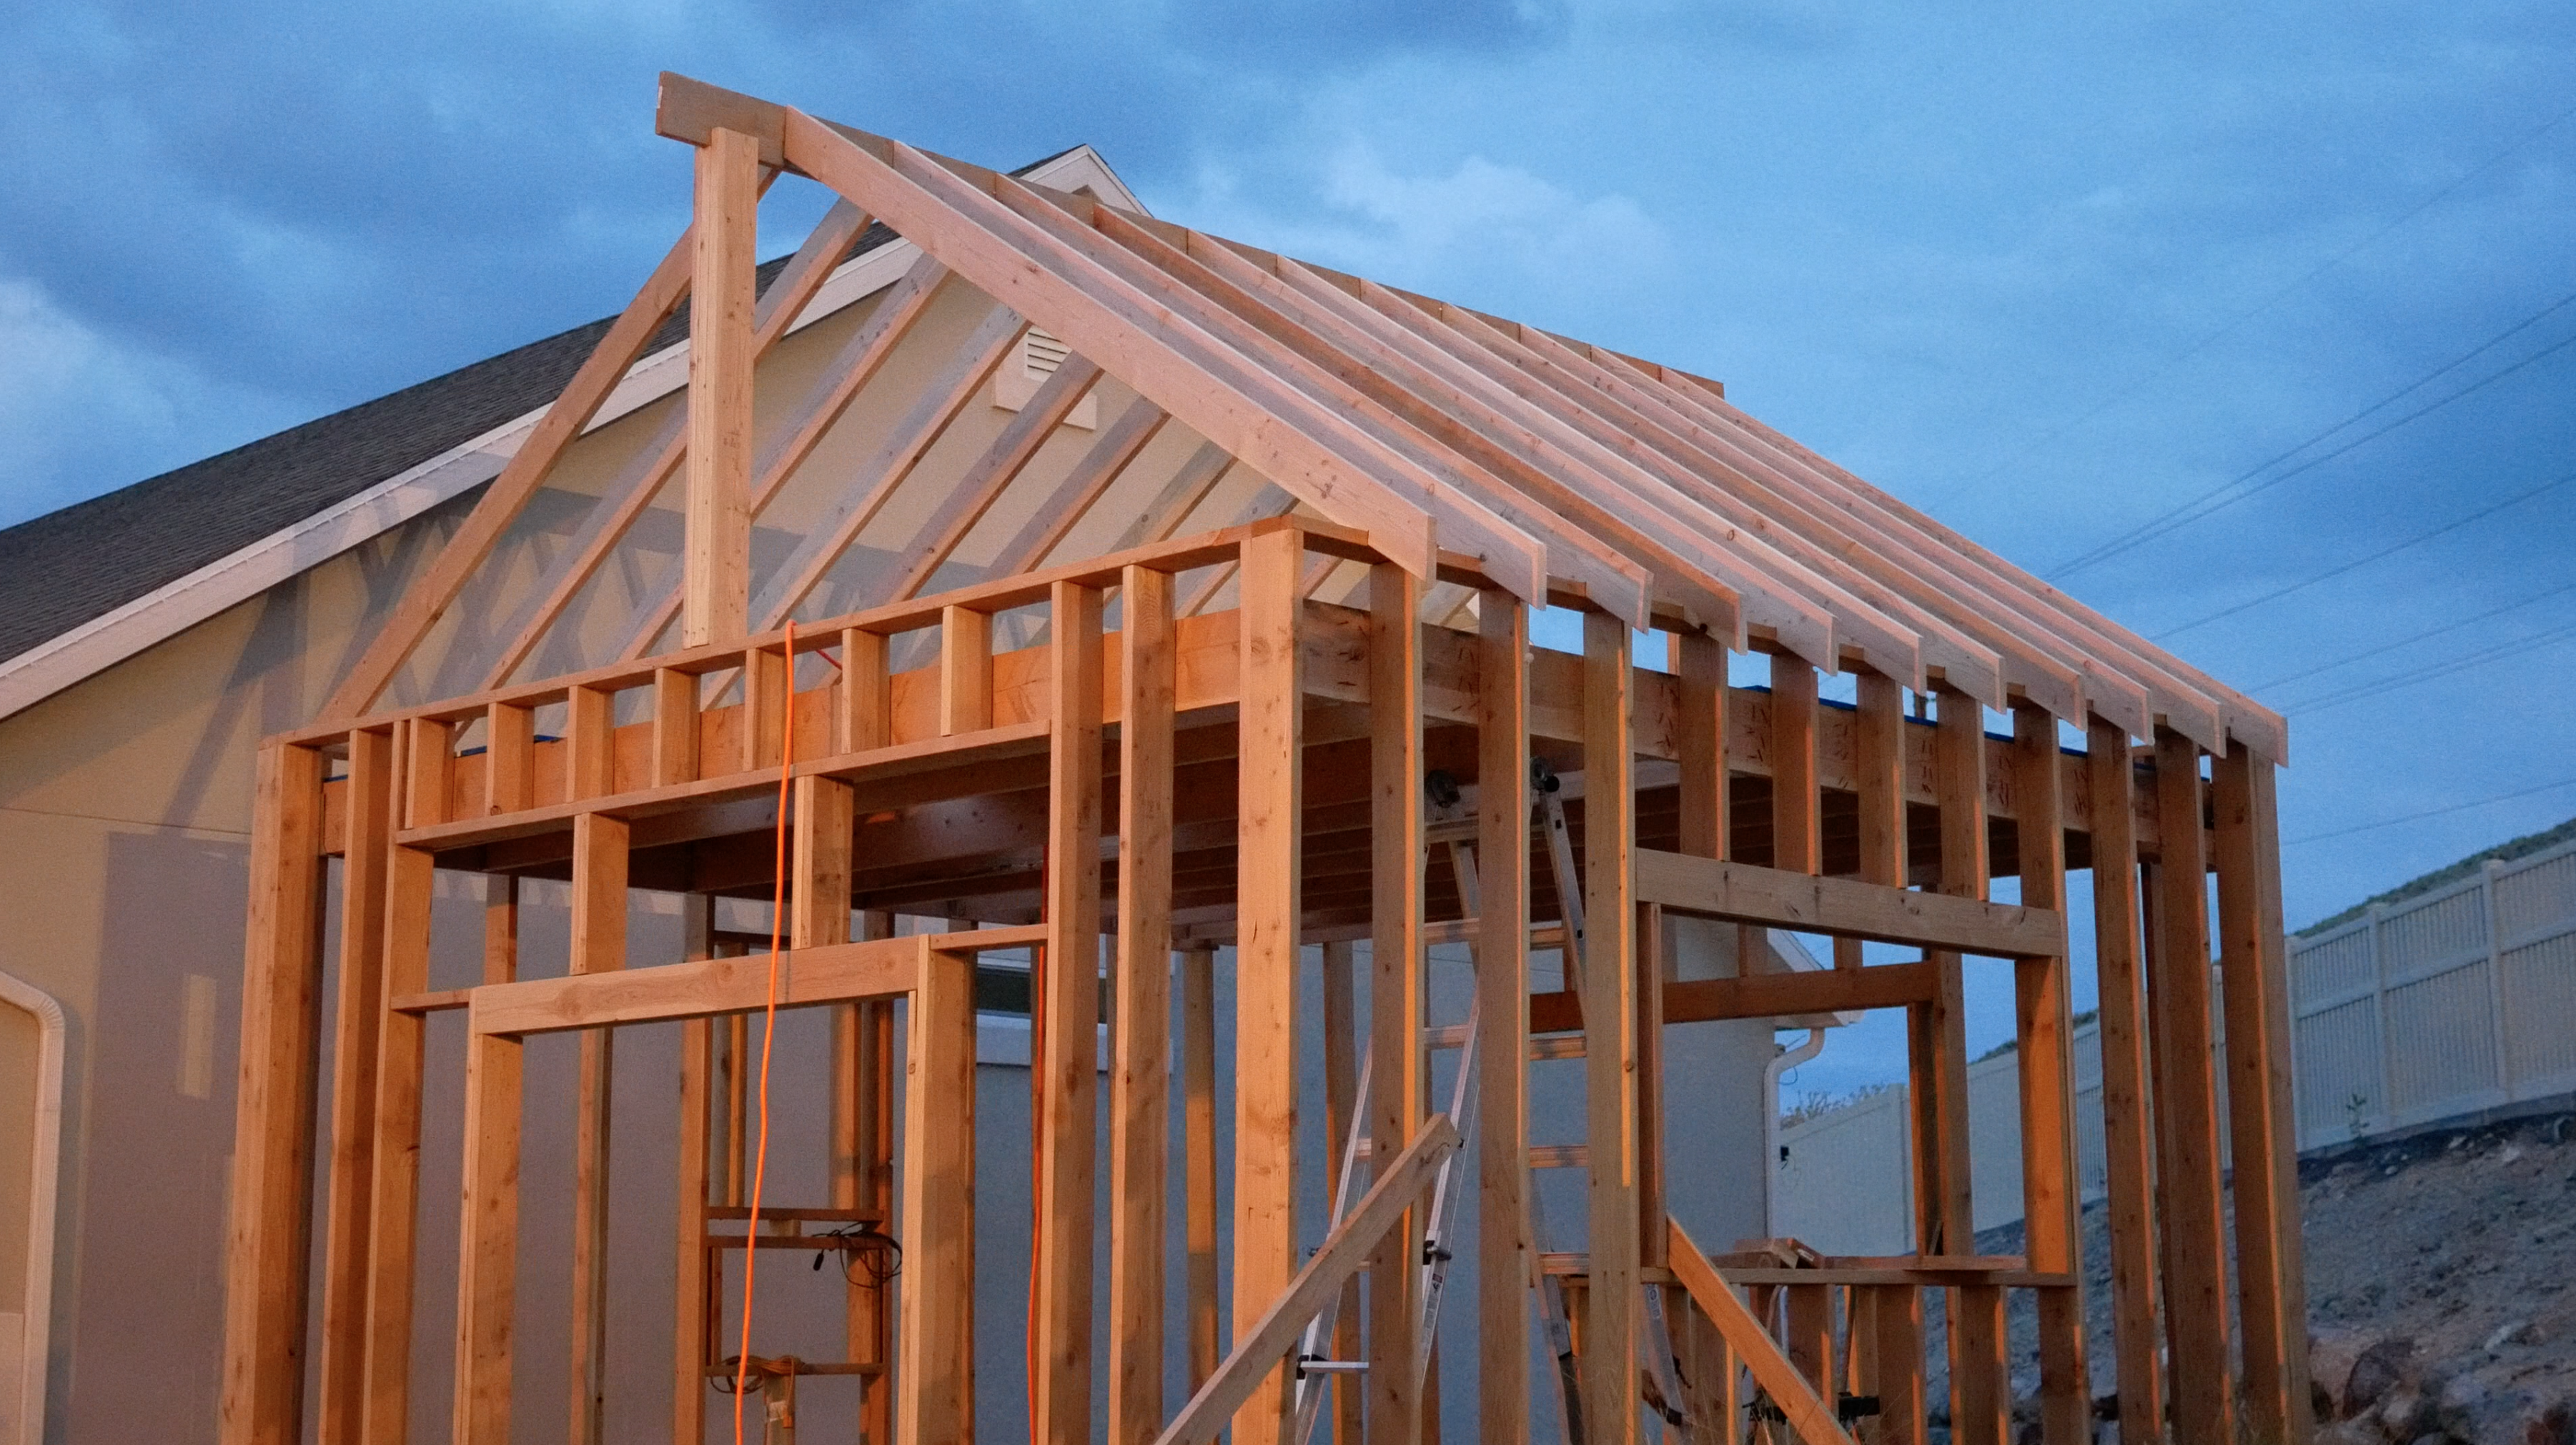
As of right now, the rafters are up and nailed to the ridge board, so now I’m ready to finish the framing of the gable faces and then I can put the OSB up on the roof. Yay!
No injuries or accidents (other than my poor wife’s foot bruises) so far, so knock on wood. That’s it for now! More pictures coming soon and, of course, I’m videoing the whole thing for a complete how-to series on it from start to finish. If you want to learn about framing walls, windows, soffits, doors and closets, I already have some videos on those!
I’m surprised that the framing on garage door passed as it looks like the studs don’t go to top plate. I realize that you wanted windows above but I would not have been able to get away with it.